
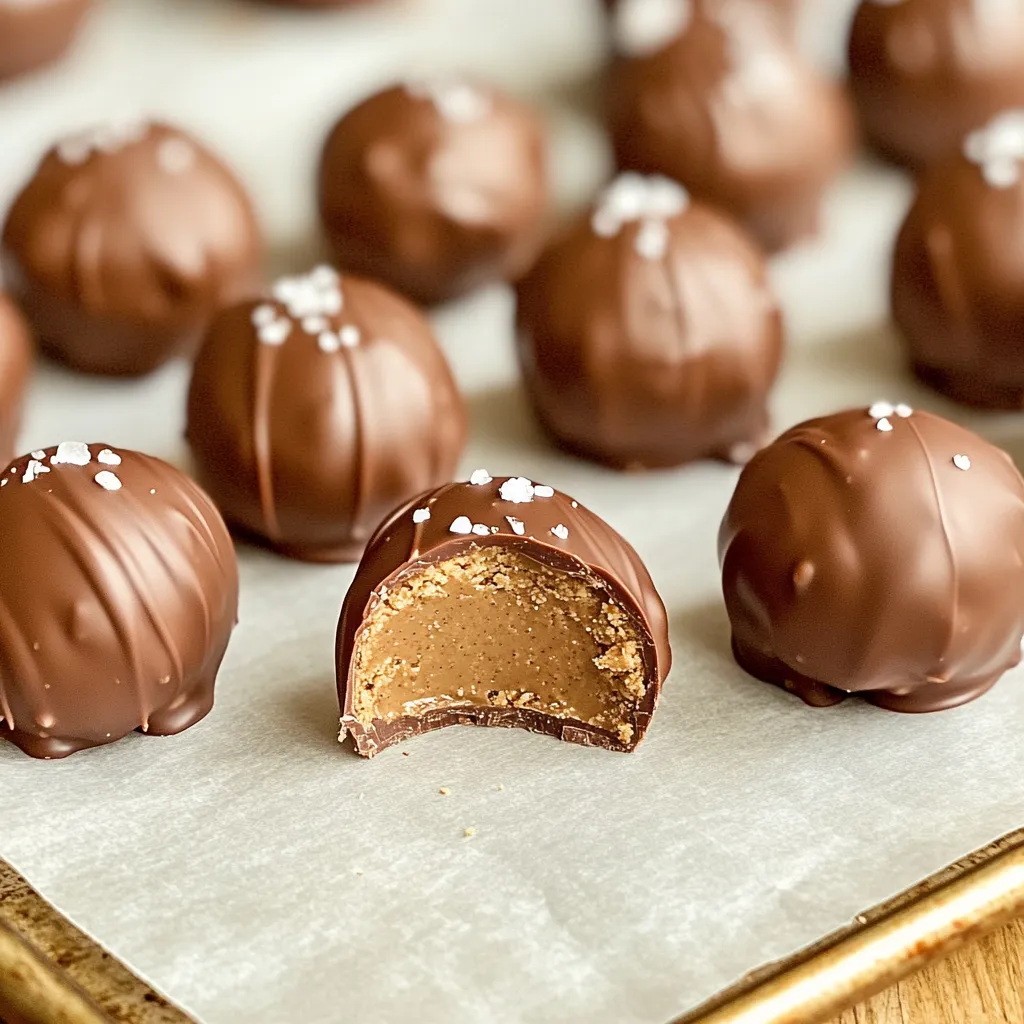
Looking for an easy and delicious treat? These No Bake Cookie Butter Truffles are the perfect choice for you! With just a handful of simple ingredients, you can whip up these sweet bites in no time. Imagine creamy cookie butter, rich chocolate, and a hint of vanilla—all coming together to create a delightful dessert. Follow my easy steps, and you’ll be impressing family and friends with your tasty creations!
Ingredients
To make No Bake Cookie Butter Truffles, you need a few simple ingredients. Here’s what you will need:
– 1 cup cookie butter
– 1 cup crushed graham crackers
– 1/2 cup powdered sugar
– 1/4 cup cream cheese, softened
– 1/2 teaspoon vanilla extract
– 1/2 cup semi-sweet chocolate chips
– 1 tablespoon coconut oil
– Sea salt for garnish (optional)
These ingredients blend together to create a rich and delightful treat. Cookie butter gives a unique flavor that stands out. The crushed graham crackers add texture and crunch. Cream cheese helps bind the mix and adds creaminess.
You can find cookie butter in most grocery stores. It’s sweet and spiced, making it perfect for desserts. If you want a different taste, try using flavored cookie butter.
Keep in mind that the chocolate coating adds a nice finish. Using semi-sweet chocolate gives a balanced sweetness. The coconut oil helps the chocolate melt smoothly.
The sea salt is optional, but it adds a nice contrast to the sweet truffles. A pinch on top enhances the flavor.
Gather these ingredients, and you’ll be ready to make your truffles!
Step-by-Step Instructions
Preparing the Dough
Mixing the Ingredients
Start by taking a large bowl. Add 1 cup of cookie butter. Next, pour in 1 cup of crushed graham crackers. Then, add 1/2 cup of powdered sugar. Now, include 1/4 cup of softened cream cheese and 1/2 teaspoon of vanilla extract. Mix all these ingredients together. Stir until you get a smooth dough. It should feel soft but hold together well.
Forming the Truffles
Once the dough is ready, it’s time to form the truffles. Scoop out about 1 tablespoon of the dough. Roll it into a ball using your hands. Place the ball on a parchment-lined baking sheet. Repeat this step until you have rolled all the dough into truffles. You should end up with about 12 truffles.
Freezing the Truffles
Timeframe for Freezing
Now, we need to firm up the truffles. Place the baking sheet in the freezer. Let the truffles freeze for about 15-20 minutes. This helps them hold their shape when we coat them in chocolate.
Checking Consistency
After 20 minutes, check the truffles. They should feel firm to the touch but not frozen solid. If they are too soft, give them a few more minutes in the freezer.
Melting the Chocolate
Instructions for Melting
While the truffles chill, it’s time to melt the chocolate. Take 1/2 cup of semi-sweet chocolate chips. Add 1 tablespoon of coconut oil to a microwave-safe bowl. Heat the bowl in the microwave in 30-second intervals. Stir the mixture between each interval. Continue until the chocolate is smooth and fully melted.
Tips for Achieving Smooth Chocolate
To get the best results, make sure to stir well. This helps avoid lumps. If your chocolate seems thick, add a little more coconut oil. This will help it coat the truffles better.
Coating the Truffles
Dipping Technique
Now it’s time to coat the truffles. Remove them from the freezer. Dip each truffle into the melted chocolate. Use a fork to lift each one out. Let the excess chocolate drip back into the bowl.
Garnishing with Sea Salt
Place the chocolate-coated truffles back on the baking sheet. If you want, sprinkle a pinch of sea salt on top of each truffle. This adds a nice touch. It balances the sweetness with a bit of saltiness.
Let the truffles sit until the chocolate hardens. You can leave them at room temperature or put them in the fridge for quicker results. Enjoy your homemade no-bake cookie butter truffles!
Tips & Tricks
Ensuring the Perfect Consistency
To get your truffles just right, check the dough. If it’s too soft, add more crushed graham crackers. If it’s too dry, mix in a bit more cookie butter or cream cheese. The goal is a smooth and firm dough that holds its shape.
Enhancing Flavor
You can change the flavor of these truffles easily. Try adding a dash of cinnamon or nutmeg for warmth. For a fun twist, use flavored extracts like almond or hazelnut. Presentation is key too. Use festive sprinkles or drizzle some extra melted chocolate over the truffles for a touch of flair.
Equipment Needed
You’ll need a few basic tools to make these truffles. Here’s what I recommend:
– Large mixing bowl
– Mixing spoon or spatula
– Parchment paper for the baking sheet
– Microwave-safe bowl for melting chocolate
– Fork for dipping the truffles
Having these tools ready will make your truffle-making experience smooth and fun!
Variations
Using Different Types of Cookie Butter
You can make these truffles with many cookie butter types. Speculoos is the classic choice. It has a warm, spiced flavor. You can also try other flavors like chocolate or almond. Each type brings its own taste to the truffles. This makes them fun to mix and match. Experimenting with flavors can lead to tasty surprises.
Adding Mix-ins to the Dough
Want to add some crunch or color? You can mix in nuts or sprinkles. Chopped nuts like almonds or walnuts add a nice texture. They also give a bit of healthy fat. Sprinkles can make your truffles bright and festive. You can even add mini chocolate chips for extra sweetness. Just fold them into the dough before rolling. The options are endless.
Alternative Coatings
The chocolate coating is key to these treats. While semi-sweet is great, try other options. White chocolate gives a sweet and creamy taste. Milk chocolate offers a classic sweet flavor. You can even roll the truffles in sprinkles or cocoa powder. This adds a fun twist and more texture. Choose your favorite coating to make these truffles your own.
Storage Info
Best Practices for Storing Truffles
You can store your truffles in two main ways: at room temperature or in the fridge.
– Room Temperature: If you plan to eat them within a day or two, keep them in an airtight container at room temperature.
– Refrigeration: For longer storage, pop them in the fridge. This helps them stay fresh and firm. Just remember to use an airtight container to avoid moisture.
Shelf Life
How long do these truffles last? When stored correctly, they can last for about one week in the fridge. If left at room temperature, aim to eat them within two days for the best taste and texture.
Freezing Truffles for Later Use
Want to save some for later? Freezing is a great option. Here’s how to do it:
1. Place the truffles in a single layer on a baking sheet.
2. Freeze them for about an hour until firm.
3. Once solid, transfer them to a freezer-safe bag or container.
4. Label the container with the date. They can last for up to three months in the freezer!
When you’re ready to enjoy, just let them thaw in the fridge or at room temperature.
FAQs
Can I use different types of cookies for the truffles?
Yes, you can use different cookies. Try Oreos, Nilla Wafers, or any other crushed cookie. Each type adds a unique flavor. Just make sure they are crushed finely to blend well with the other ingredients.
How do I know when the truffles are fully firm?
After freezing, the truffles should feel solid to the touch. They should not be soft or sticky. If they hold their shape when rolled, they are ready to coat in chocolate.
Can I make these truffles vegan?
You can make these truffles vegan. Use a vegan cream cheese substitute. Also, choose dairy-free chocolate chips. This way, you keep the taste while making them plant-based.
What can I substitute for cream cheese?
You can use vegan cream cheese or cashew cream. Silken tofu blended until smooth also works well. Each option gives a nice creamy texture without changing the flavor too much.
How do I avoid the chocolate coating from cracking?
To avoid cracks, make sure the truffles are cold before dipping. Use tempered chocolate for a smooth finish. Dipping quickly helps too. If the chocolate is too thick, add a bit more coconut oil to thin it out.
You learned how to make delicious truffles using simple ingredients. We covered cookie butter, graham crackers, and chocolate. I also shared tips for perfecting the texture and flavor. Variations can add fun twists, like using different cookie butters or coatings.
In the end, you can customize these treats to your taste. Enjoy experimenting and sharing them with friends. Making these truffles can be a fun activity and a tasty reward!

