WANT TO SAVE THIS RECIPE?
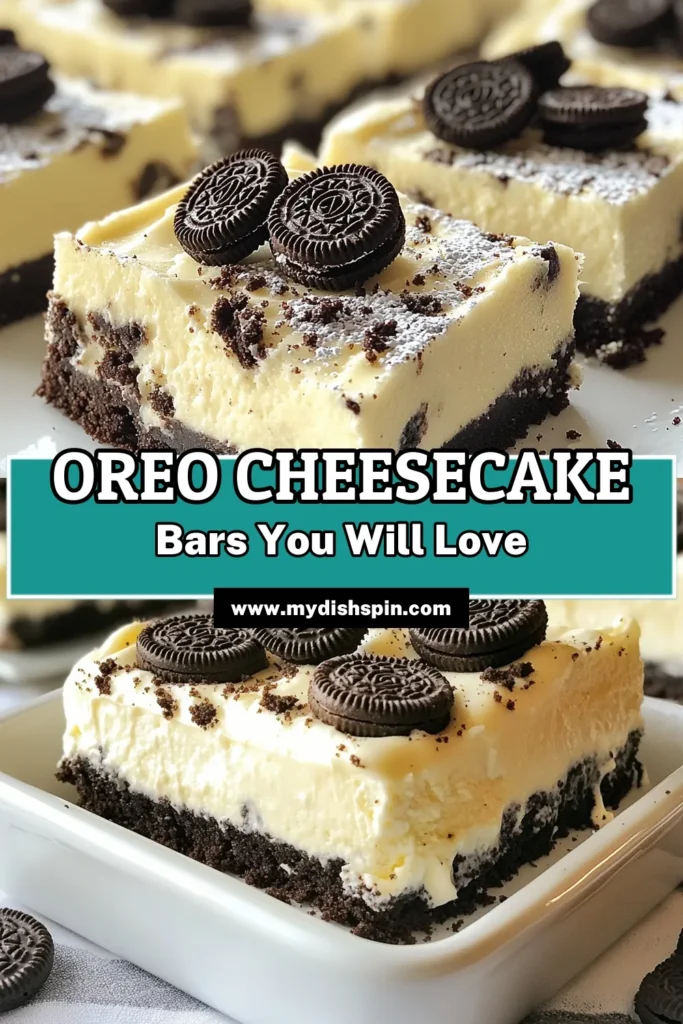
If you crave a sweet treat that’s quick and easy, look no further! My No-Bake Oreo Cheesecake Bars are simple to whip up and packed with flavor. You won’t even need an oven for this delicious dessert. Perfect for parties or a cozy night in, these bars will impress your friends and family. Ready to dive into a creamy, decadent delight? Let’s gather your ingredients and get started!
Why I Love This Recipe
- Decadent Flavor Combination: The rich cream cheese filling paired with the iconic taste of Oreos creates a heavenly dessert that satisfies any sweet tooth.
- Easy to Make: With simple steps and minimal ingredients, this recipe is perfect for both novice and experienced bakers looking for a quick treat.
- Perfect for Any Occasion: These cheesecake bars are versatile enough to serve at parties, potlucks, or just a cozy night in, making them a go-to dessert.
- Visually Stunning: The topping of mini Oreos not only adds crunch but also makes for an eye-catching dessert that impresses guests.
Ingredients
Complete ingredient list with measurements
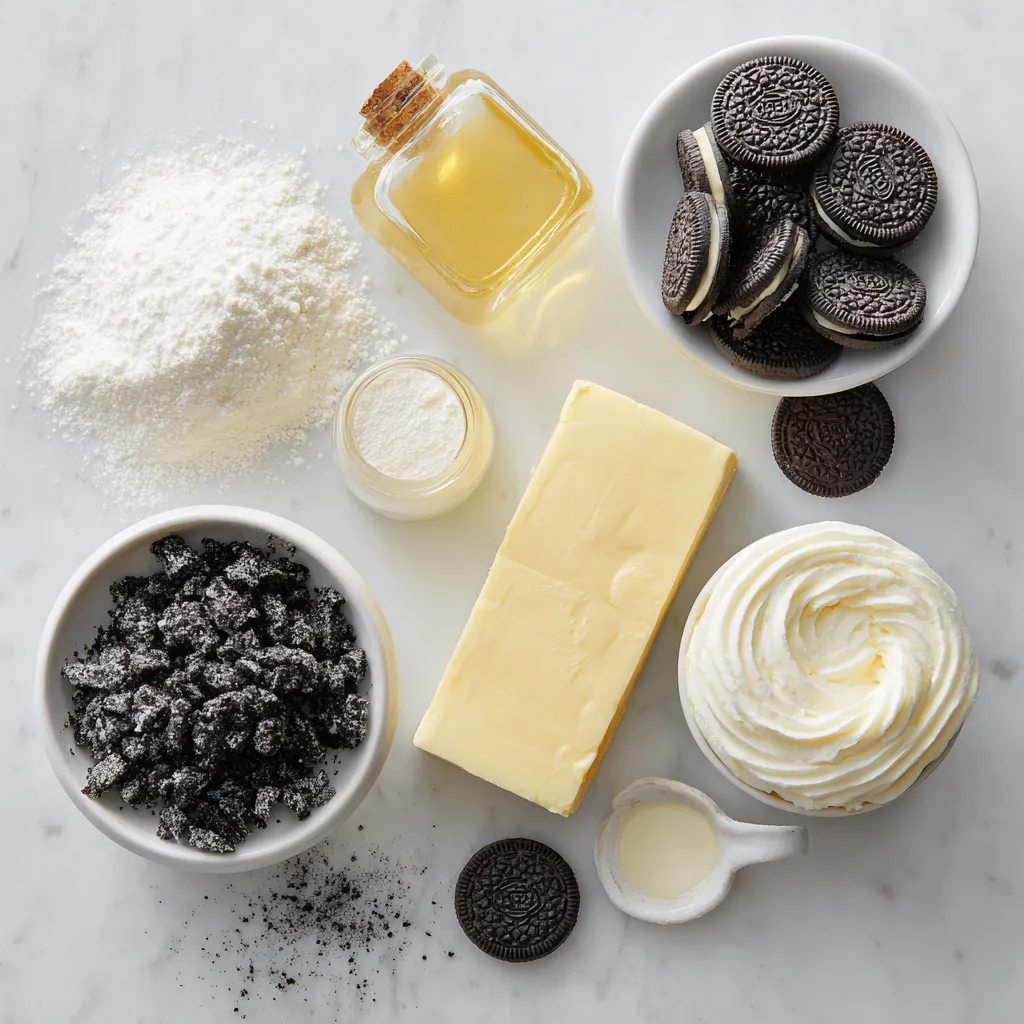
To make No-Bake Oreo Cheesecake Bars, gather these ingredients:
– 24 Oreo cookies, crushed
– 4 tablespoons unsalted butter, melted
– 16 oz cream cheese, softened
– 1 cup powdered sugar
– 2 teaspoons vanilla extract
– 1 cup heavy whipping cream
– 1 cup mini Oreos, for topping
Substitutions for common ingredients
You can make some easy swaps if needed:
– Use gluten-free Oreo cookies for a gluten-free option.
– Swap unsalted butter with coconut oil for a dairy-free version.
– Cream cheese can be replaced with a dairy-free cream cheese.
– Instead of powdered sugar, you may use granulated sugar, but blend it finely.
Recommended brands for best results
I recommend these brands for the best taste:
– Oreo cookies: Nabisco is the classic choice.
– Cream cheese: Philadelphia cream cheese is smooth and creamy.
– Heavy whipping cream: Use Land O’Lakes for rich flavor.
– Powdered sugar: Domino provides a fine texture that blends well.
Using these brands can enhance your cheesecake bars. Enjoy making them!

Step-by-Step Instructions
Preparation of the crust
Start by crushing 24 Oreo cookies into fine crumbs. You can use a food processor or place them in a zip-top bag and crush them with a rolling pin. Then, melt 4 tablespoons of unsalted butter. In a medium bowl, mix the crushed cookies with the melted butter. Combine well until the crumbs are moist and look like wet sand. Next, take a 9×9-inch baking dish and press the mixture firmly into the bottom. Use the back of a measuring cup for a smooth layer. Place the dish in the fridge to chill while you prepare the filling.
Making the cheesecake filling
In a large mixing bowl, take 16 ounces of softened cream cheese. Beat it with an electric mixer until it becomes smooth and creamy. Gradually add 1 cup of powdered sugar and 2 teaspoons of vanilla extract. Mix until well combined, scraping the bowl’s sides to include all the ingredients. In another bowl, whip 1 cup of heavy whipping cream until stiff peaks form. Gently fold this whipped cream into the cream cheese mixture. Do this carefully so you don’t deflate the whipped cream. This folding technique keeps the mixture light and fluffy.
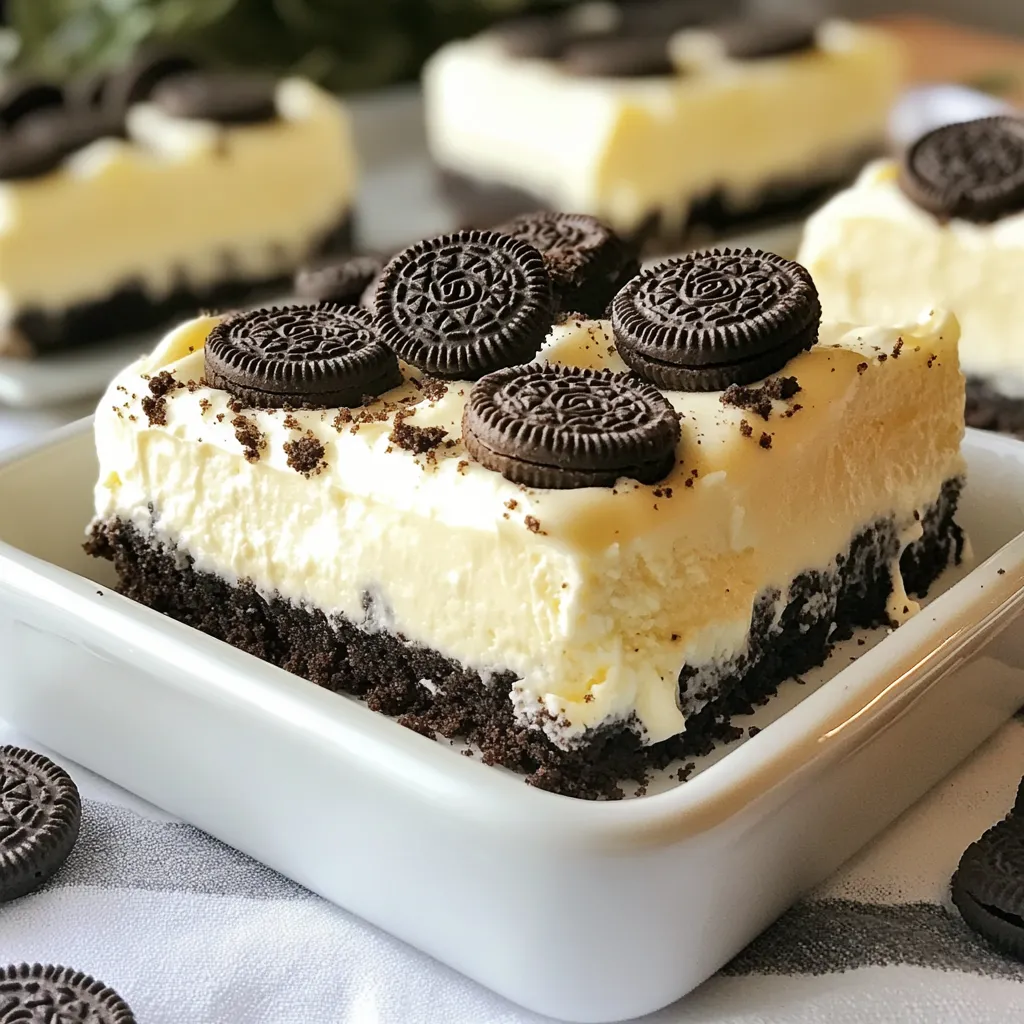
Assembly and chilling process
Now, pour the cheesecake filling over your chilled Oreo crust. Use a spatula to spread it evenly. For a fun touch, add 1 cup of mini Oreos on top for decoration. This adds extra crunch and looks great. Cover the baking dish with plastic wrap and place it in the fridge. Let it chill for at least 4 hours, or overnight for the best results. Once set, take it out, cut into squares, and serve. Enjoy your delicious Oreo cheesecake bars!
Tips & Tricks
How to prevent a crumbly crust
To stop the crust from being crumbly, use enough butter. The melted butter helps bind the Oreo crumbs. Mix the crushed cookies well with the butter until it looks like wet sand. Press the mixture firmly into the dish. Use the back of a measuring cup to smooth it out. This helps create a solid base for your cheesecake bars.
Tricks for perfectly whipped cream
Whipping cream to perfection is simple. Start with a cold bowl and cold cream. This helps the cream whip faster. Use an electric mixer on medium-high speed. Beat until stiff peaks form. This means the cream stands up when you lift the beaters. Don’t overmix, or it can turn into butter. Gently fold the whipped cream into the cheesecake mixture. This keeps it light and fluffy.
Options for decorating your cheesecake bars
Decorating your cheesecake bars can be fun! You can use mini Oreos for a cute touch. Just sprinkle them on top before chilling. You can also drizzle chocolate or caramel sauce for extra flavor. Fresh berries add color and a fresh taste. Try adding whipped cream dollops for a fancy look. Get creative and make your dessert unique!
Pro Tips
- Use Room Temperature Cream Cheese: Make sure your cream cheese is softened to room temperature for a smoother, creamier filling. This helps to avoid lumps and ensures easy mixing.
- Chill the Filling: For a firmer texture, consider chilling the cheesecake filling for about 15-20 minutes before spreading it over the crust. This helps it set better when layered.
- Don’t Overwhip the Cream: When whipping the heavy cream, stop as soon as stiff peaks form. Overwhipping can lead to a grainy texture, which is not ideal for a smooth cheesecake.
- Garnish Just Before Serving: For the freshest presentation, add the mini Oreos on top just before serving. This keeps them crunchy and visually appealing.
Variations
Different cookie options for the crust
You can swap out Oreo cookies for other cookies. Try using chocolate sandwich cookies or even graham crackers. If you want a fun twist, use peanut butter cookies for a nutty flavor. Each option gives a new taste to the crust. Just crush them the same way as Oreos.
Alternative toppings to try
While mini Oreos are great, other toppings can add fun. You can use crushed nuts, chocolate chips, or fresh fruit. Sliced strawberries or raspberries add a nice touch. Drizzles of chocolate or caramel sauce can also enhance the look and taste. Get creative and mix your favorites!
Flavor variations for the cheesecake filling
You can change the flavor of your cheesecake filling easily. Add some cocoa powder for a chocolate cheesecake. A splash of lemon juice or zest gives a fresh twist. You can even mix in peanut butter for a rich taste. Experiment with flavors that you love to make it your own!
Storage Info
Best methods for storing cheesecake bars
To keep your Oreo cheesecake bars fresh, store them in the fridge. Use an airtight container or cover them well with plastic wrap. This helps them stay moist and tasty. If you cut them into squares, place parchment paper between layers to avoid sticking. Store them in the fridge for easy access during the week.
Freezing instructions and tips
You can freeze these bars for later. First, let them chill in the fridge until firm. Then, cut them into squares and wrap each piece in plastic wrap. Next, place wrapped bars in a freezer-safe bag. Squeeze out as much air as possible before sealing. They can stay in the freezer for up to three months. To serve, thaw them in the fridge overnight.
How long they last in the fridge
In the fridge, these Oreo cheesecake bars last about five days. Store them covered to keep them fresh. If you notice any changes in texture or smell, it’s best to throw them out. Enjoy your bars while they are fresh for the best taste!
FAQs
Can I make these cheesecake bars ahead of time?
Yes, you can make these cheesecake bars a day or two in advance. This recipe is perfect for prepping ahead. Just cover the dish with plastic wrap and store it in the fridge. Chilling them longer helps the flavors meld together. This way, you can save time for your event or gathering.
What’s the best way to serve these bars?
Serve these cheesecake bars cold for the best taste. Cut them into squares for easy serving. You can also add a dollop of whipped cream on top for extra flair. For fun, serve them with fresh berries or chocolate sauce on the side. Everyone loves a little extra treat!
Can I use low-fat cream cheese for this recipe?
Yes, you can use low-fat cream cheese. It will change the texture slightly, but the bars will still taste great. Just make sure it is softened well for easy mixing. If you want to cut calories, this is a good swap. Enjoy your lighter version of these delicious cheesecake bars!
You now have all the tools to make delicious cheesecake bars. We covered the ingredient list, instructions, and helpful tips. You also learned about fun variations and storage methods. Don’t hesitate to get creative with flavors and toppings. Remember, cheesecake bars are great for sharing or enjoying on your own. Follow the steps, and you’ll impress everyone with your baking skills. Enjoy your tasty treat
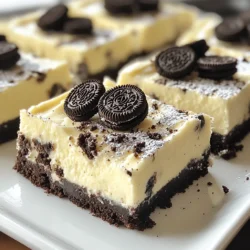
Oreo Delight Cheesecake Bars
Decadent cheesecake bars with an Oreo crust and topped with mini Oreos.
Prep Time 20 minutes mins
Total Time 4 hours hrs 20 minutes mins
Course Dessert
Cuisine American
Servings 12
Calories 250 kcal
- 24 cookies Oreo cookies, crushed
- 4 tablespoons unsalted butter, melted
- 16 oz cream cheese, softened
- 1 cup powdered sugar
- 2 teaspoons vanilla extract
- 1 cup heavy whipping cream
- 1 cup mini Oreos, for topping
Prepare the crust: In a medium bowl, combine the crushed Oreo cookies and melted butter. Mix until the crumbs are well-coated and resemble wet sand.
Form the crust: Press the Oreo mixture firmly into the bottom of a 9x9-inch baking dish to form an even layer. Use the back of a measuring cup for a smooth finish. Place in the refrigerator to chill while preparing the filling.
Make the cheesecake filling: In a large mixing bowl, add the softened cream cheese and beat with an electric mixer until smooth and creamy.
Add sweetness: Gradually add the powdered sugar and vanilla extract, mixing until well combined. Scrape down the sides of the bowl to ensure everything is incorporated.
Whip the cream: In another mixing bowl, whip the heavy whipping cream until stiff peaks form.
Combine the mixtures: Gently fold the whipped cream into the cream cheese mixture until fully blended without deflating the whipped cream.
Fill the crust: Pour the cheesecake filling over the chilled Oreo crust, spreading it evenly with a spatula.
Top it off: Place the mini Oreos on top of the cheesecake layer for added decoration and crunch.
Chill: Cover the baking dish with plastic wrap and refrigerate for at least 4 hours or overnight until firm.
Slice and serve: Once set, remove from the fridge, cut into squares, and serve. Enjoy your decadent Oreo cheesecake bars!
Chill overnight for best results.
Keyword cheesecake, dessert, Oreo