WANT TO SAVE THIS RECIPE?
Craving a sweet treat that’s easy to make and oh-so-delicious? This No Bake Oreo Cheesecake is your answer! With a creamy texture and rich chocolate flavor, it’s sure to impress anyone who takes a bite. Grab your Oreos, cream cheese, and a few simple ingredients, and let’s create a dessert that you’ll want to make again and again. Get ready for a mouthwatering experience that’s simple and satisfying!
Why I Love This Recipe
- Decadent Flavor: This cheesecake is rich and creamy, capturing the classic Oreo taste in every bite.
- No-Bake Convenience: Perfect for warm days, this recipe doesn’t require an oven, making it easy to prepare.
- Easy to Make: With simple ingredients and straightforward steps, even beginners can create this delightful dessert.
- Impressive Presentation: The beautiful layers and Oreo garnish make it a stunning centerpiece for any gathering.
Ingredients
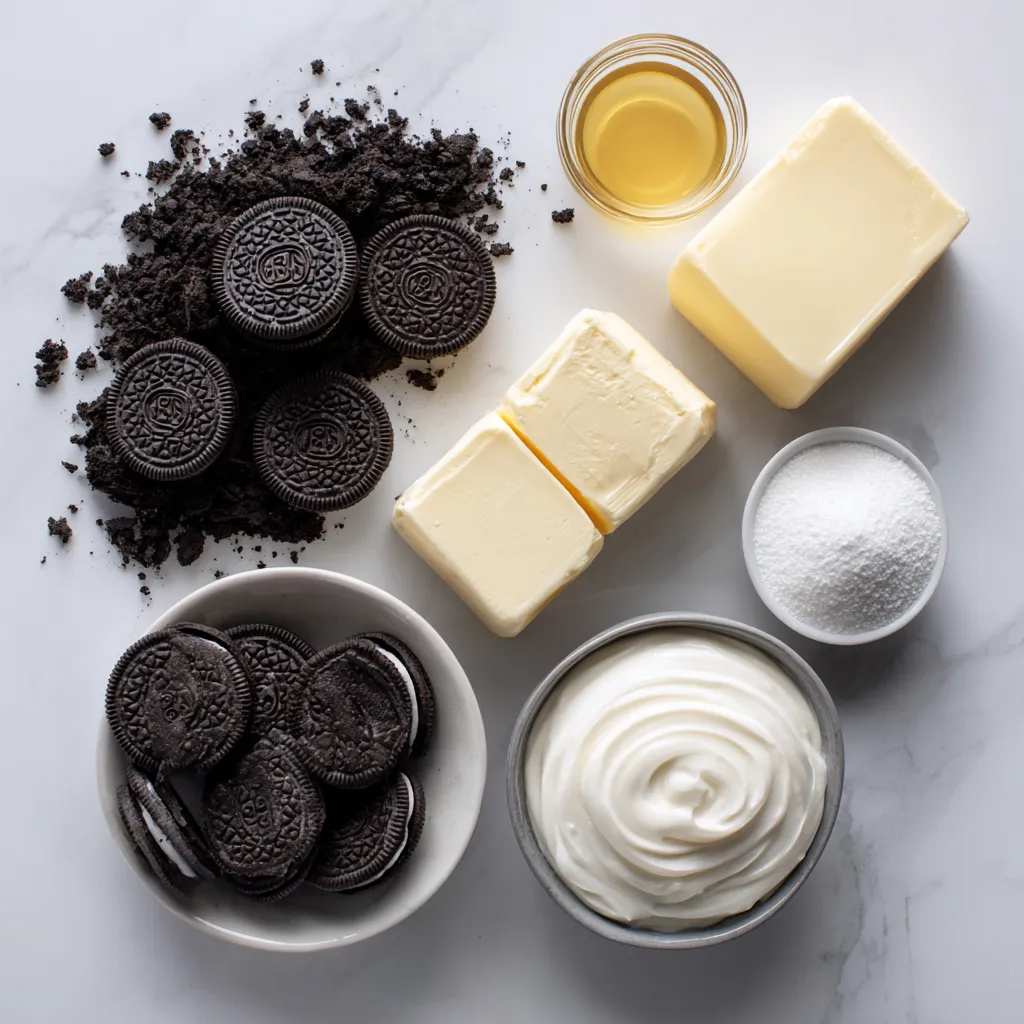
Main Ingredients for No Bake Oreo Cheesecake
– 24 Oreo cookies, crushed
– 4 tablespoons unsalted butter, melted
– 16 oz cream cheese, softened
– 1 cup heavy whipping cream
Additional Ingredients
– 1 cup powdered sugar
– 1 teaspoon vanilla extract
– Extra Oreo cookies for garnish
For this No Bake Oreo Cheesecake, I keep things simple and delightful. The main ingredients work together to create a creamy and rich dessert. First up, Oreo cookies are the star. You will crush them to form the crust and add a great flavor to the filling.
Next, we need cream cheese. It gives the cheesecake its smooth and creamy texture. Make sure the cream cheese is soft. This helps it blend well.
Heavy whipping cream is another key ingredient. When whipped, it adds lightness and fluffiness to the cheesecake. This makes every bite feel heavenly.
Finally, unsalted butter helps bind the crushed Oreos for the crust. It makes the crust hold its shape while still being tasty.
Now, let’s talk about the additional ingredients. We have powdered sugar, which sweetens the filling perfectly. Vanilla extract adds a nice touch of flavor.
And don’t forget the extra Oreo cookies! They are for garnish. You can use them to add a fun look to your cheesecake.
These ingredients come together to create a dessert that everyone will love. You can make this cheesecake for any occasion, and it will impress.

Step-by-Step Instructions
Preparing the Oreo Crust
To start, I combine the crushed Oreos with melted butter in a bowl. I make sure the crumbs get fully coated with butter. This mix gives our crust a rich flavor. Next, I press the Oreo mixture firmly into the bottom of a 9-inch springform pan. Using my hands or a flat bottomed cup helps shape it evenly. After that, I refrigerate the crust for at least 10 minutes. This step helps it set.
Creating the Cheesecake Filling
Next, I make the filling. I beat the softened cream cheese in a large mixing bowl until it’s smooth. This takes about 2-3 minutes. Then, I slowly add powdered sugar and vanilla extract. I keep mixing until it’s fully combined and creamy. The last step for the filling is whipping the heavy cream in another bowl. I whip it until soft peaks form. Finally, I fold the whipped cream into the cream cheese mix gently. This keeps the filling light and airy.
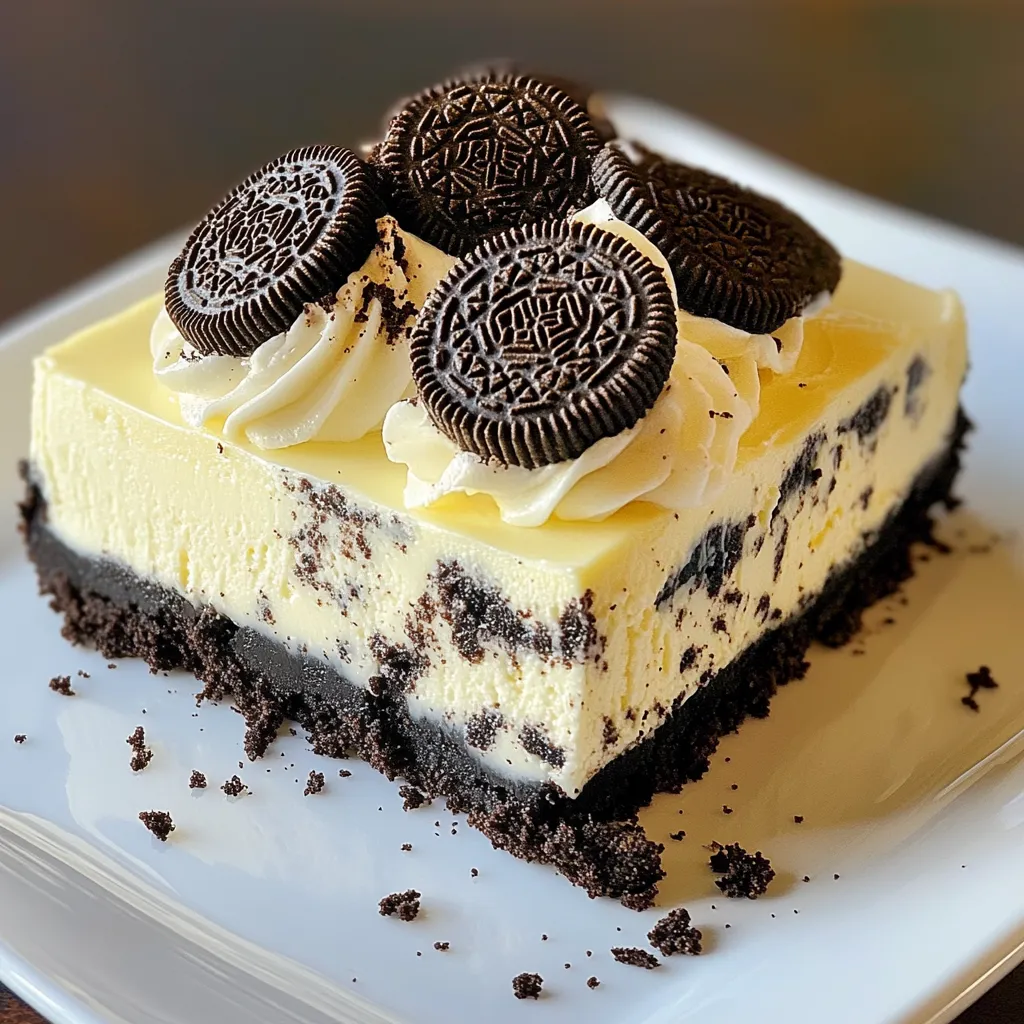
Assembling the Cheesecake
Now it’s time to assemble the cheesecake! I fold in the chopped Oreos, making sure they spread evenly in the mixture. Then, I pour the filling over the chilled crust. I smooth it out with a spatula for an even top. To finish, I cover the pan with plastic wrap and refrigerate it for at least 4 hours. For the best results, I often let it chill overnight. This helps the cheesecake set perfectly.
Tips & Tricks
Perfecting the Cheesecake Texture
To create a smooth and creamy no-bake cheesecake, start with softened cream cheese. Softened cream cheese blends better. It helps avoid lumps and gives a silky texture. Leave it out at room temperature for 30 minutes before mixing. This step makes a big difference.
Whipping heavy cream is also key. Use a clean bowl and beaters for the best results. Whip until soft peaks form. This means the cream holds a shape but is not too stiff. Gently fold the whipped cream into the cream cheese mixture. Overmixing can ruin the lightness of your cheesecake.
Common Mistakes to Avoid
One common mistake is overwhipping the cream. When you whip too long, the cream can turn grainy. You want it soft and airy. Stop when you see soft peaks.
Setting the crust properly is another important step. If you don’t refrigerate the crust long enough, it won’t hold together well. Press the crust firmly into the pan, then chill it for at least 10 minutes. This helps the butter firm up and keeps everything in place.
Enhancing Flavor and Presentation
Garnishes can make your cheesecake look extra special. Try adding whole Oreo cookies on top. You could also sprinkle crushed Oreos for a nice touch. Fresh berries or a drizzle of chocolate sauce can add color and flavor.
If you want to mix things up, try different cookies in your recipe. Using chocolate wafers instead of Oreos can give a new twist. You can also try different flavored Oreos for a fun change. Each variation brings a unique taste to your cheesecake, making it even more delightful.
Pro Tips
- Crust Consistency: Ensure the crushed Oreo and butter mixture is well-combined for a sturdy crust that holds its shape.
- Chill Time: For the best texture, refrigerate the cheesecake overnight; this allows the flavors to meld beautifully.
- Whipping Cream Technique: Whip the heavy cream to soft peaks before folding to maintain a light and airy cheesecake filling.
- Garnishing Ideas: Get creative with your toppings! Consider adding chocolate shavings or whipped cream along with the Oreos for extra flair.
Variations
Alternative Cookie Options
You can change the cookies in your cheesecake for fun twists. First, try using chocolate wafers instead of Oreos. They create a rich, deep flavor in the crust. If you want to mix it up, combine different flavored Oreos, like mint or peanut butter. This adds a new taste to your cheesecake that is sure to surprise your friends.
Different Filling Ideas
The filling is where you can get creative! Adding chocolate chips to the mix gives a nice texture and extra sweetness. You can also use other cream cheese flavors, like strawberry or vanilla bean. These flavors can make your cheesecake unique and fun to share. Just remember to keep the balance right, so the cheesecake stays creamy and smooth.
Serving Suggestions
How you serve your cheesecake can make it even better. Pair it with fruit toppings like strawberries or raspberries. The fresh fruit adds color and a burst of flavor. You can also serve it with chocolate or caramel sauce. Drizzling sauce on top makes it look fancy and taste even more delicious.
Storage Info
Best Ways to Store No Bake Oreo Cheesecake
To keep your No Bake Oreo Cheesecake fresh, refrigerate it. This dessert stays delicious in the fridge for up to 5 days. If you want to store it longer, freezing is an option. Wrap the cheesecake tightly in plastic wrap and foil before freezing. It can last for about 2 months in the freezer. However, keep in mind that the texture may change slightly after thawing.
Tips for Serving Leftovers
When serving leftovers, let the cheesecake sit out for about 10 to 15 minutes. This helps bring out the flavors. You can serve it cold, but slightly warmer is often better. For a fun touch, garnish with extra Oreo cookies. Crushed Oreos on top add a nice crunch. You can also drizzle chocolate or caramel sauce for extra flavor.
FAQs
How long does a no bake cheesecake need to set?
A no bake cheesecake needs to chill for at least 4 hours. For the best results, chill it overnight. This allows the filling to firm up. It also helps the flavors blend together nicely. If you are in a hurry, 4 hours will work, but longer is better.
Can I use low-fat cream cheese?
You can use low-fat cream cheese, but it will change the taste and texture. Low-fat versions can make the cheesecake less creamy. The flavor may also be less rich and delicious. So, if you want a smooth and full taste, stick with regular cream cheese.
How do I know when the cheesecake is set?
Look for a few signs to know if your cheesecake is ready. First, gently shake the pan. If the middle jiggles slightly but the edges are firm, it is set. You can also touch the surface; it should feel cool and not sticky. When you cut into it, it should hold its shape well.
Making a no bake Oreo cheesecake is simple and fun. You’ve learned about the main and extra ingredients, plus how to create the perfect crust and filling. Following the tips helps avoid common mistakes. Remember, you can get creative with flavors and toppings, too.
This cheesecake is a great treat for any occasion. Enjoy its rich taste and smooth texture. With these steps, you can impress your friends and family. Your no bake Oreo cheesecake will be a hi
Decadent No-Bake Oreo Cheesecake
A rich and creamy no-bake cheesecake made with Oreo cookies, perfect for any dessert lover.
Prep Time 20 minutes mins
Total Time 4 hours hrs 20 minutes mins
Course Dessert
Cuisine American
Servings 8
Calories 400 kcal
- 24 cookies Oreo cookies, crushed
- 4 tablespoons unsalted butter, melted
- 16 oz cream cheese, softened
- 1 cup powdered sugar
- 1 teaspoon vanilla extract
- 1 cup heavy whipping cream
- 12 cookies Oreo cookies, roughly chopped (for filling)
- extra cookies Oreo cookies for garnish
Prepare the Crust: In a bowl, combine the crushed Oreo cookies and melted butter. Mix until the crumbs are evenly coated.
Press the Crust: In a 9-inch springform pan, press the Oreo mixture firmly into the bottom to form an even crust. Refrigerate for at least 10 minutes to set while preparing the filling.
Make the Filling: In a large mixing bowl, beat the softened cream cheese with an electric mixer until smooth and creamy, about 2-3 minutes.
Add Sugar and Vanilla: Gradually add the powdered sugar and vanilla extract to the cream cheese, continuing to mix until fully combined.
Whip the Cream: In another bowl, whip the heavy cream until soft peaks form. Gently fold the whipped cream into the cream cheese mixture using a spatula until just combined.
Incorporate Chopped Oreos: Fold in the chopped Oreo cookies into the cheesecake mixture, ensuring they're evenly distributed.
Assemble the Cheesecake: Pour the filling over the chilled crust, smoothing it out evenly with a spatula.
Chill to Set: Cover the pan with plastic wrap and refrigerate for at least 4 hours, or overnight for best results.
Garnish and Serve: Before serving, gently run a knife around the edges of the cake and release from the springform pan. Top with extra whole Oreo cookies for garnish.
For best results, refrigerate overnight.
Keyword cheesecake, dessert, no bake, Oreo
WANT TO SAVE THIS RECIPE?