WANT TO SAVE THIS RECIPE?
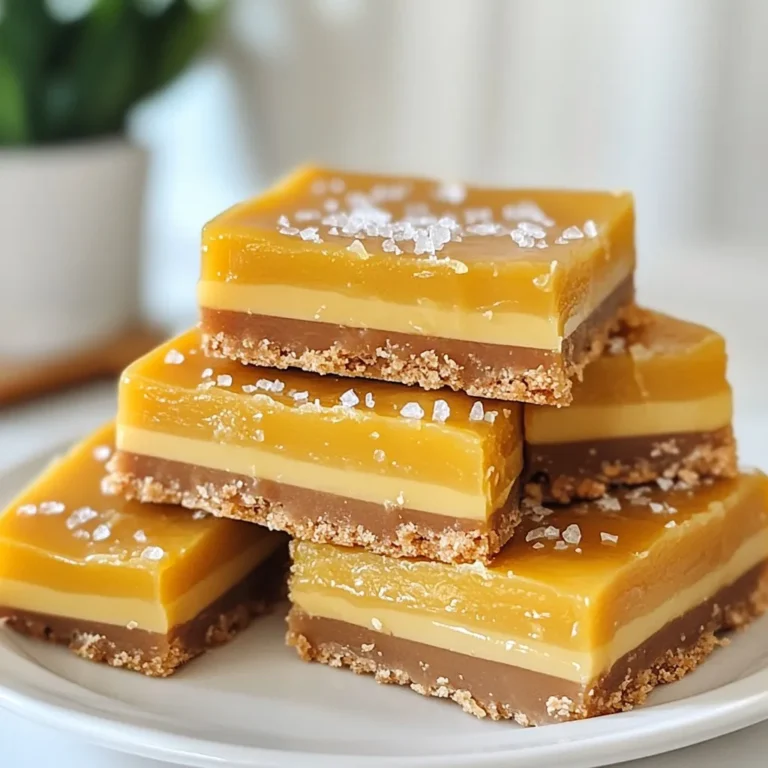
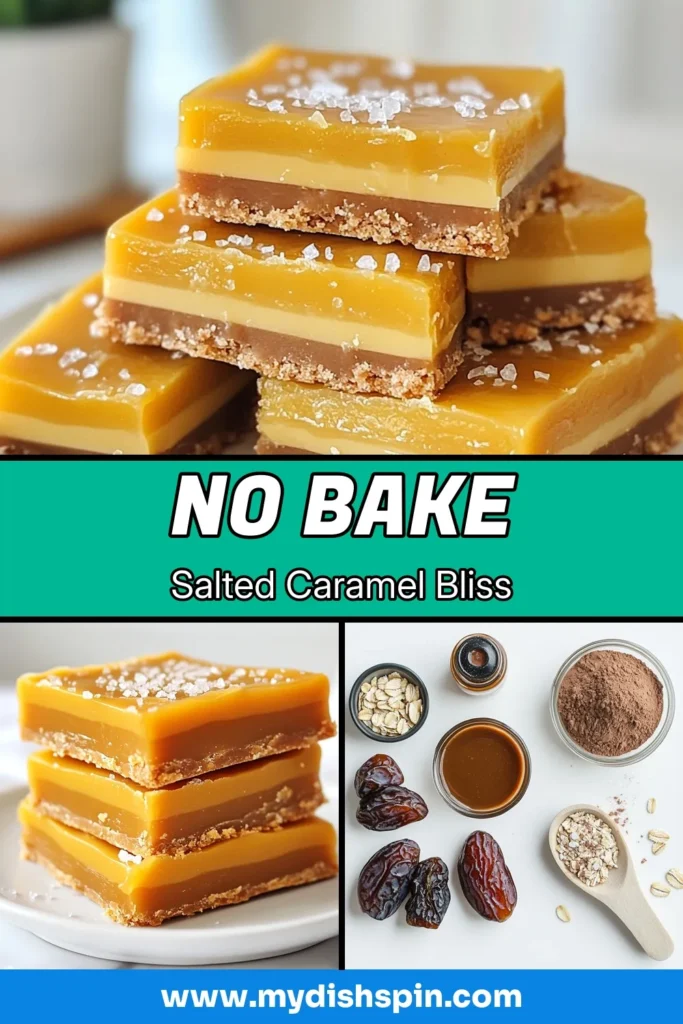
Craving a sweet treat that’s easy to make? You’ll love these No-Bake Salted Caramel Bars! With just a few simple ingredients, you can whip up a dessert that’s rich, creamy, and oh-so-delicious. Perfect for busy days or last-minute gatherings, these bars are a crowd-pleaser! Join me as I share step-by-step instructions, ingredient tips, and fun variations to make your own tasty batch. Let’s dive in and satisfy that sweet tooth!
Why I Love This Recipe
- Easy Preparation: This recipe requires no baking, making it quick and hassle-free!
- Healthy Ingredients: Packed with wholesome ingredients like dates, oats, and nut butter, these bars are both nutritious and delicious.
- Customizable Flavor: Feel free to swap out the nut butter or add your favorite toppings for a personal touch.
- Perfect for Snacking: These bars are great for on-the-go snacking or as a sweet treat after meals.
Ingredients
Complete Ingredient List
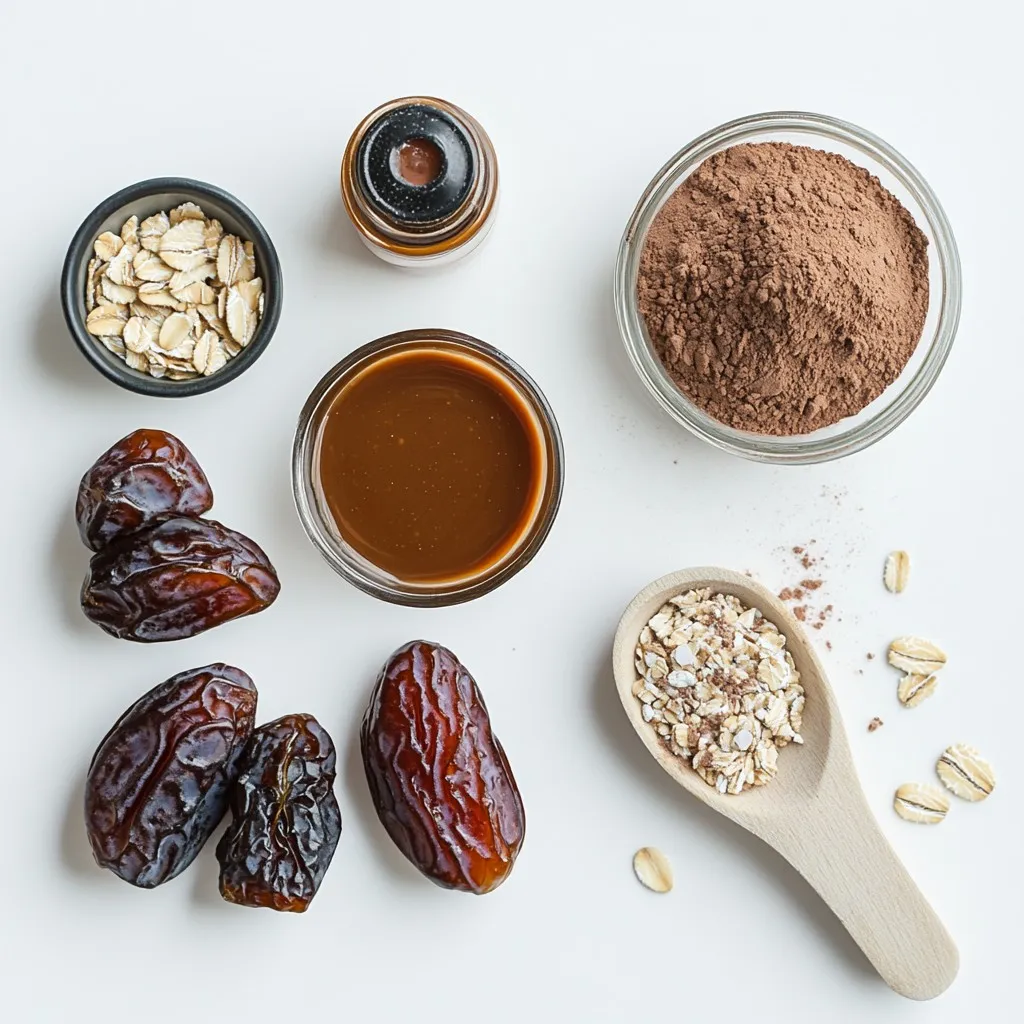
To make No-Bake Salted Caramel Bars, you need these simple ingredients:
– 1 cup dates, pitted and soaked in hot water for 10 minutes
– 1 cup rolled oats
– 1/2 cup almond flour
– 1/4 cup unsweetened cocoa powder
– 1/4 cup maple syrup
– 1/4 cup creamy peanut butter (or nut butter of choice)
– 1 teaspoon vanilla extract
– 1/2 teaspoon sea salt (plus extra for topping)
These items blend together to create a tasty treat.
Ingredient Substitutions
You can swap some ingredients if needed. Here are a few options:
– Use honey instead of maple syrup for sweetness.
– Swap almond flour with oat flour or coconut flour.
– Try sunflower seed butter instead of peanut butter for nut-free bars.
– Use dried figs or prunes in place of dates for a different flavor.
These changes will still keep your bars delicious.
Benefits of Key Ingredients
Each ingredient brings its own perks:
– Dates: They provide natural sweetness and fiber.
– Rolled oats: These add texture and whole grains, which are good for you.
– Almond flour: A low-carb option packed with healthy fats and protein.
– Cocoa powder: It gives a rich chocolate flavor and is full of antioxidants.
– Peanut butter: This adds creaminess and protein to the mix.
These ingredients work together to make a healthy and satisfying snack.

Step-by-Step Instructions
Preparation of the Base Layer
First, gather your ingredients. You need soaked dates, rolled oats, almond flour, cocoa powder, maple syrup, peanut butter, vanilla, and sea salt. In a food processor, add the soaked dates after draining them. Then, mix in the rolled oats, almond flour, cocoa powder, maple syrup, peanut butter, vanilla, and sea salt. Process until it becomes a sticky dough. If it feels too dry, add a splash of water. Next, take an 8×8 inch baking dish and line it with parchment paper. Press the mixture into the dish firmly. Use a spatula or your hands to make it even. Refrigerate for 30 minutes to help it set.
Making the Salted Caramel Layer
For the salted caramel layer, you need more soaked dates. Use about half a cup of soaked dates, almond butter, maple syrup, and a pinch of sea salt. Blend these in the food processor until smooth and creamy. This layer will add richness and sweet notes. Once blended, spread this caramel layer over the chilled oat base. Make sure to smooth it out evenly.
Assembling and Chilling the Bars
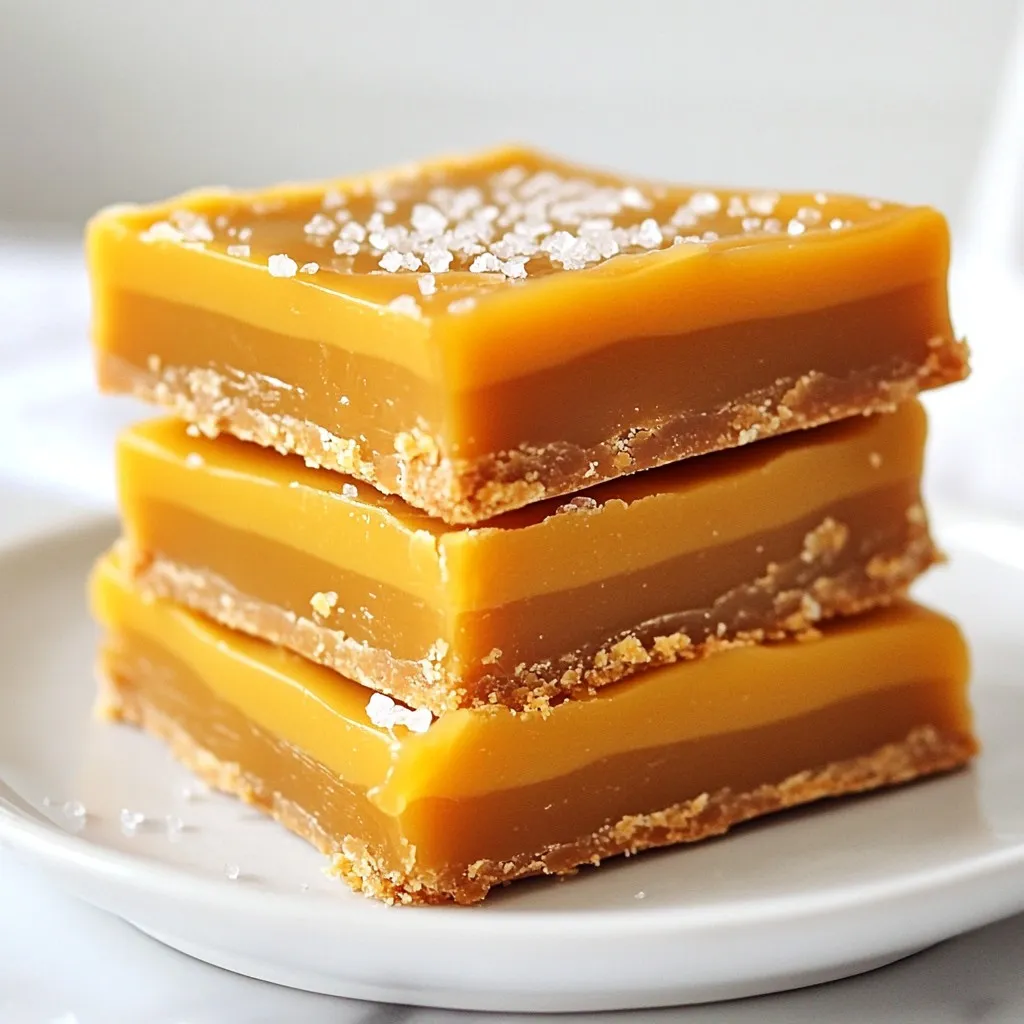
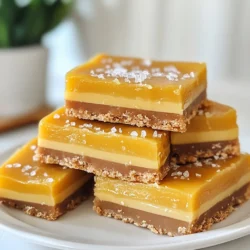
After spreading the caramel, sprinkle a little extra sea salt on top. This adds a lovely touch. Place the dish back in the refrigerator for at least two hours. This allows the bars to set properly. Once set, lift the bars out using the parchment paper. Cut them into squares or bars. Stack them for a beautiful presentation. You can drizzle extra salted caramel on top if you like. Enjoy these easy and delicious treats!
Tips & Tricks
Best Practices for A Perfect Consistency
To get the right texture, soak your dates well. This helps them blend smoothly. If your mix feels too crumbly, add a splash of water. This small change can make a big difference. Process everything until it feels like sticky dough. You want it to hold together well.
Common Mistakes to Avoid
One error is not soaking the dates enough. This can lead to a grainy texture. Another mistake is skipping the chilling time. Chilling helps the bars set properly. If you don’t chill them long enough, they may fall apart when you cut them. Use a sharp knife for clean cuts.
How to Serve and Present
For serving, stack the bars nicely on a wooden board. You can drizzle extra salted caramel on top. A sprinkle of sea salt adds a nice touch too. This makes them look great and taste even better. These small details show off your effort and make the bars shine!
Pro Tips
- Use Fresh Dates: For the best flavor and texture, use fresh Medjool dates as they are softer and sweeter, giving your bars a rich caramel taste.
- Chill Between Layers: Ensure the base layer is completely chilled before adding the caramel layer. This helps the layers to set properly and prevents mixing.
- Customize Your Nut Butter: Feel free to swap almond butter with any nut or seed butter of your choice, such as cashew or sunflower seed butter, for a different flavor profile.
- Store Properly: Keep the bars stored in an airtight container in the refrigerator for up to a week, or freeze them for longer shelf life.
Variations
Alternative Nut Butters
You can switch up the nut butter in these bars. Try almond butter for a nutty twist. Cashew butter adds a creamy flavor. If you prefer sunflower seed butter, that works too! Each nut butter gives a unique taste. Just ensure it’s smooth for easy mixing.
Flavor Add-ins and Enhancements
Want to customize your bars? You can add a few fun ingredients! Chopped nuts give a nice crunch. Dried fruits like cranberries or raisins can add sweetness. You can also mix in dark chocolate chips for a rich flavor. A dash of cinnamon offers warmth and spice.
Dairy-Free and Vegan Options
These bars are already dairy-free. To keep them vegan, ensure your nut butter has no added dairy. Check that your maple syrup is pure and not mixed with any animal products. You can also use coconut cream as a delicious topping for extra creaminess.
Storage Info
How to Store Leftover Bars
After making these no-bake salted caramel bars, you might have some left. To store them, keep the bars in an airtight container. Place parchment paper between layers to prevent sticking. Store in the fridge for up to one week. This keeps them fresh and tasty.
Freezing for Longer Shelf Life
If you want to save the bars for later, freezing is a great option. Wrap each bar in plastic wrap. Then, put them in a freezer bag. They can last up to three months in the freezer. When you’re ready to eat, just let them thaw in the fridge overnight.
Signs the Bars Are No Longer Good
Always check your bars before eating. If you see mold or notice an off smell, throw them away. They may also become too hard or dry over time. If they don’t taste right, it’s best to discard them. Keeping an eye on these signs ensures you enjoy your treats at their best!
FAQs
Can I use other sweeteners?
Yes, you can use other sweeteners. Honey or agave syrup works well. Just keep the amount the same as maple syrup in the recipe. Each sweetener gives a different taste. Experimenting with them can lead to fun flavors.
How long do these bars last?
These bars last about one week in the fridge. Store them in an airtight container. If you keep them cool, they stay fresh longer. For best taste, eat them within a few days.
What if I don’t have a food processor?
If you don’t have a food processor, you can mash the dates by hand. Use a fork to break them down. Mix the dry ingredients in a bowl. Then, combine everything with your hands. It may take more time, but it works!
This post covered a tasty recipe for salted caramel bars. We explored the ingredient list and found useful substitutions. The step-by-step guide showed how to prepare and chill the bars perfectly. I shared tips to help you avoid common mistakes and achieve great results. Variations offer even more flavors, while storage info ensures freshness.
Make these bars your own. Enjoy experimenting with flavors and serving methods. Happy cookin
No-Bake Salted Caramel Bars
Delicious and easy no-bake bars with a salted caramel layer.
Prep Time 20 minutes mins
Total Time 2 hours hrs 30 minutes mins
Course Dessert
Cuisine American
Servings 16
Calories 150 kcal
- 1 cup dates, pitted and soaked in hot water for 10 minutes
- 1 cup rolled oats
- 1 2 almond flour
- 1 4 cup unsweetened cocoa powder
- 1 4 cup maple syrup
- 1 4 cup creamy peanut butter (or nut butter of choice)
- 1 teaspoon vanilla extract
- 1 2 teaspoon sea salt (plus extra for topping)
- 1 2 cup soaked dates for caramel
- 1 4 cup almond butter
- 1 4 cup maple syrup for caramel
- 1 pinch sea salt for caramel
In a food processor, combine the soaked dates (drained), rolled oats, almond flour, cocoa powder, maple syrup, peanut butter, vanilla extract, and sea salt.
Process the mixture until it forms a sticky dough. If it seems too crumbly, add a splash of water until it holds together.
Line an 8x8 inch (or similar sized) baking dish with parchment paper, allowing some overhang for easy removal later.
Press the mixture firmly into the bottom of the lined baking dish, creating an even layer. Use a spatula or your hands to smooth the top.
Refrigerate the base for 30 minutes to firm up.
Meanwhile, prepare the salted caramel layer by blending dates (about 1/2 cup soaked), 1/4 cup almond butter, 1/4 cup maple syrup, and a pinch of sea salt in the food processor until smooth and creamy.
Spread the salted caramel layer over the chilled oat base, smoothing it out evenly.
Sprinkle a little extra sea salt on top for garnish, if desired.
Chill in the refrigerator for at least 2 hours, or until completely set.
Once set, lift the bars out of the dish using the parchment overhang and cut them into squares or bars.
Stack the bars in a neat pile on a rustic wooden board. Drizzle with extra salted caramel if desired and garnish with a sprinkle of sea salt for that extra touch!
Keyword bars, caramel, gluten free, no bake, vegan
WANT TO SAVE THIS RECIPE?