WANT TO SAVE THIS RECIPE?
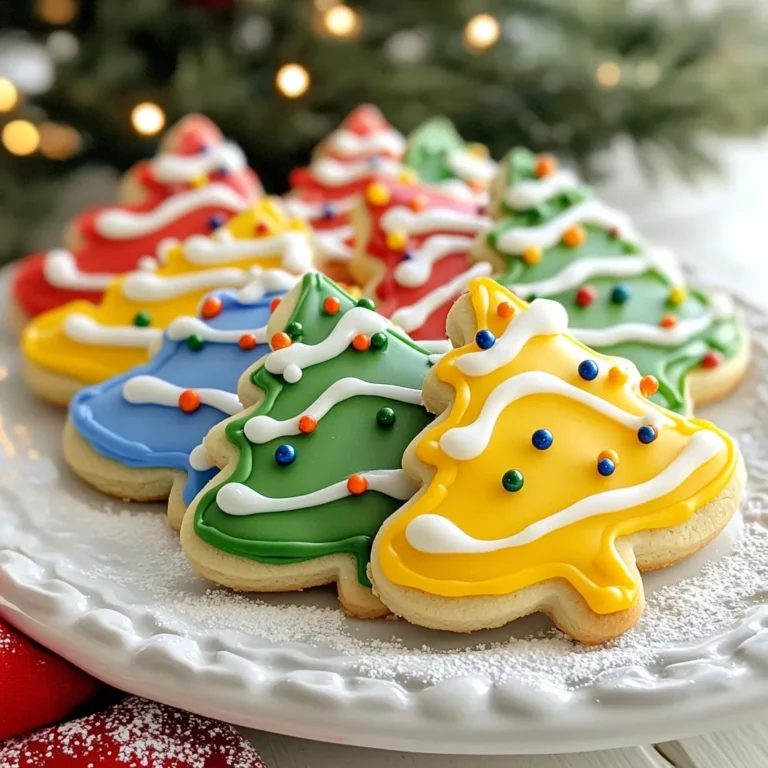
Are you ready to bring some holiday cheer into your kitchen? Today, I’ll guide you through making the most delightful Christmas Lights Sugar Cookies. These treats are not only festive but also fun to decorate! With easy steps, you’ll impress your family and friends with colorful cookies that light up any holiday gathering. Let’s dive into the ingredients and get baking!
Why I Love This Recipe
- Festive Fun: These cookies are shaped like Christmas lights, adding a playful and festive touch to your holiday celebrations.
- Deliciously Sweet: The combination of buttery dough and sweet icing makes for an irresistible treat that everyone will love.
- Customizable Creativity: With various colors of icing and sprinkles, you can let your creativity shine and create unique designs.
- Perfect for Sharing: These cookies are great for holiday gatherings, cookie exchanges, or simply sharing with friends and family.
Ingredients
Main Ingredients for Christmas Lights Sugar Cookies
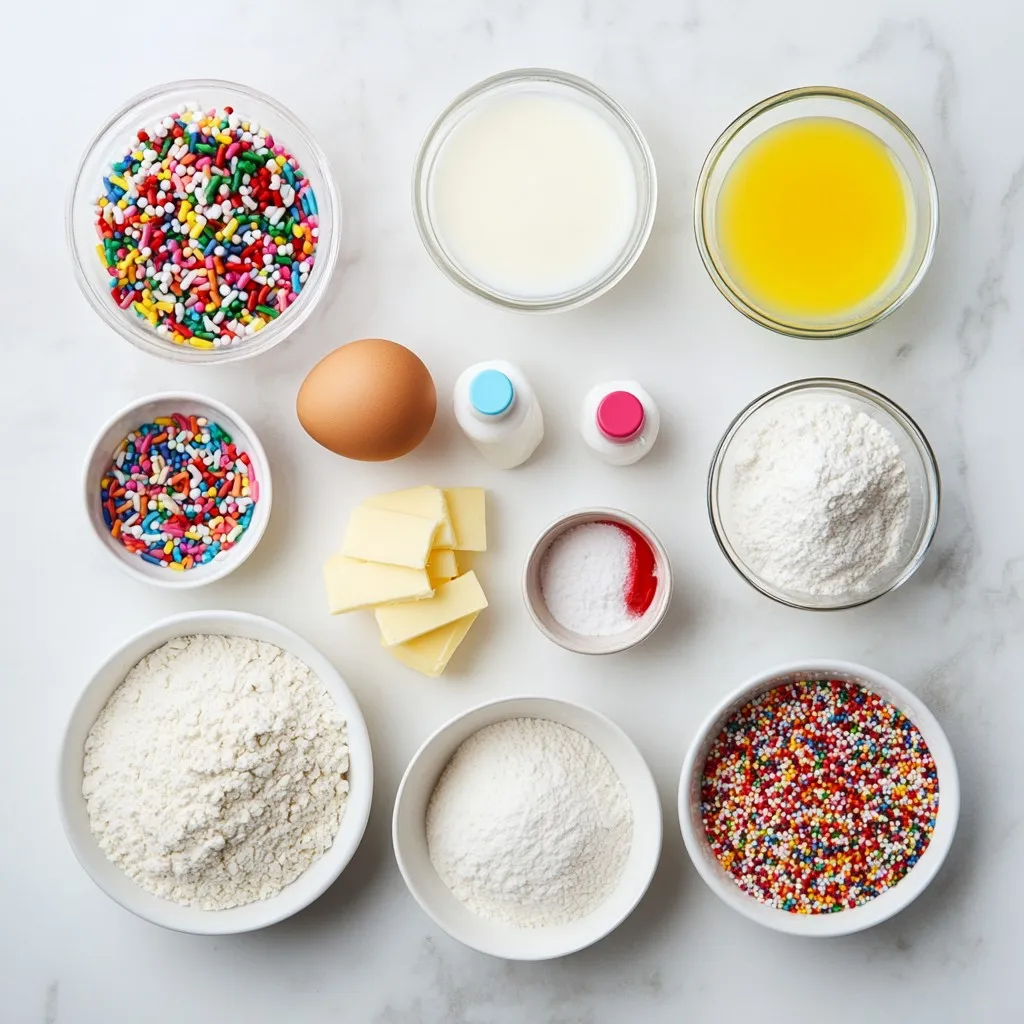
To make these festive cookies, gather these key ingredients:
– 2 ¾ cups all-purpose flour
– 1 teaspoon baking powder
– ½ teaspoon baking soda
– ¼ teaspoon salt
– 1 cup unsalted butter, softened
– 1 ½ cups granulated sugar
– 1 large egg
– 1 teaspoon vanilla extract
– 1 teaspoon almond extract
These ingredients create a soft and tasty base for your cookies. The butter and sugar blend well for a light, fluffy dough. The extracts add a lovely flavor that makes each bite special.
Optional Ingredients for Decoration
For icing and decoration, you will need:
– 2 cups powdered sugar (for icing)
– 4 tablespoons milk (for icing)
– Food coloring (red, green, blue, yellow, orange)
– Sprinkles (for decoration)
The icing brings your cookies to life! Bright colors and sprinkles add fun and cheer. You can mix and match colors to create unique designs.
Tools and Equipment Needed
Here’s what you need to bake these cookies:
– Oven
– Baking sheets
– Parchment paper
– Mixing bowls
– Electric mixer
– Cookie cutters (Christmas lights shape or any festive shape)
– Rolling pin
– Piping bags or small spatula
These tools make your baking process smooth and fun. Having everything ready sets you up for success!

Step-by-Step Instructions
Preparation: Preheating and Mixing
First, preheat your oven to 350°F (175°C). This step is key for even baking. While the oven warms, grab a medium bowl. In this bowl, whisk together the flour, baking powder, baking soda, and salt. This mixture is your dry base. Set it aside for now.
Next, take a large bowl. Here, mix the softened butter and granulated sugar. Use an electric mixer for this. Beat them until the mixture gets light and fluffy. This will take about 2-3 minutes. Once that is done, add in the egg, vanilla extract, and almond extract. Mix again until everything is well combined.
Now, it’s time to bring the mixtures together. Gradually add the dry mix into the wet mix. Stir until you form a smooth dough. You should not see any dry flour.
Shaping the Cookies
Now that you have your dough ready, it’s time to shape it. Lightly flour your work surface. Take the dough and roll it out to about ¼ inch thick. Use light pressure to avoid sticking.
Next, grab a cookie cutter shaped like Christmas lights or any fun shape. Cut out cookies and place them on the prepared baking sheets. Make sure to space them about 2 inches apart. This space gives them room to spread while baking.
Baking and Cooling the Cookies
Now, it’s time to bake! Place your baking sheets in the oven. Bake the cookies for 8-10 minutes. Keep an eye on them. You want the edges to turn lightly golden.
Once baked, take them out and let them cool on the baking sheets for a few minutes. After that, transfer the cookies to a wire rack. Allow them to cool completely before decorating. This cooling step is crucial for the icing to stick well.
Tips & Tricks
Achieving the Perfect Cookie Texture
To get soft, chewy cookies, use room-temperature butter. Cream it well with sugar until fluffy. This step is key. Mix dry ingredients carefully. Over-mixing can make cookies tough. Roll the dough evenly to about ¼ inch thick. This thickness helps them bake evenly. Watch them closely in the oven. They should be light golden at the edges.
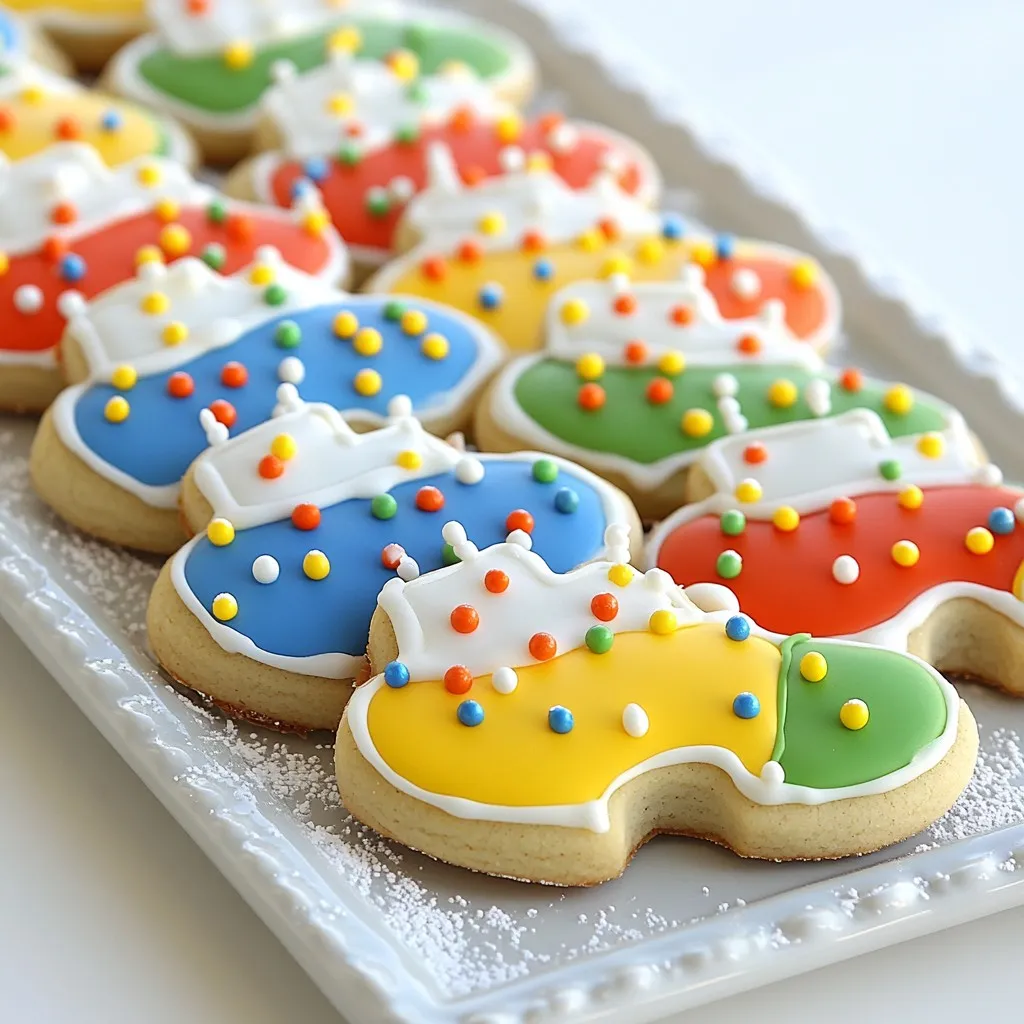
Decorating Techniques for Icing
I love using piping bags for icing. They give you control and neat lines. Start with a base layer of icing. Let it dry before adding more details. For a smooth look, use a spatula to spread icing. If you want a fun texture, try using a fork or knife. Just create swirls or zigzags! Sprinkles add a festive touch. Add them while the icing is wet for better sticking.
How to Customize Colors and Sprinkles
Get creative with colors! Use food coloring to make bright shades. Divide icing into bowls before adding colors. Mix well to get the right shade. For a fun twist, add edible glitter or themed sprinkles. You can choose colors to match your holiday theme. Think red and green for Christmas! Don’t hesitate to experiment; it’s all about fun.
Pro Tips
- Chill the Dough: For best results, chill the dough for at least 30 minutes before rolling it out. This helps the cookies maintain their shape while baking.
- Use Piping Bags: For more precise icing designs, use piping bags fitted with different tips. This allows you to create intricate details on your cookies.
- Mix Colors Well: When adding food coloring to your icing, mix thoroughly to ensure an even color throughout. This will give your cookies a professional look.
- Store Properly: Store the decorated cookies in an airtight container at room temperature to keep them fresh. They can last for up to a week!
Variations
Flavored Sugar Cookie Variations
You can change the flavor of your sugar cookies. Start by adding zest from citrus fruits like lemon or orange. This adds a fresh and bright taste. Another great option is to use different extracts. Instead of vanilla, try peppermint or coconut for a twist. You can also mix in spices like cinnamon or nutmeg for a warm flavor.
Alternative Icing Ideas
While colored icing is fun, you can experiment with other types. Try using royal icing for a smooth finish. It hardens well and is perfect for detailed designs. You can also use chocolate ganache for a rich, decadent touch. Simply melt chocolate and mix in cream until smooth. For a fruity flavor, consider using fruit preserves as icing.
Holiday Theme Additions
Make your cookies even more festive! You can add mini chocolate chips as “bulbs” on your lights. Use nuts or dried fruit to create unique patterns. Consider adding edible glitter for a sparkling touch. You can also shape your cookies into other holiday symbols, like trees or stars, for variety. These ideas keep your cookie decorating fun and creative.
Storage Info
How to Store Christmas Cookies
To keep your Christmas lights sugar cookies fresh, store them in an airtight container. Layer the cookies with parchment paper to prevent sticking. This method helps keep the cookies soft and tasty. Ideally, enjoy them within a week for the best flavor.
Freezing Cookies for Later Use
You can freeze these cookies if you want to save some for later. First, let the cookies cool completely. Then, place them in a single layer on a baking sheet. Freeze for about an hour until firm. After that, transfer the cookies to a freezer-safe bag. They can last up to three months in the freezer!
Best Practices for Maintaining Freshness
To maintain freshness, keep your cookies in a cool, dry place. Avoid direct sunlight or heat sources. If you have decorated cookies, wait until the icing hardens fully before stacking them. This way, your festive treats stay pretty and delicious!
FAQs
Can I make the dough ahead of time?
Yes, you can make the dough ahead of time. After mixing the dough, wrap it tightly in plastic wrap. Chill it in the fridge for up to two days. This way, you can bake fresh cookies when you’re ready. Chilling helps the flavors blend well and makes rolling easier.
What is the best way to store decorated cookies?
Store your decorated cookies in an airtight container. Use parchment paper between layers to prevent sticking. Keep them in a cool, dry place. Avoid stacking them too high, or the icing might get damaged. They will stay fresh at room temperature for about a week.
How do I achieve the best icing consistency?
For smooth icing, mix powdered sugar with milk. Start with two cups of sugar and four tablespoons of milk. Stir until it’s smooth. If it’s too thick, add a bit more milk. If it’s too runny, add more powdered sugar. Aim for a consistency that flows but holds its shape.
In this post, we covered the essential ingredients for Christmas lights sugar cookies, from the main elements to fun decorations. I provided step-by-step instructions to help you bake and shape those cookies perfectly. We also shared tips to achieve the best cookie texture and decorating techniques. Finally, I included storage tips for keeping your cookies fresh.
Baking these cookies is a fun way to spread joy during the holidays. Enjoy the process and get creativ
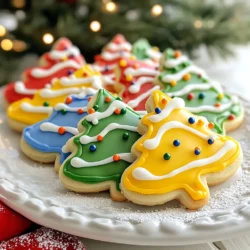
Christmas Lights Sugar Cookies
Festive sugar cookies decorated to resemble Christmas lights, perfect for holiday celebrations.
Prep Time 20 minutes mins
Cook Time 10 minutes mins
Total Time 30 minutes mins
Course Dessert
Cuisine American
- 2.75 cups all-purpose flour
- 1 teaspoon baking powder
- 0.5 teaspoon baking soda
- 0.25 teaspoon salt
- 1 cup unsalted butter, softened
- 1.5 cups granulated sugar
- 1 large egg
- 1 teaspoon vanilla extract
- 1 teaspoon almond extract
- 2 cups powdered sugar (for icing)
- 4 tablespoons milk (for icing)
- to taste various Food coloring (red, green, blue, yellow, orange)
- to taste various Sprinkles (for decoration)
Preheat your oven to 350°F (175°C). Line two baking sheets with parchment paper.
In a medium bowl, whisk together the flour, baking powder, baking soda, and salt. Set aside.
In a large bowl, beat the softened butter and granulated sugar together using an electric mixer until light and fluffy.
Beat in the egg, vanilla extract, and almond extract until well combined.
Gradually add the dry ingredients to the wet ingredients, mixing until fully incorporated to form a dough.
On a lightly floured surface, roll out the dough to about ¼ inch thick. Use light pressure to avoid sticking.
Using a cookie cutter in the shape of Christmas lights (or any festive shape), cut out cookies and place them on the prepared baking sheets, spacing them about 2 inches apart.
Bake in the preheated oven for 8-10 minutes or until the edges are lightly golden. Allow to cool on the baking sheets for a few minutes before transferring them to a wire rack to cool completely.
In a bowl, combine powdered sugar and milk. Stir until smooth. To create colored icing, divide the icing into small bowls and add food coloring to each bowl, mixing to achieve desired colors.
Once the cookies are completely cool, use piping bags or a small spatula to decorate each cookie with colored icing to resemble Christmas lights. You can also add sprinkles for extra joy!
Arrange the cookies on a festive platter and use icing as glue to attach simulated lights to a festive base.
Keyword Christmas, cookies, holiday baking, sugar cookies
WANT TO SAVE THIS RECIPE?