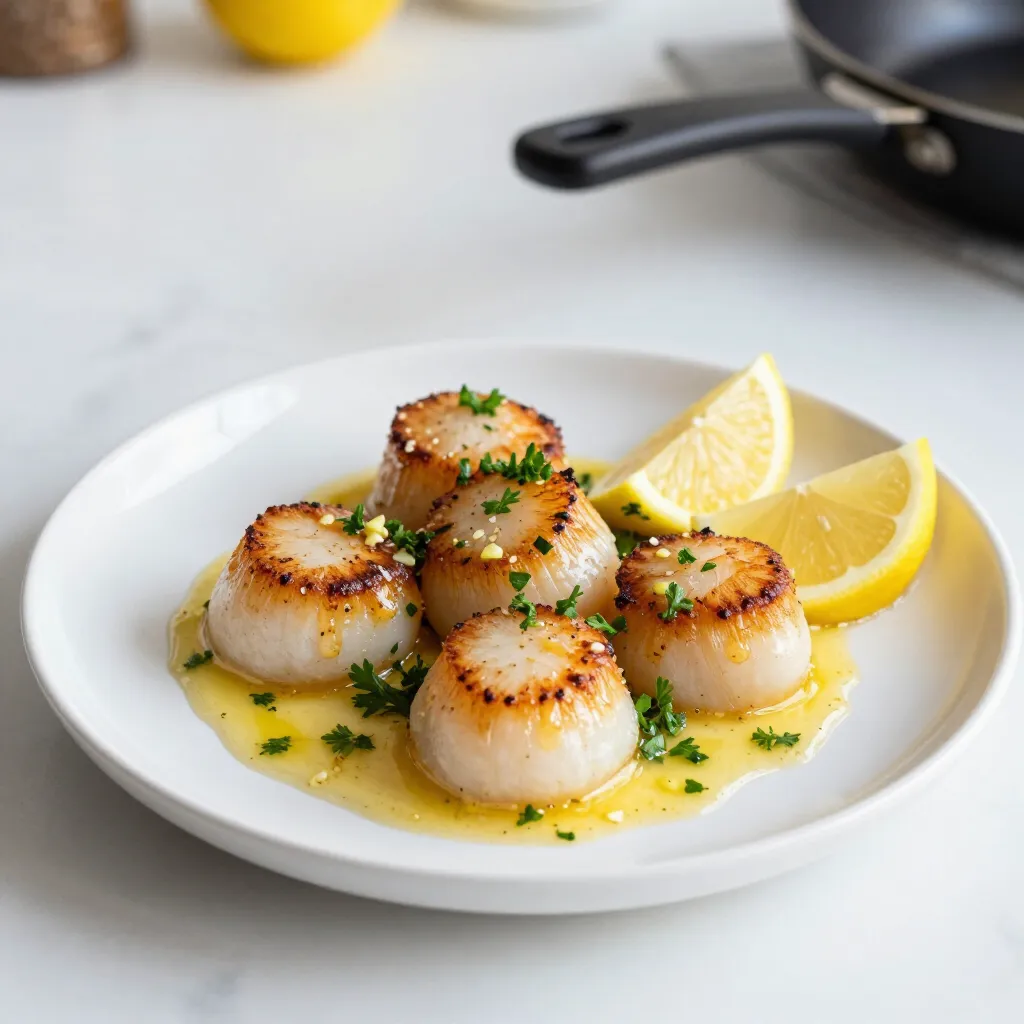
Lemon Garlic Butter Scallops Quick and Tasty Delight
Craving a quick and delicious dish? You’ll love these Lemon Garlic Butter Scallops! In just 20 minutes, you can whip

Craving a quick and delicious dish? You’ll love these Lemon Garlic Butter Scallops! In just 20 minutes, you can whip

Looking for a quick and tasty dinner recipe? Spicy Thai Basil Chicken takes just 15 minutes! You’ll whip up a
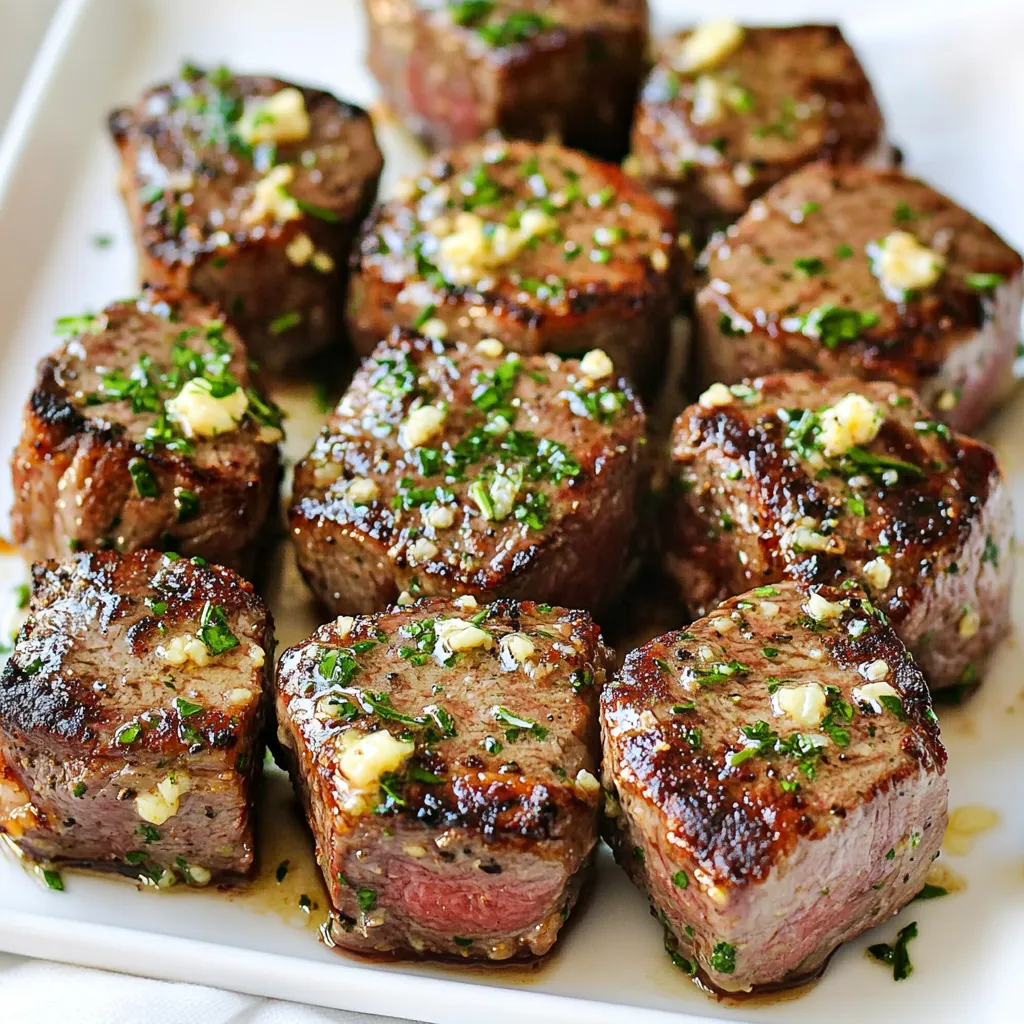
Are you ready to take your steak game to the next level? Today, I’ll show you how to whip up

If you crave delicious treats, you’ll love my Raspberry Almond Muffins Bakery Style Delight Recipe. These muffins are soft, fruity,
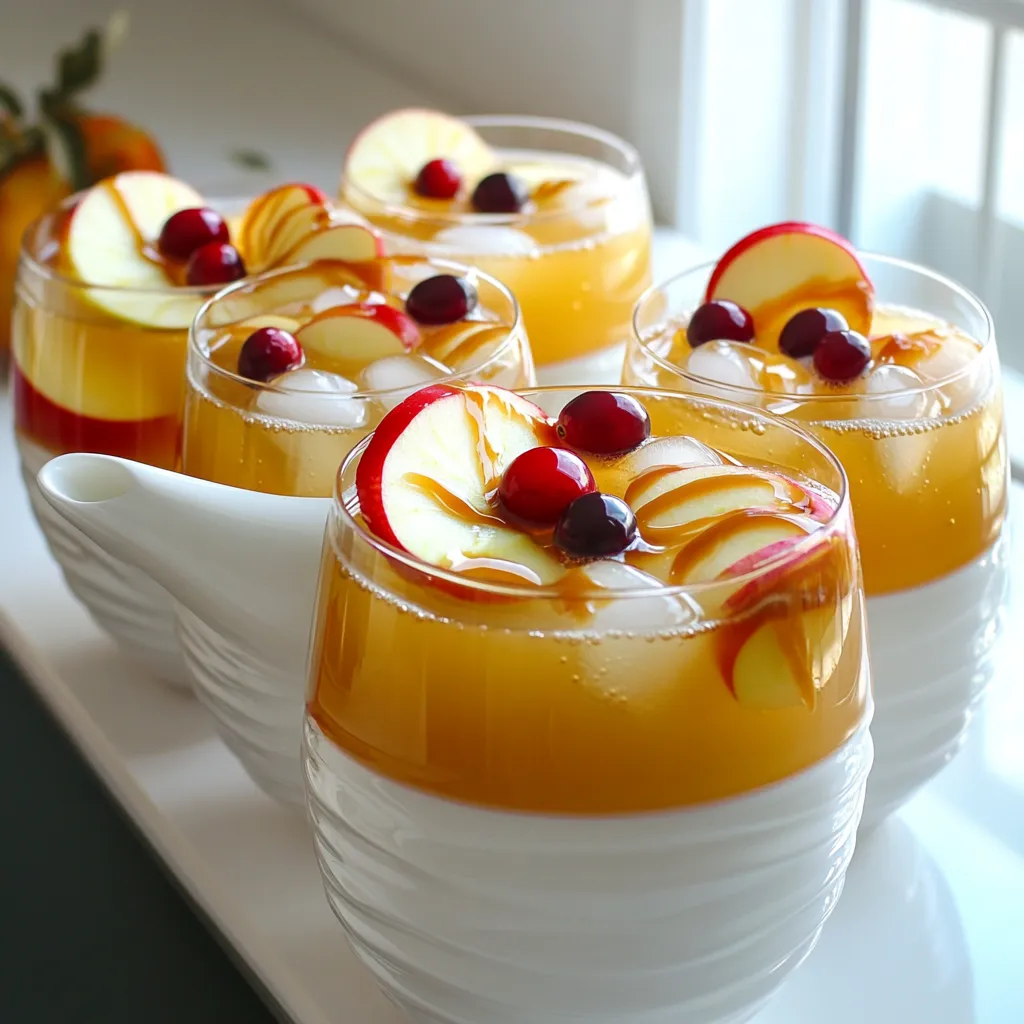
Looking for a tasty drink to celebrate fall? Look no further than Caramel Apple Cider Punch! This delightful blend merges
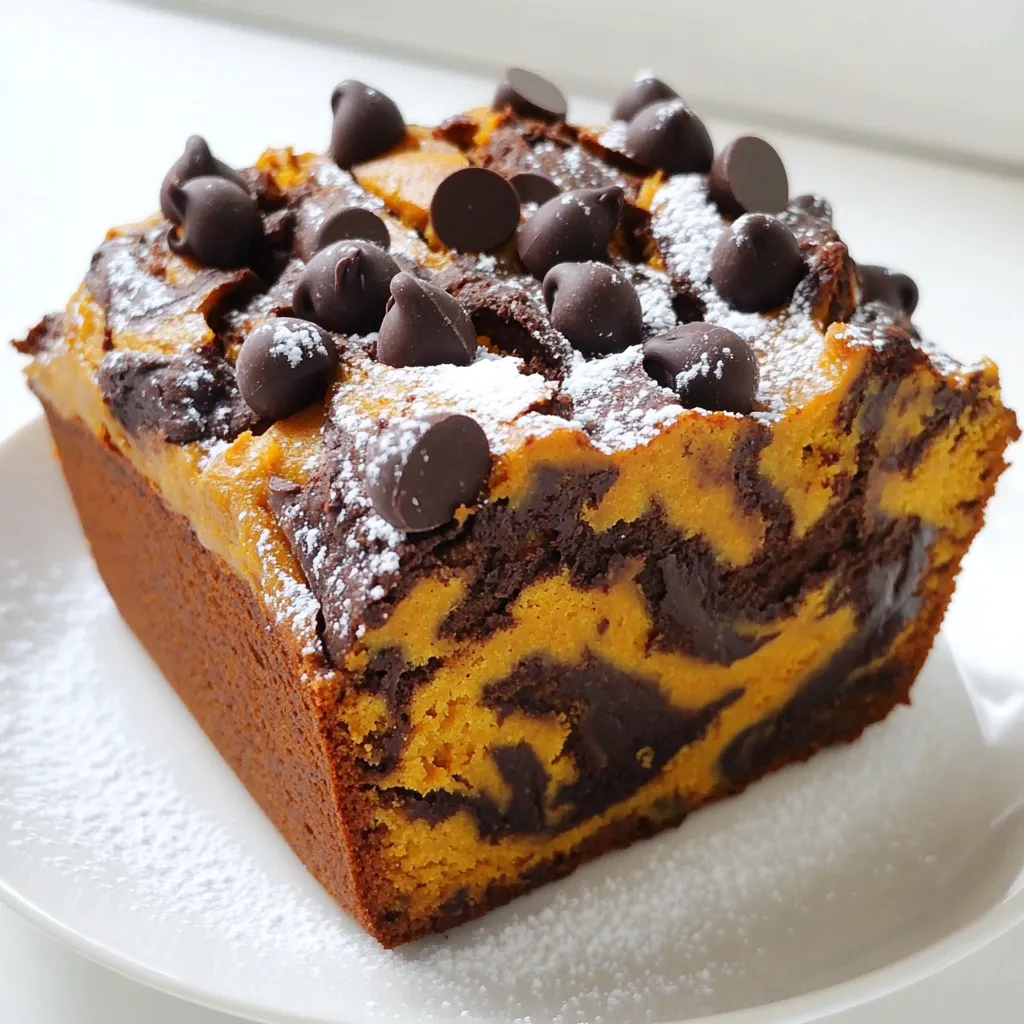
If you love fall flavors and chocolate, you’ll adore this Pumpkin Chocolate Marble Bread! This easy recipe combines rich pumpkin
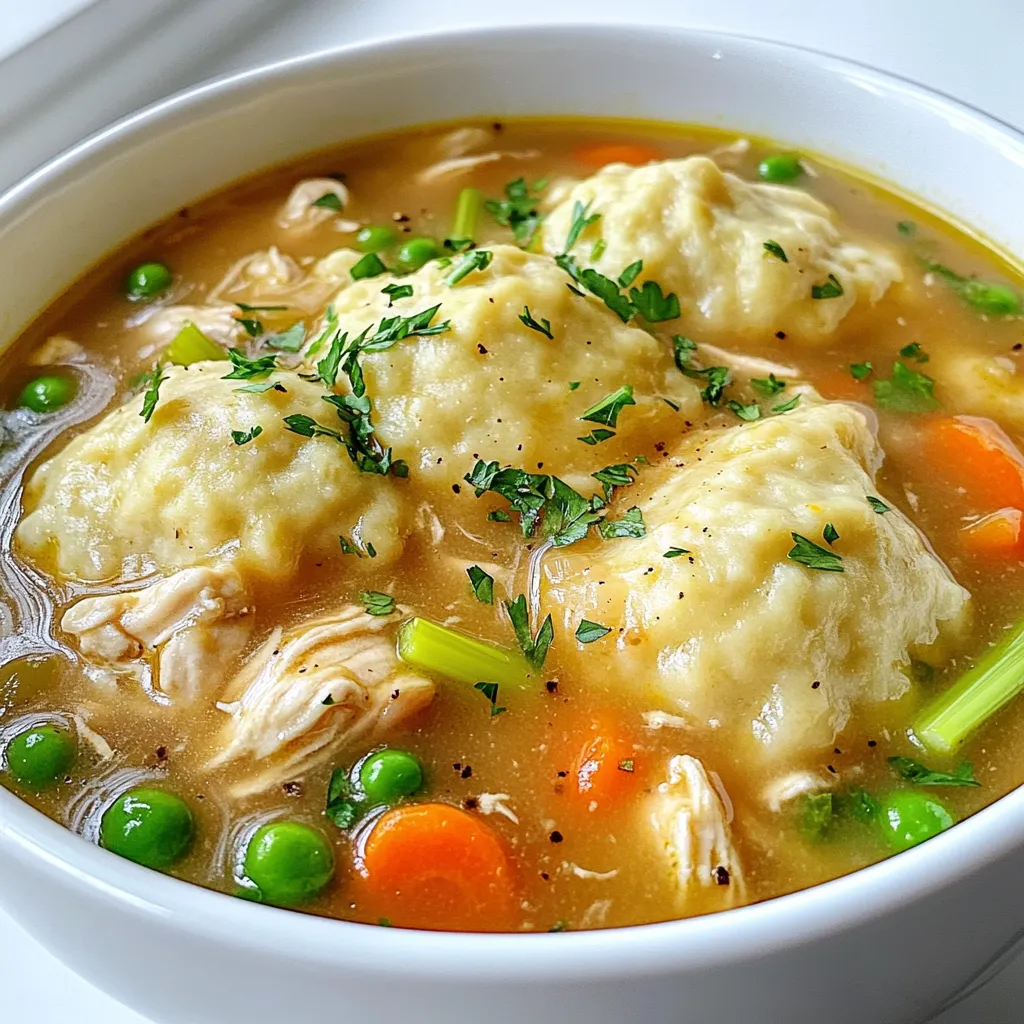
Looking for a simple yet delicious family meal? Slow Cooker Chicken & Dumplings is the answer! This dish is warm,
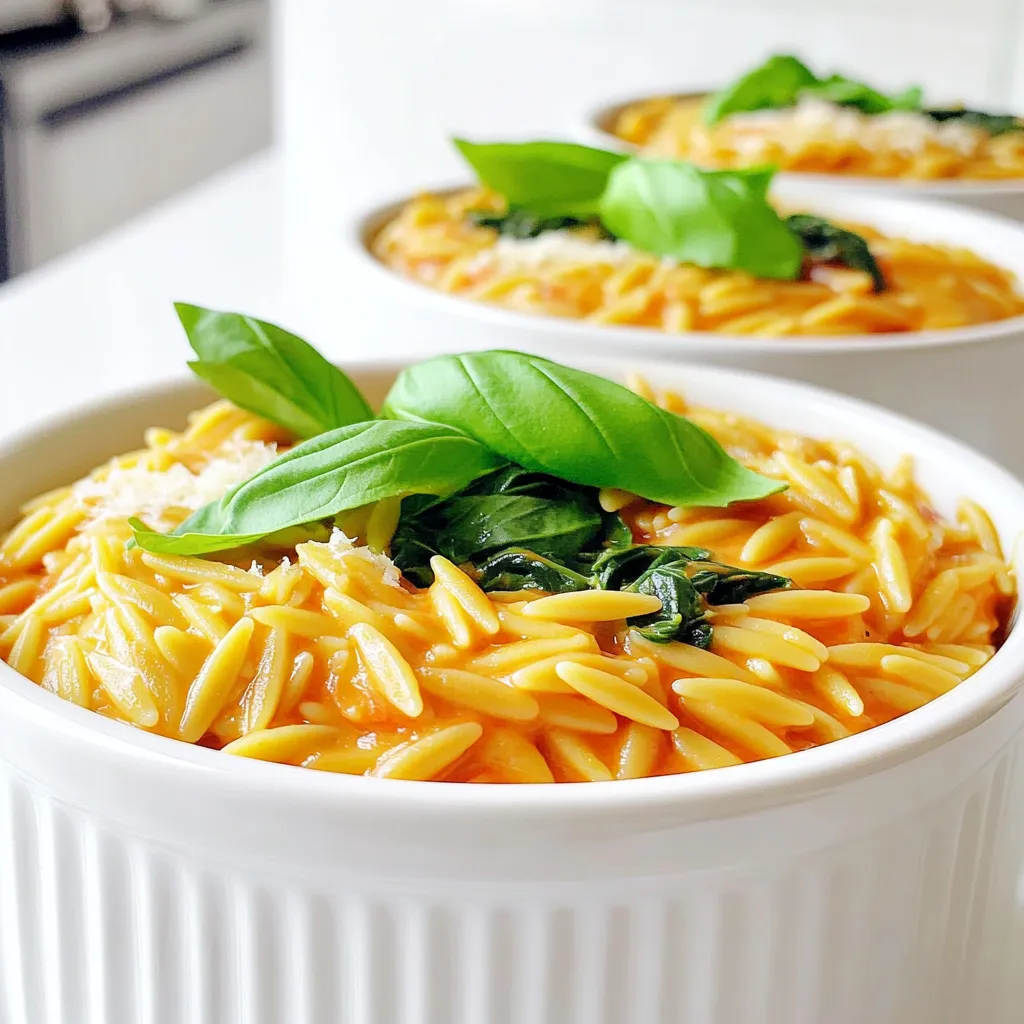
Are you looking for a quick, tasty meal that warms the soul? My Creamy Tomato Orzo One Pot is just
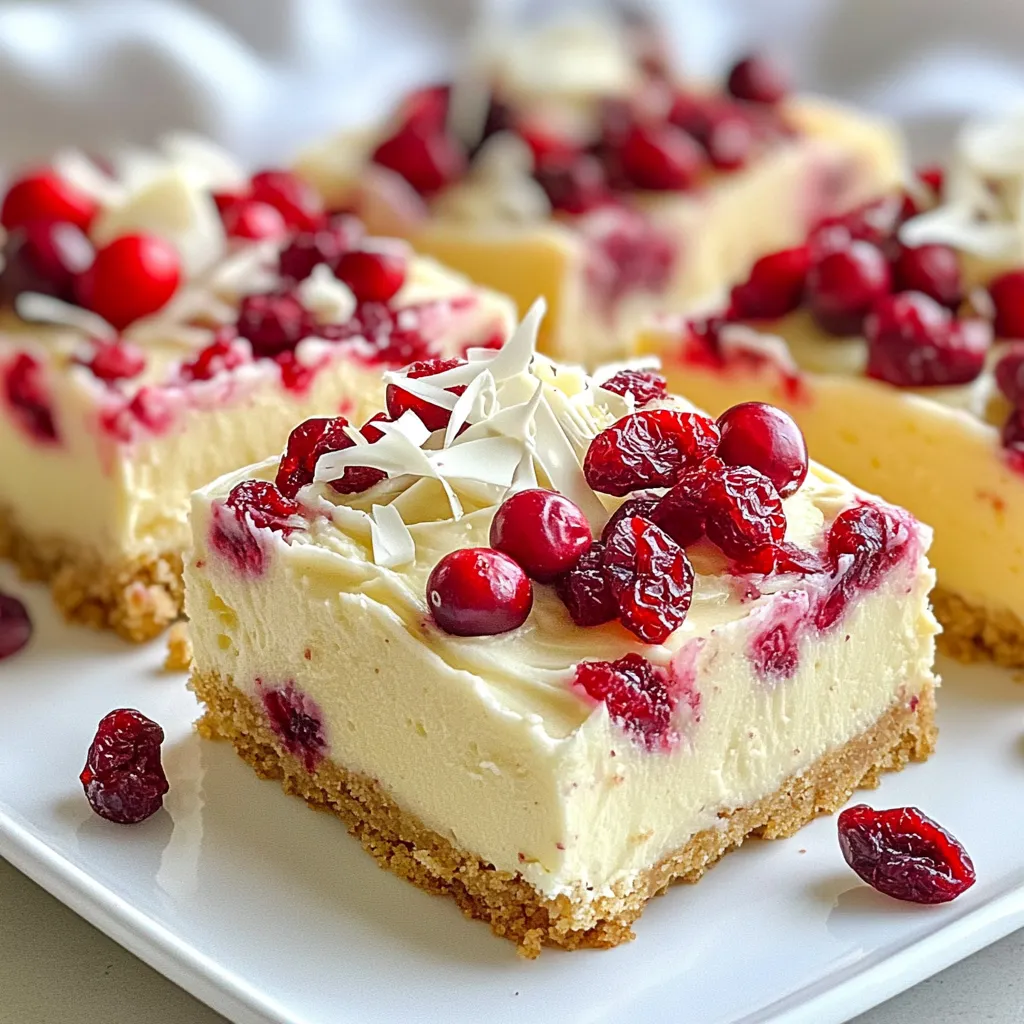
Craving a sweet, tangy treat? You’ll love these easy and tasty cranberry bliss bars! Inspired by a popular café favorite,
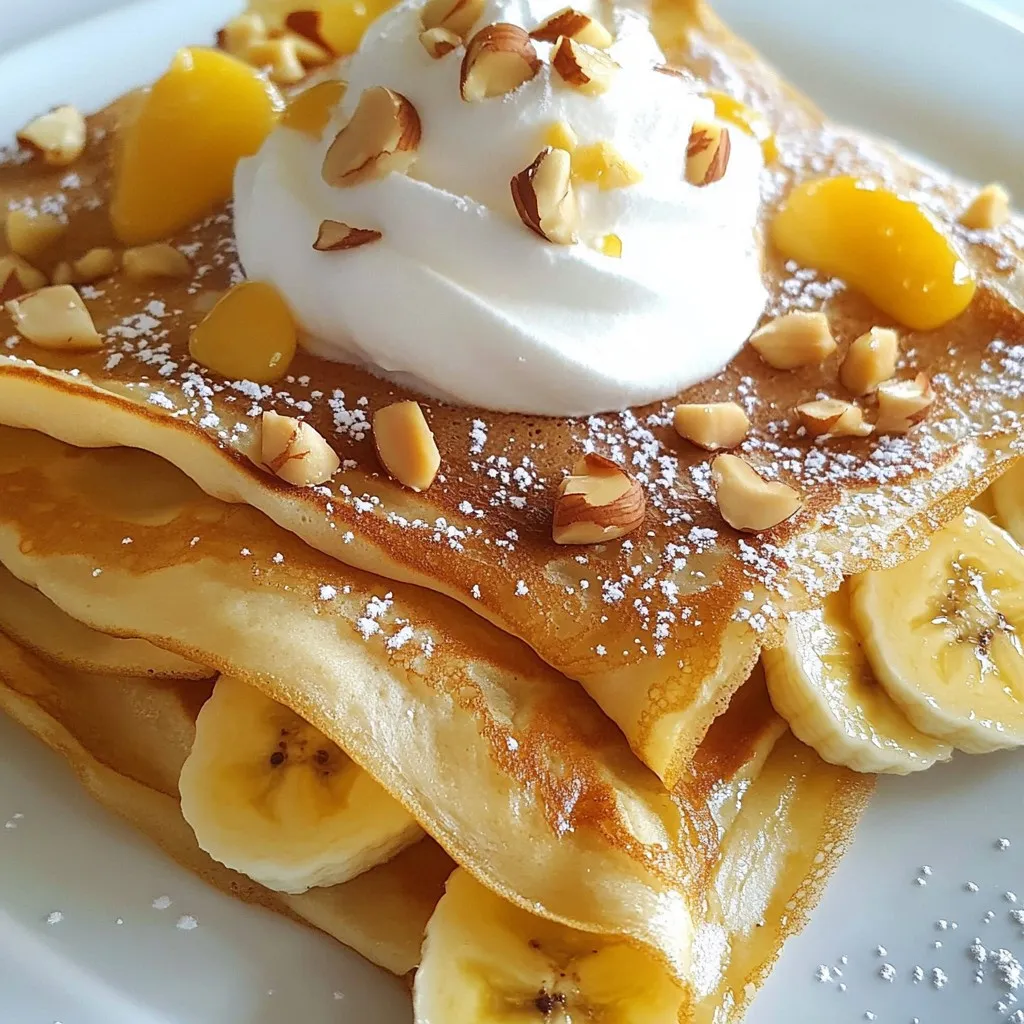
If you crave a sweet treat that’s simple and divine, you’ll love Banana Nutella Crepes. This easy recipe combines creamy
