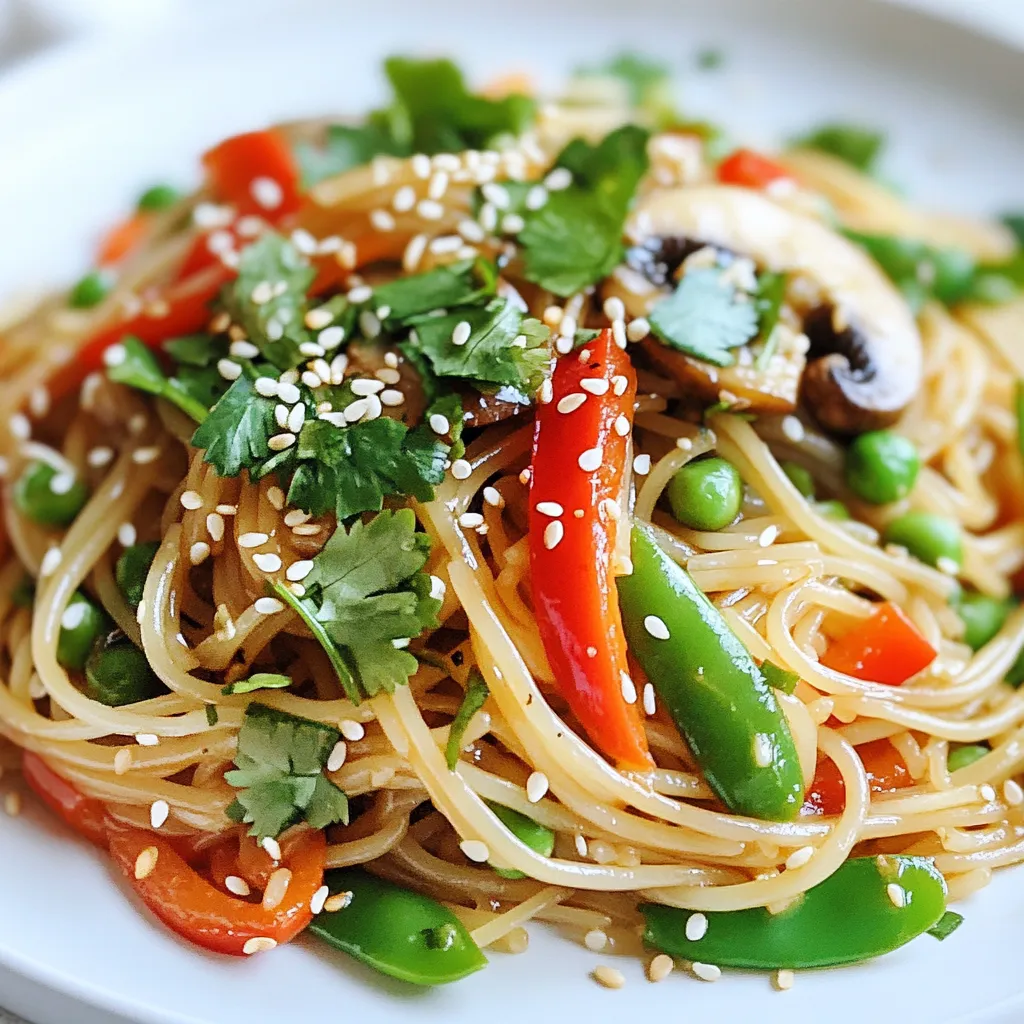
Sesame Ginger Noodle Stir Fry Flavorful and Quick Meal
If you’re craving a quick and tasty meal, look no further! My Sesame Ginger Noodle Stir Fry is the answer.

If you’re craving a quick and tasty meal, look no further! My Sesame Ginger Noodle Stir Fry is the answer.

Are you ready to spice up your dinner? This Spicy Sriracha Honey Chicken is a sweet and fiery dish that
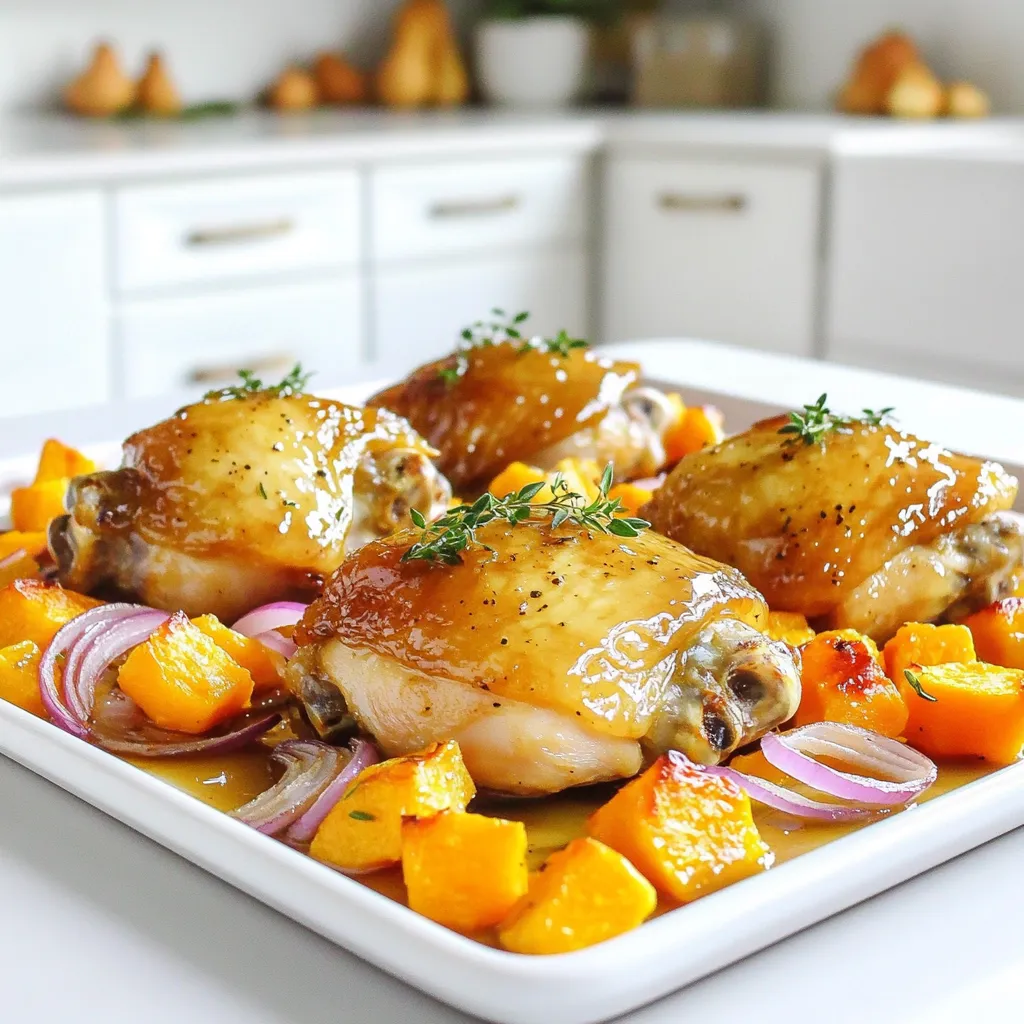
Ready for a one-pan meal that’s both sweet and savory? My Sheet-Pan Maple Glazed Chicken and Squash Delight is an

If you crave a crunchy, savory snack, my Air Fryer Crispy Garlic Parmesan Potatoes are perfect for you. These bite-sized
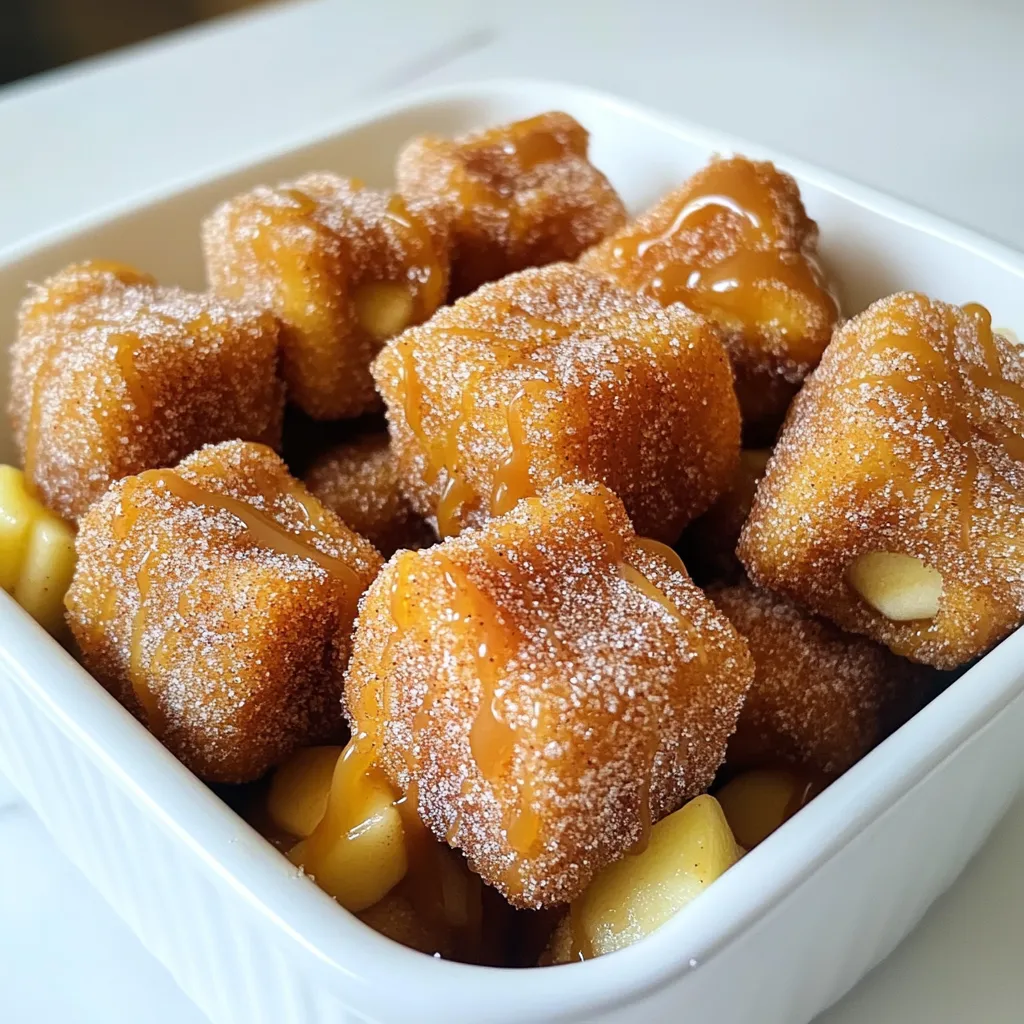
Get ready to indulge in a sweet twist on a classic favorite! My Caramel Apple Churro Bites with Cinnamon Sugar

Looking for a fall treat that’s soft, chewy, and full of flavor? These Brown Butter Pumpkin Chocolate Chip Blondies are

Craving a crunchy treat that’s perfect for dipping? You’ll love my Bakery-Style Cranberry Pistachio Biscotti Delight! This simple recipe combines

If you’re ready to impress your taste buds, let’s dive into the Savory Caramelized Onion and Gruyere Tart Delight! This
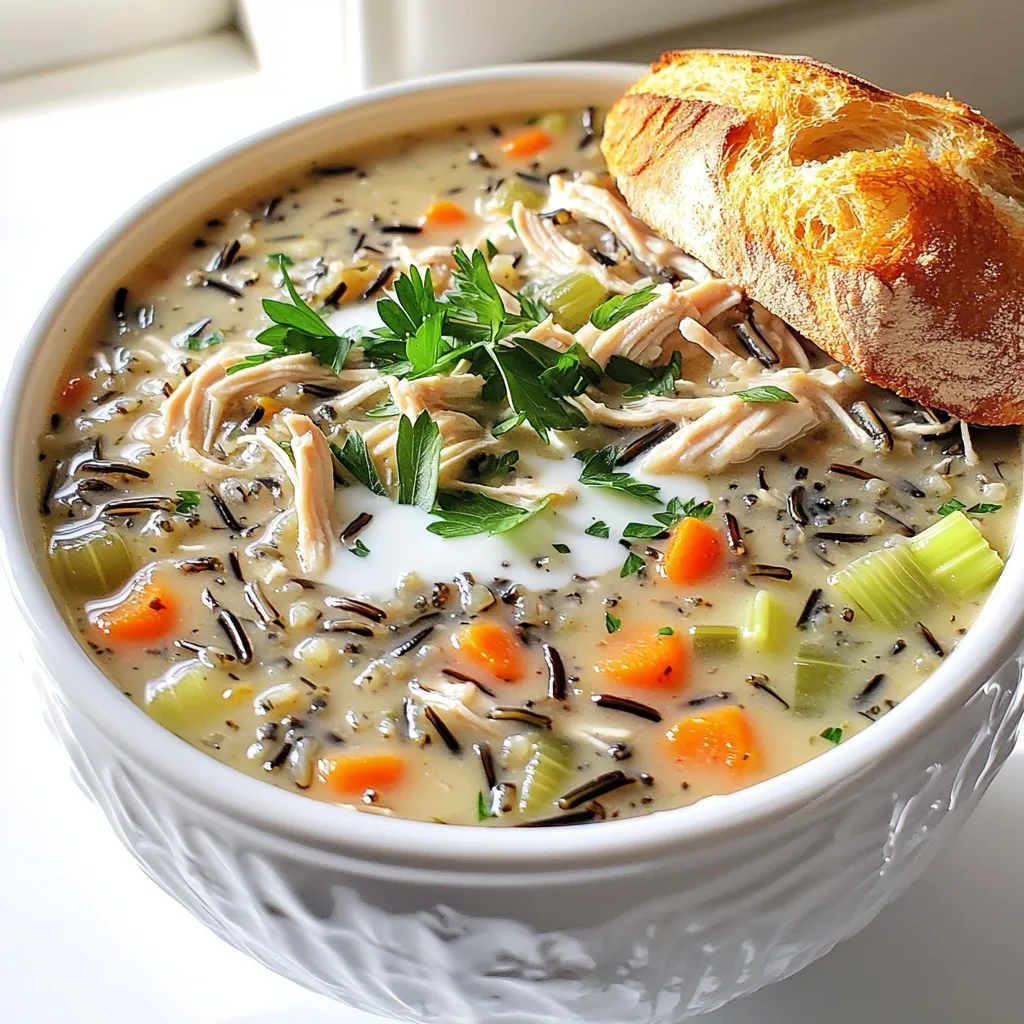
Looking for a cozy meal that warms the soul? Try my Slow Cooker Chicken and Wild Rice Soup! This creamy

If you’re looking for a quick, tasty dinner idea, you’re in the right place! These Air Fryer Honey Garlic Salmon
