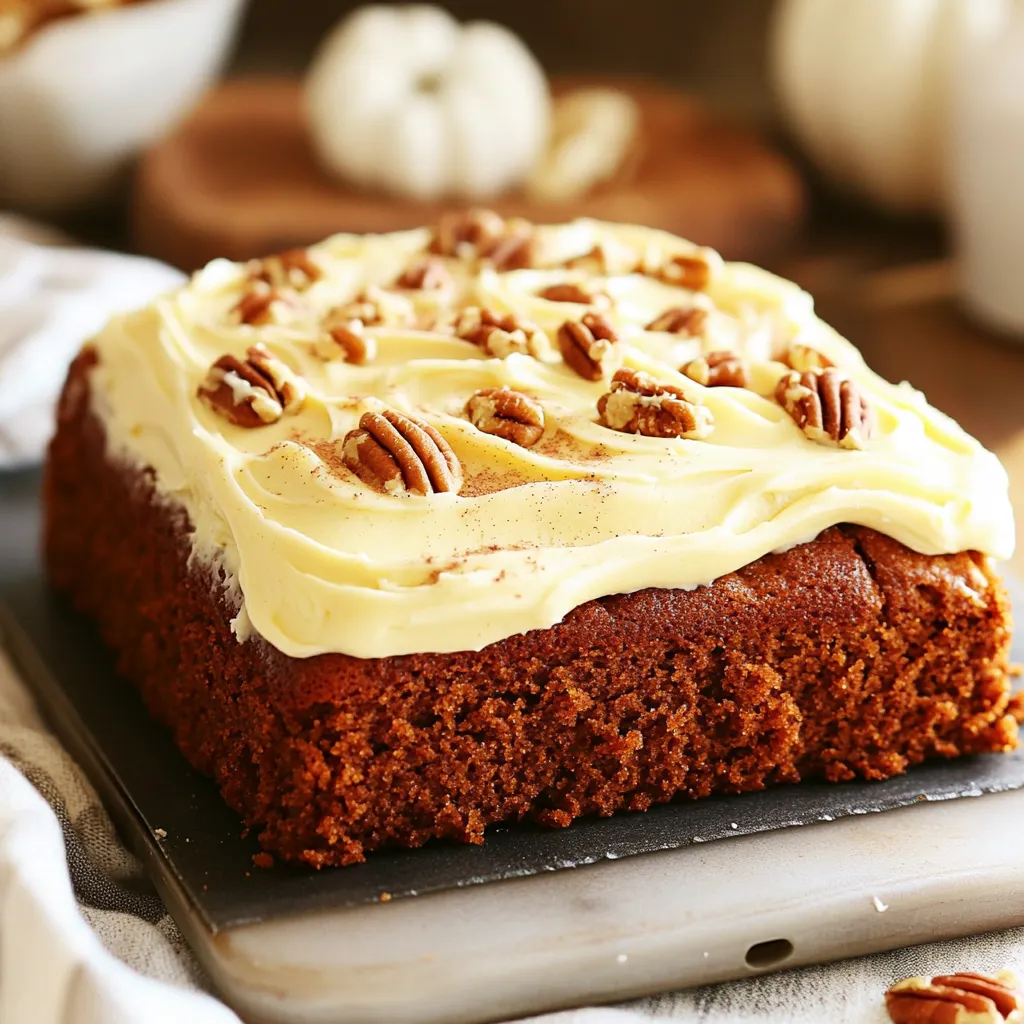
Pumpkin Spice Snack Cake with Cream Cheese Frosting Delight
Get ready to delight your taste buds with this Pumpkin Spice Snack Cake topped with creamy frosting! This treat combines

Get ready to delight your taste buds with this Pumpkin Spice Snack Cake topped with creamy frosting! This treat combines
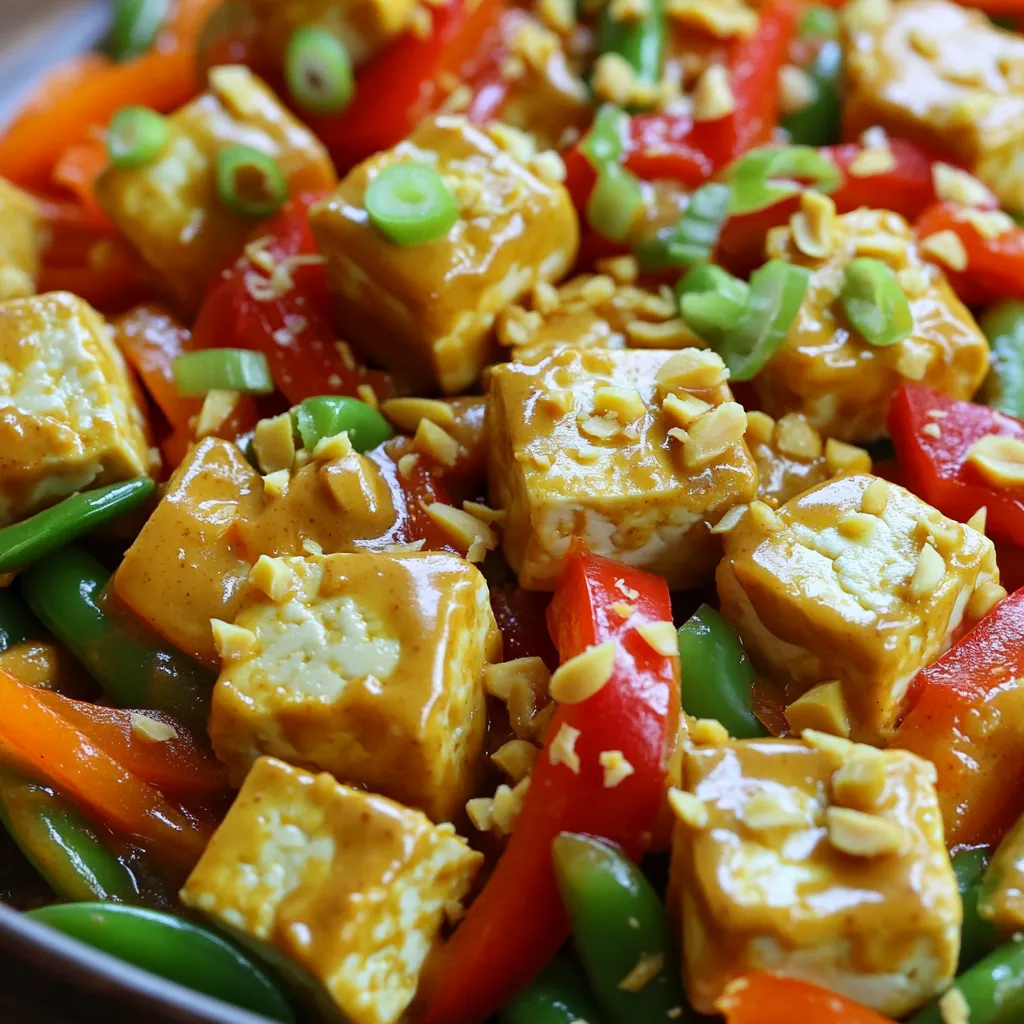
Craving a quick and tasty meal? Look no further! My Minute Spicy Peanut Tofu Stir-Fry is packed with flavor and
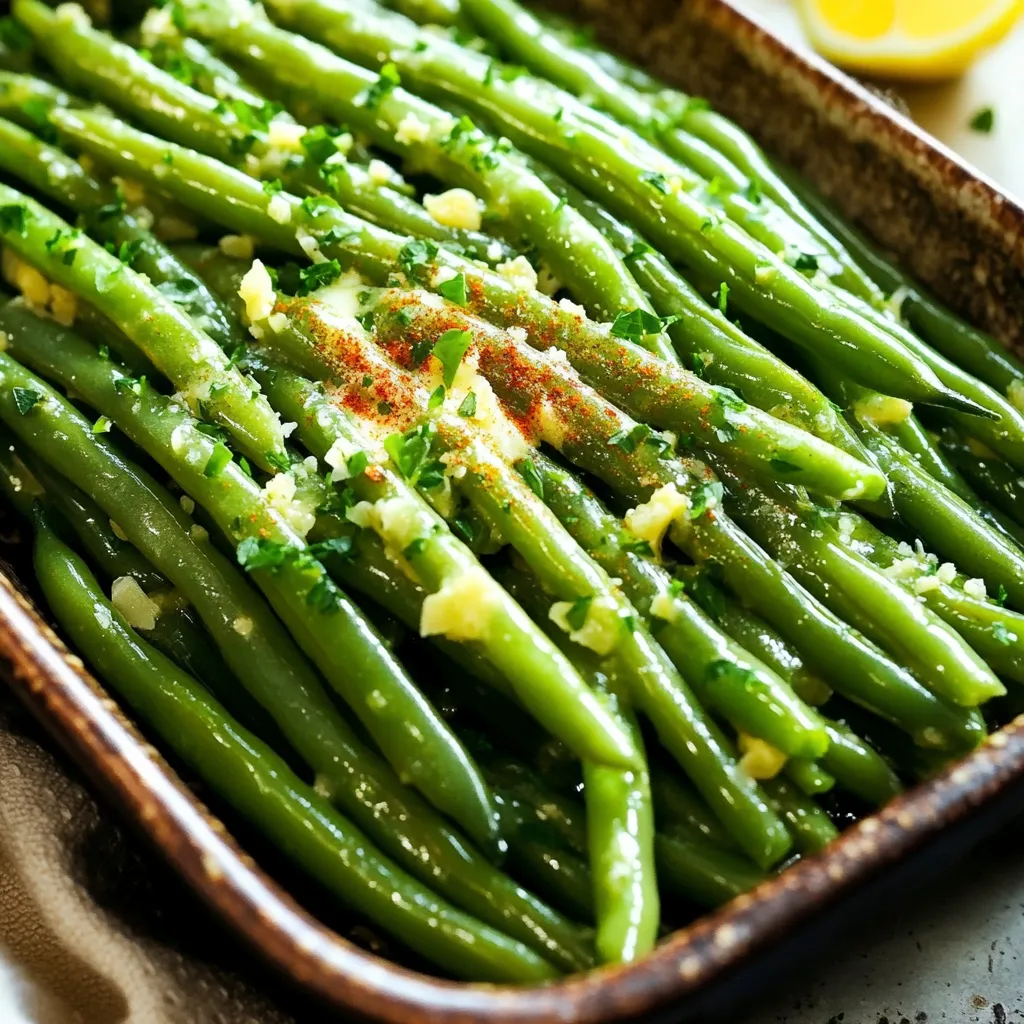
If you’re looking for a quick and tasty side dish, Air Fryer Garlic Butter Green Beans are perfect for you!
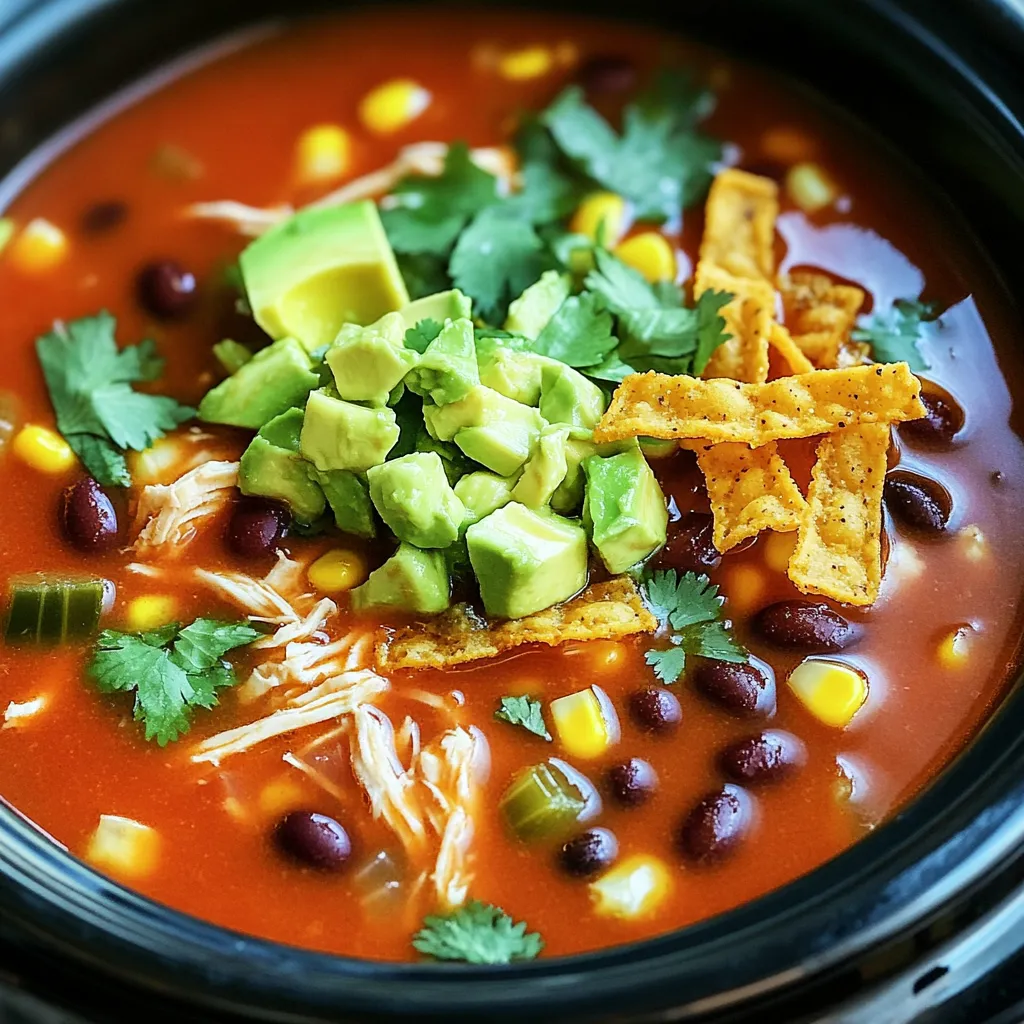
Are you ready for a delicious, warm embrace in a bowl? My Slow Cooker Spicy Chicken Tortilla Soup is just
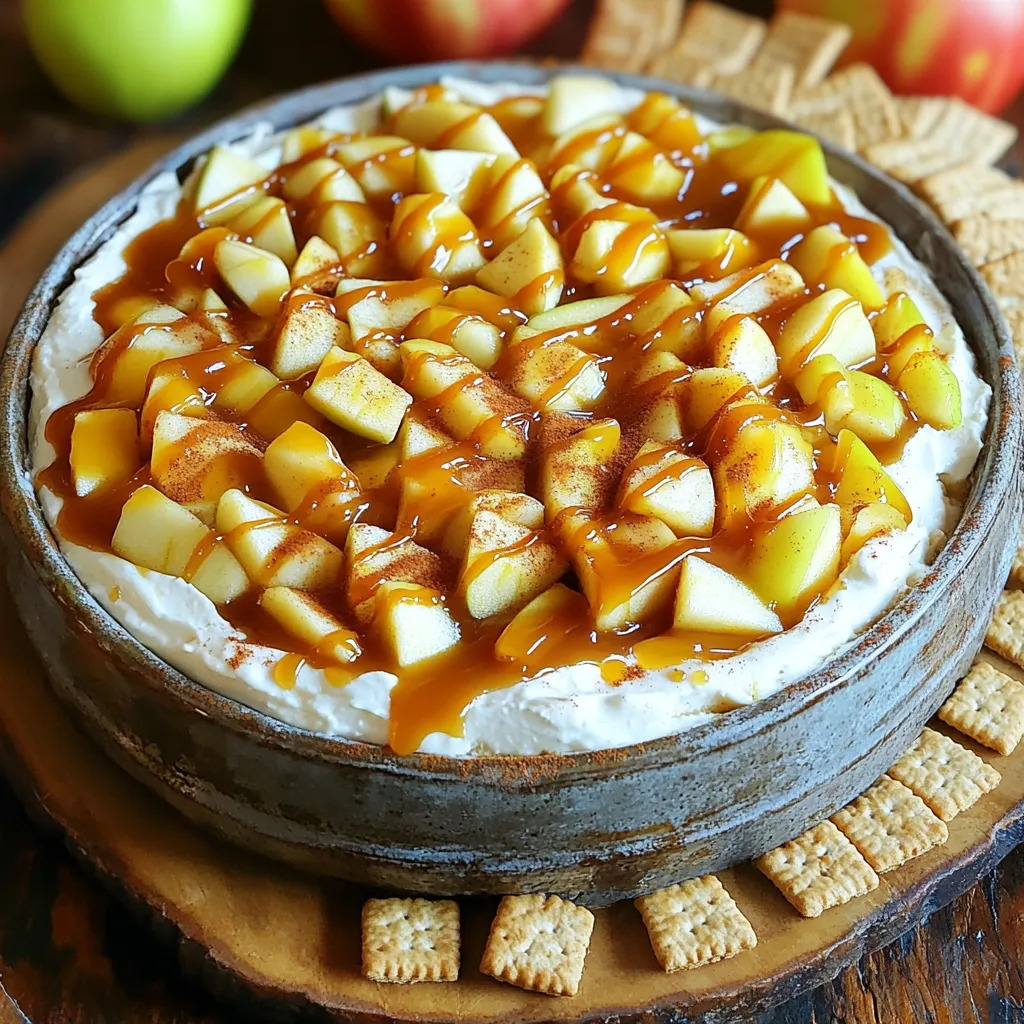
Get ready to dive into a sweet indulgence with my Caramel Apple Pie Dip with Graham Crackers Delight! This fun

Looking for a vibrant side dish that packs a punch? Lemon Garlic Roasted Asparagus is your answer! This easy-to-make recipe
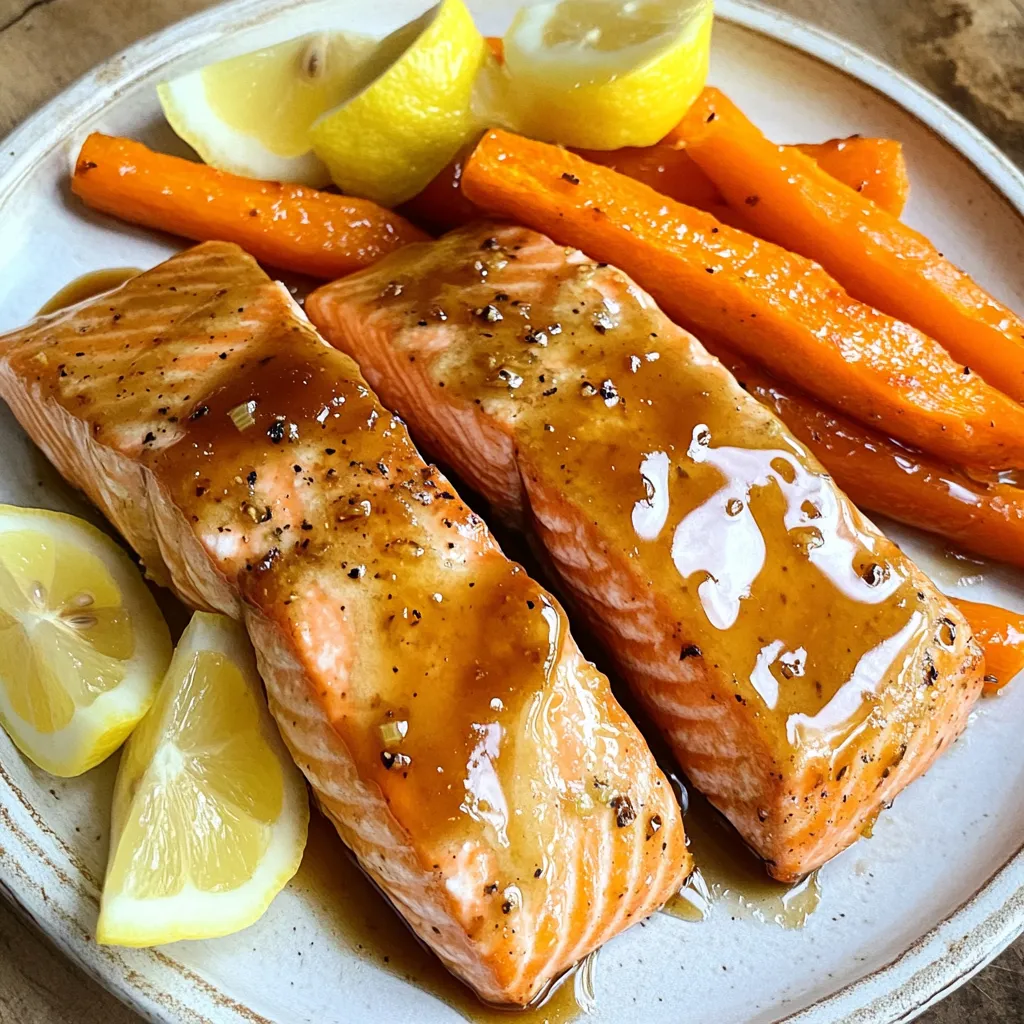
Are you ready to revamp dinner with a tasty twist? This Maple Glazed Salmon and Carrots Sheet Pan Delight is
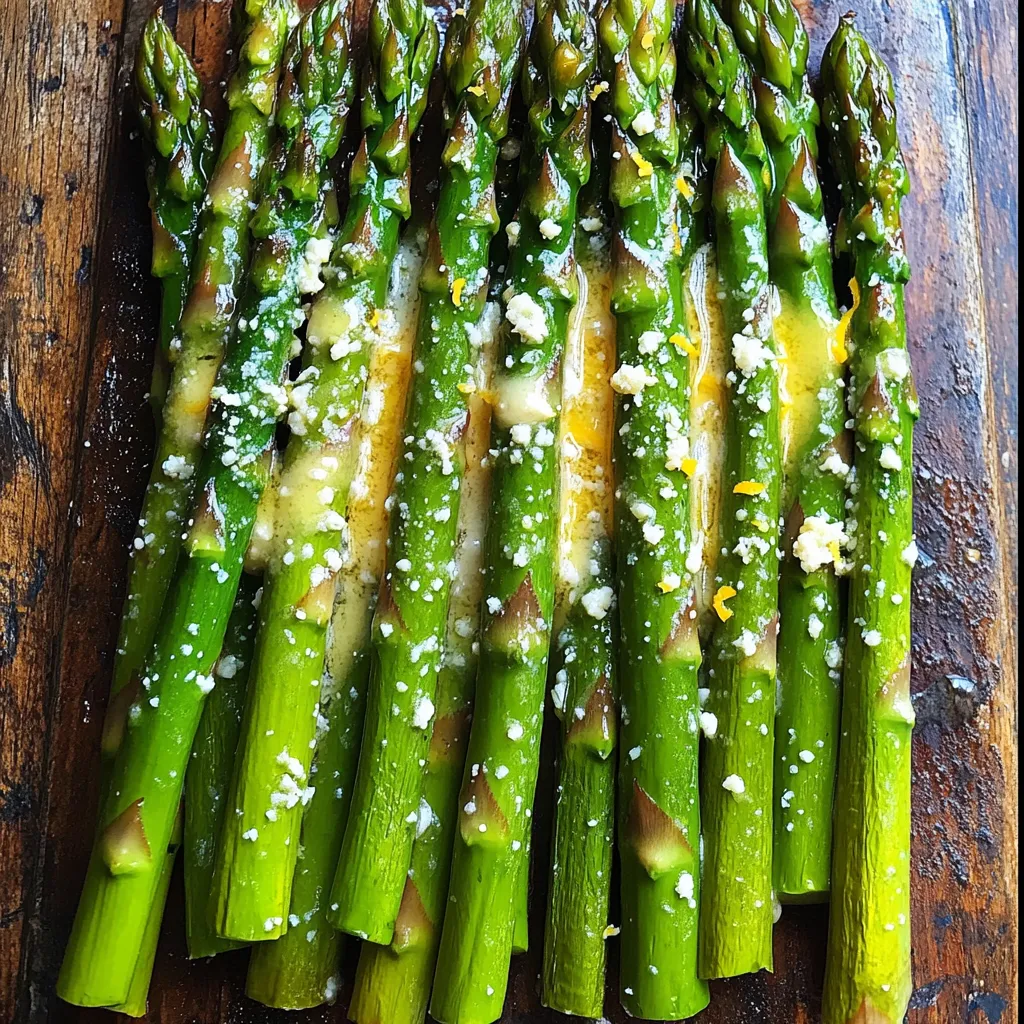
If you’re craving a quick, tasty side dish, look no further than Garlic Butter Asparagus made in your air fryer.
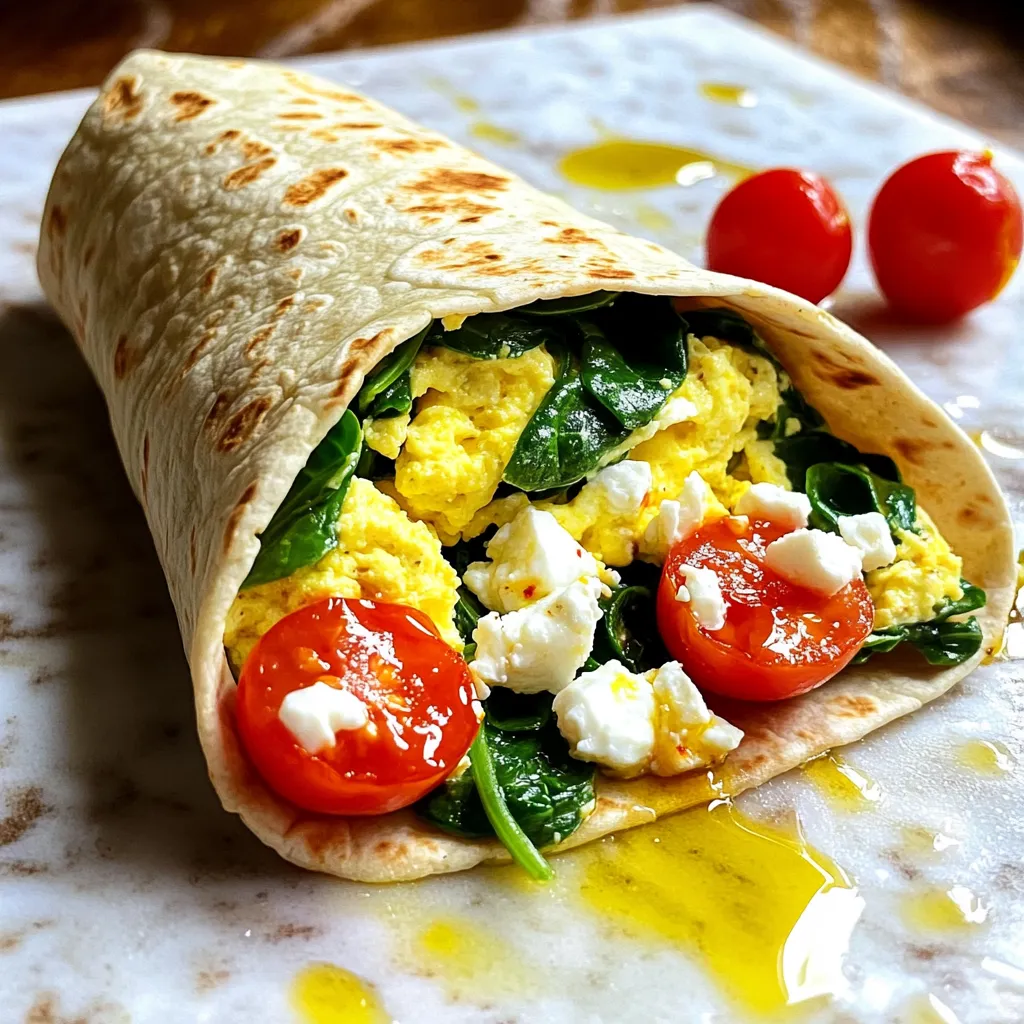
Looking for a healthy breakfast that is tasty and filling? You’ve found it! The Egg White Spinach Scramble Wrap is
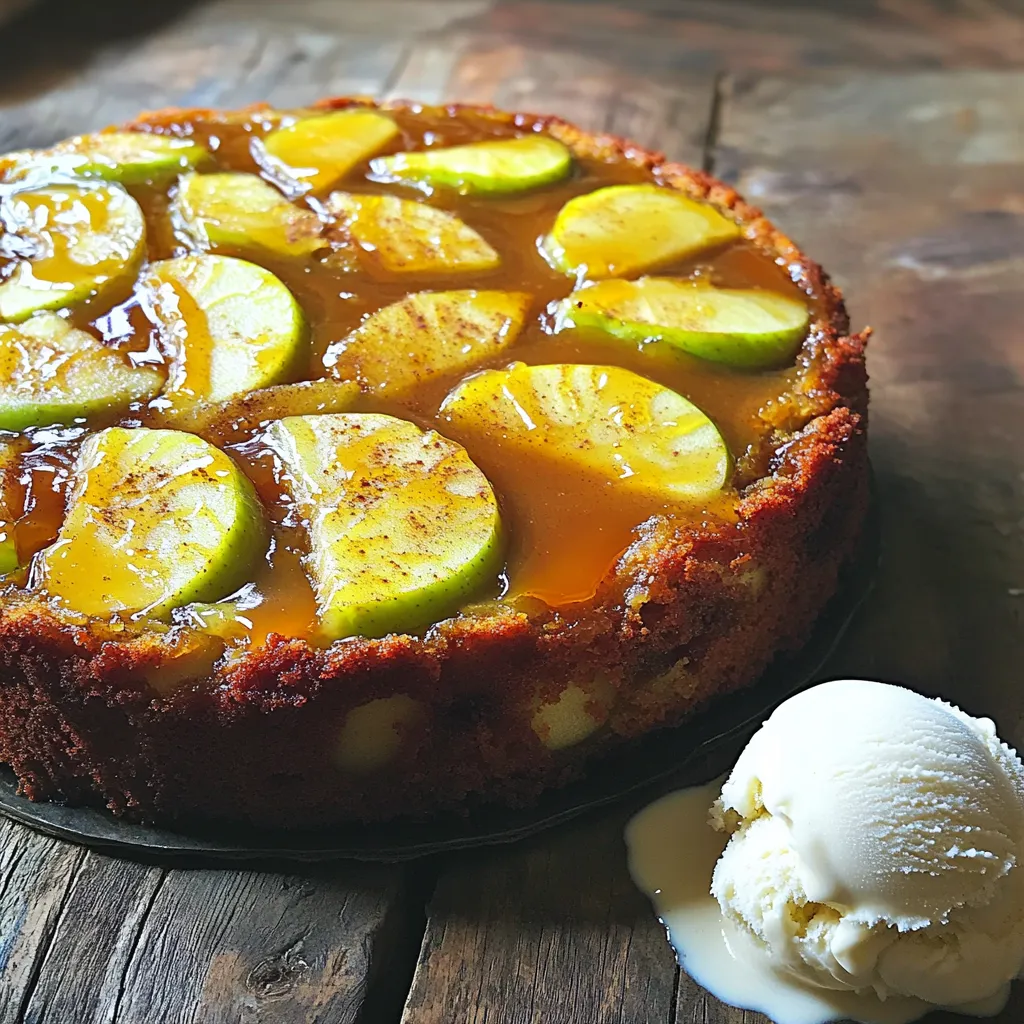
Welcome to my kitchen, where I’m excited to share a delightful dessert recipe: Caramel Apple Upside Down Cake! If you
