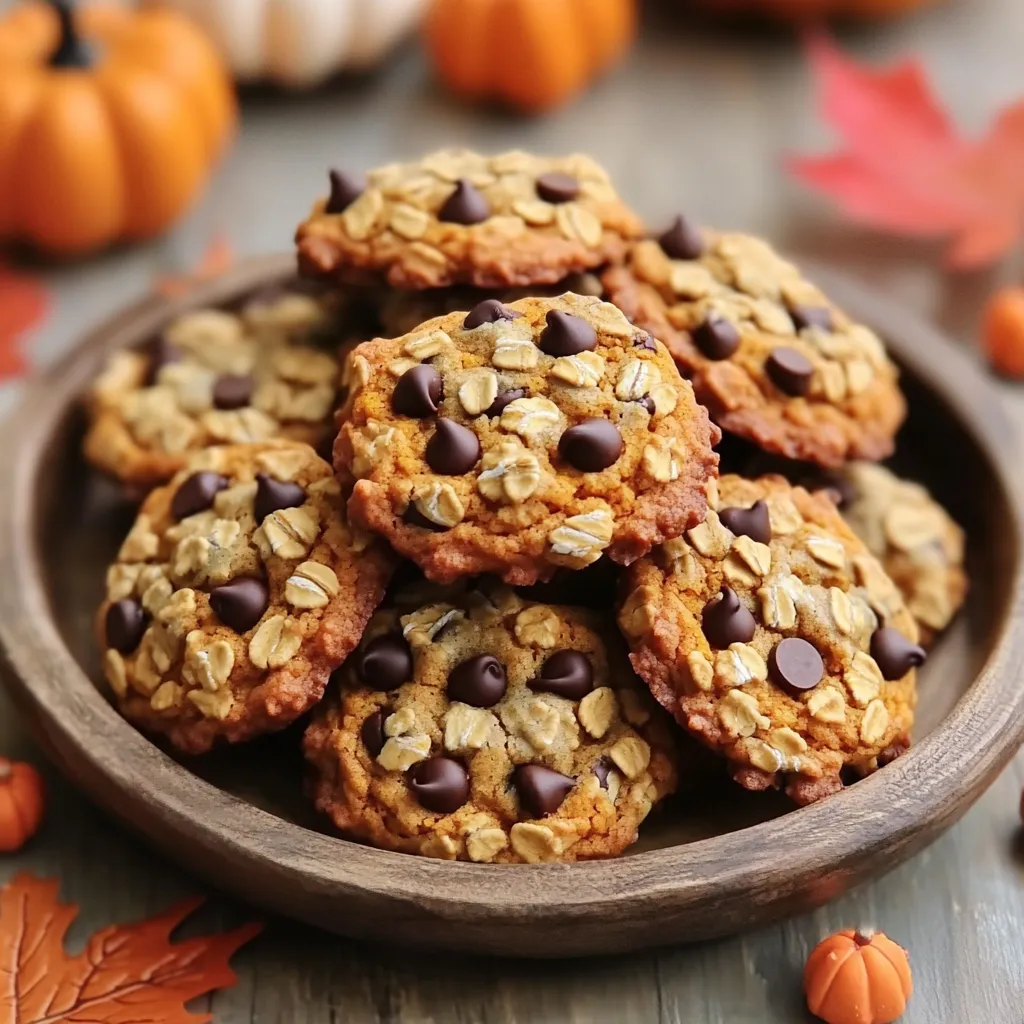
Pumpkin Oatmeal Chocolate Chip Cookies Delightful Treat
Are you ready to indulge in a cozy fall treat? Pumpkin Oatmeal Chocolate Chip Cookies are the perfect blend of

Are you ready to indulge in a cozy fall treat? Pumpkin Oatmeal Chocolate Chip Cookies are the perfect blend of
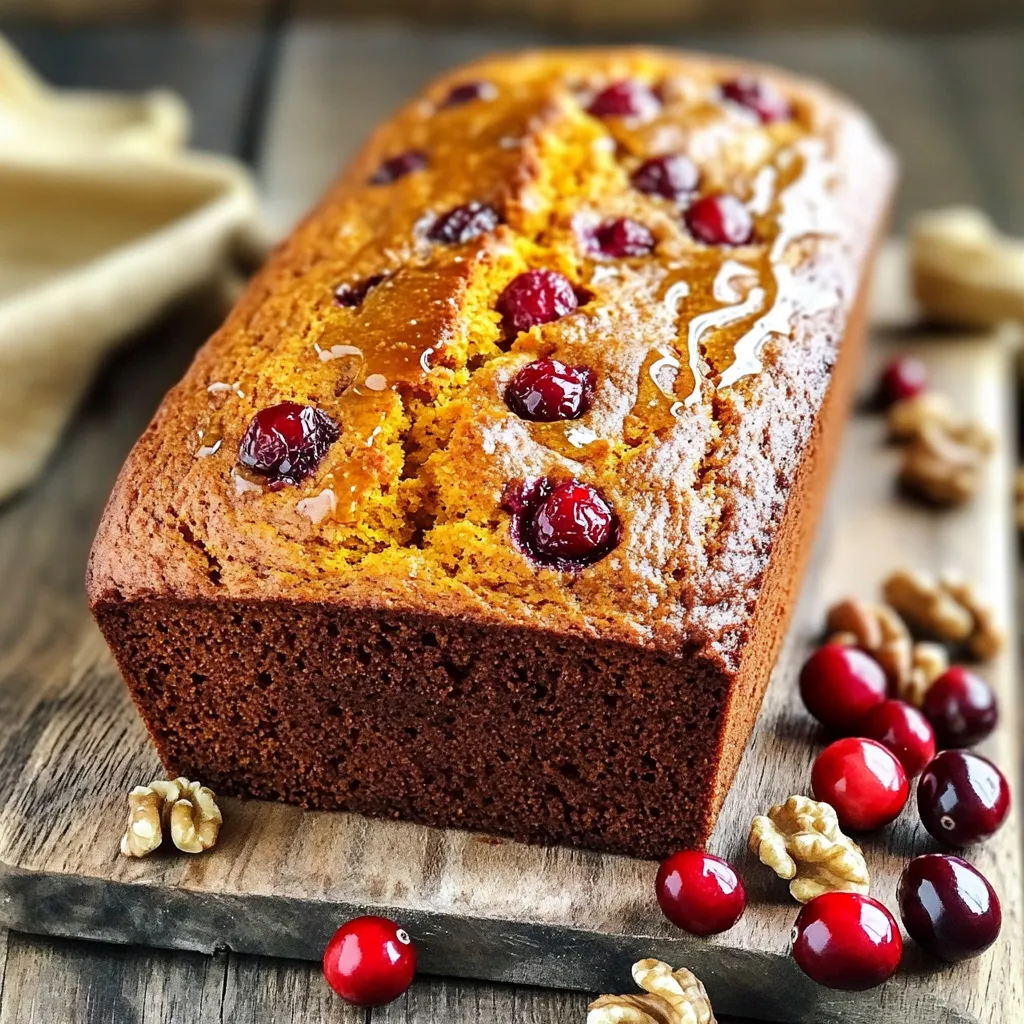
If you love the warm flavors of fall, then you’ll adore my Cranberry Walnut Pumpkin Bread. This bakery-style delight combines
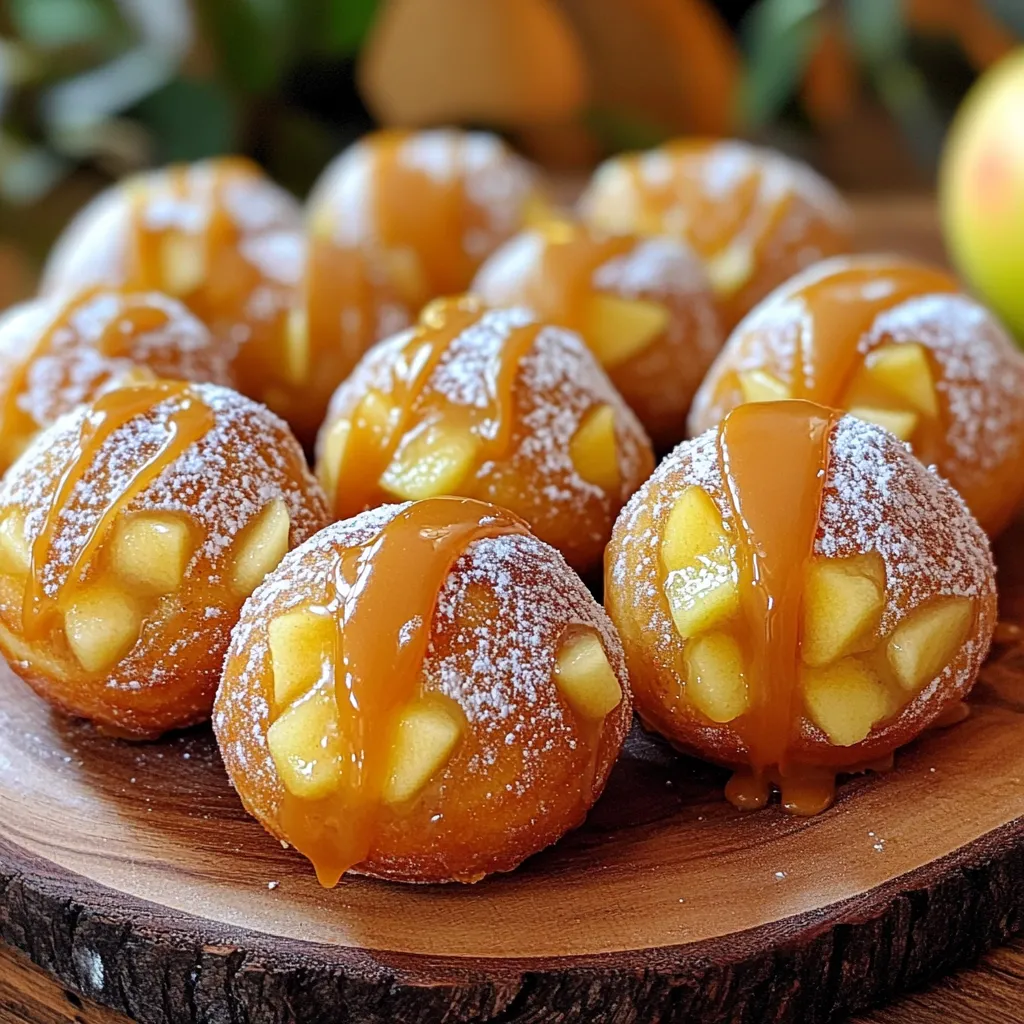
Are you ready to dive into a delightful fall treat? Caramel apple donut holes combine warm apple flavor with gooey
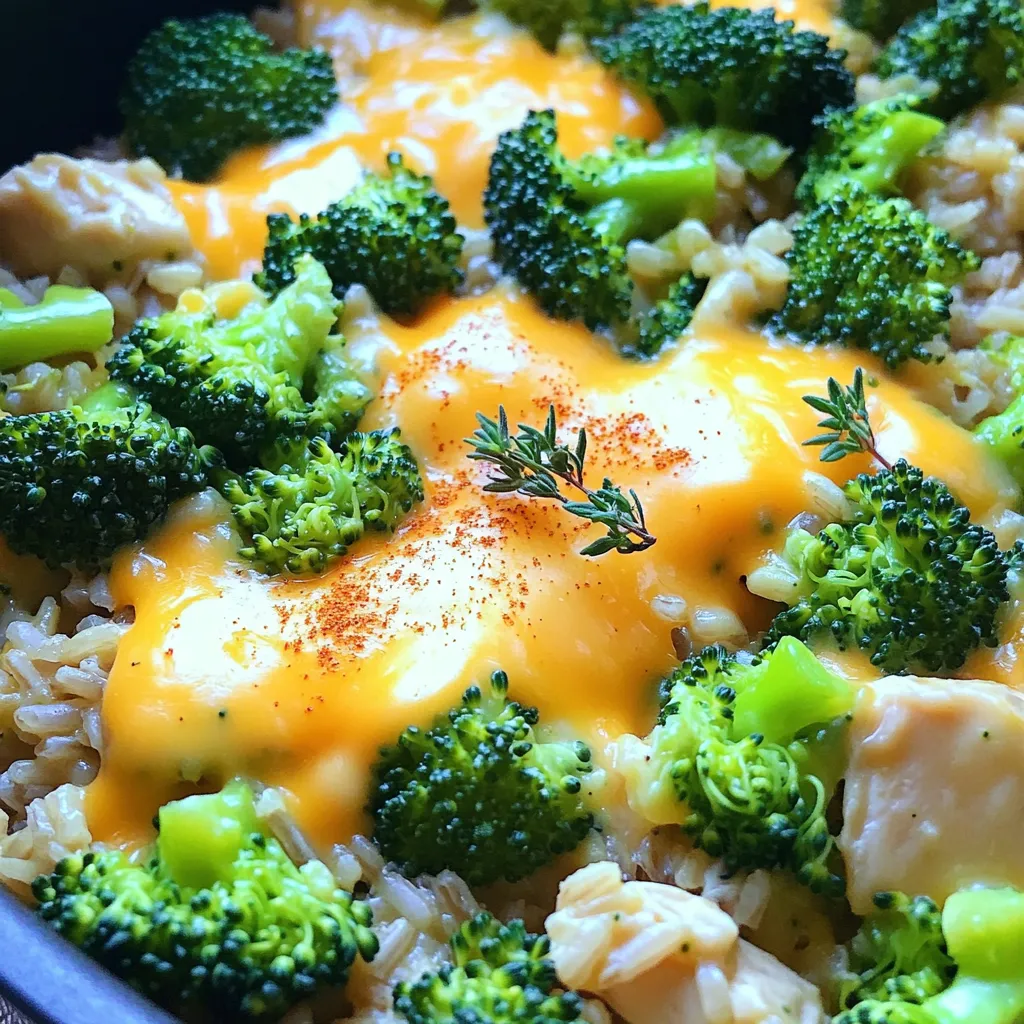
If you’re looking for a quick and tasty meal, you’ve found it! This Cheesy Broccoli Rice Chicken One Pot Delight
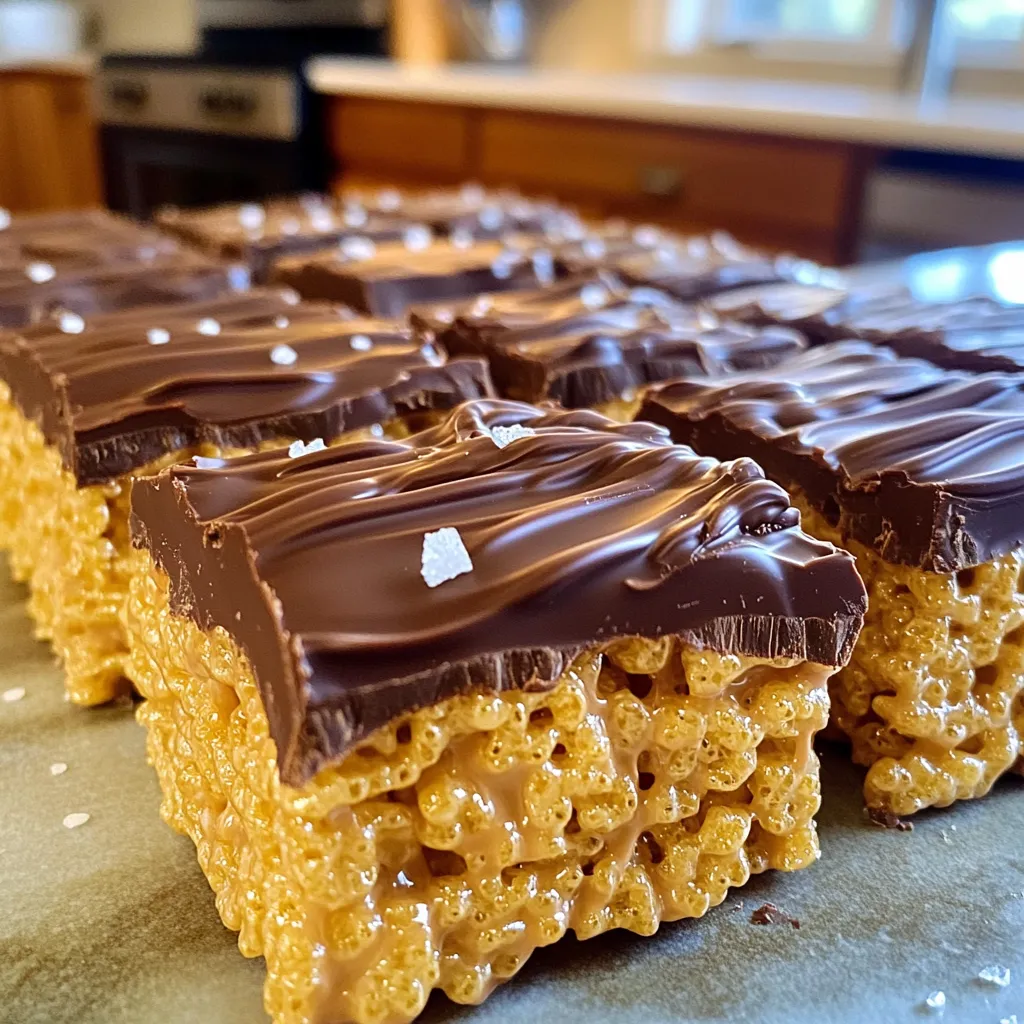
Get ready to indulge in a sweet treat that combines the rich flavors of chocolate and peanut butter! In this
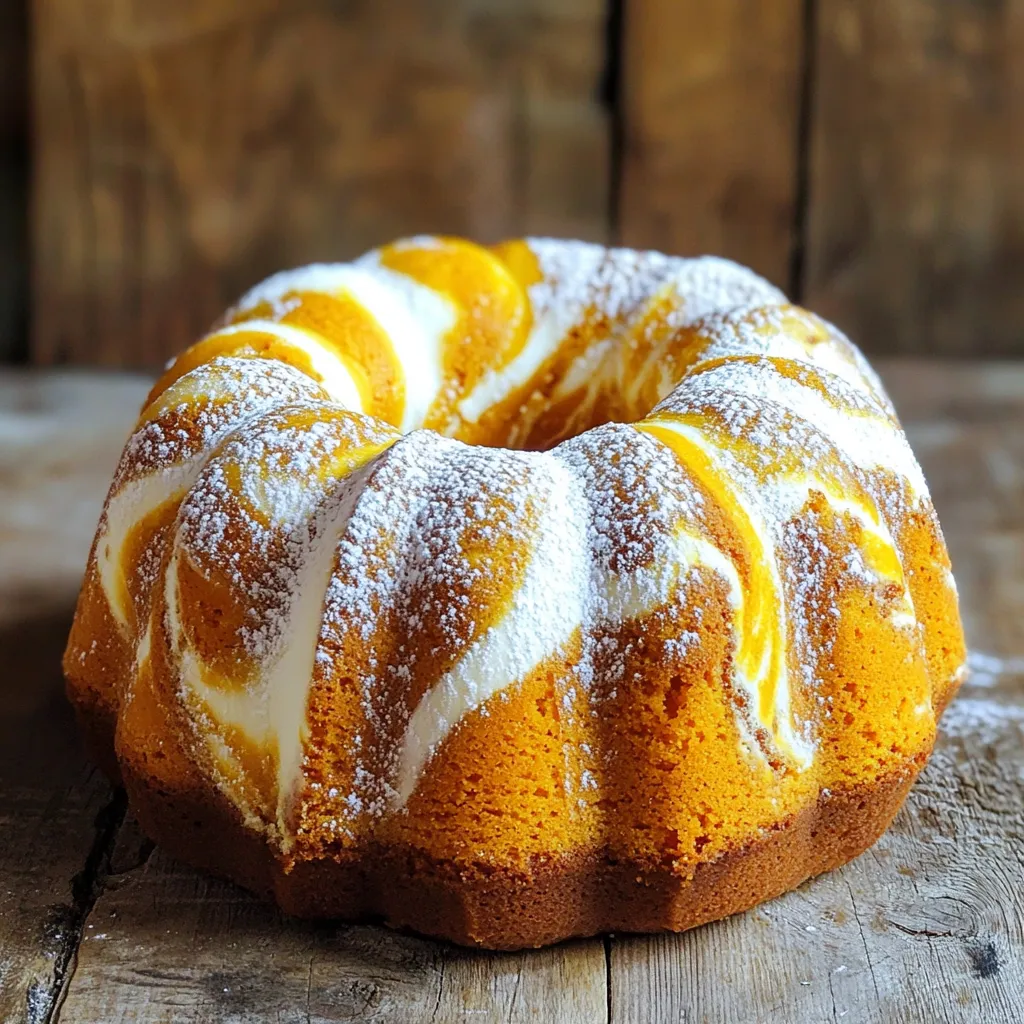
Get ready to impress your family and friends with my Pumpkin Cream Cheese Swirl Bundt Cake! This recipe combines warm
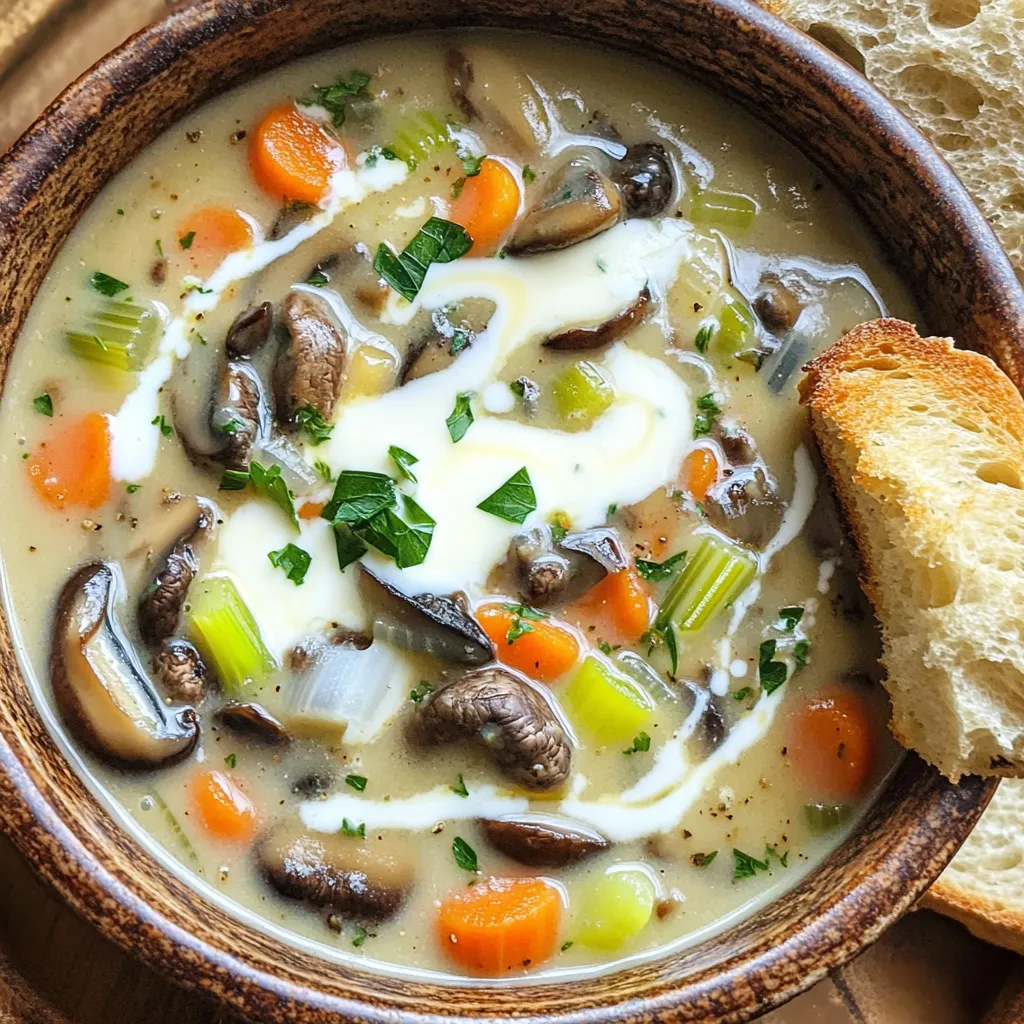
If you’re craving a cozy bowl of soup, I have just the recipe for you—Creamy Wild Mushroom Soup made easy

Looking for a meal that’s quick, tasty, and healthy? You’ve found it! This Maple Mustard Salmon Green Beans Sheet Pan
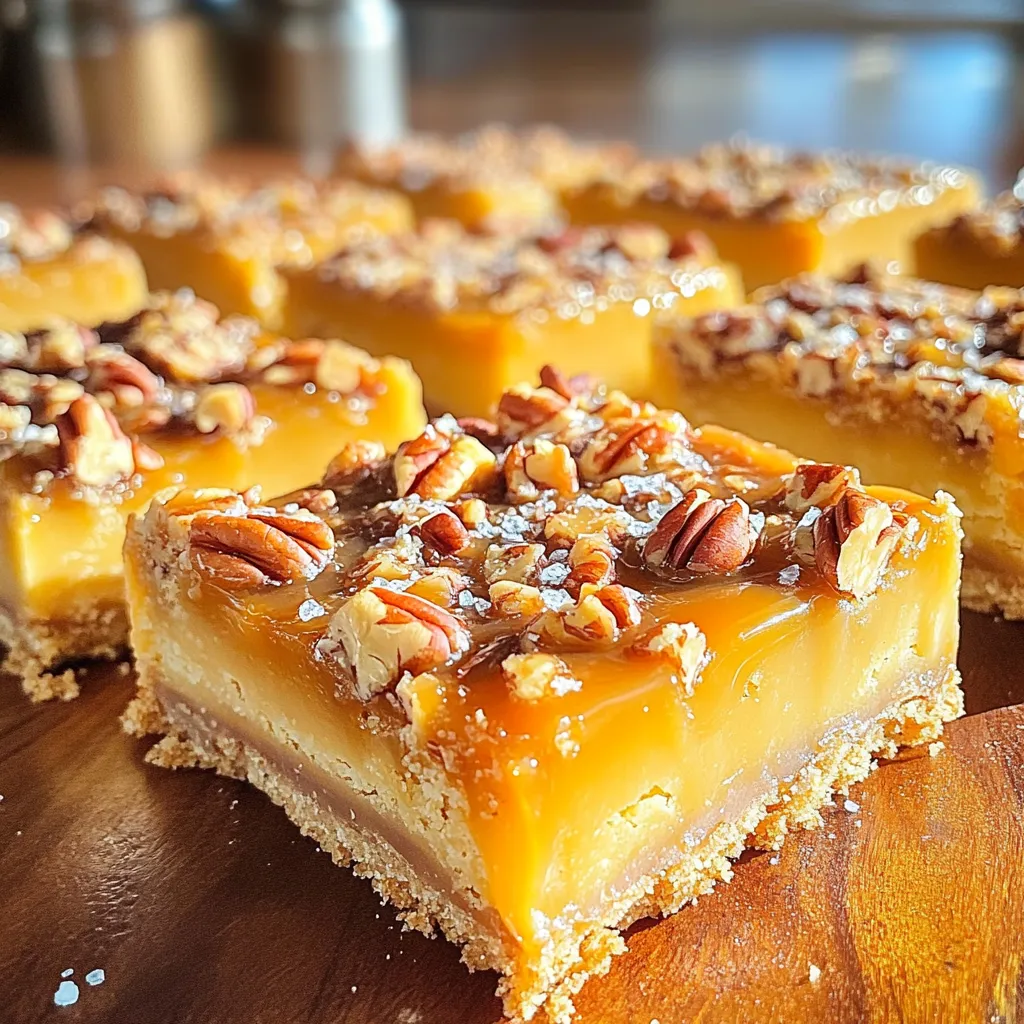
Are you ready for a sweet treat that combines crunch and gooey goodness? In this post, I’ll guide you through
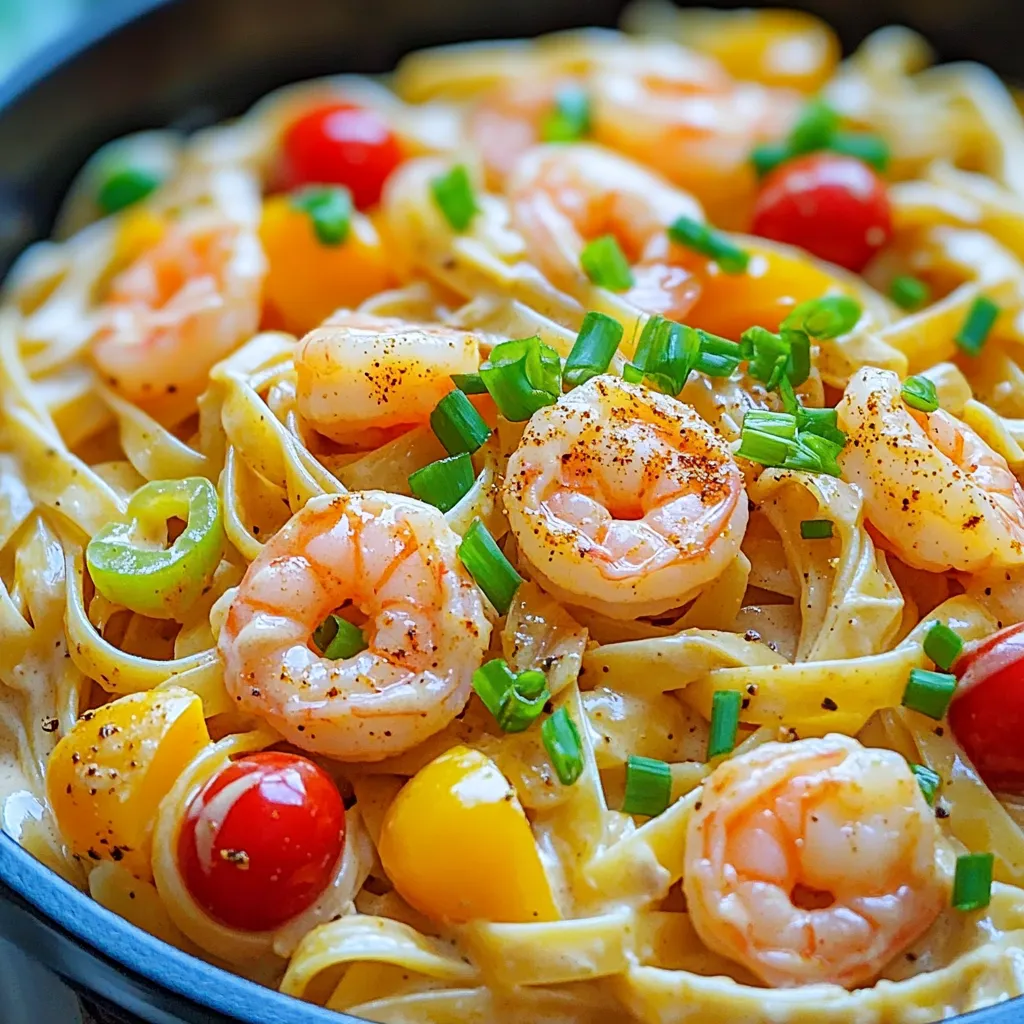
Looking for a quick and tasty meal? Try my One-Pot Creamy Cajun Shrimp Pasta! This dish packs rich flavors with
