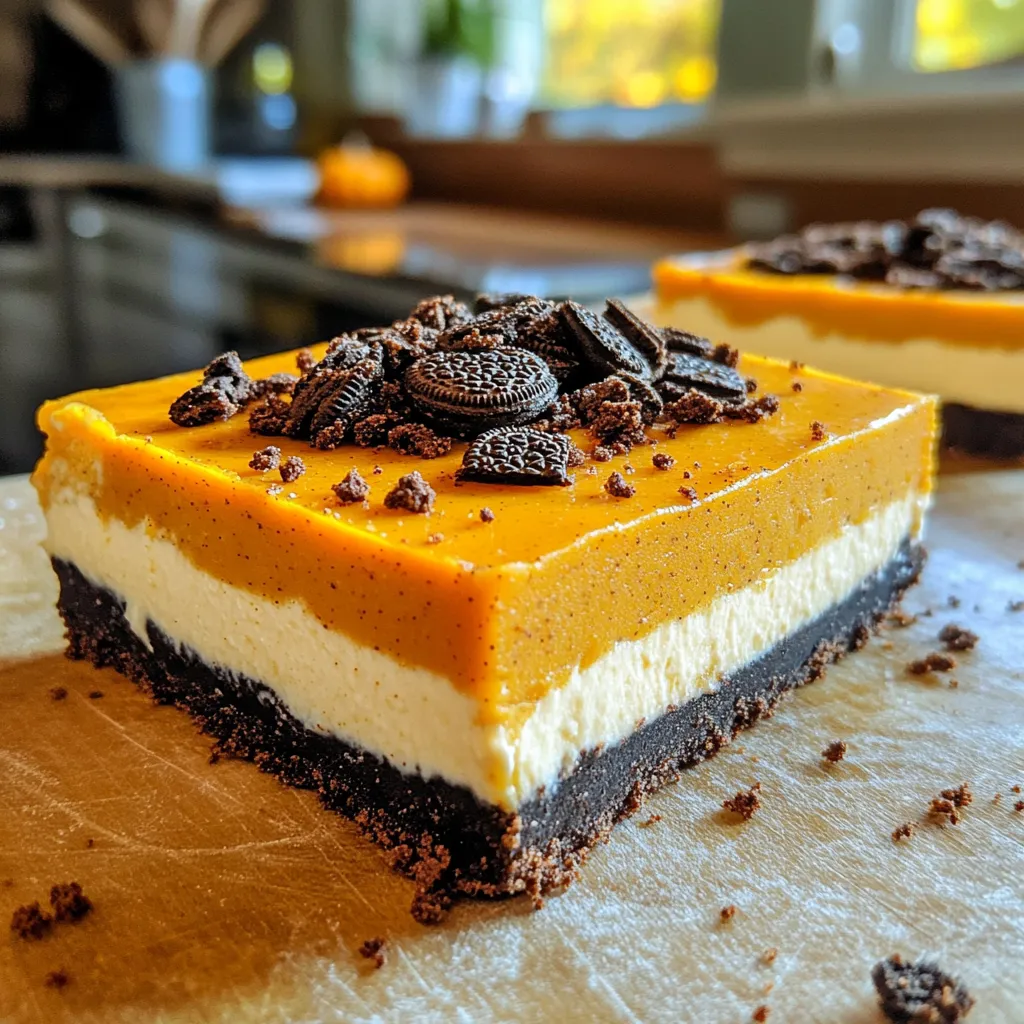
No-Bake Oreo Pumpkin Cheesecake Bars Delightful Treat
Get ready to delight your taste buds with my No-Bake Oreo Pumpkin Cheesecake Bars! These bars combine creamy pumpkin goodness

Get ready to delight your taste buds with my No-Bake Oreo Pumpkin Cheesecake Bars! These bars combine creamy pumpkin goodness
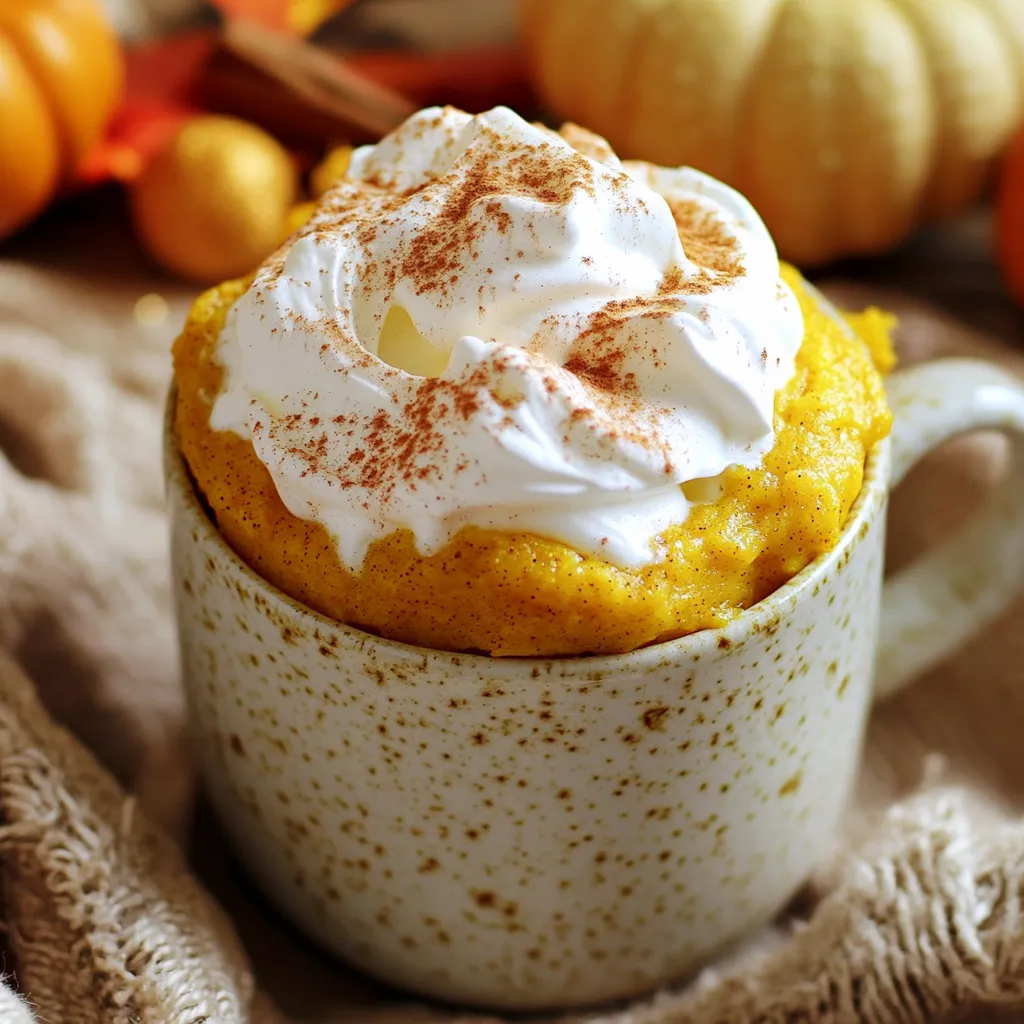
Warm, cozy, and full of flavor, the Pumpkin Spice Latte Mug Cake is your new best friend. This quick treat
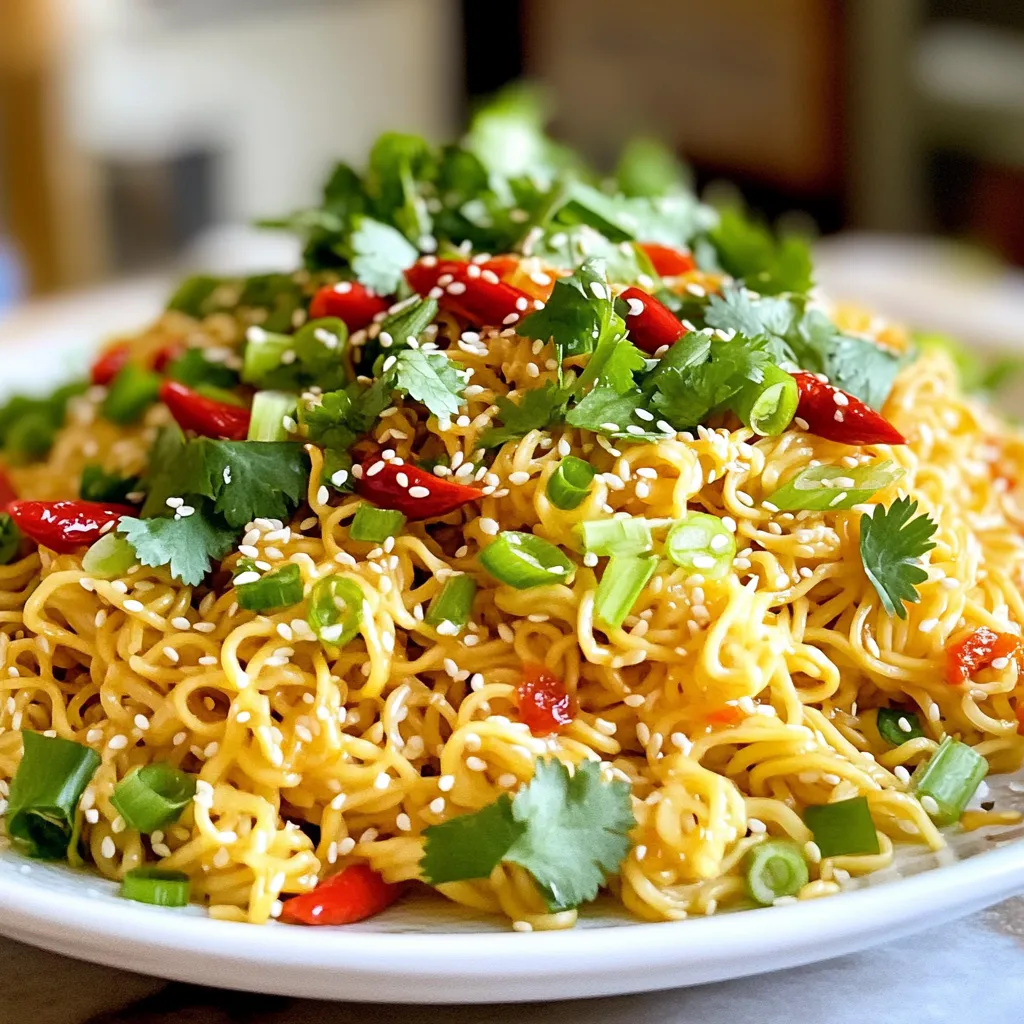
Are you ready to whip up a tasty meal in just minutes? This recipe for Minute Spicy Chili Garlic Noodles
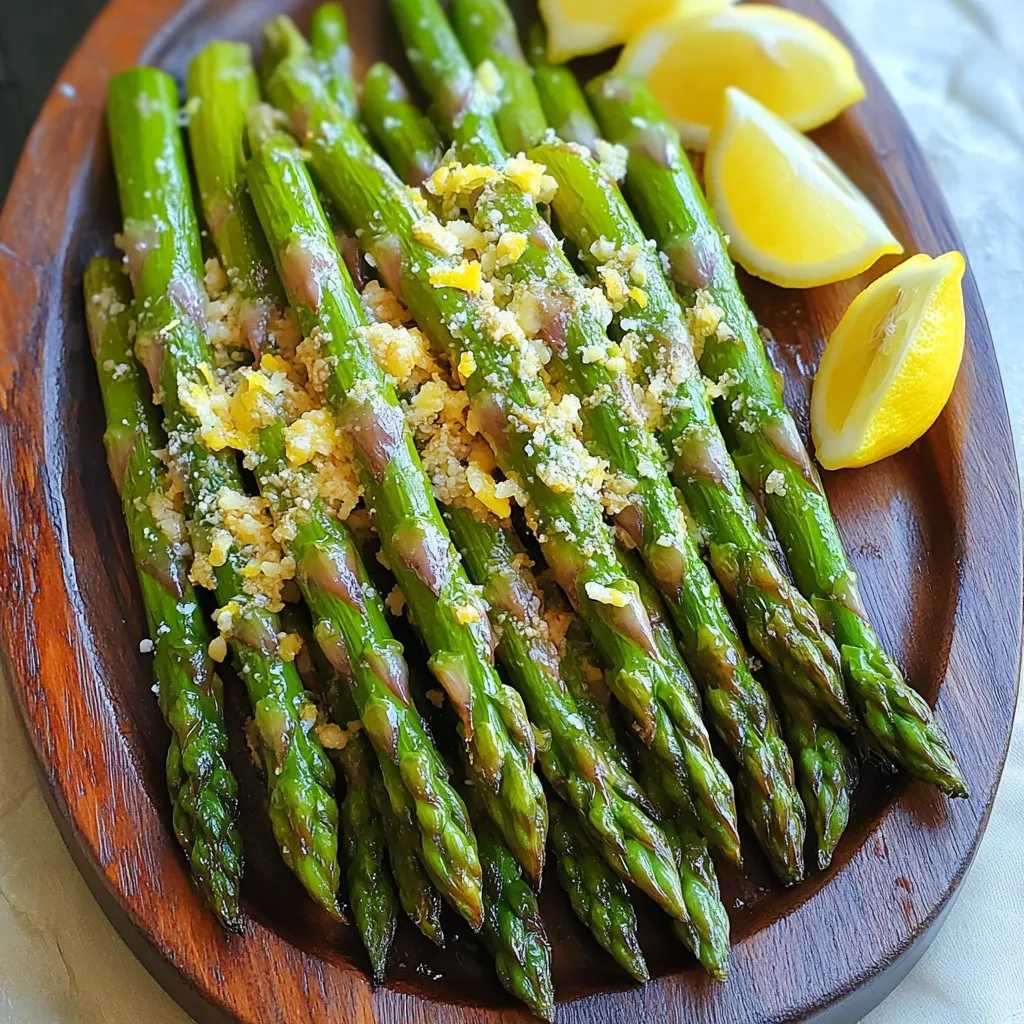
Are you ready to elevate your veggie game? This Air Fryer Garlic Parmesan Asparagus is easy, quick, and packed with

If you love crispy, tasty meals, you’re in for a treat! Air Fryer Chicken Mozzarella Wraps offer a quick way
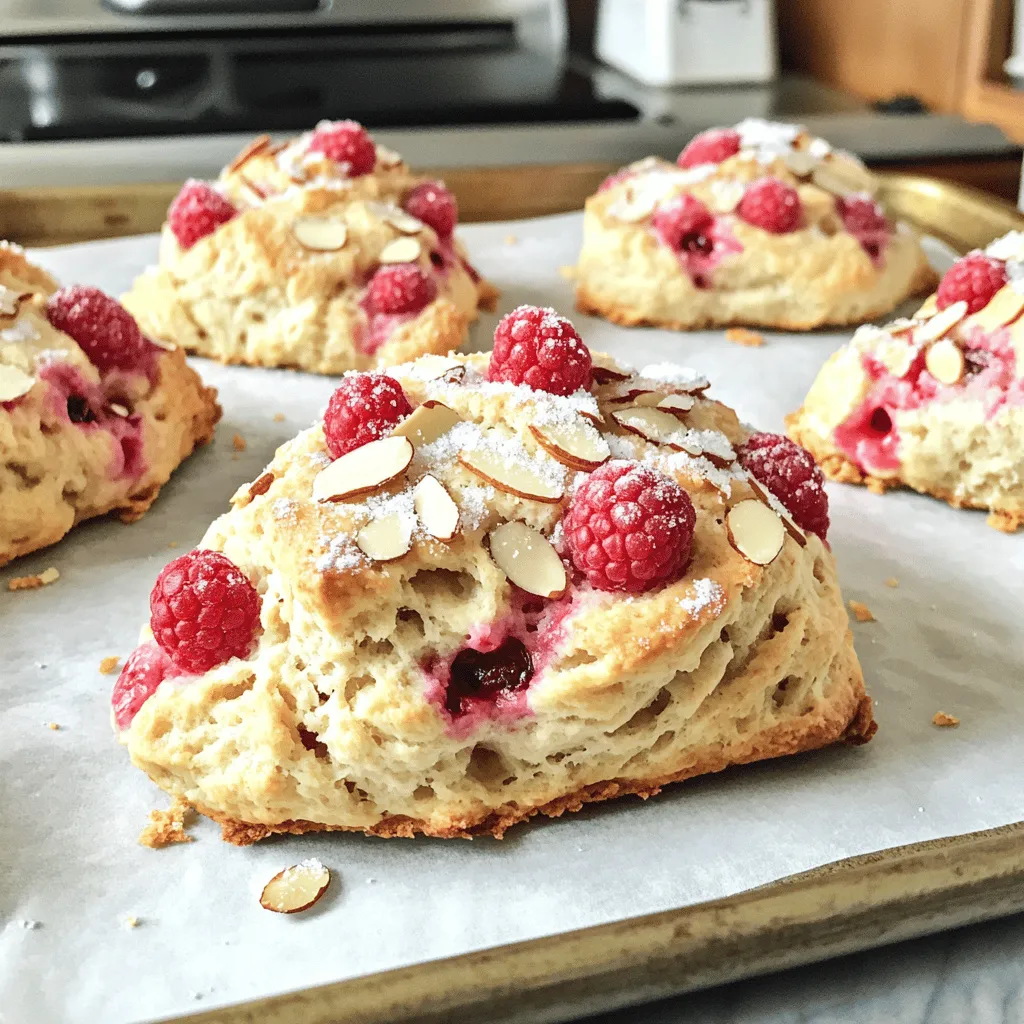
Are you craving warm, flaky bakery-style raspberry almond scones? You’re in the right place! In this simple recipe, I’ll show
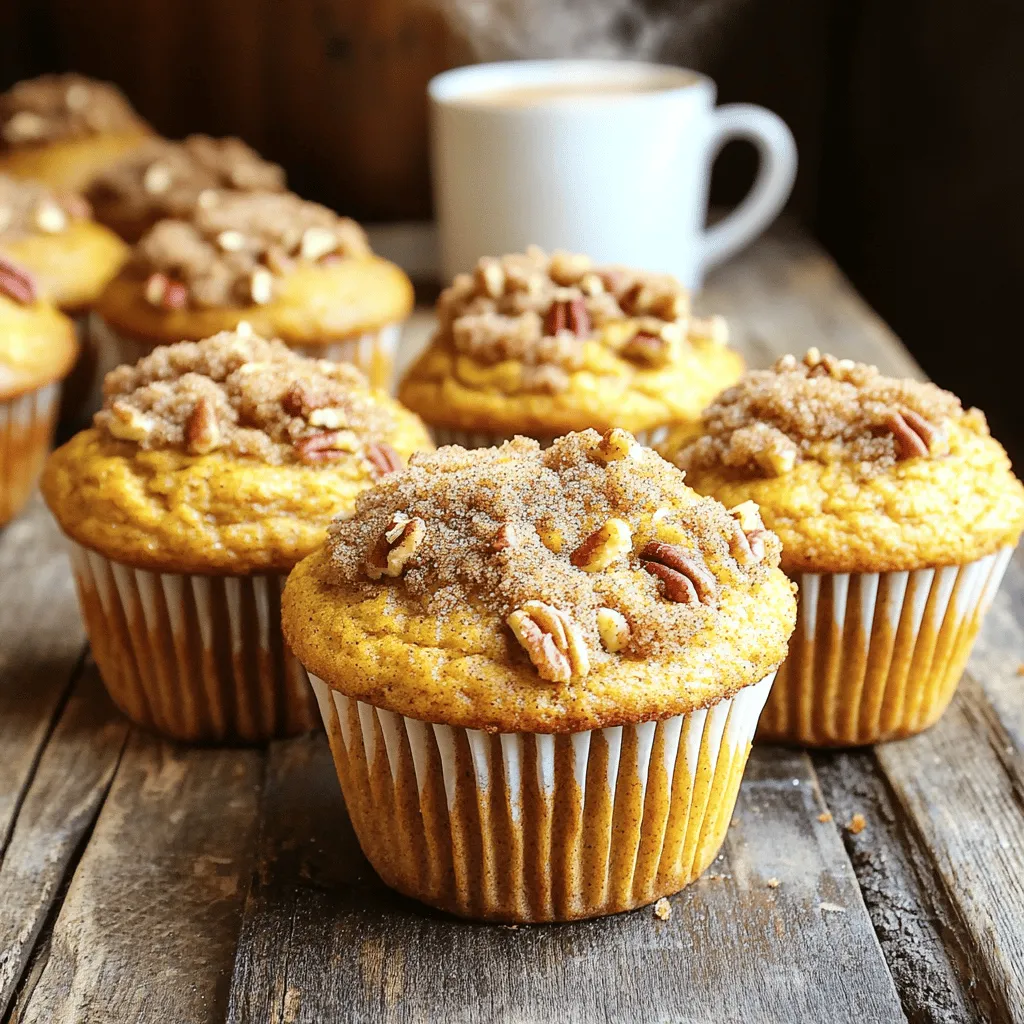
Get ready to embrace fall with my Pumpkin Spice Coffee Cake Muffins! These warm, cozy treats blend the classic flavors

Are you ready to snack smart? You can make crunchy Air Fryer Parmesan Zucchini Chips in no time. In this
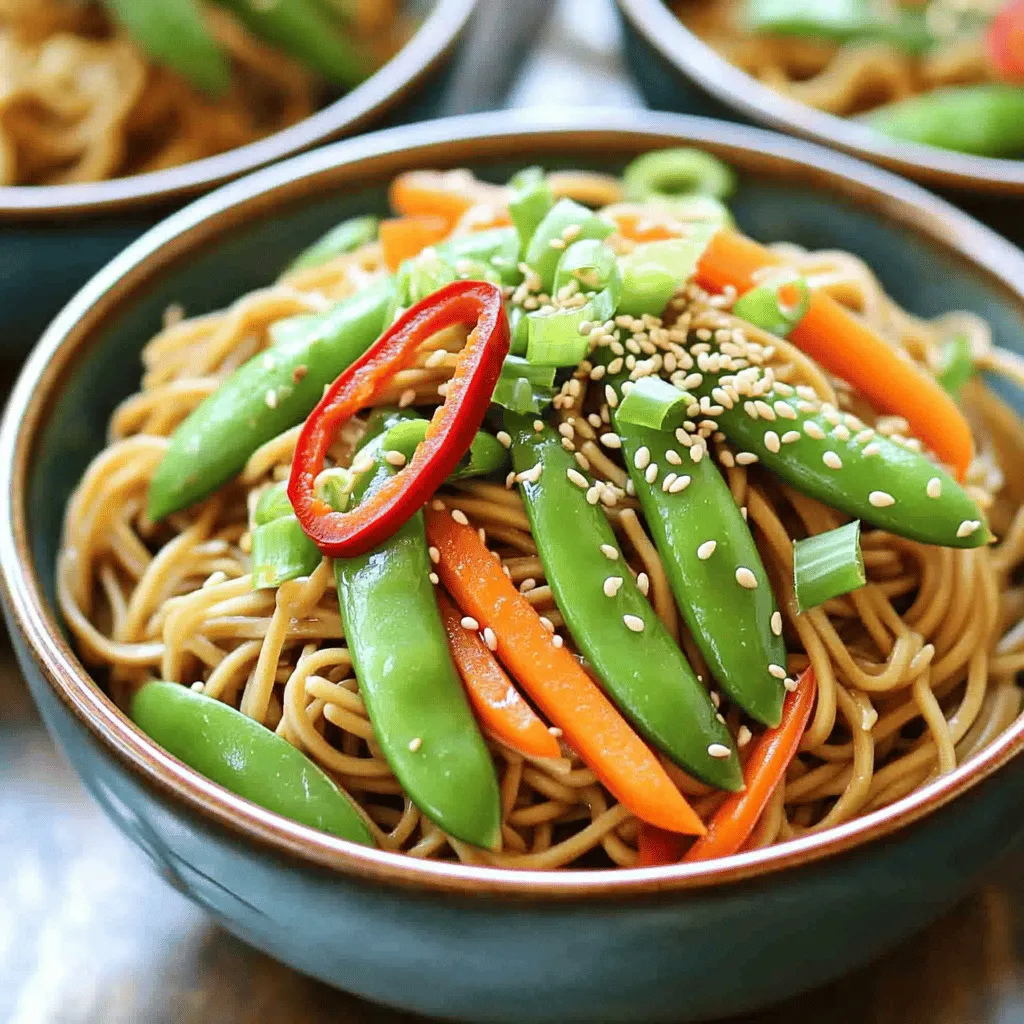
Looking for a quick, tasty meal? Spicy sesame soba noodles fit the bill! Packed with flavor and easy to make,

Are you ready to enjoy a simple yet delicious dish? My Sheet Pan Maple Roasted Sweet Potatoes recipe is quick
