
Sun-Dried Tomato Chicken Skillet Flavorful Dinner Dish
Looking for a quick and tasty dinner? The Sun-Dried Tomato Chicken Skillet is your answer! With juicy chicken, rich sun-dried

Looking for a quick and tasty dinner? The Sun-Dried Tomato Chicken Skillet is your answer! With juicy chicken, rich sun-dried
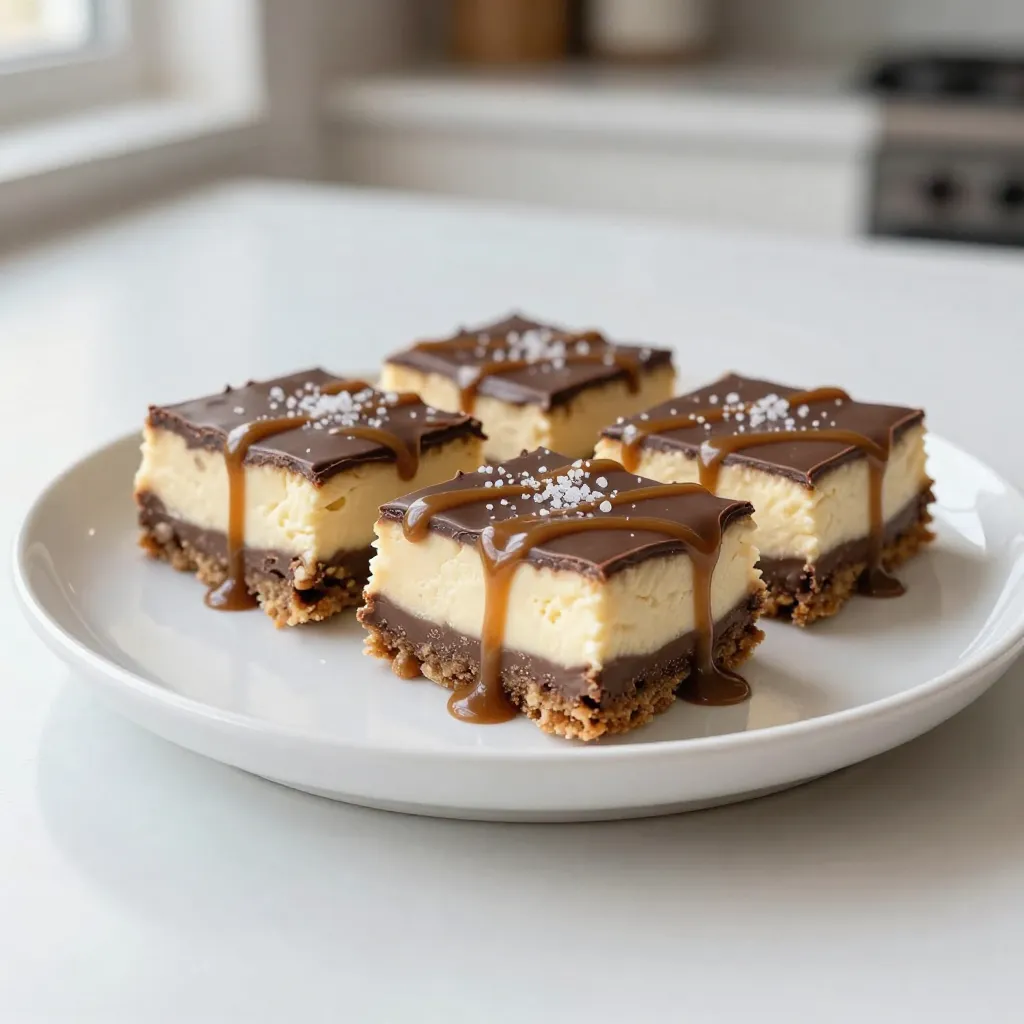
Are you ready to indulge in a dessert that combines rich cheesecake and the iconic Snickers bar? These Snickers Cheesecake
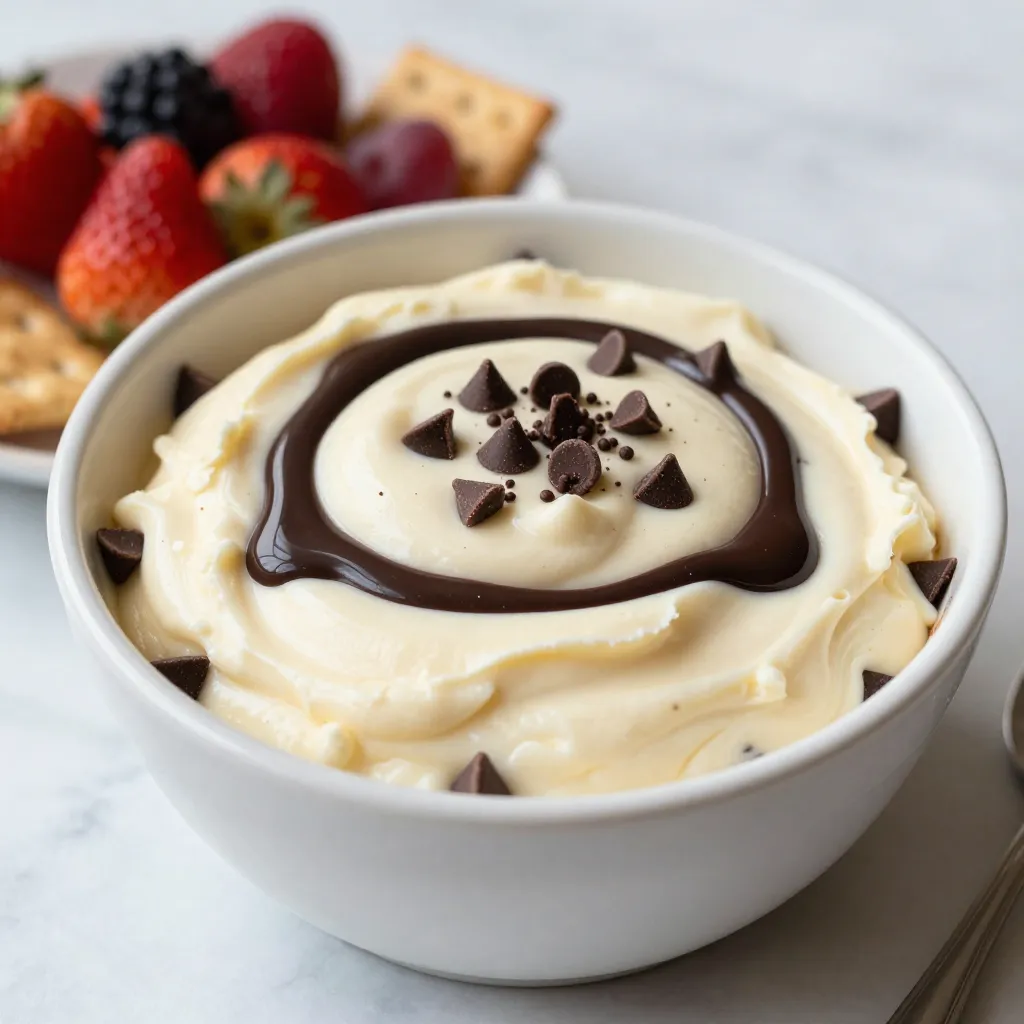
Get ready to indulge in a sweet and creamy delight with my Chocolate Chip Cheesecake Dip! This easy recipe combines
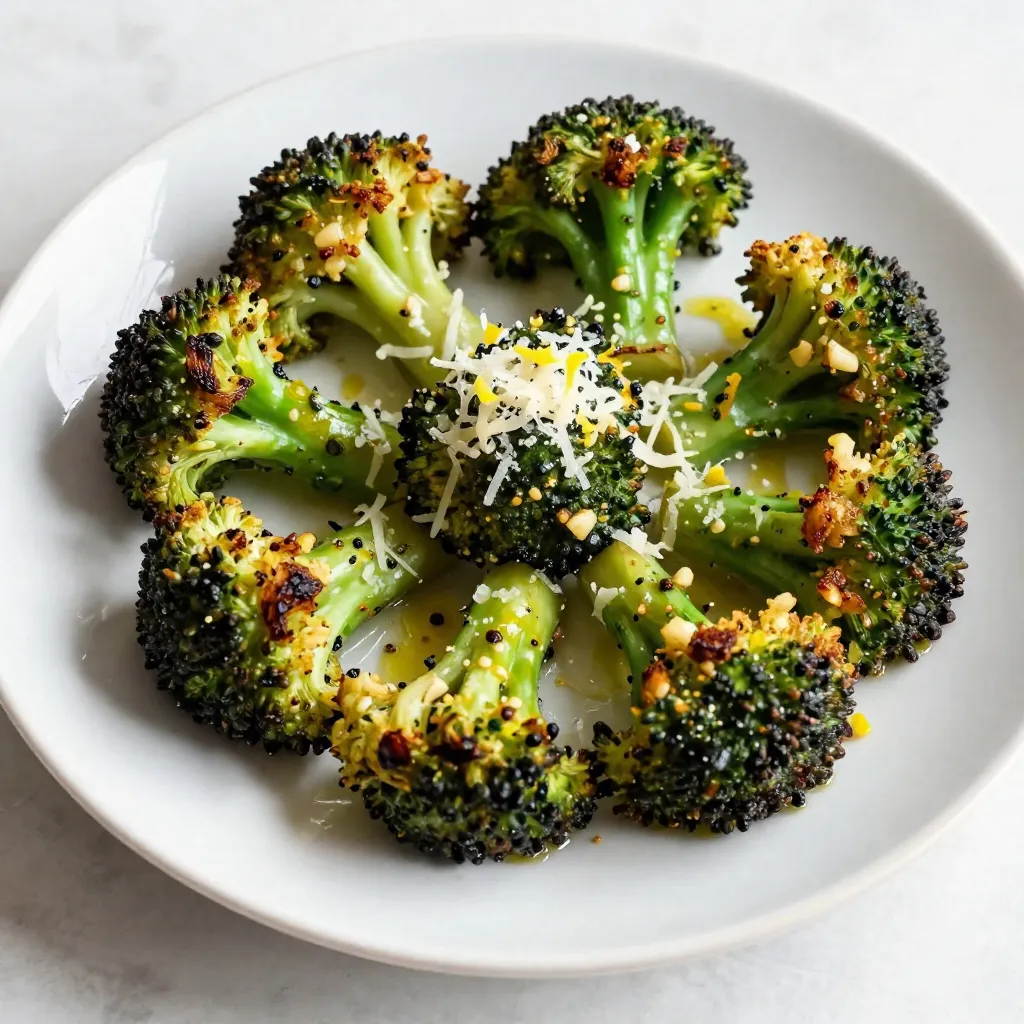
Looking for a tasty side dish that will wow your guests? Garlic Parmesan Roasted Broccoli is your answer! This dish
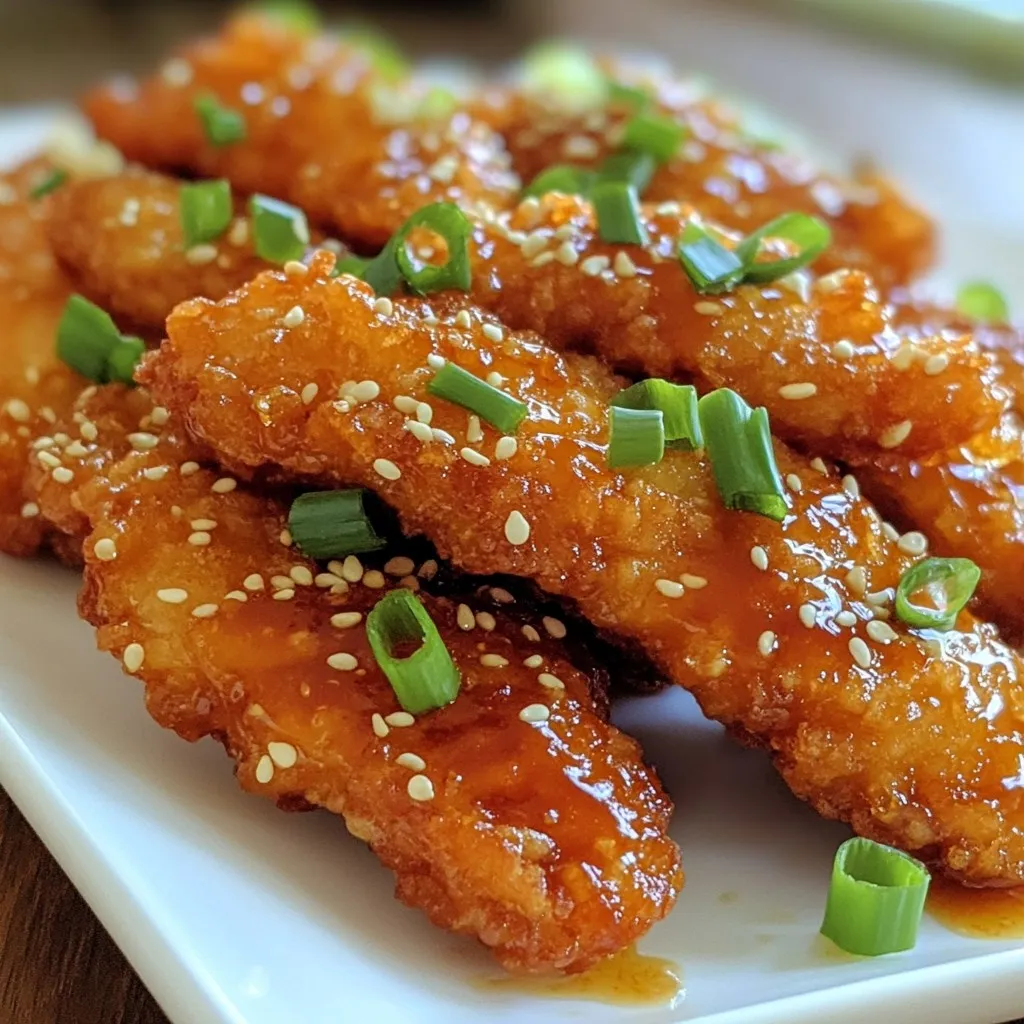
Get ready for a flavor explosion with my Sriracha Honey Chicken Tenders! This simple recipe combines juicy chicken with a
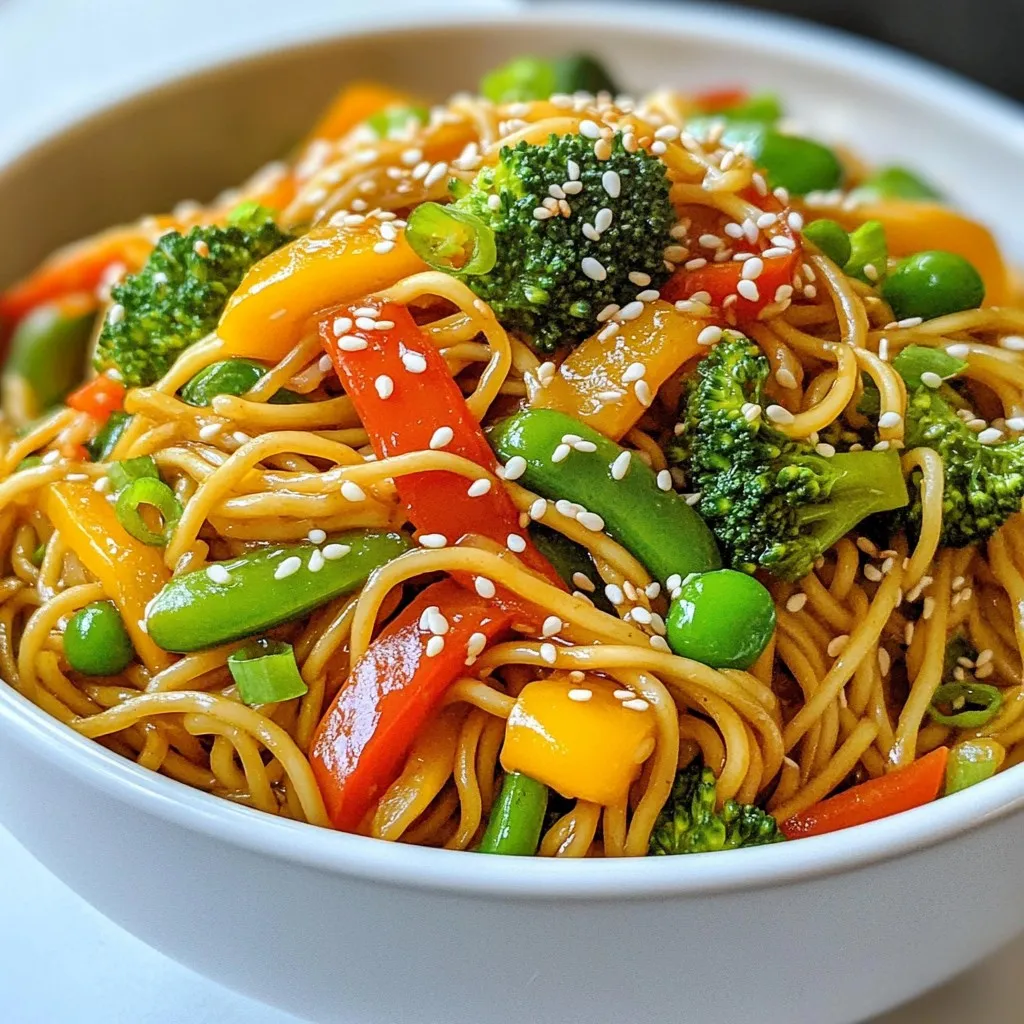
If you’re looking for a quick and tasty meal, I’ve got you covered with my Sesame Ginger Stir-Fry Noodles. This

Craving a bright and fresh dish? My Lemon Herb Couscous Salad is your answer! This vibrant salad bursts with flavors
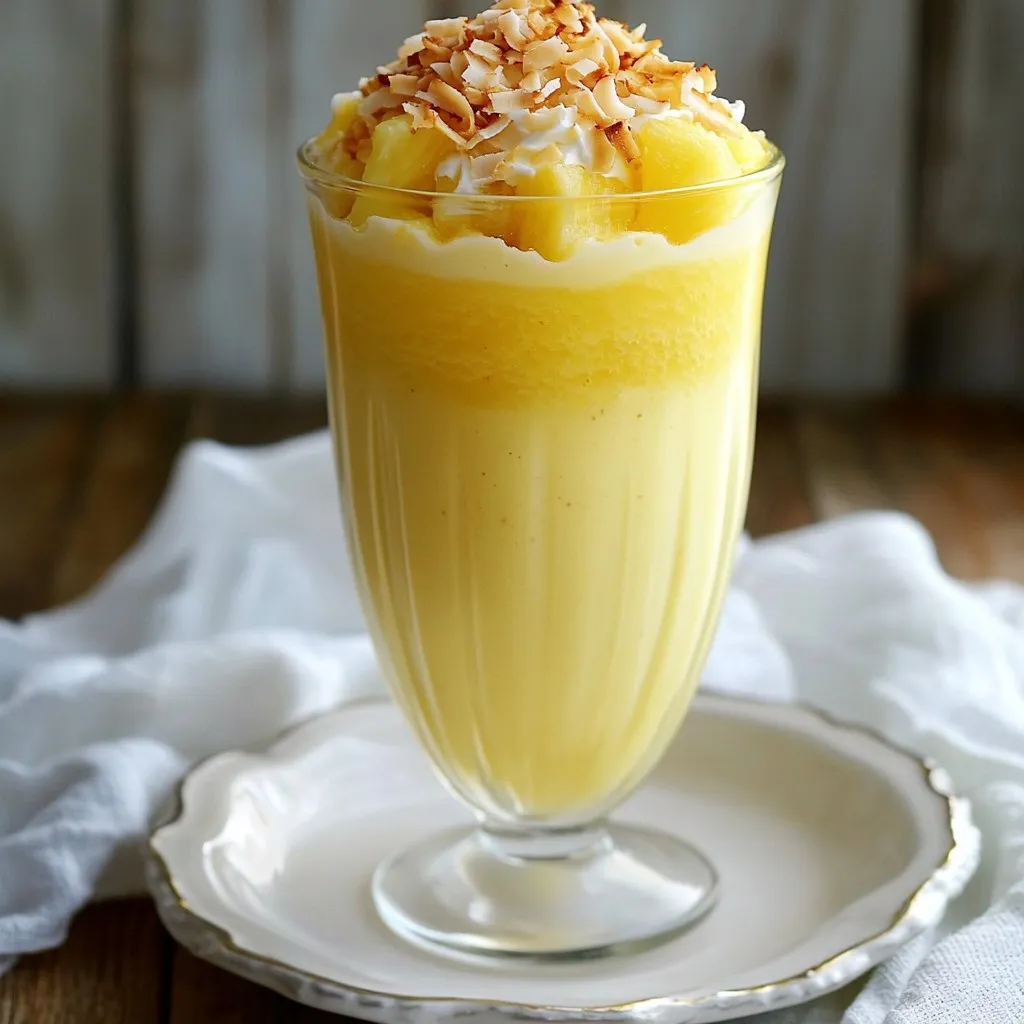
Dive into the sunny goodness of my Tropical Pineapple Coconut Smoothie! This refreshing delight blends fresh pineapple and creamy coconut
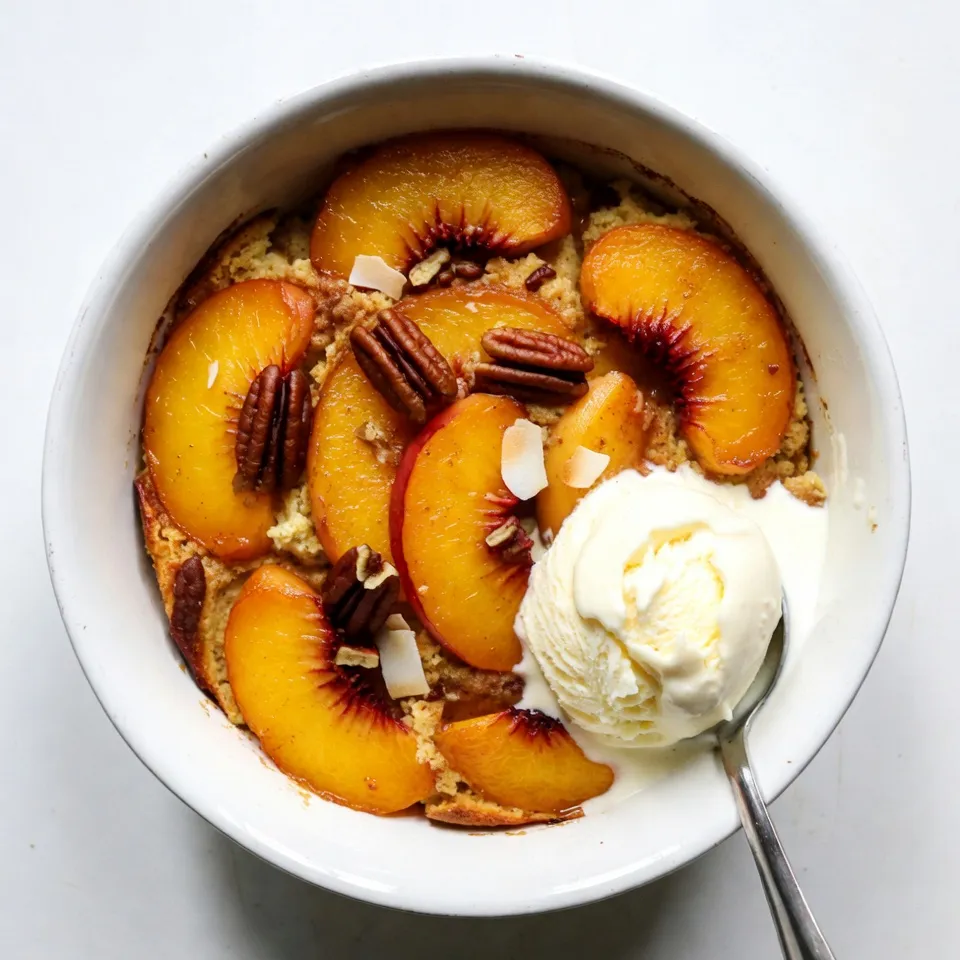
Craving a dessert that’s easy to make and bursting with flavor? You’ve found it! This Peach Cobbler Dump Cake is
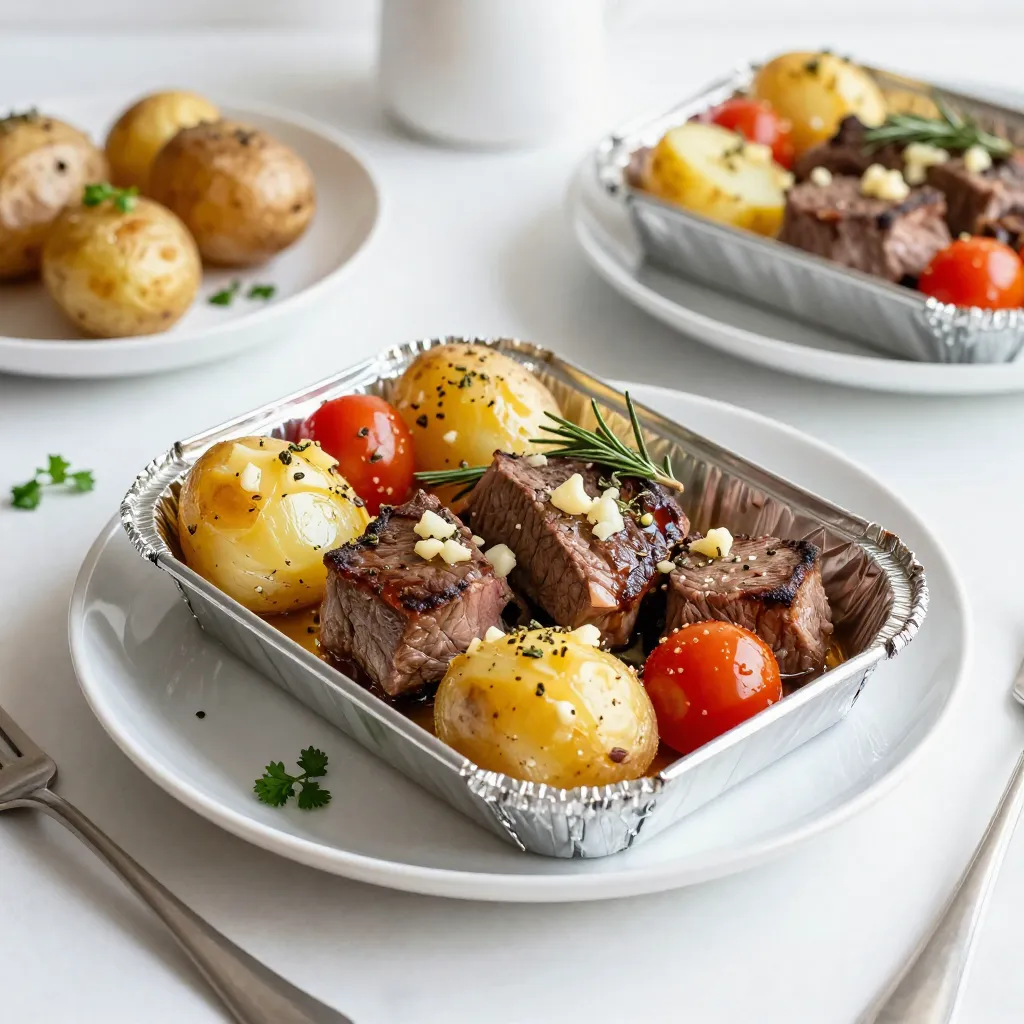
Looking for an easy, flavorful dinner idea? Garlic Butter Steak & Potato Foil Packs are the answer! These packs are
