Minute Sesame Ginger Noodles Easy and Flavorful Recipe
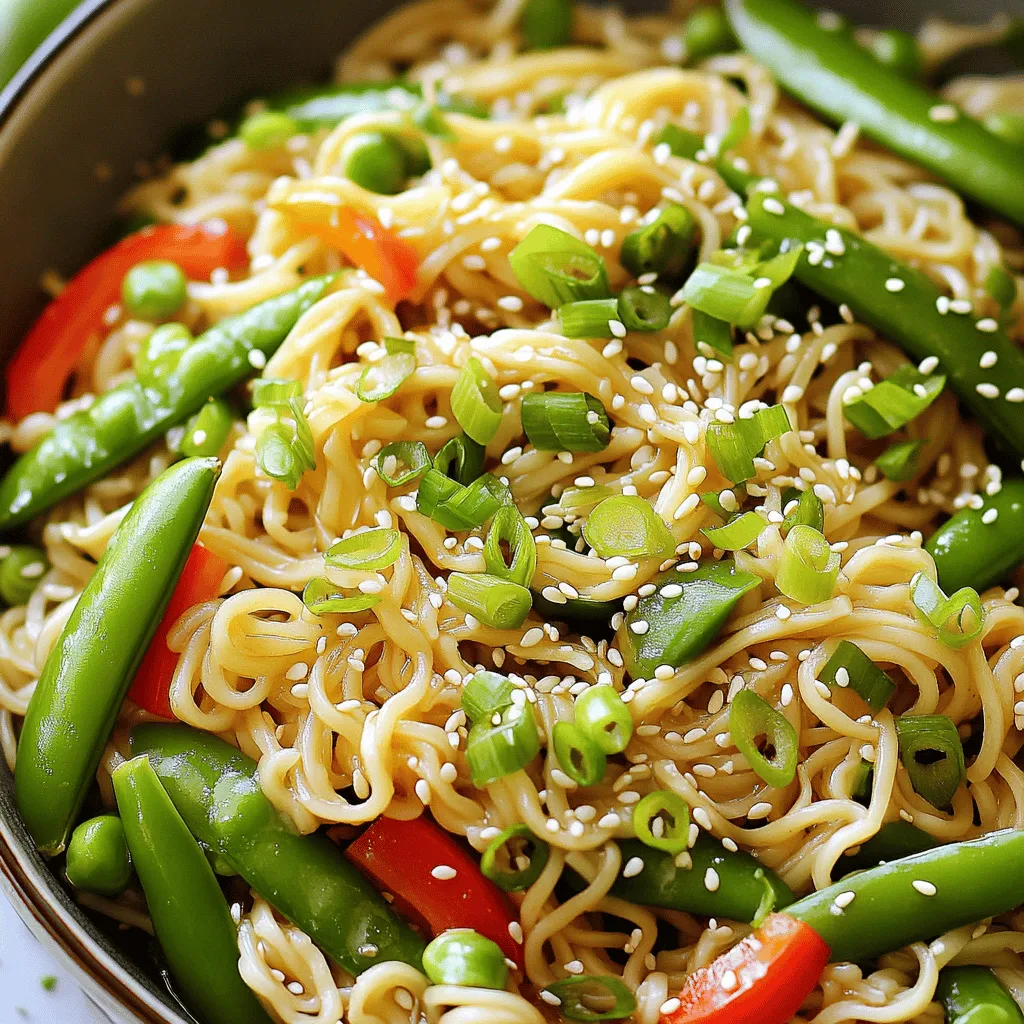
Are you ready for a tasty meal in minutes? My Minute Sesame Ginger Noodles are quick, easy, and packed with

Are you ready for a tasty meal in minutes? My Minute Sesame Ginger Noodles are quick, easy, and packed with

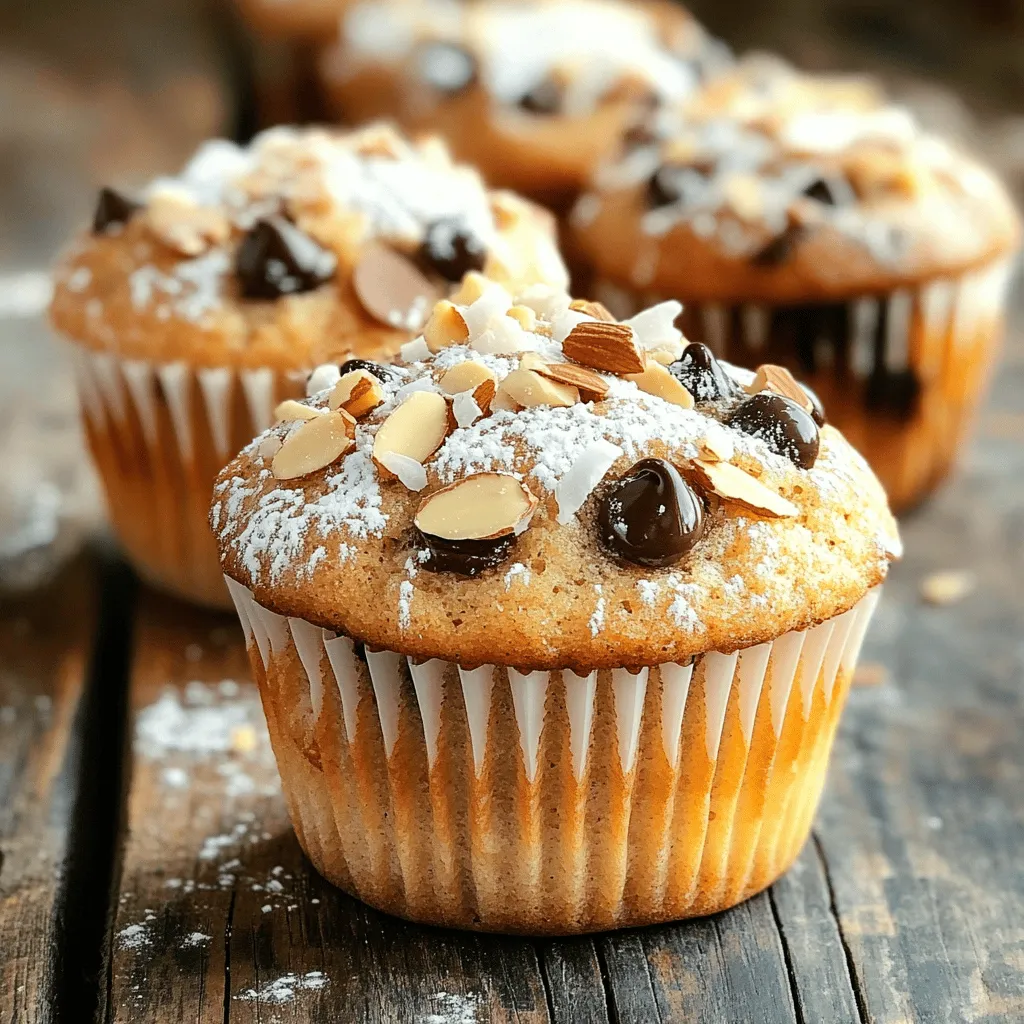
Are you ready to whip up a batch of delicious Chocolate Chip Banana Oatmeal Muffins? These easy treats combine ripe

Welcome to the creamy world of roasted garlic cauliflower soup! If you’re craving comfort with a healthy twist, this recipe
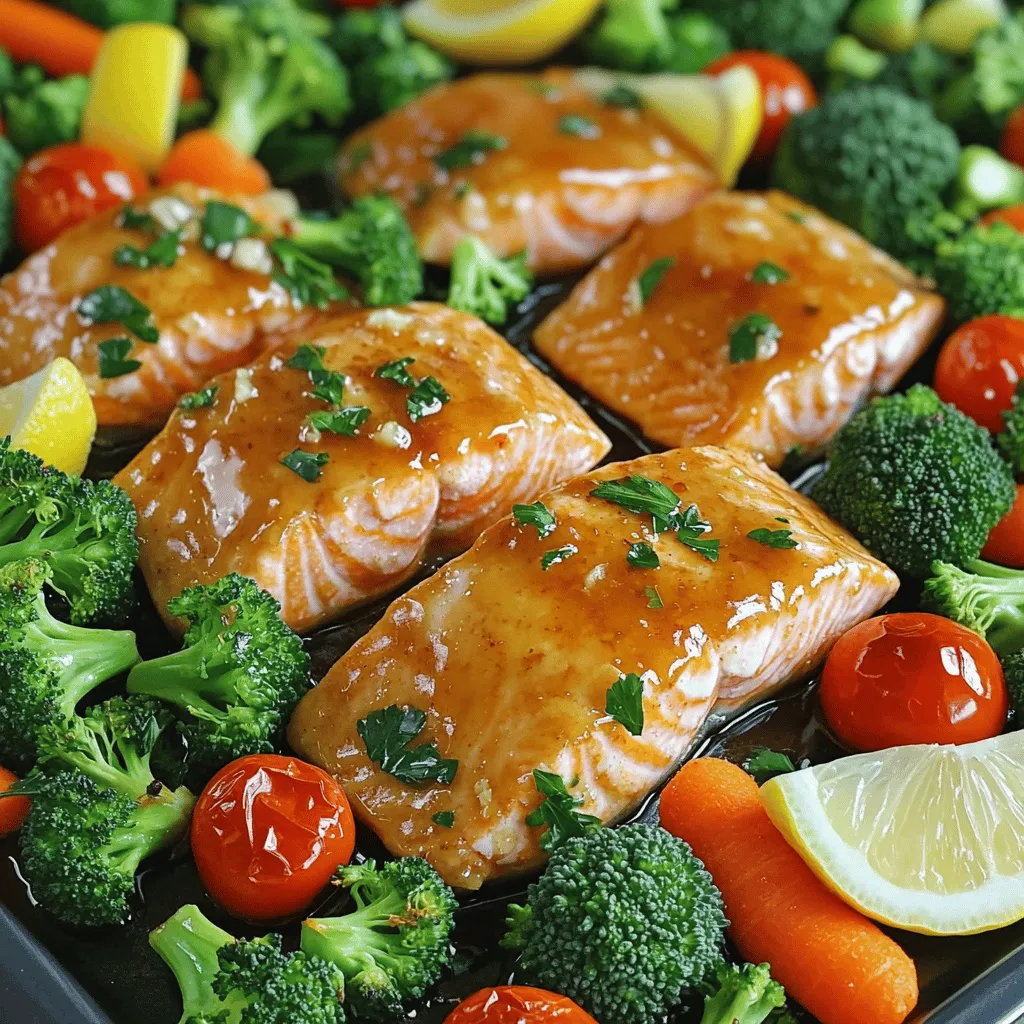
Are you ready to elevate your dinner game? This Honey Garlic Sheet Pan Salmon recipe is quick, easy, and packed

If you love comfort food, you’ll adore this Creamy Chicken Alfredo Pasta Bake. This dish combines rich flavors and cheesy

If you’re looking for a quick and tasty dish, you’ve landed in the right place! My Roasted Red Pepper Feta
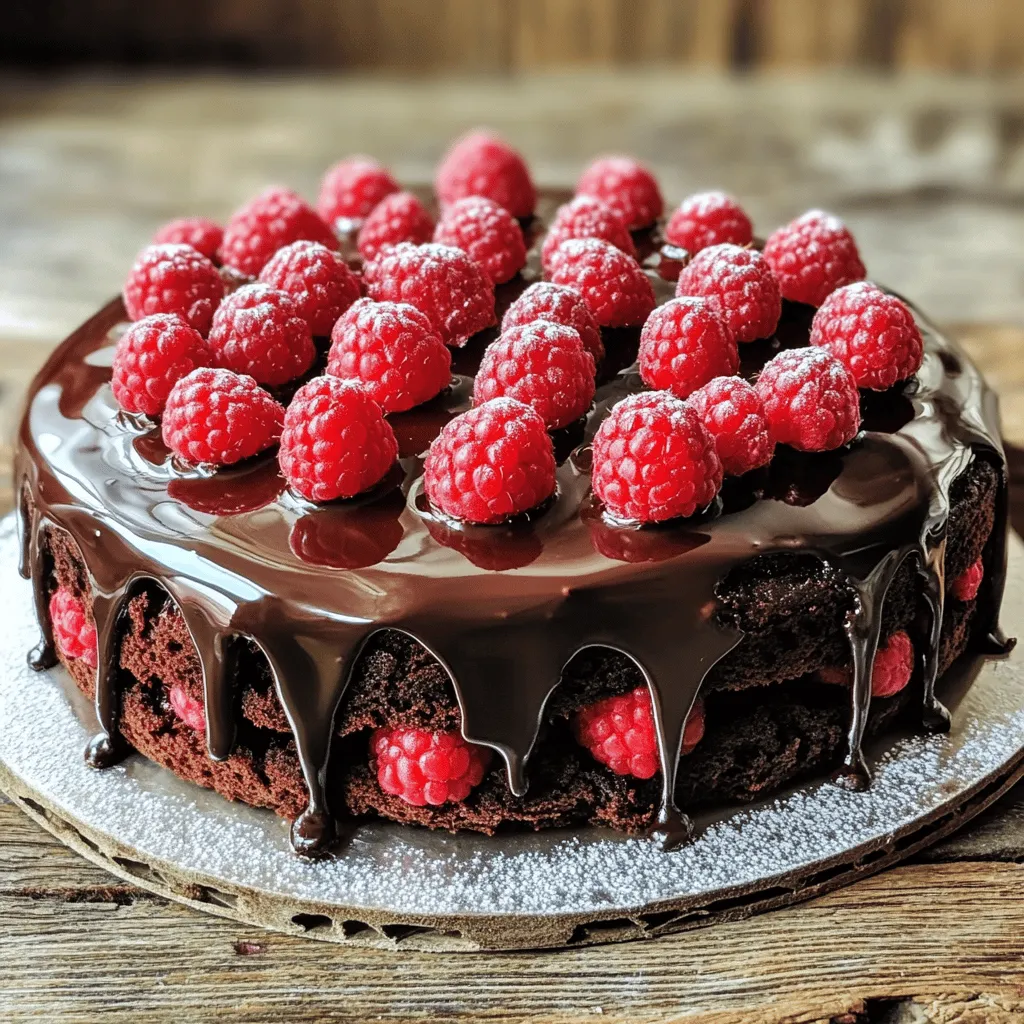
Indulging in a slice of Dark Chocolate Raspberry Truffle Cake is pure bliss! This rich cake combines velvety dark chocolate
Are you ready to indulge in a delightful treat? Almond Joy Muffins bring together all the flavors you love—rich chocolate,
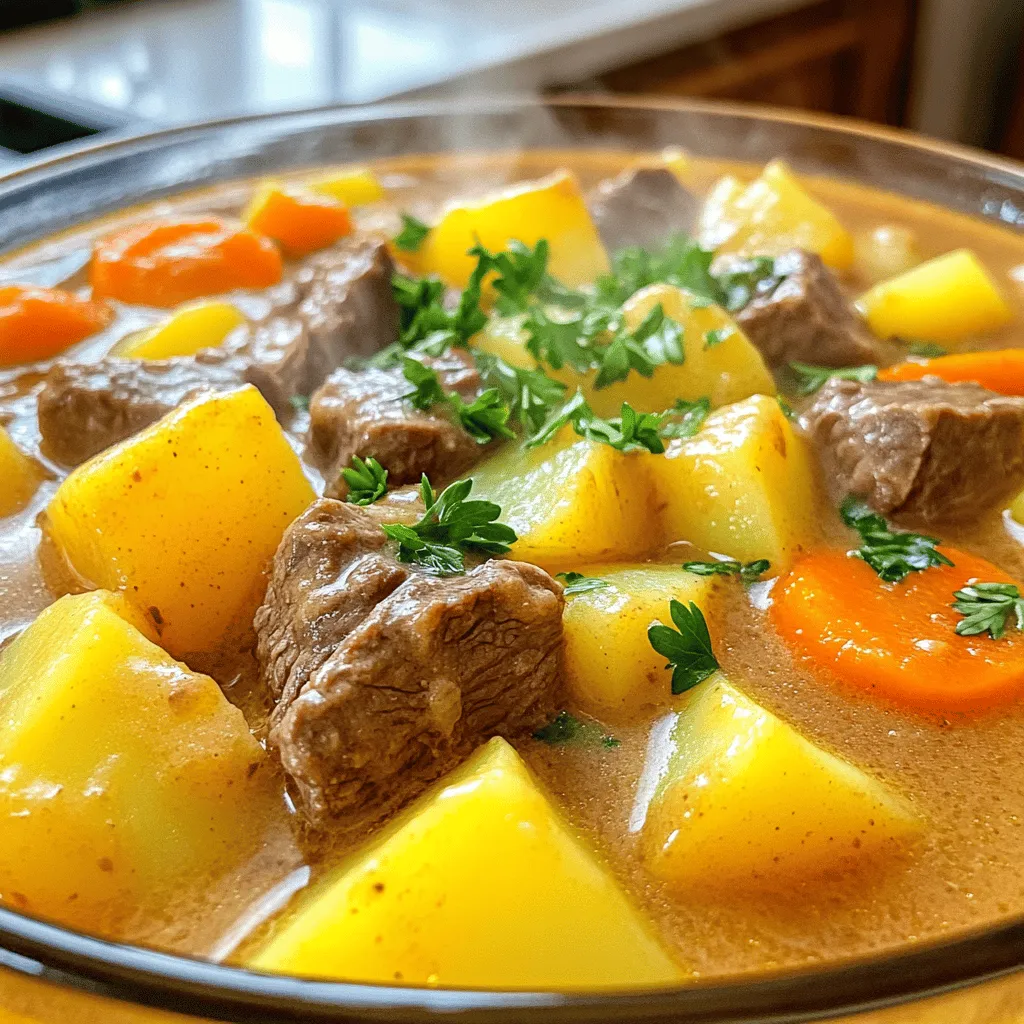
Looking for a comforting meal that warms your heart and fills your belly? You’re in the right place! This Creamy

Are you ready to indulge in a dish that combines crunch with rich flavor? These Crispy Garlic Parmesan Wings are
