
Creamy Avocado Lime Pasta Flavorful and Easy Meal
Looking for a quick meal that bursts with flavor? My Creamy Avocado Lime Pasta is the answer! In just a

Looking for a quick meal that bursts with flavor? My Creamy Avocado Lime Pasta is the answer! In just a
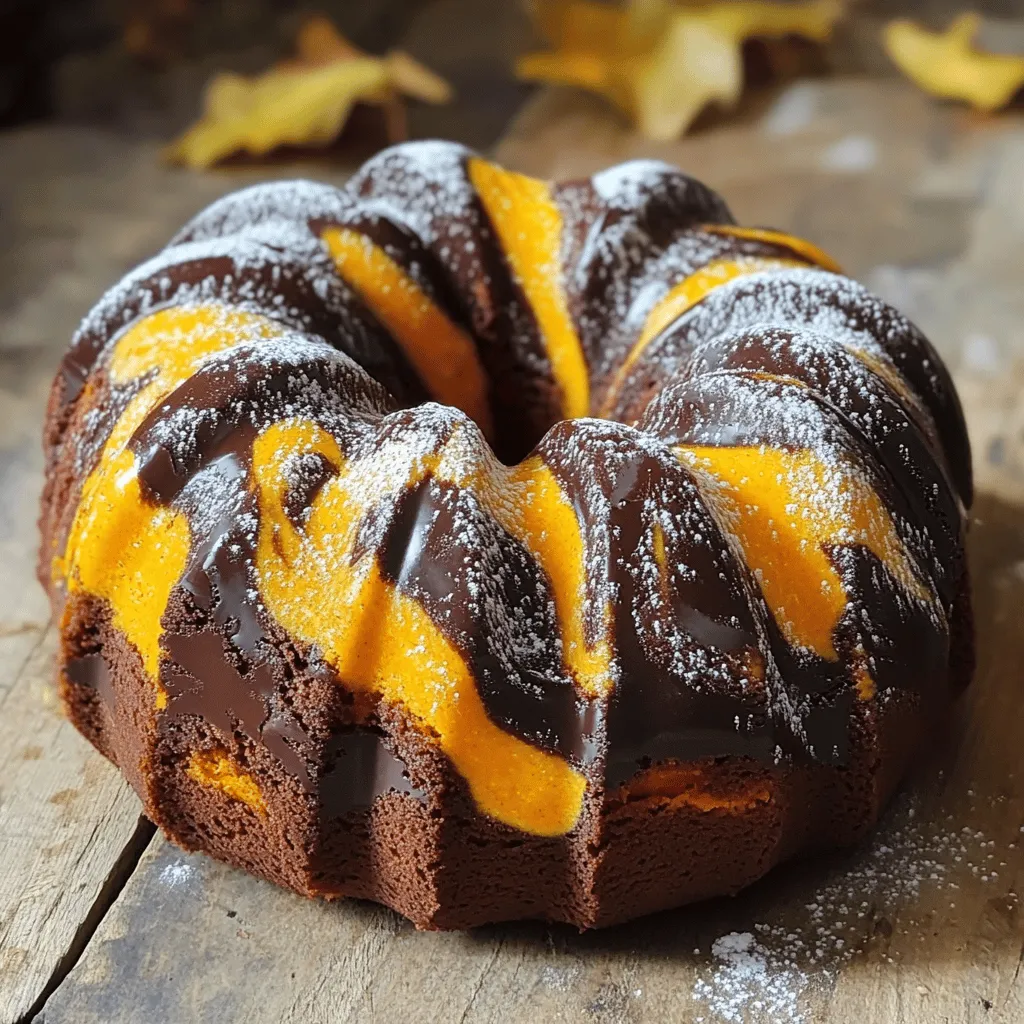
Welcome to your new favorite dessert: the Pumpkin Chocolate Marble Bundt Cake! Picture rich chocolate blending with warm pumpkin spice
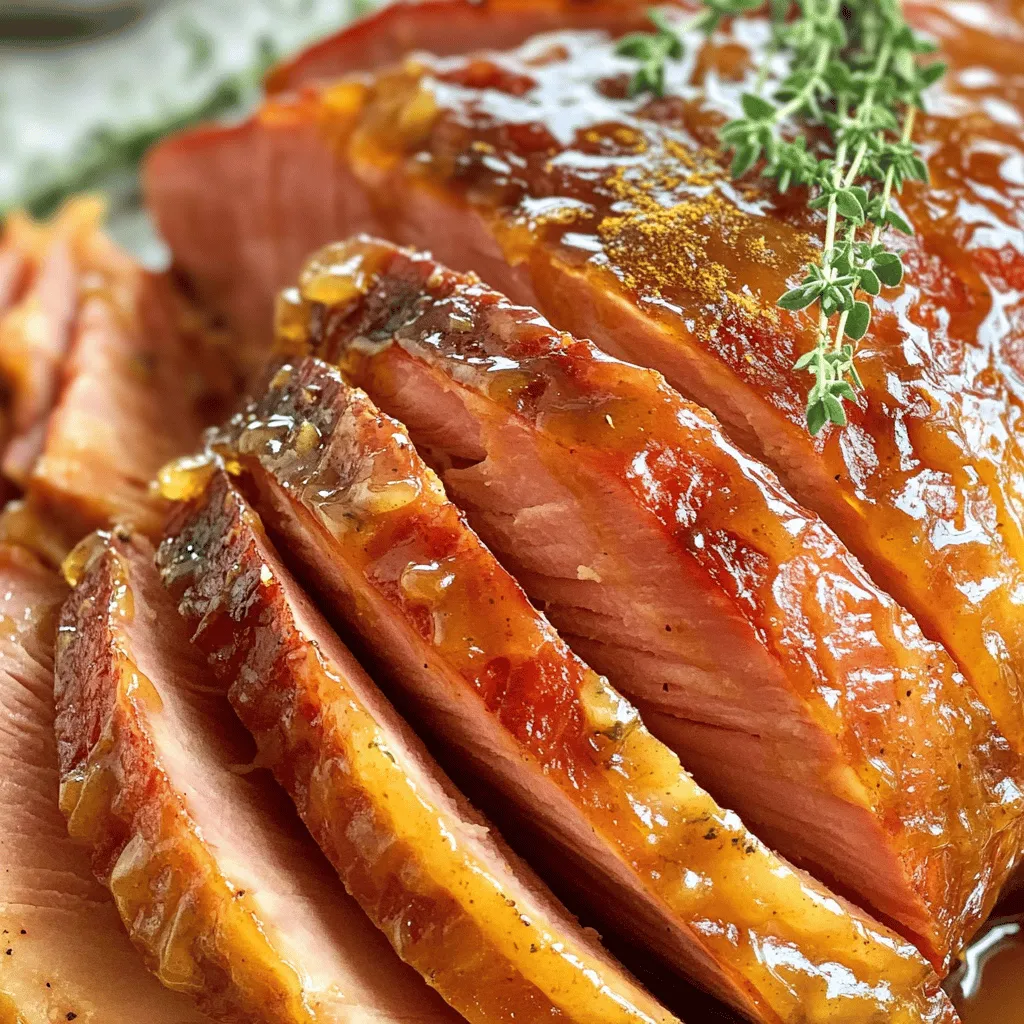
If you’re looking to impress at your next gathering, look no further. This Maple Glazed Ham in a slow cooker
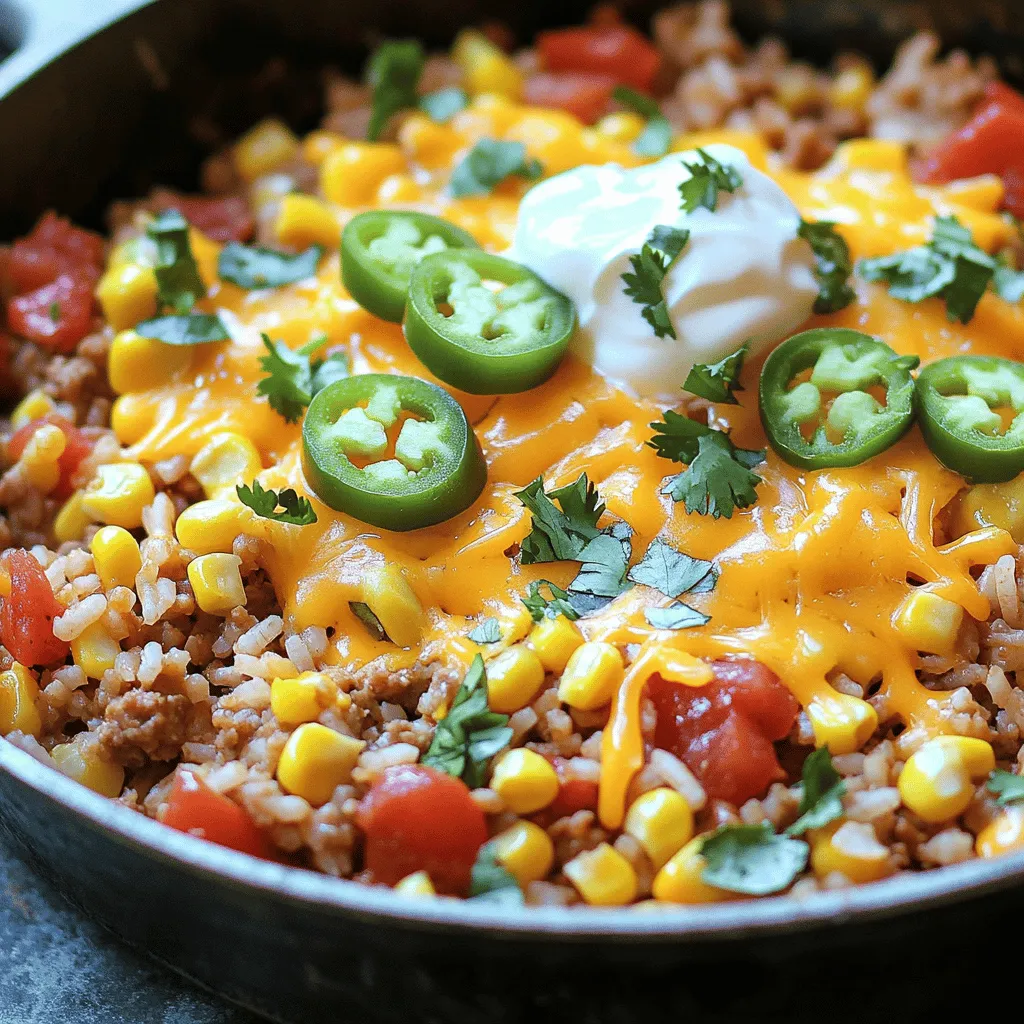
Do you need a quick and tasty meal? Look no further than my Cheesy Taco Rice Skillet! This easy one-pot

If you’re craving a warm, gooey delight, you’ll love this Cinnamon Apple Monkey Bread recipe. It’s easy to make and
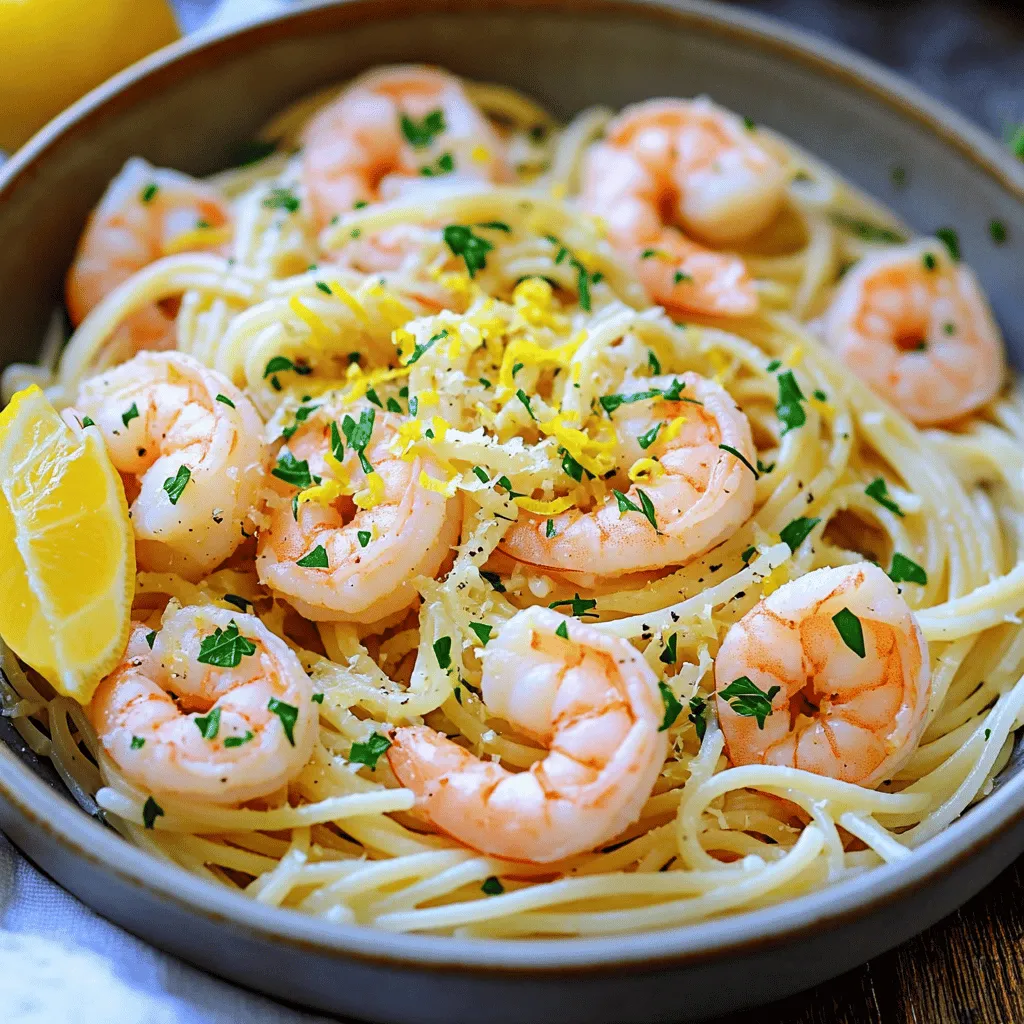
Looking for a simple yet delicious meal? Try my Lemon Garlic Shrimp Linguine! This dish combines fresh shrimp, tangy lemon,

Looking for a quick and tasty meal? Try making Air Fryer BBQ Chicken Flatbreads! With just a few simple ingredients
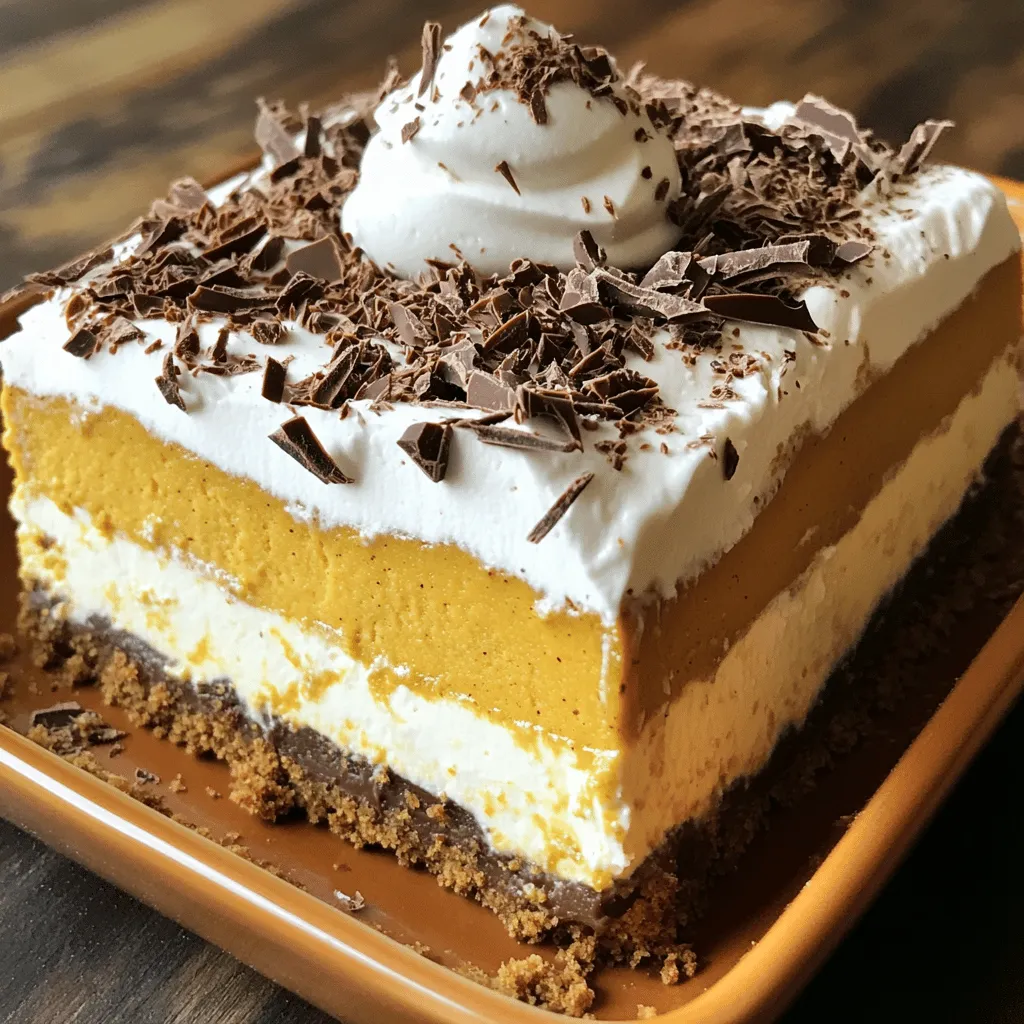
If you’re craving a dessert that blends creamy cheesecake with the warmth of pumpkin, you’ve found it! This Pumpkin Cheesecake
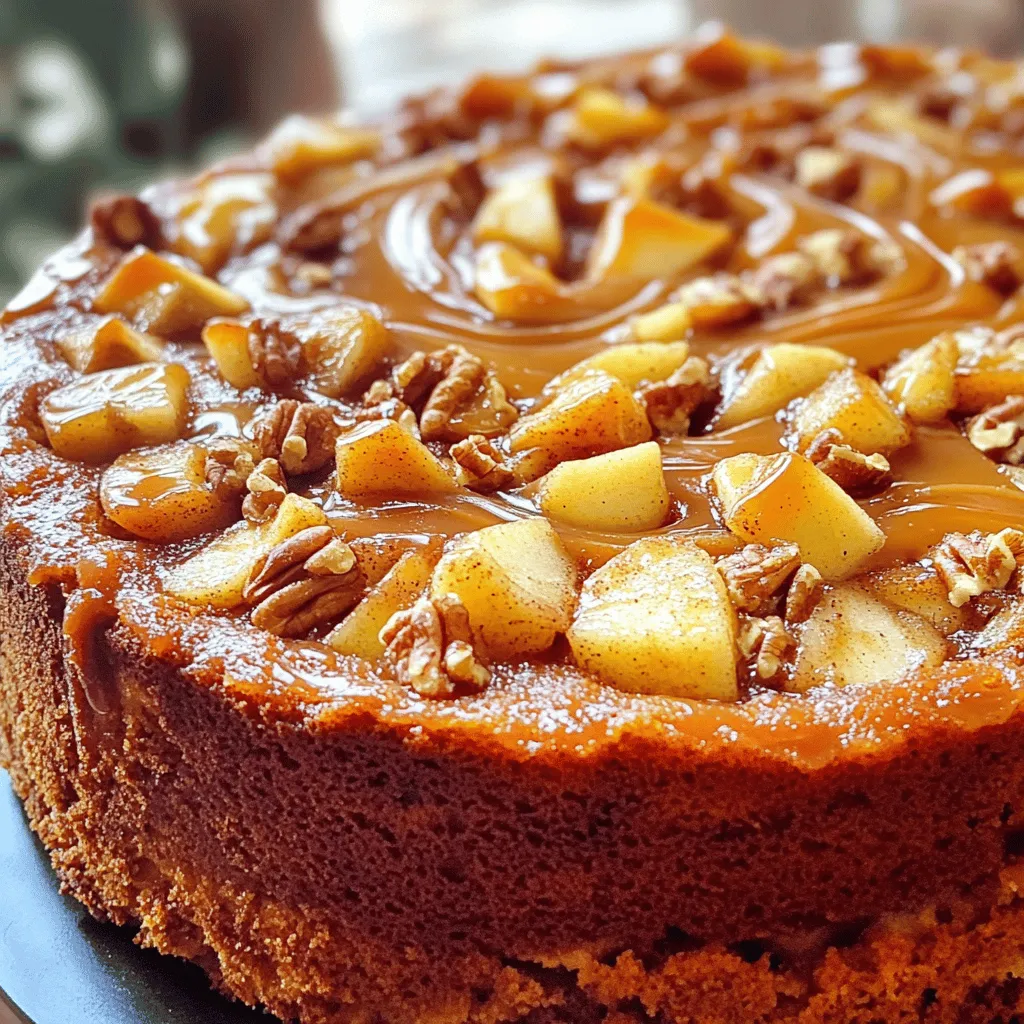
Are you ready to indulge in a sweet treat? This Caramel Apple Cinnamon Coffee Cake is the ultimate dessert for

Are you ready for a dessert that takes your taste buds on a sweet adventure? Strawberry Crunch Cheesecake Tacos are
