Slow Cooker Sweet and Sour Chicken Easy Family Meal
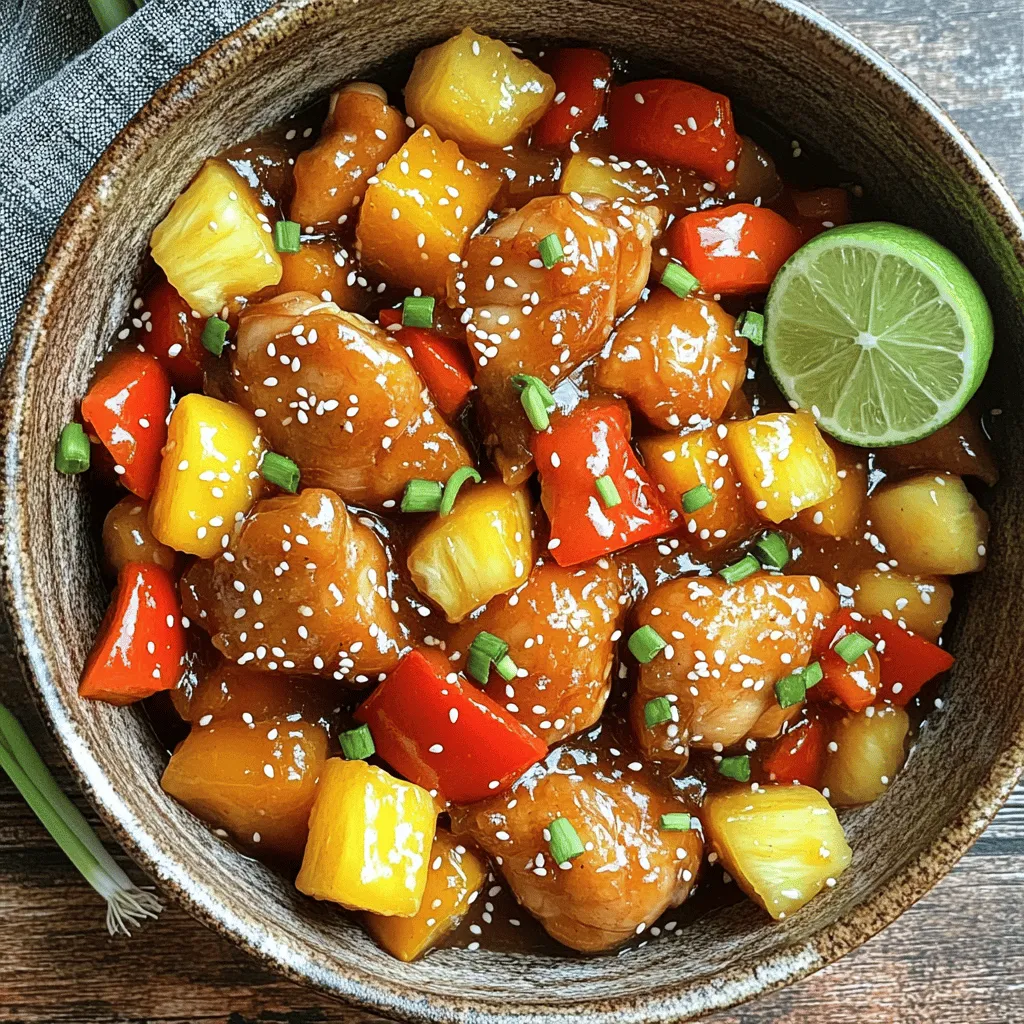
Looking for a simple, tasty meal your whole family will love? You’re in the right place! My Slow Cooker Sweet

Looking for a simple, tasty meal your whole family will love? You’re in the right place! My Slow Cooker Sweet

If you love the sweet taste of ripe bananas and rich chocolate, you’re in for a treat! In this article,
Craving a savory snack that’s both crispy and full of flavor? You’re in the right place! Let’s dive into making

Are you ready to create a simple and tasty meal? In this blog post, you’ll learn how to make Sheet

Get ready to indulge in a sweet autumn treat like no other! My No Bake Pumpkin Cheesecake Trifles are quick
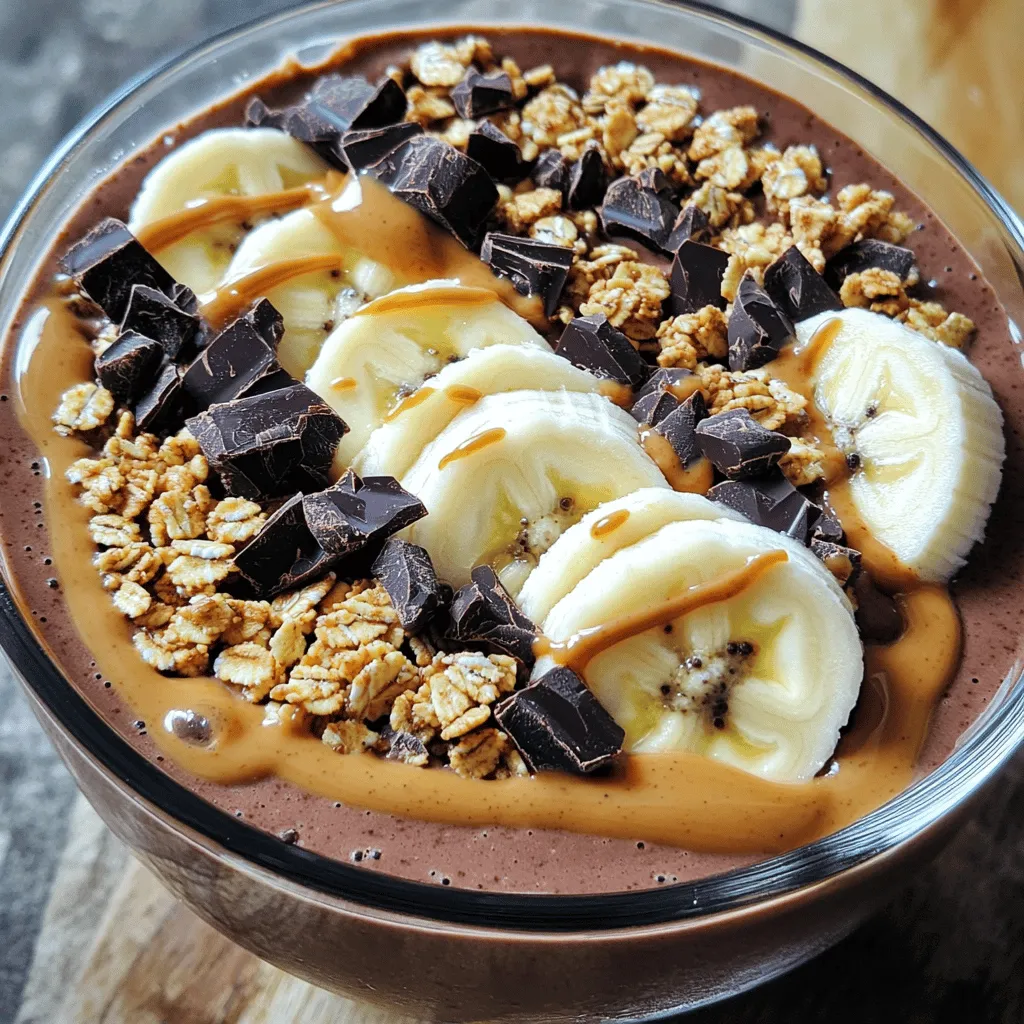
Are you craving something delicious that’s also packed with protein? Look no further! My Protein Peanut Butter Cup Smoothie Bowl
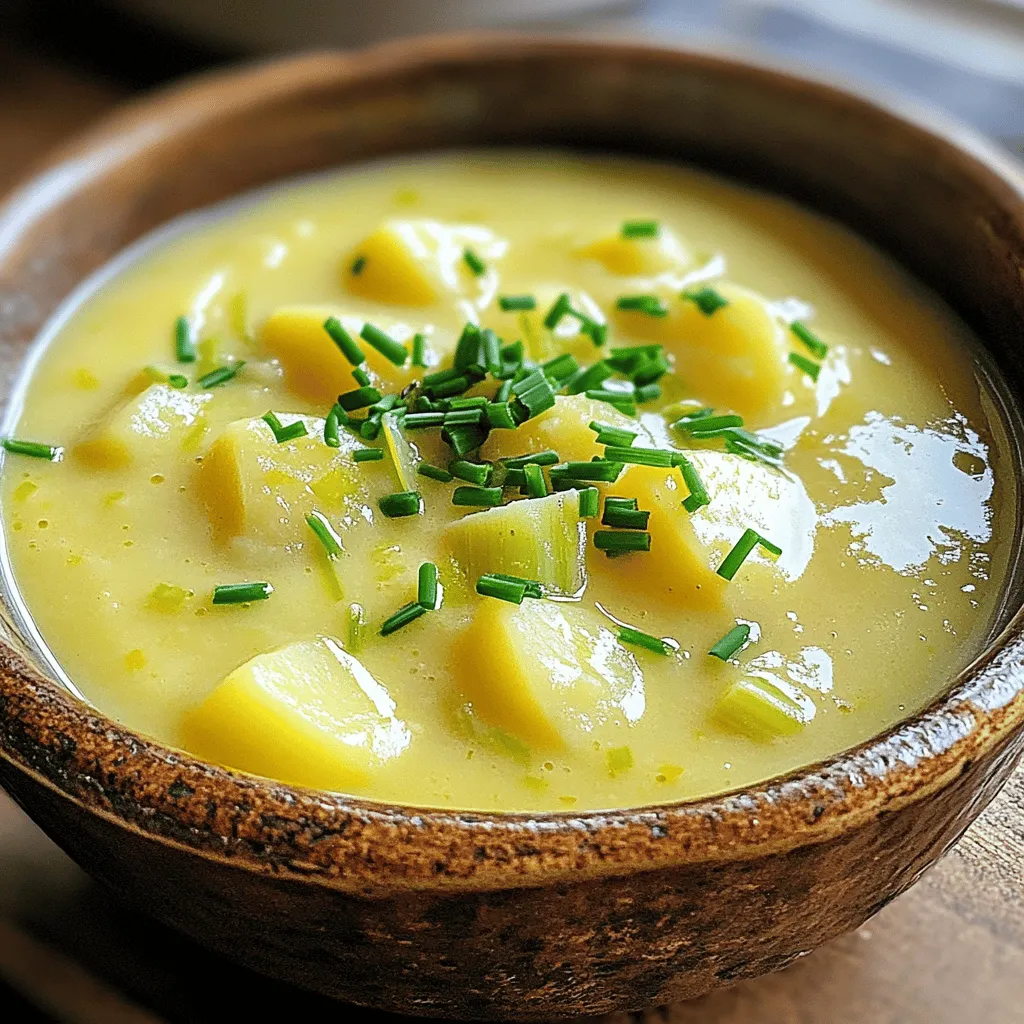
If you crave a warm, comforting bowl of soup, you’re in the right place! This Savory Slow Cooker Potato Leek

Get ready for a tasty treat with my Air Fryer Buffalo Chicken Bites! These bites are crispy, flavorful, and easy
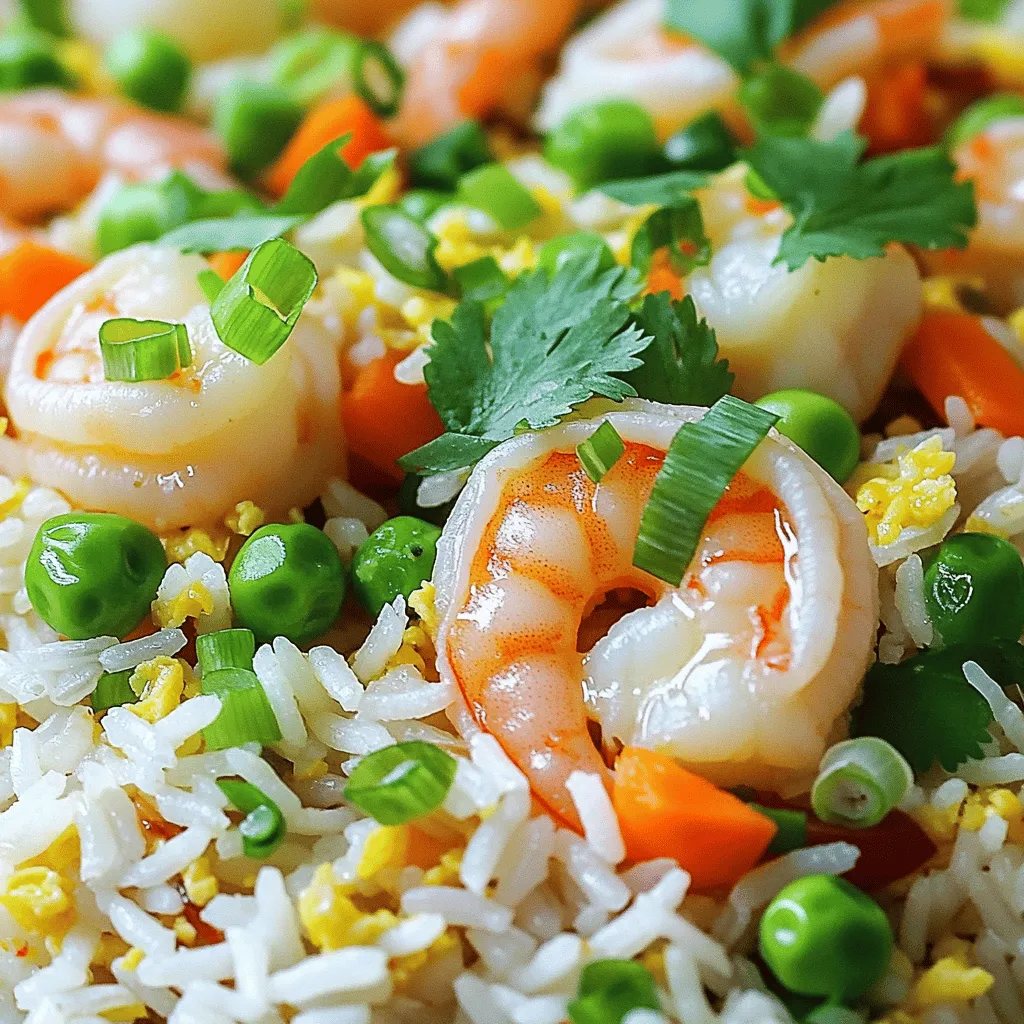
Are you ready to add a burst of flavor to your dinner? My Minute Garlic Butter Shrimp Fried Rice is
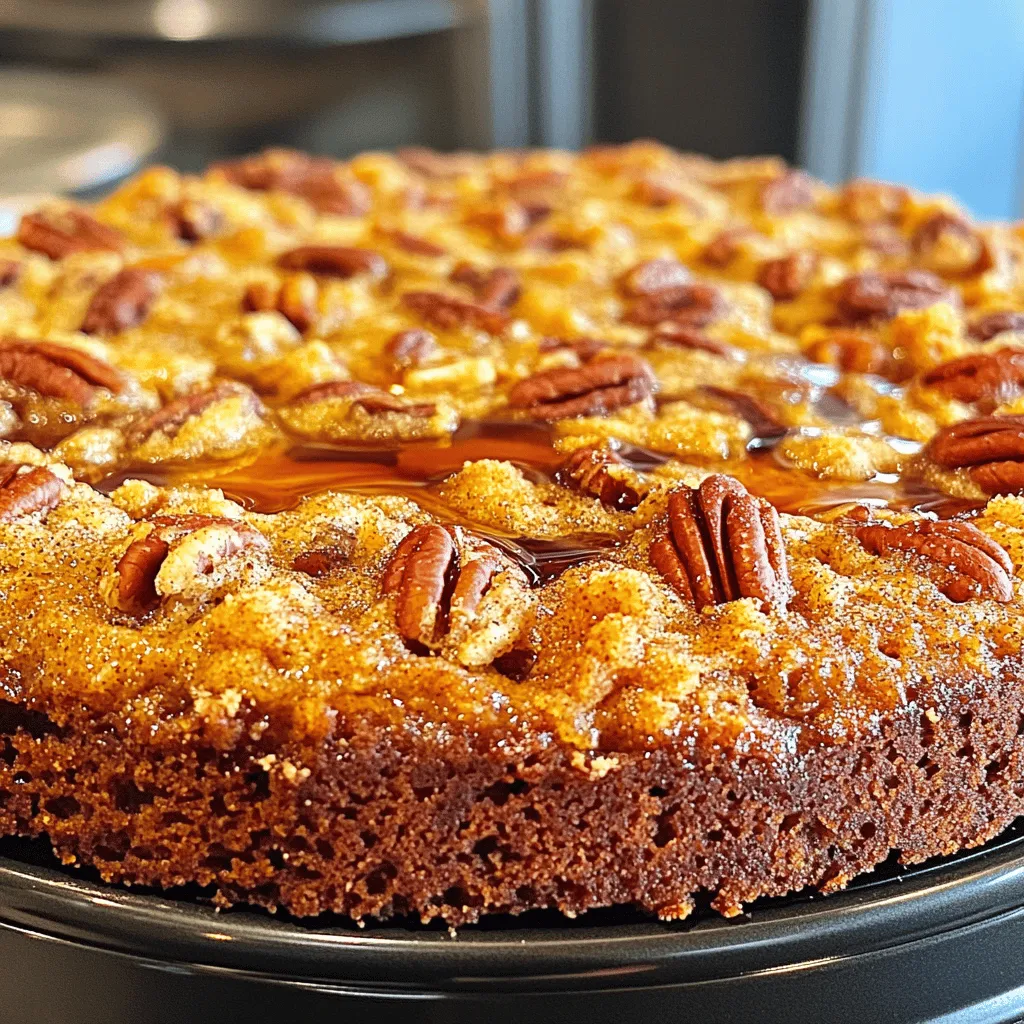
Imagine waking up to the warm, inviting aroma of Maple Pecan Crumb Coffee Cake. This delightful treat combines the rich
