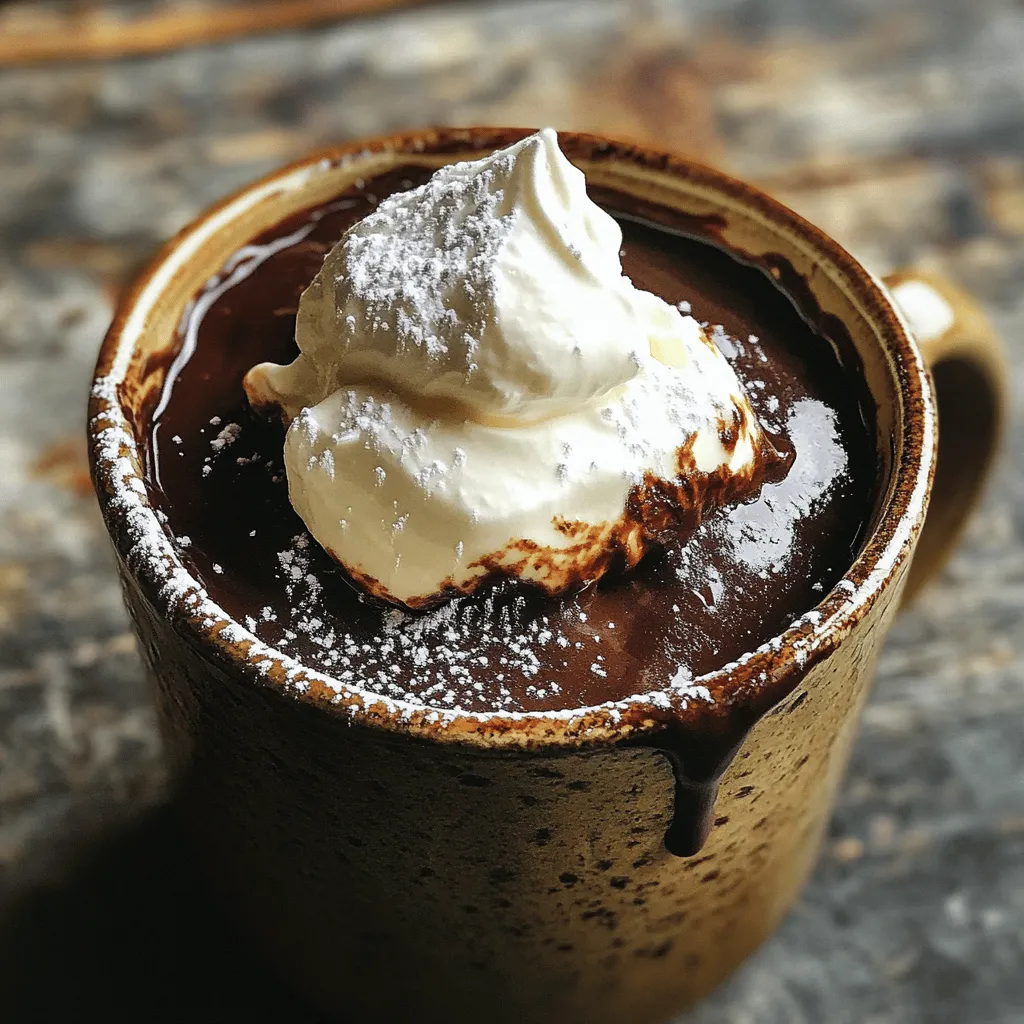
Cottage Cheese Chocolate Mug Cake Easy Dessert Recipe
Craving something sweet but short on time? You’ll love this Cottage Cheese Chocolate Mug Cake recipe! It’s easy, quick, and

Craving something sweet but short on time? You’ll love this Cottage Cheese Chocolate Mug Cake recipe! It’s easy, quick, and
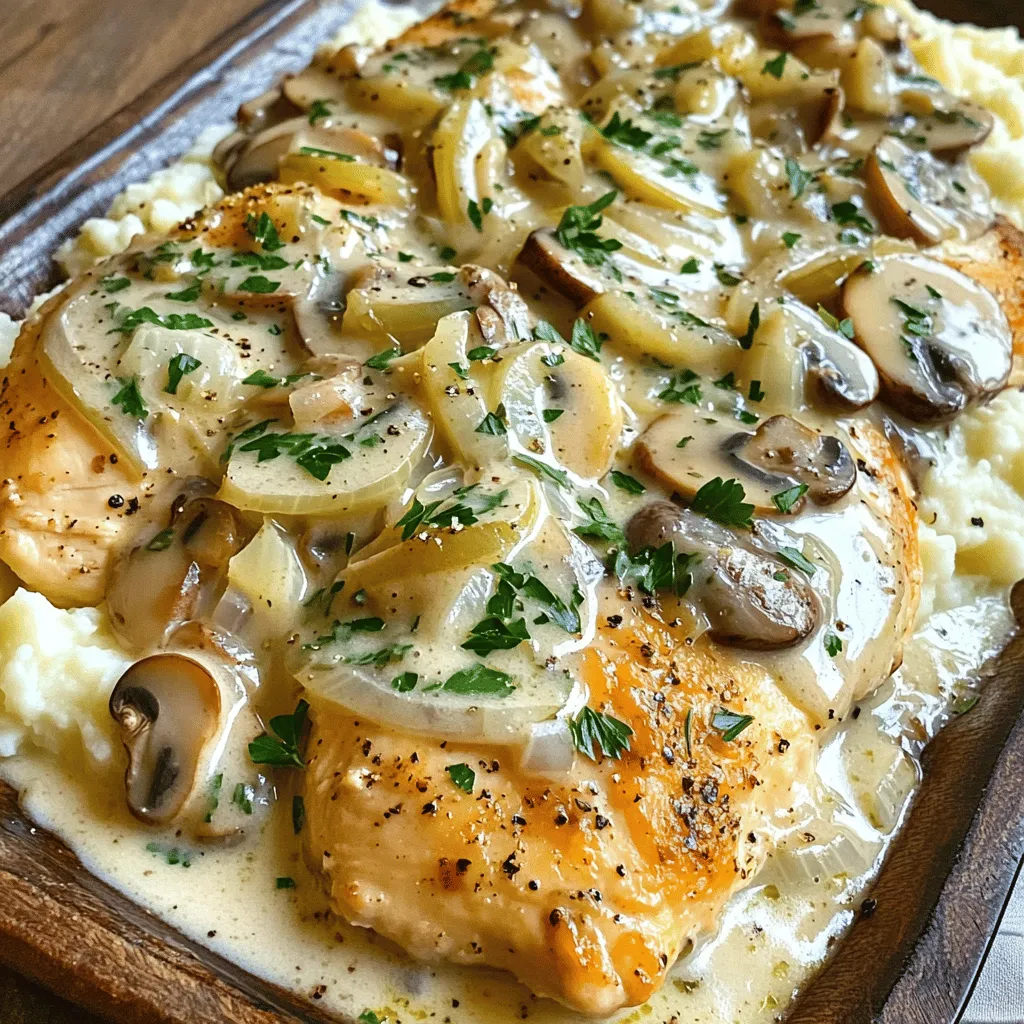
If you’re looking for an easy, creamy dish that warms the soul, you’ve hit the jackpot! In this blog post,
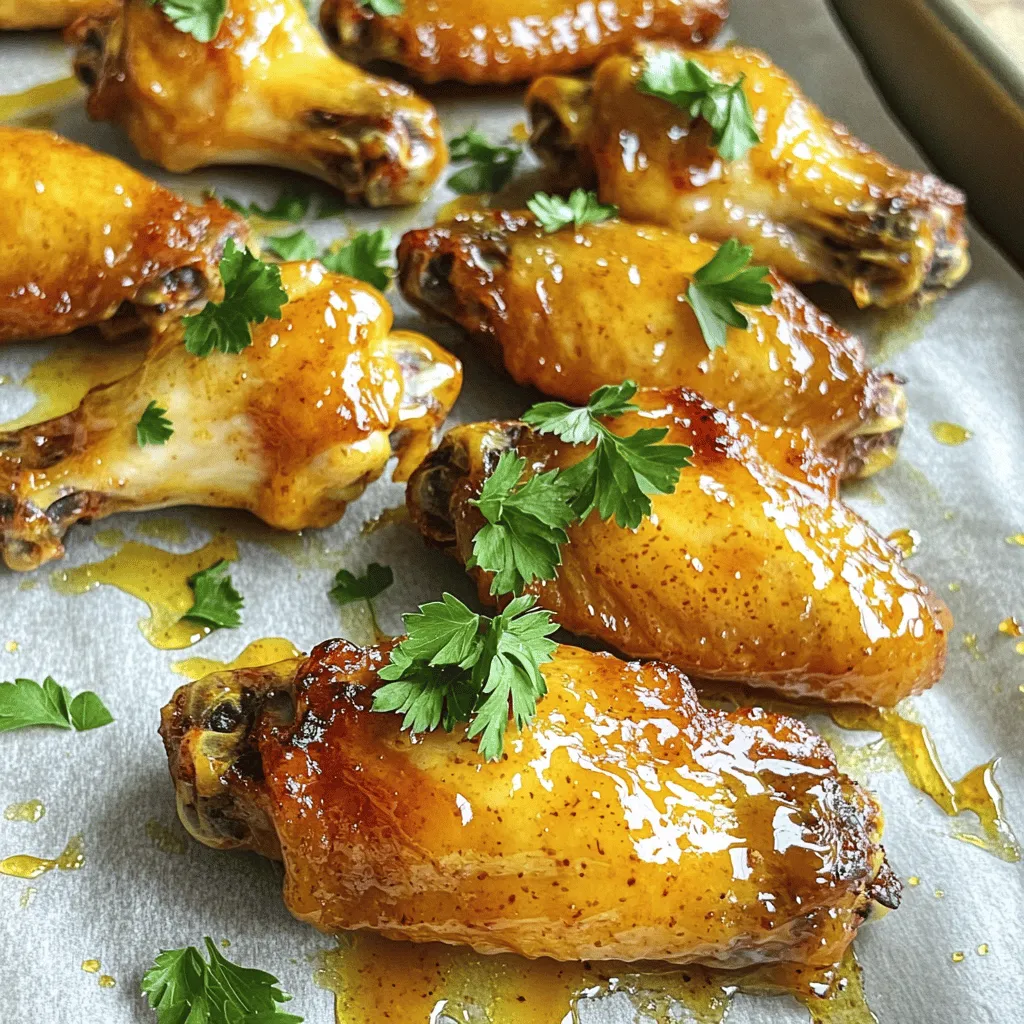
Are you ready to elevate your game day snack with a delicious twist? My Honey Mustard Chicken Wings recipe is
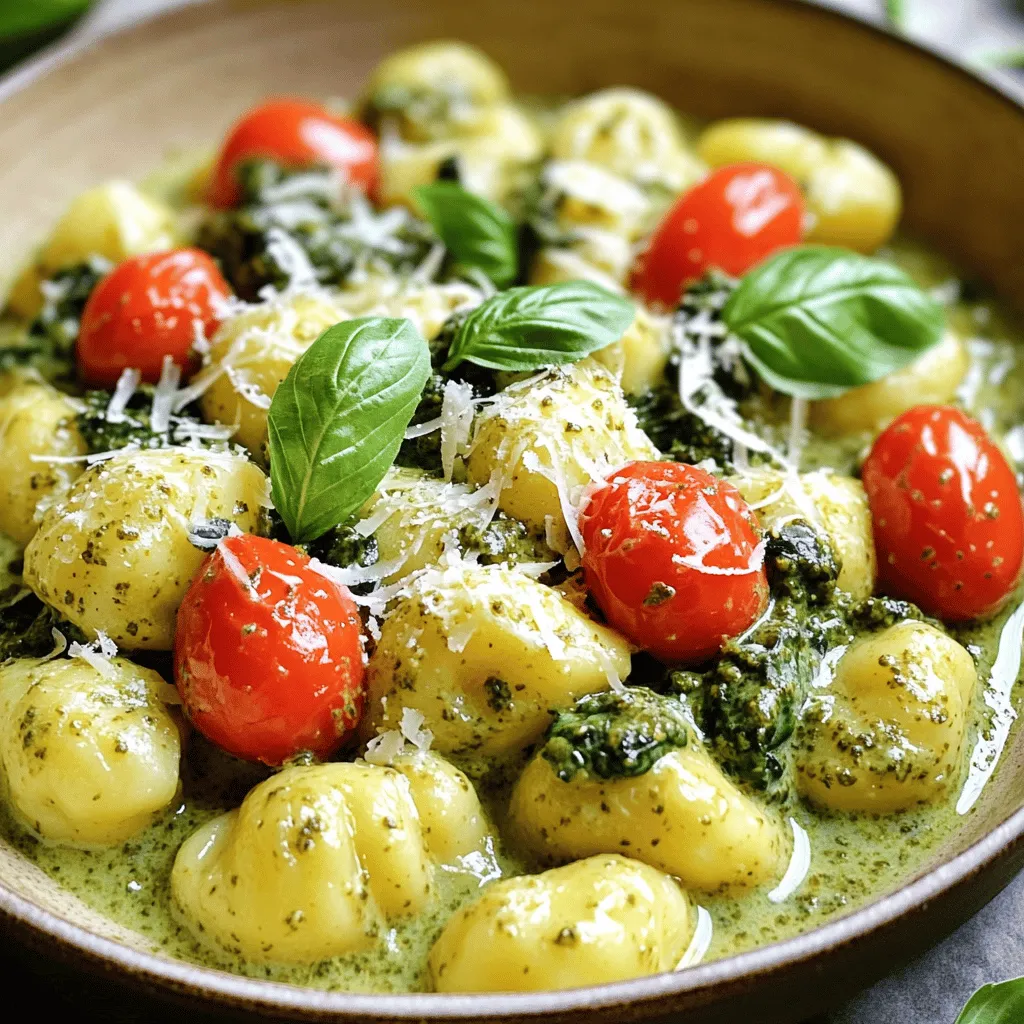
Are you ready for a quick and tasty meal? My Creamy Pesto Gnocchi Skillet is perfect for busy nights. With
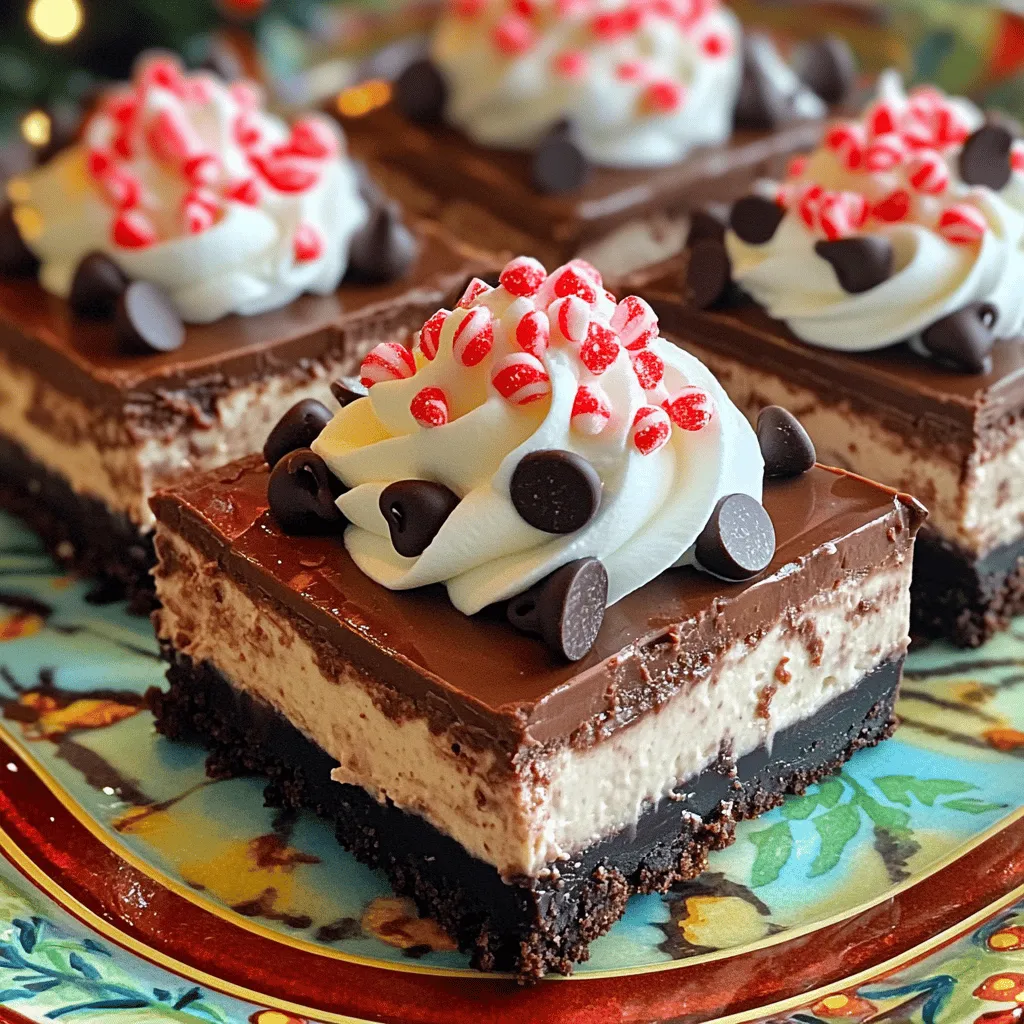
Are you ready to tempt your taste buds? These Chocolate Peppermint Cheesecake Bars are a festive treat you won’t want
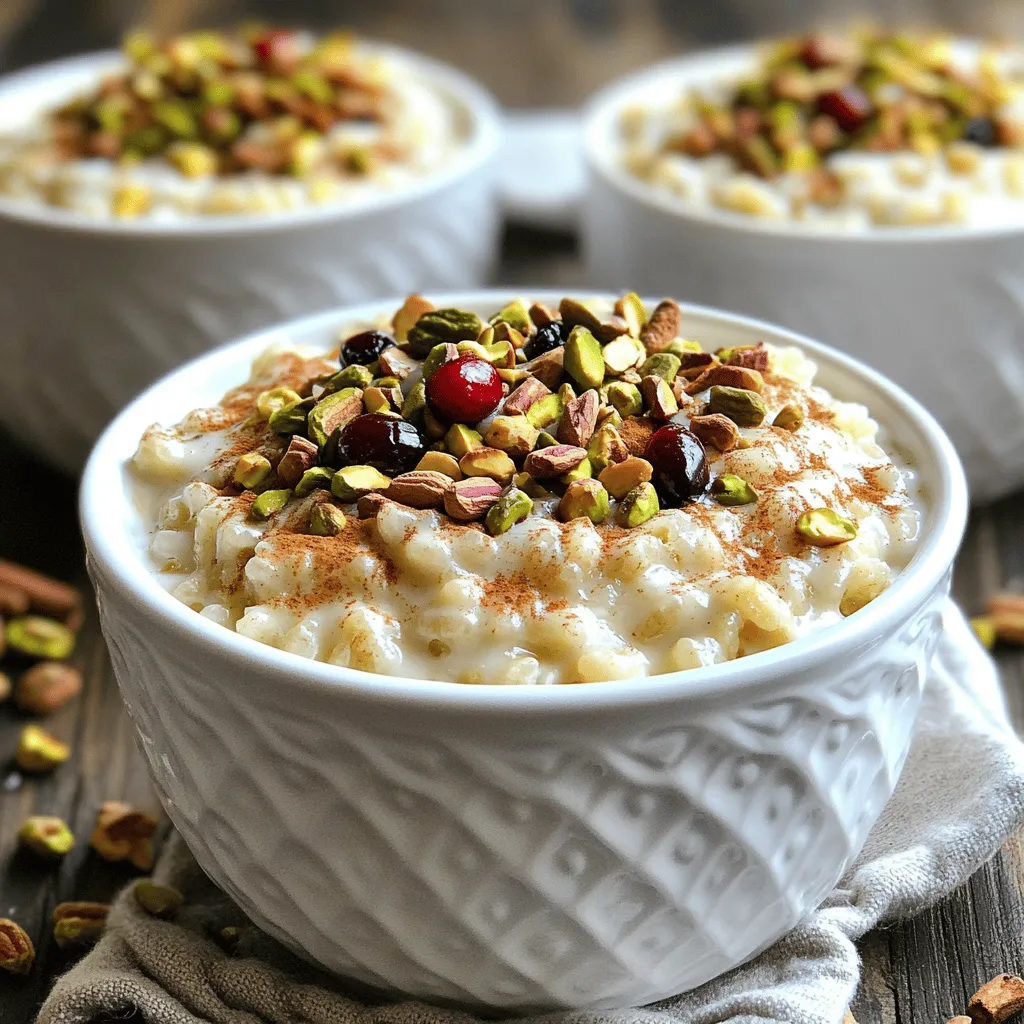
If you love comfort food, you need to try my Chai Latte Rice Pudding. This creamy treat blends the warm
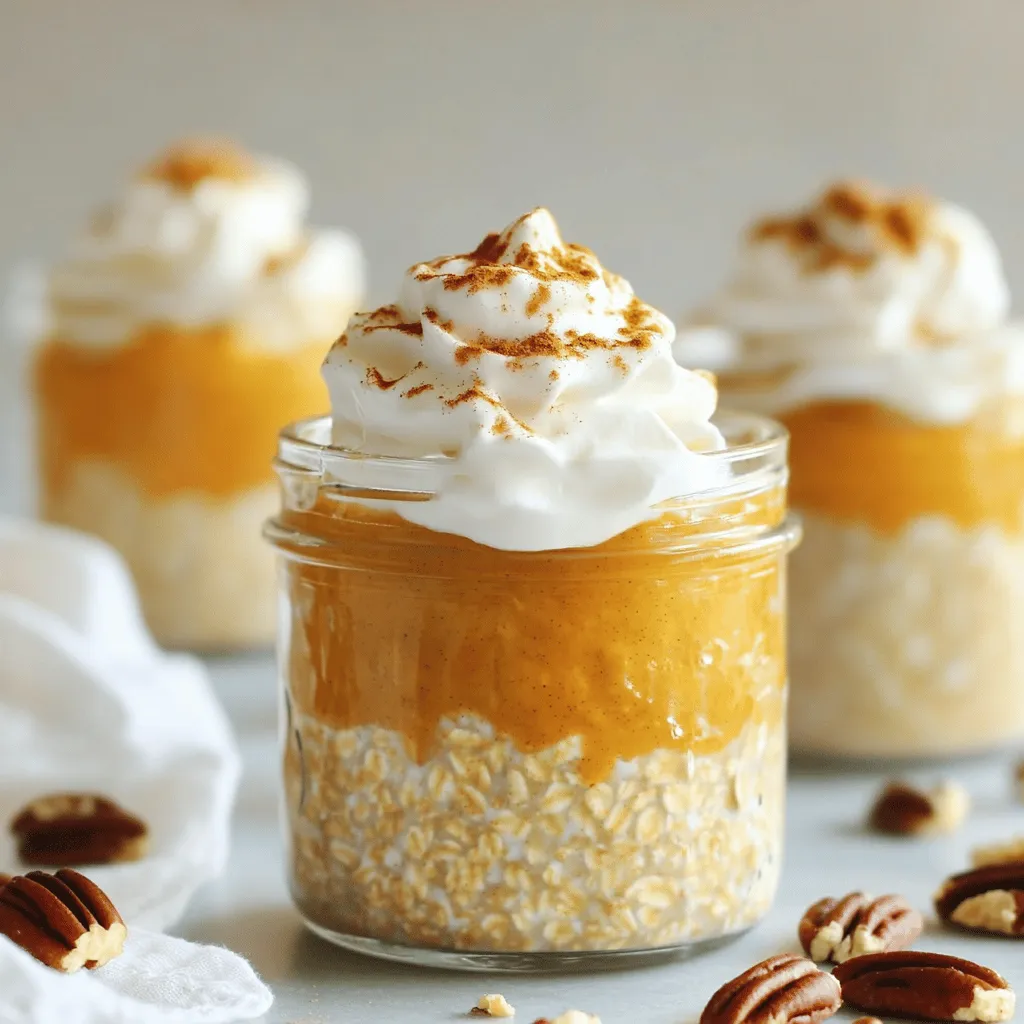
Looking for a fun and easy breakfast? Try my Pumpkin Pie Overnight Oats! This recipe combines pumpkin puree, oats, and
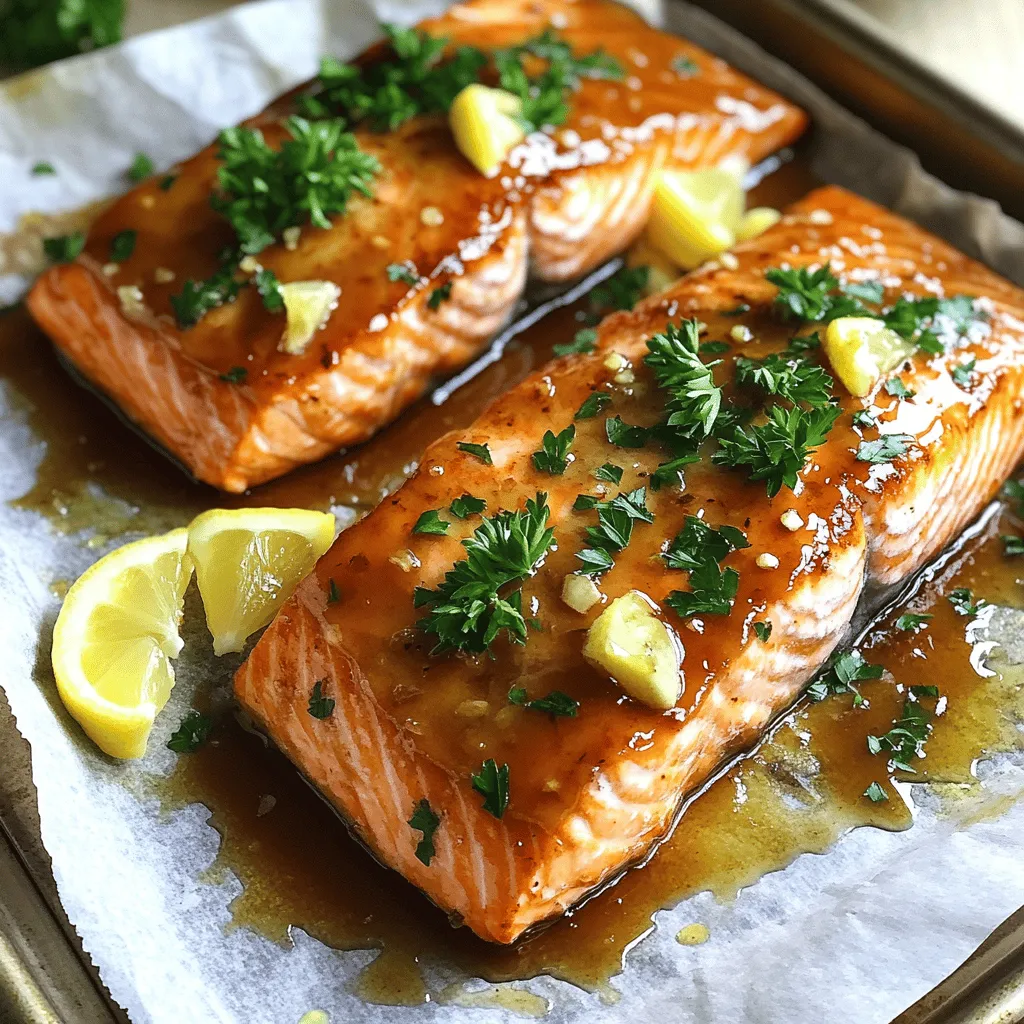
Are you ready to impress your family with a delicious meal? This Maple Garlic Glazed Salmon recipe is both simple
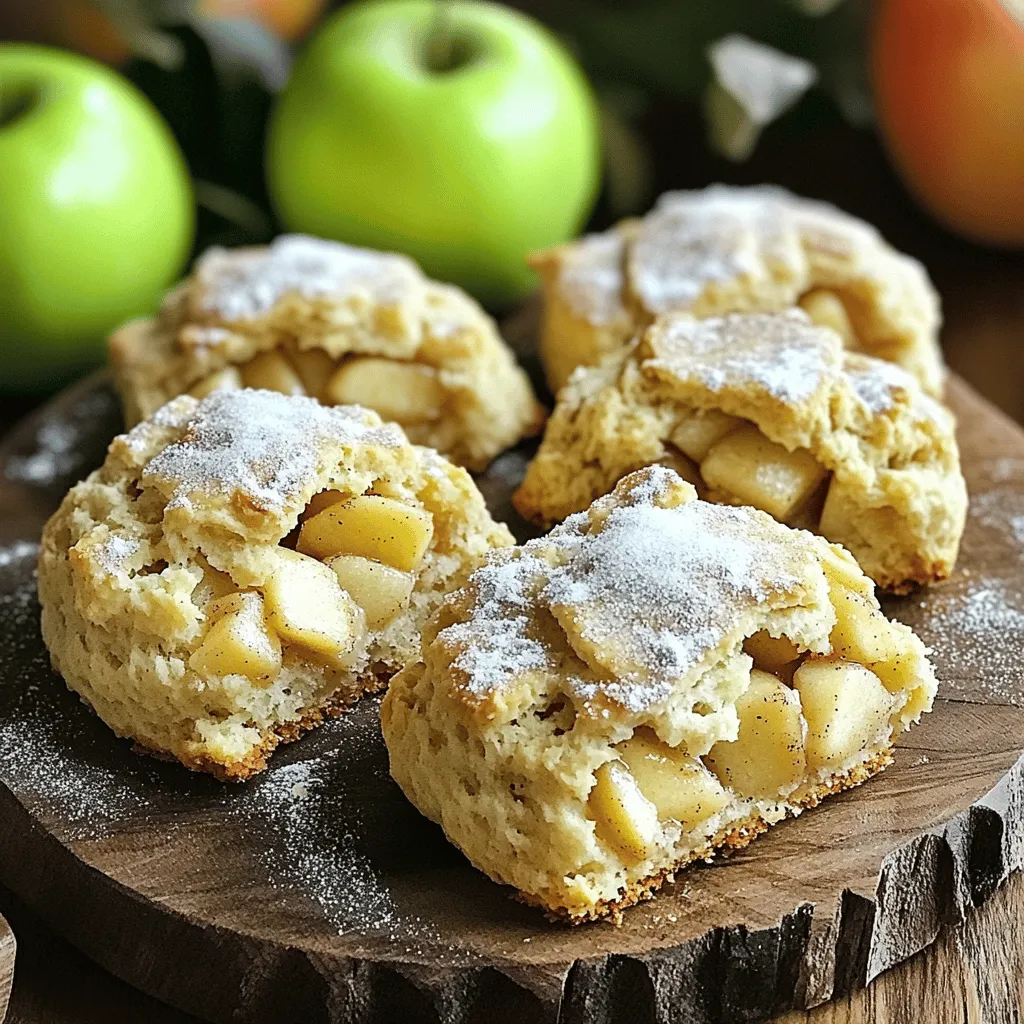
Welcome to the world of baking bliss with my Apple Cinnamon Scones! These scrumptious treats are not just fluffy; they
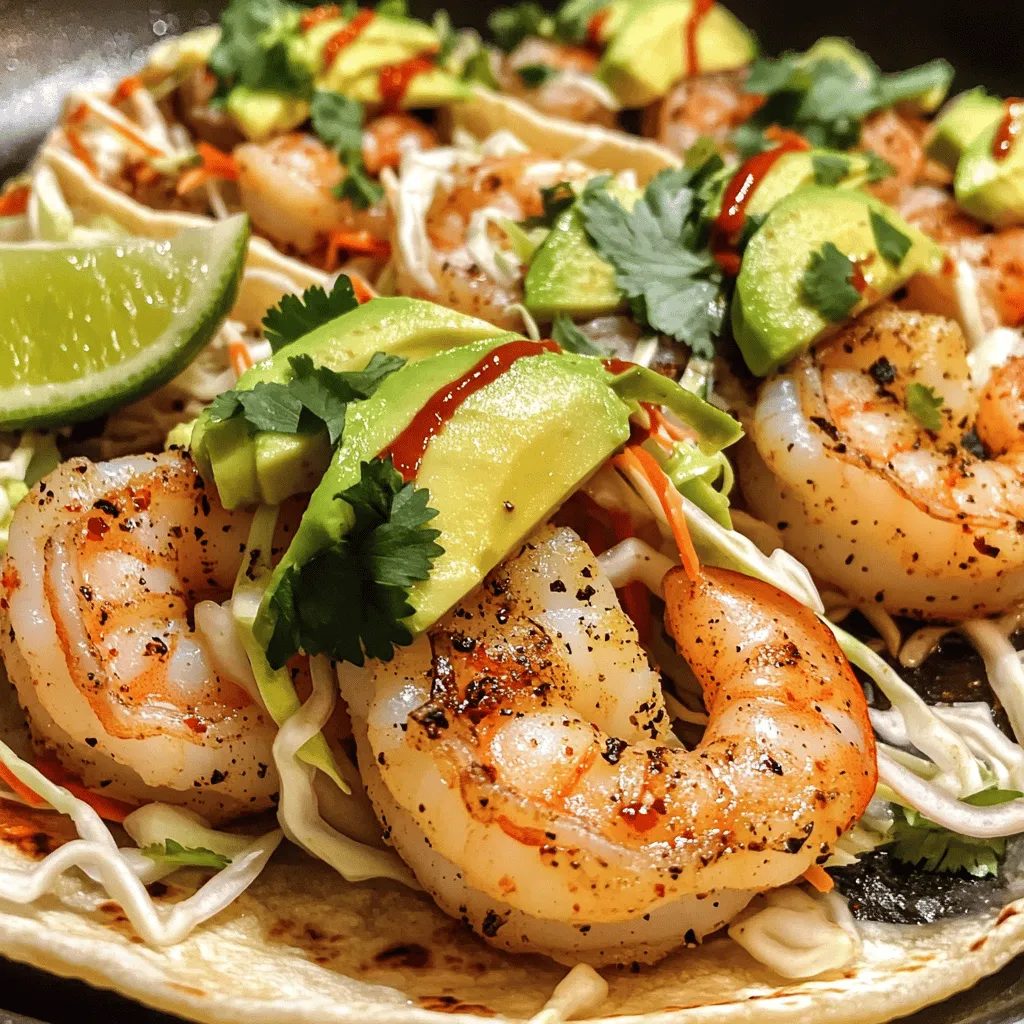
Are you ready for a quick and tasty meal? These Spicy Garlic Shrimp Tacos deliver big flavor without the fuss.
