
Savory Slow Cooker Beef Lentil Soup Recipe Guide
Welcome to your new favorite comfort food! This Savory Slow Cooker Beef Lentil Soup is hearty, healthy, and simple to

Welcome to your new favorite comfort food! This Savory Slow Cooker Beef Lentil Soup is hearty, healthy, and simple to

Get ready to indulge your sweet tooth with these No-Bake White Chocolate Peppermint Truffles! With just a few simple ingredients,

If you crave a dish that blends simple ingredients with rich flavor, Gigi Hadid’s Spicy Vodka Pasta is your answer.

Get ready to bake a treat that captures the essence of fall! Apple Cider Doughnut Hole Muffins are soft, sweet,

Get ready to fall in love with these No-Bake Pumpkin Chocolate Chip Energy Squares! They’re easy to make, packed with
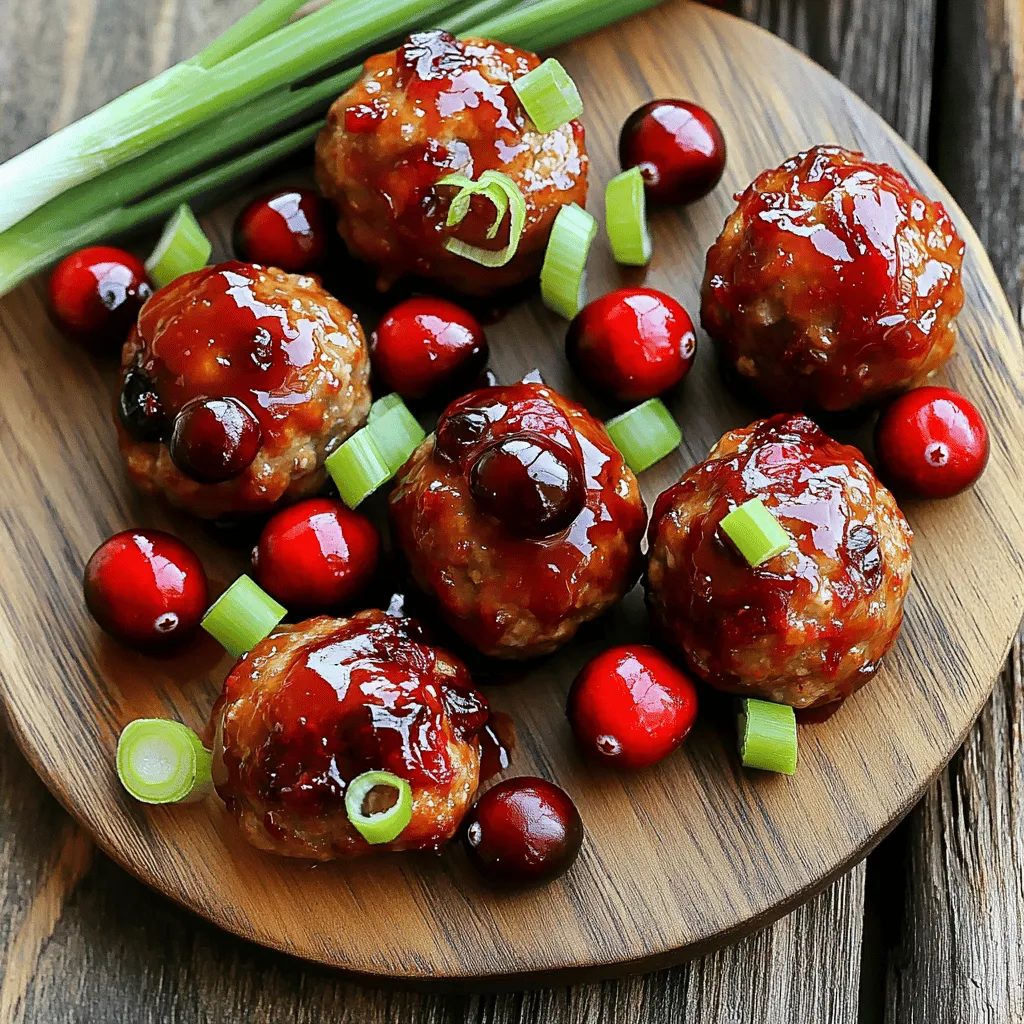
Looking for a simple yet satisfying dish to impress your guests? My Savory Slow Cooker Cranberry Glazed Meatballs blend sweet

Craving a tasty snack that’s healthy and easy to make? You’re in the right place! These Air Fryer Garlic Parmesan
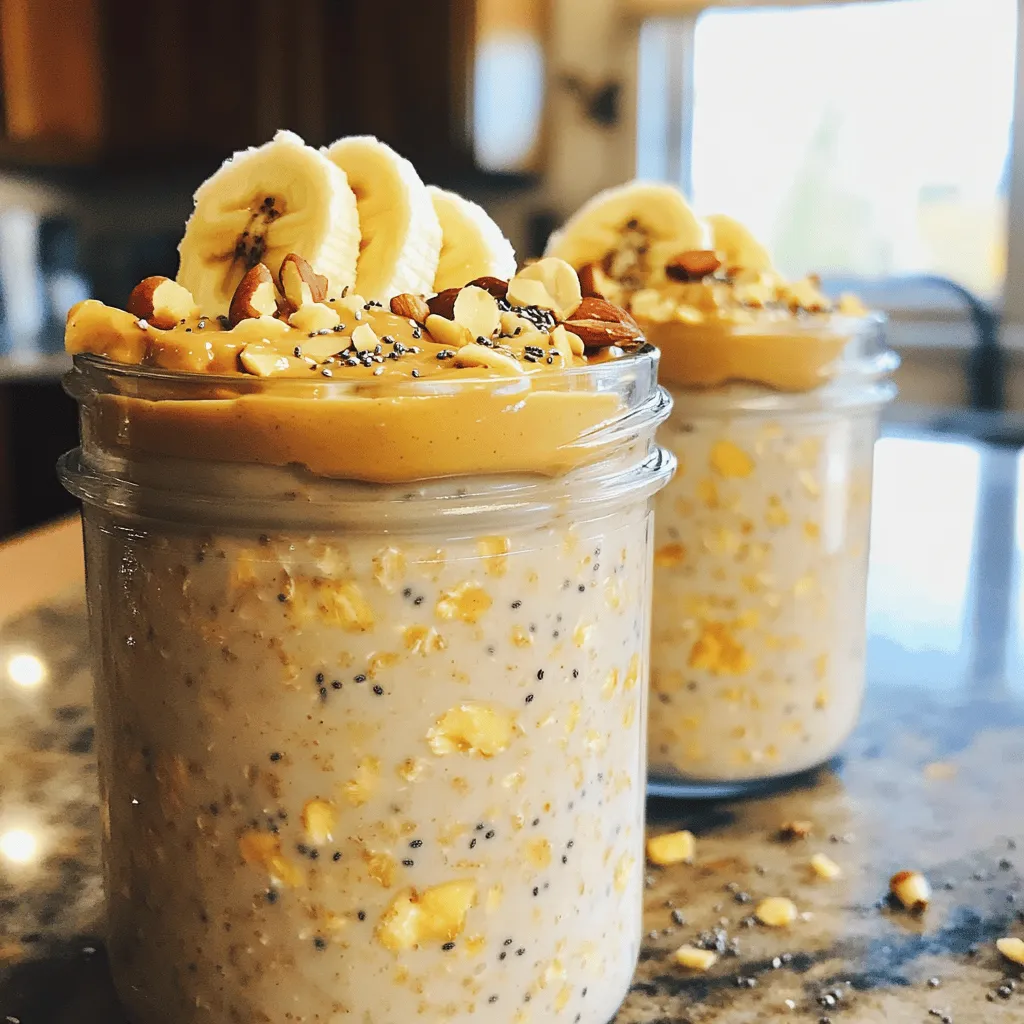
Are you ready to transform your breakfast routine? In just a few simple steps, you can whip up delicious high-protein

If you’re craving a warm and delicious dessert, look no further! My Warm Caramel Apple Skillet Cobbler brings sweet, juicy
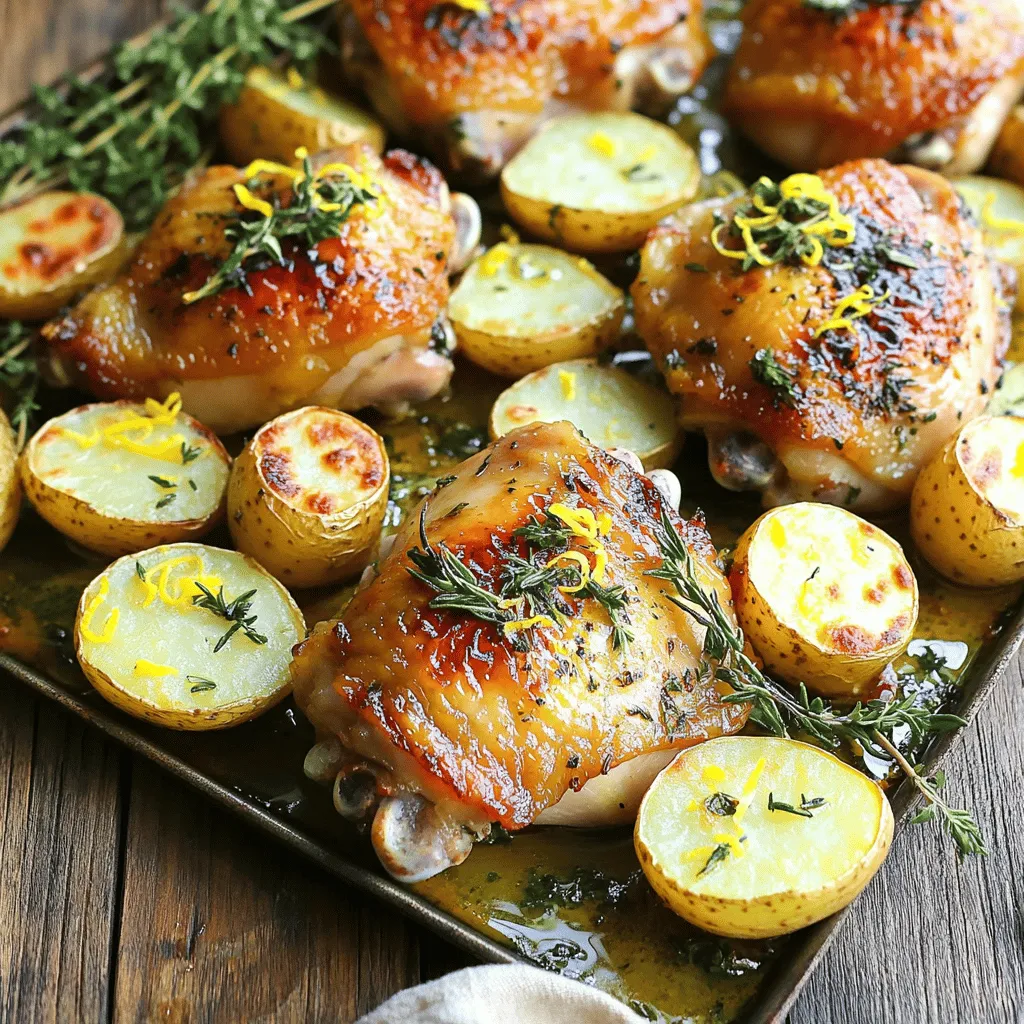
Craving a tasty and easy dinner? Look no further than my Sheet-Pan Lemon Herb Chicken and Roasted Potatoes Delight! This
