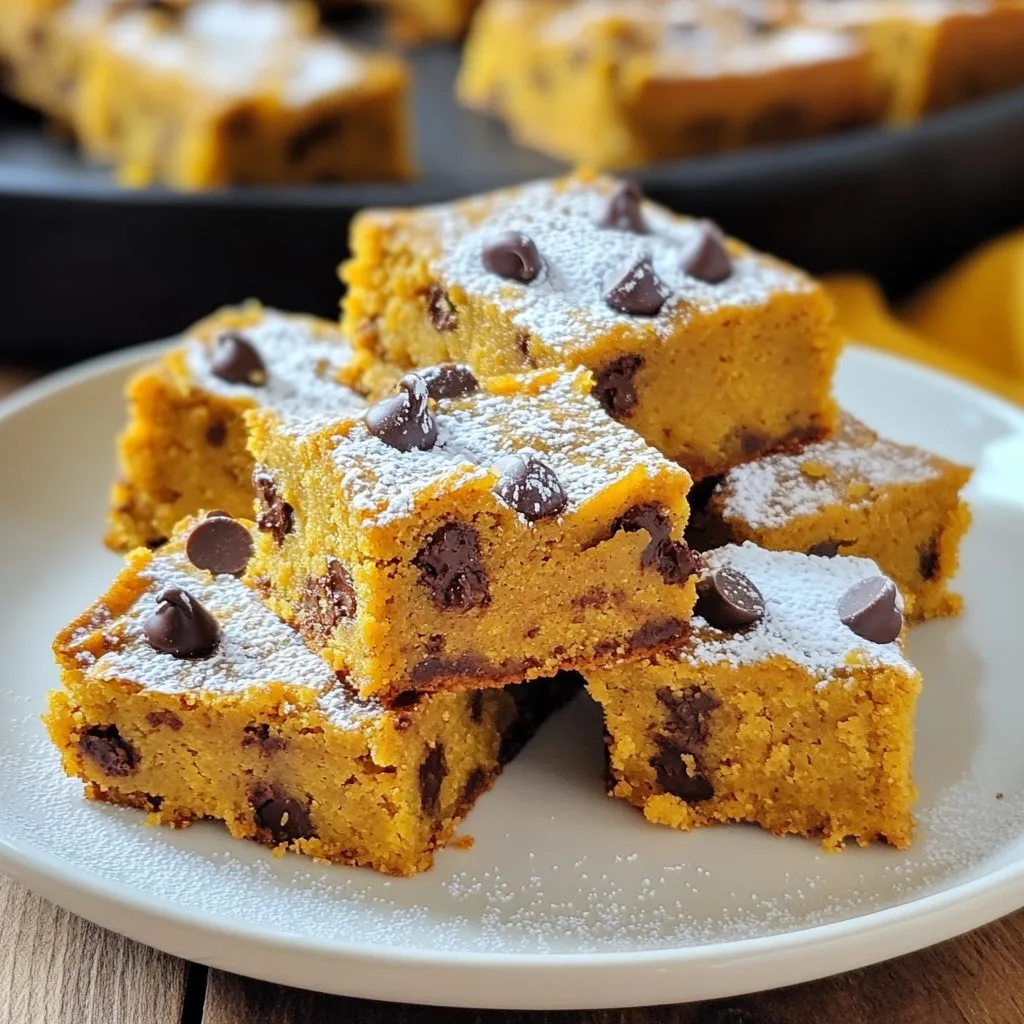
Pumpkin Chocolate Chip Blondies Delightful Fall Treat
Fall is here, and it’s time to enjoy cozy flavors! Get ready to make Pumpkin Chocolate Chip Blondies—a sweet treat

Fall is here, and it’s time to enjoy cozy flavors! Get ready to make Pumpkin Chocolate Chip Blondies—a sweet treat
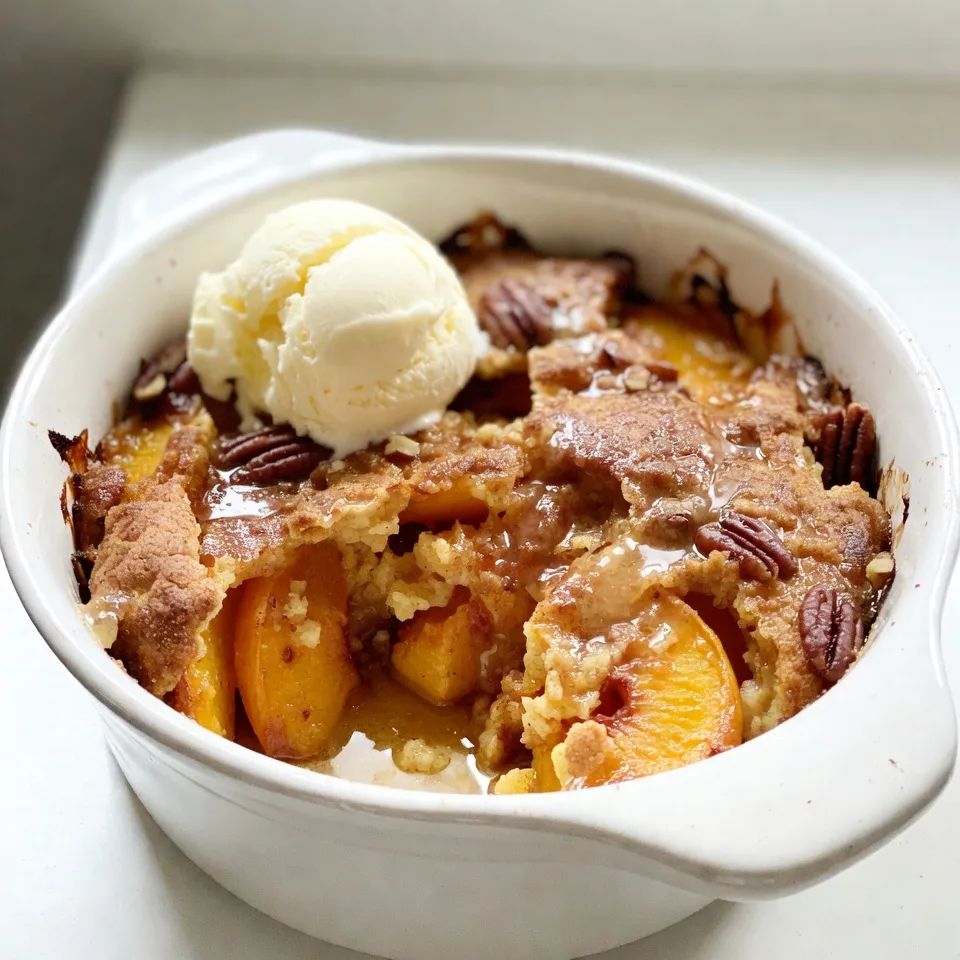
If you love peach cobbler but need a quick dessert, you’re in for a treat! This Peach Cobbler Dump Cake
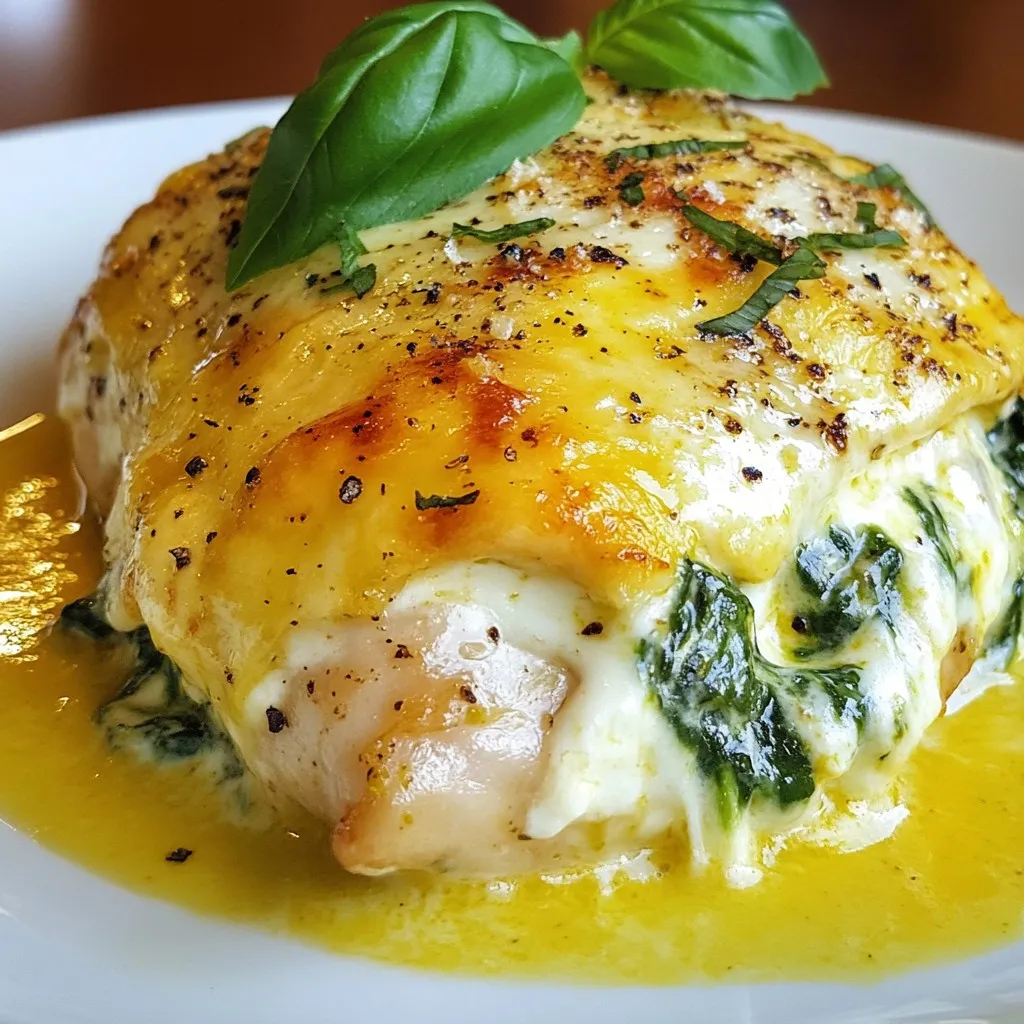
If you’re craving a tasty and filling meal, Creamy Spinach Stuffed Chicken is here to impress! This dish bursts with
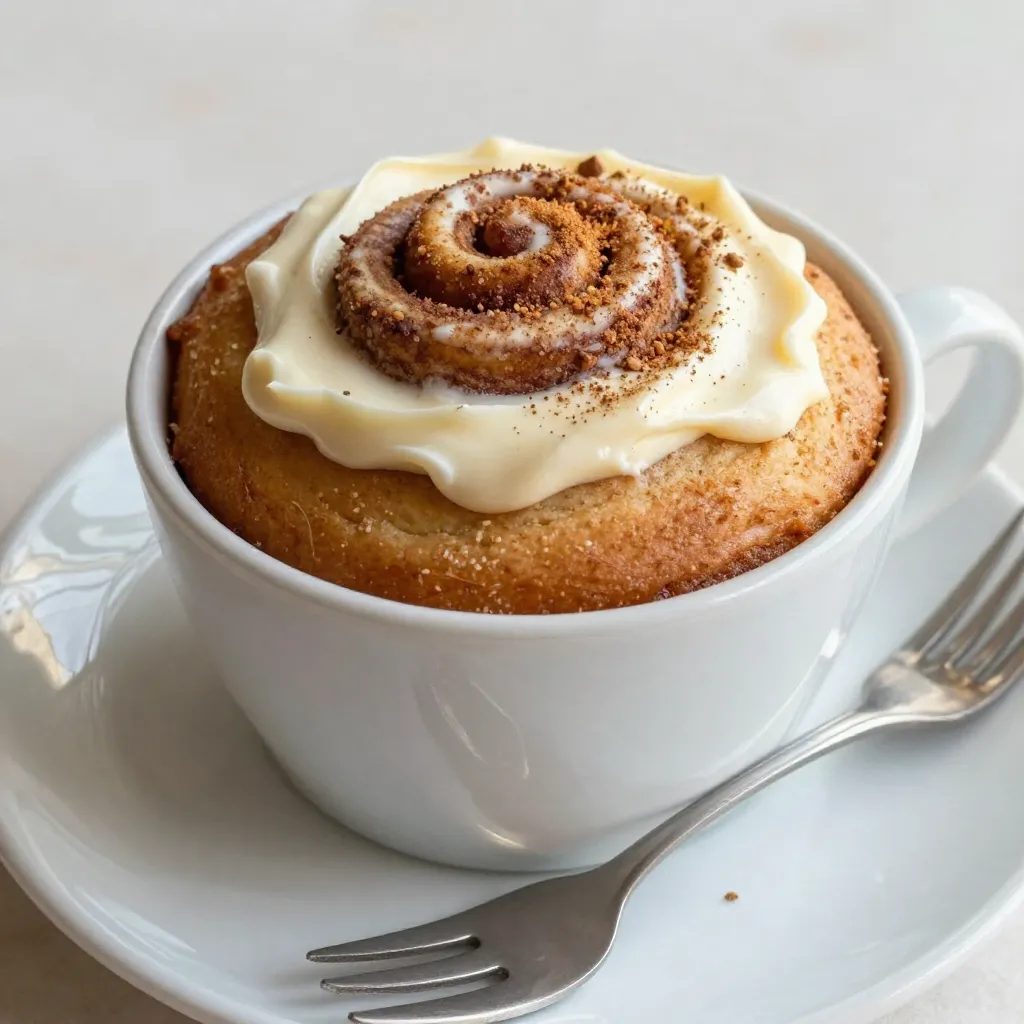
Craving a sweet treat but short on time? This Cinnamon Roll Mug Cake is your answer! In just a few
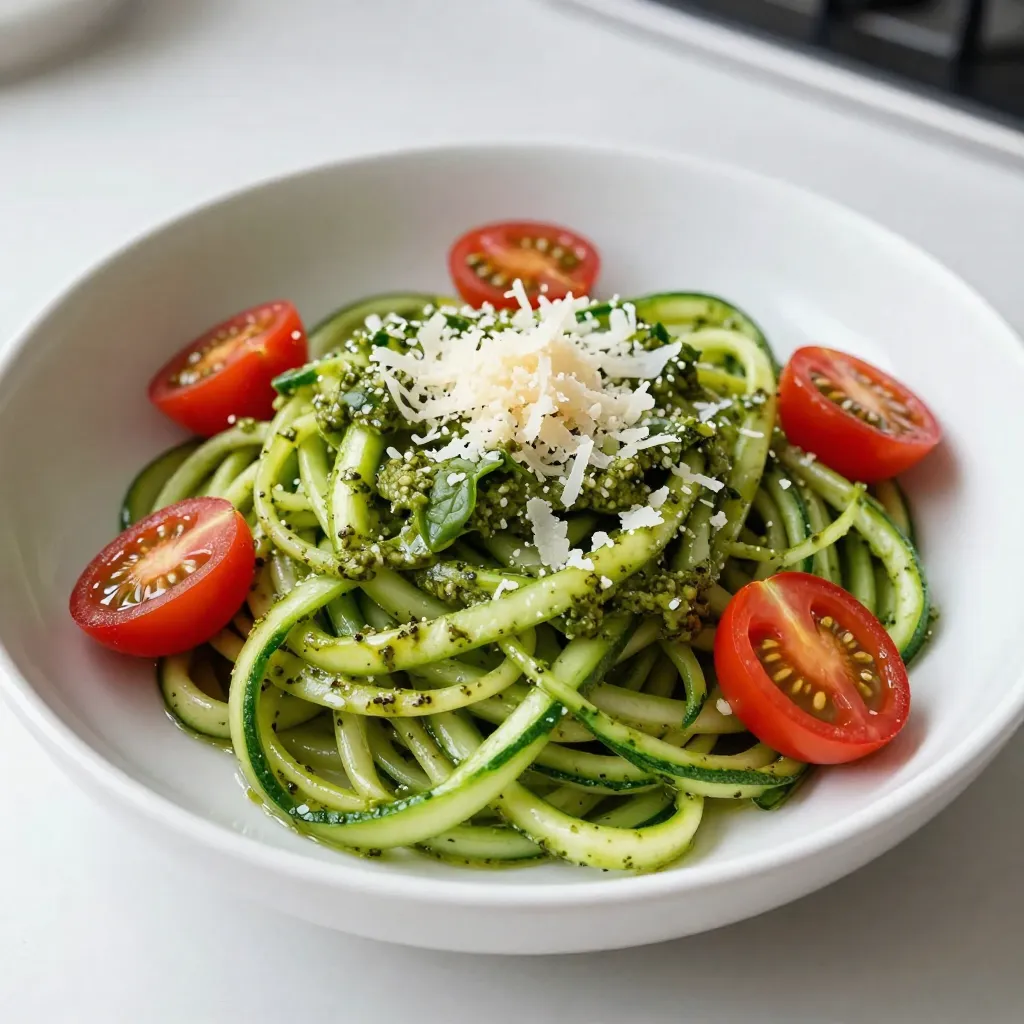
Looking for a delicious and healthy meal? Let me introduce you to Pesto Parmesan Zucchini Noodles! This dish combines fresh
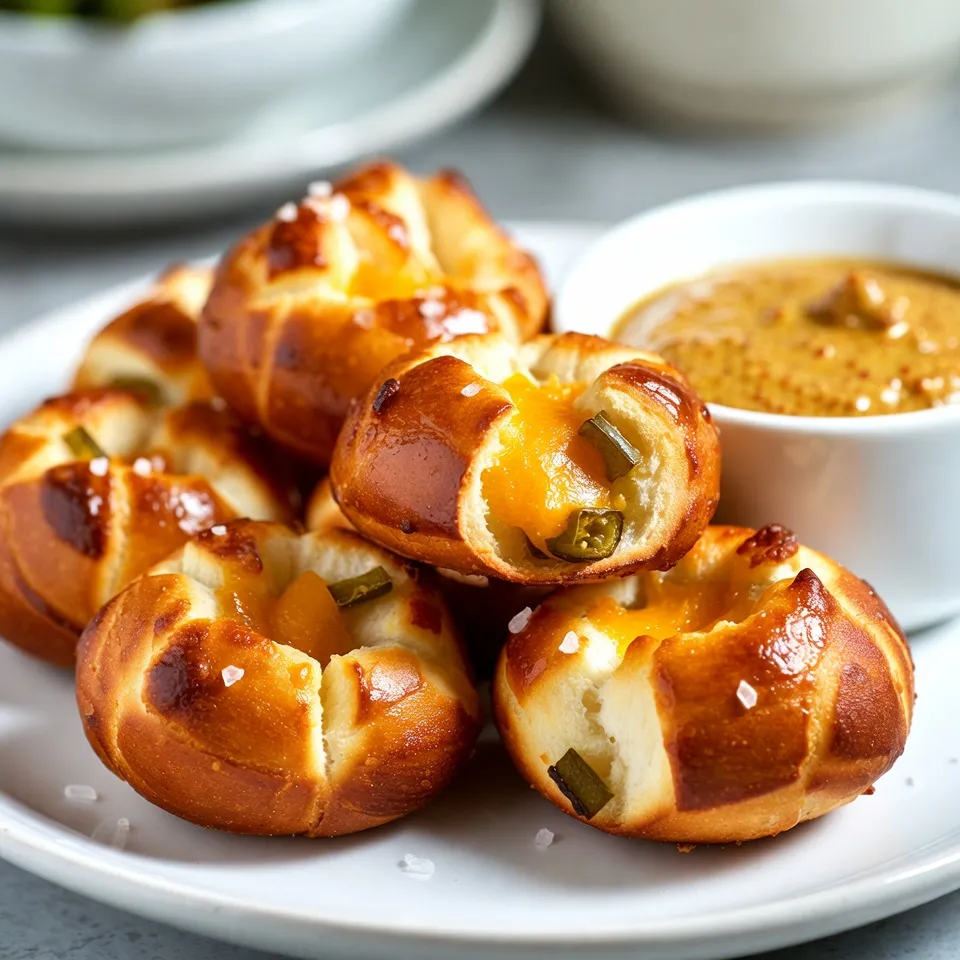
Craving a tasty snack that’s fun to make? You’ve got to try these Jalapeño Cheddar Pretzel Bites! In this simple
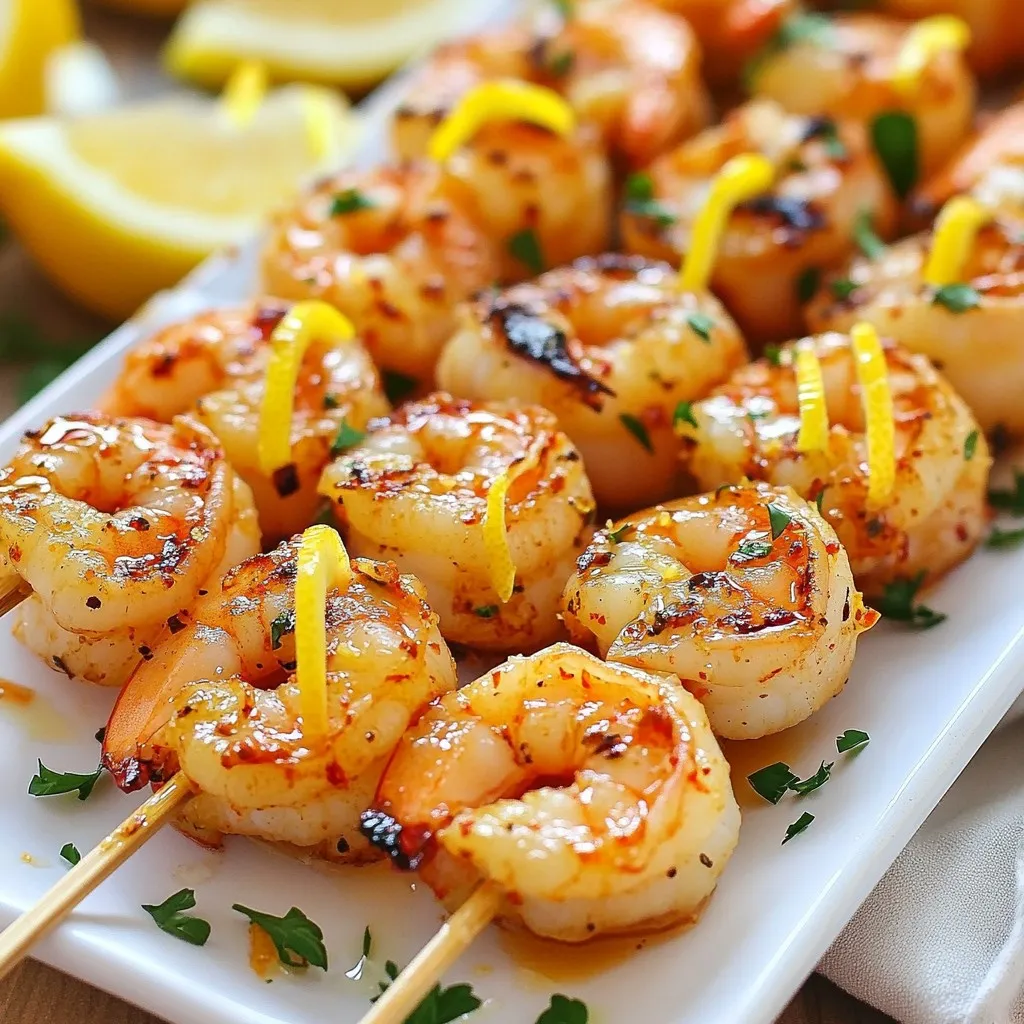
Looking for a quick, tasty dish to impress your friends? Garlic Butter Lemon Shrimp Skewers are the answer! In this
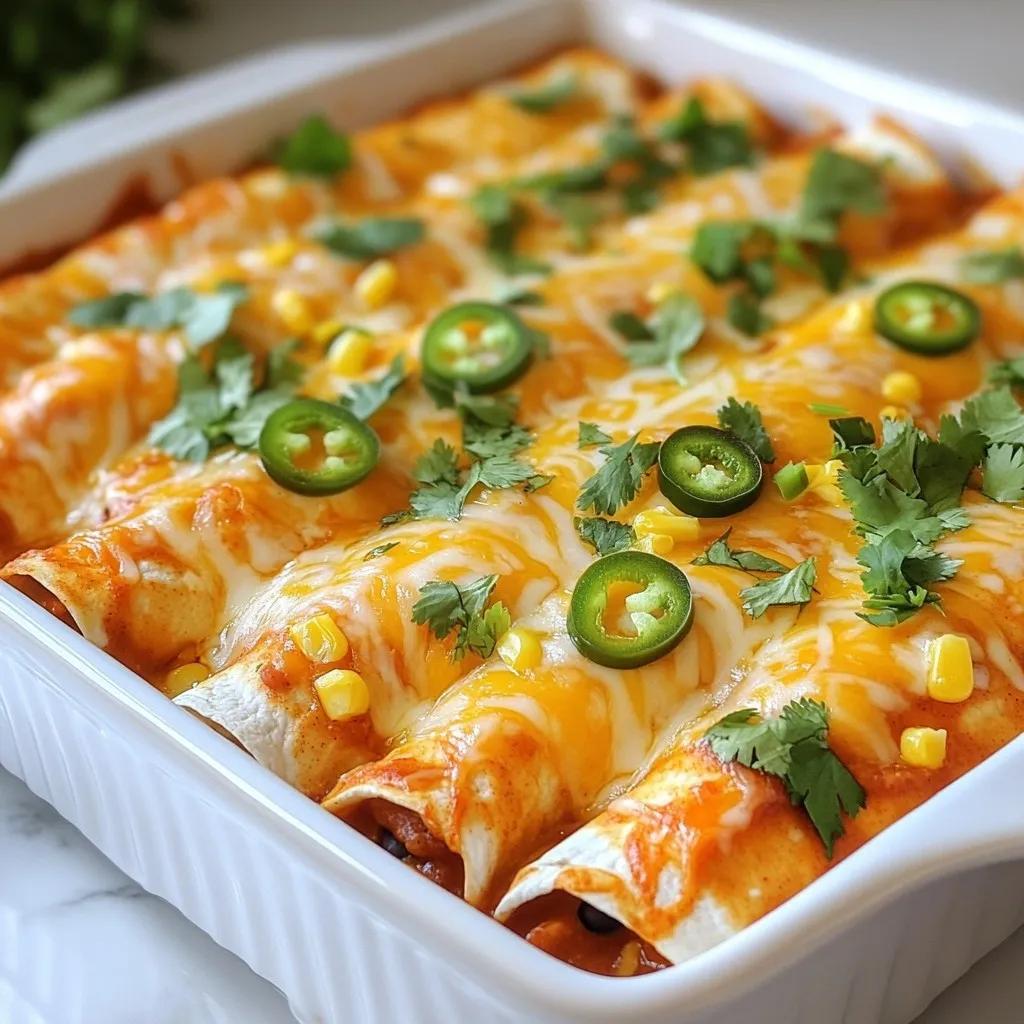
Looking for a quick and tasty dinner idea? Try my Quick Chicken Enchiladas! This easy recipe combines shredded chicken, gooey
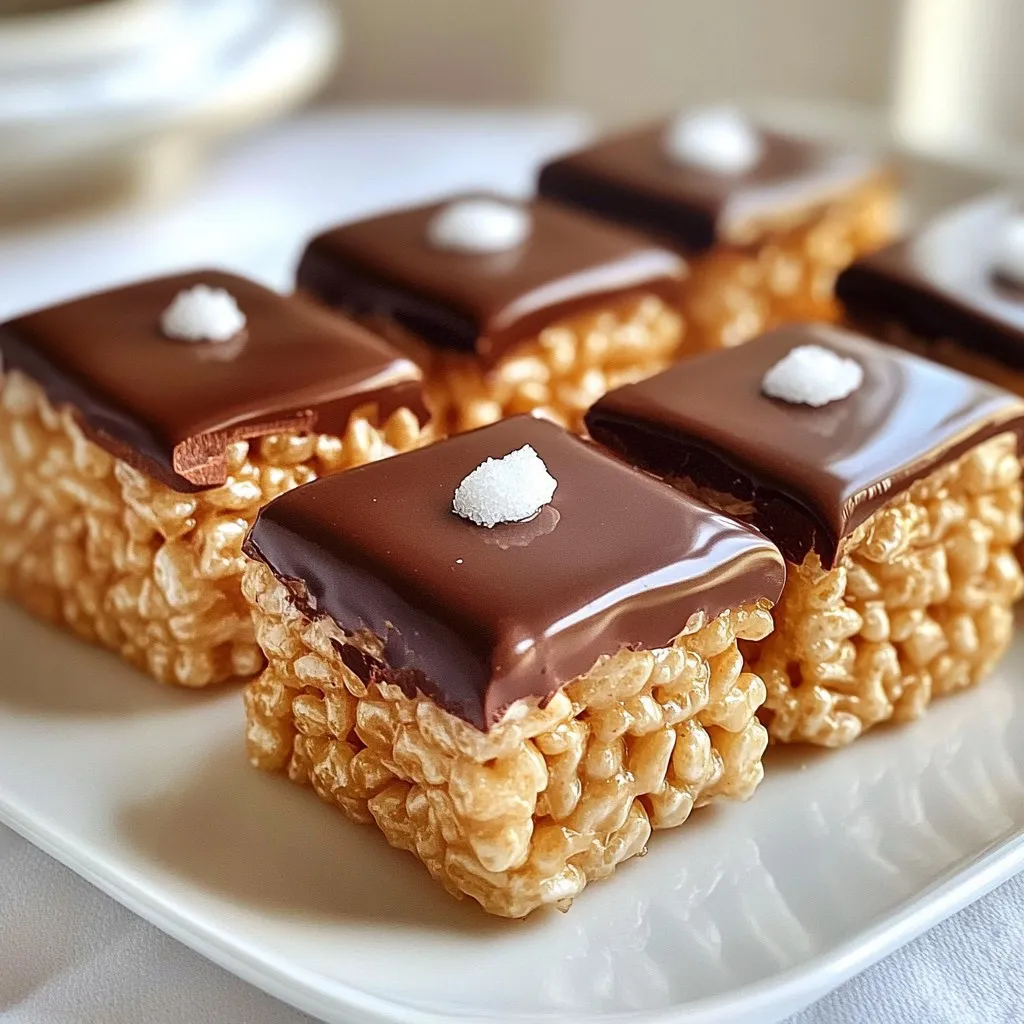
Are you ready to elevate your snack game? Chocolate Dipped Rice Krispie Treats are fun, easy, and oh-so-delicious! With a
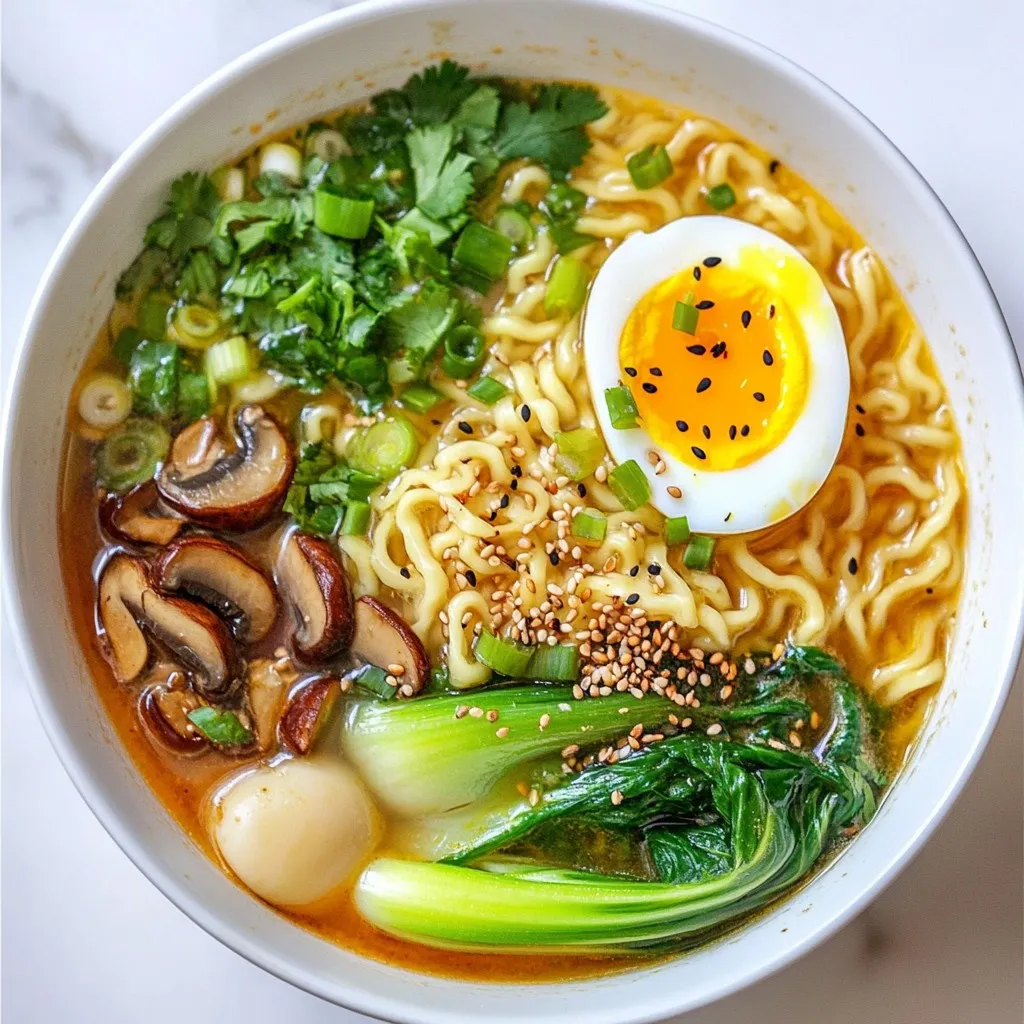
Are you ready to dive into a bowl of spicy miso ramen that warms your soul? This recipe combines rich
