Lemon Garlic Roasted Cod Sheet Pan Delightful Dish
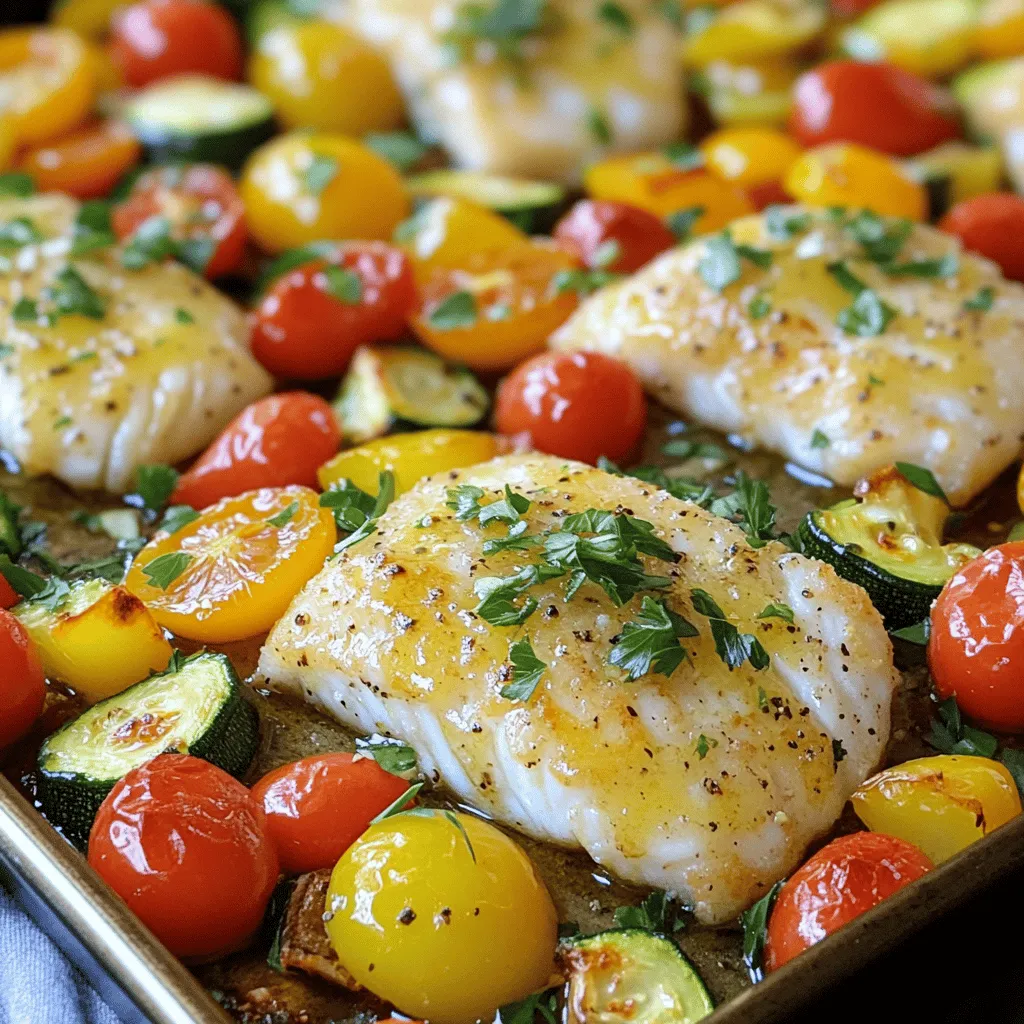
Are you craving a simple, flavorful dish for dinner? Look no further! My Lemon Garlic Roasted Cod Sheet Pan Delightful

Are you craving a simple, flavorful dish for dinner? Look no further! My Lemon Garlic Roasted Cod Sheet Pan Delightful
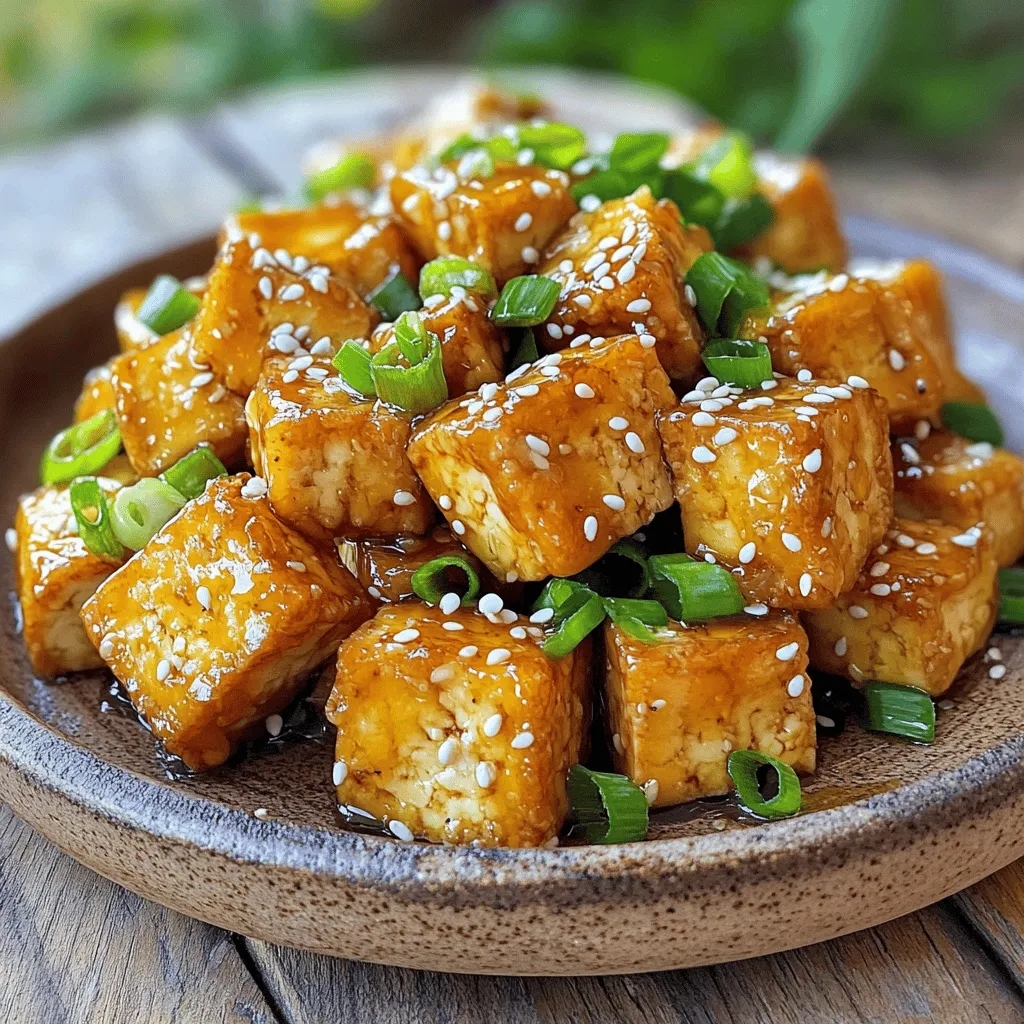
Are you ready to enjoy a crispy, sweet, and savory dish? My Honey Garlic Tofu Crispy Air Fryer Delight is

If you’re craving a quick yet flavorful meal, look no further than this Garlic Sesame Chicken Stir-Fry! In just 15

Looking for a quick, healthy snack that’s packed with protein? Greek yogurt berry bark is an easy treat you can
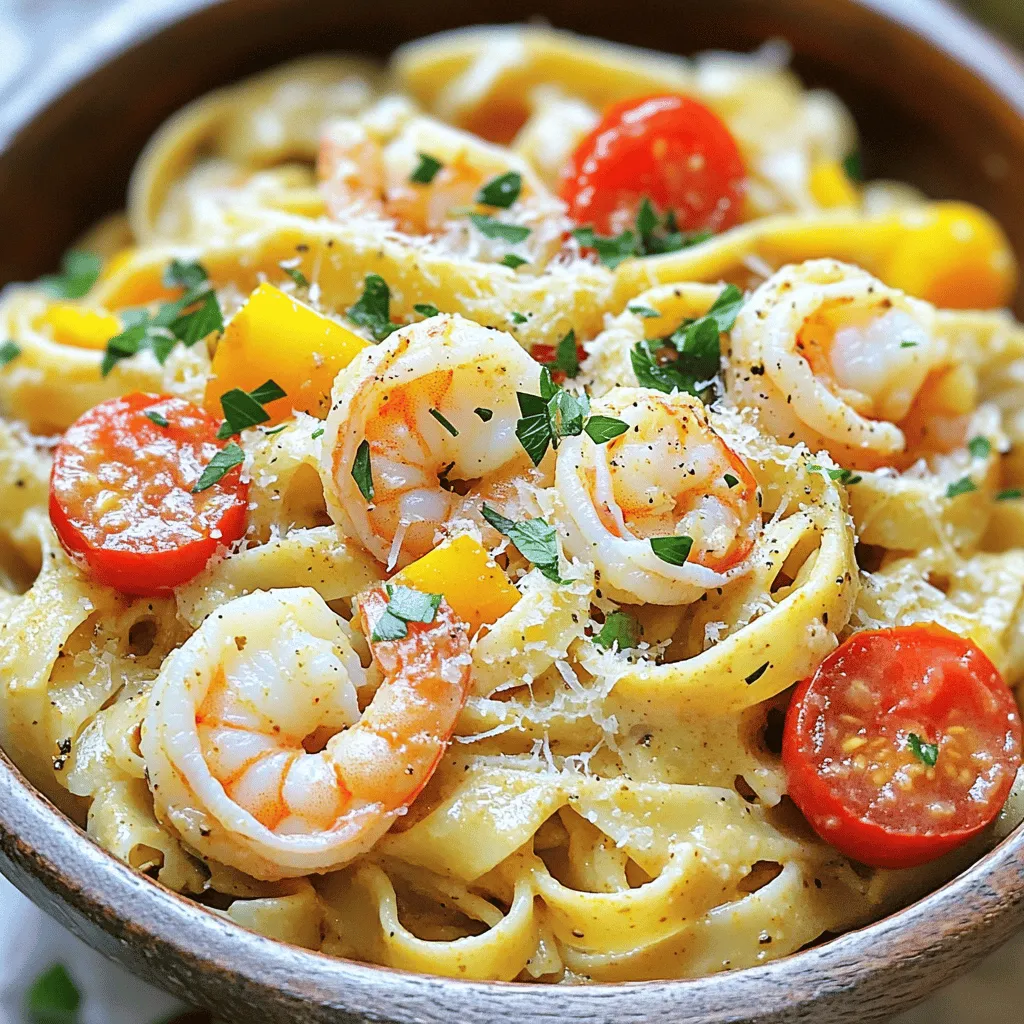
Are you ready to whip up a delicious dinner in just one pot? My Creamy Cajun Shrimp Pasta is a

Craving crispy orange shrimp that beats takeout? You’re in the right spot! I’ll guide you through making this dish at

Get ready to bake a treat that zings with flavor! In this guide, I’ll show you how to make a
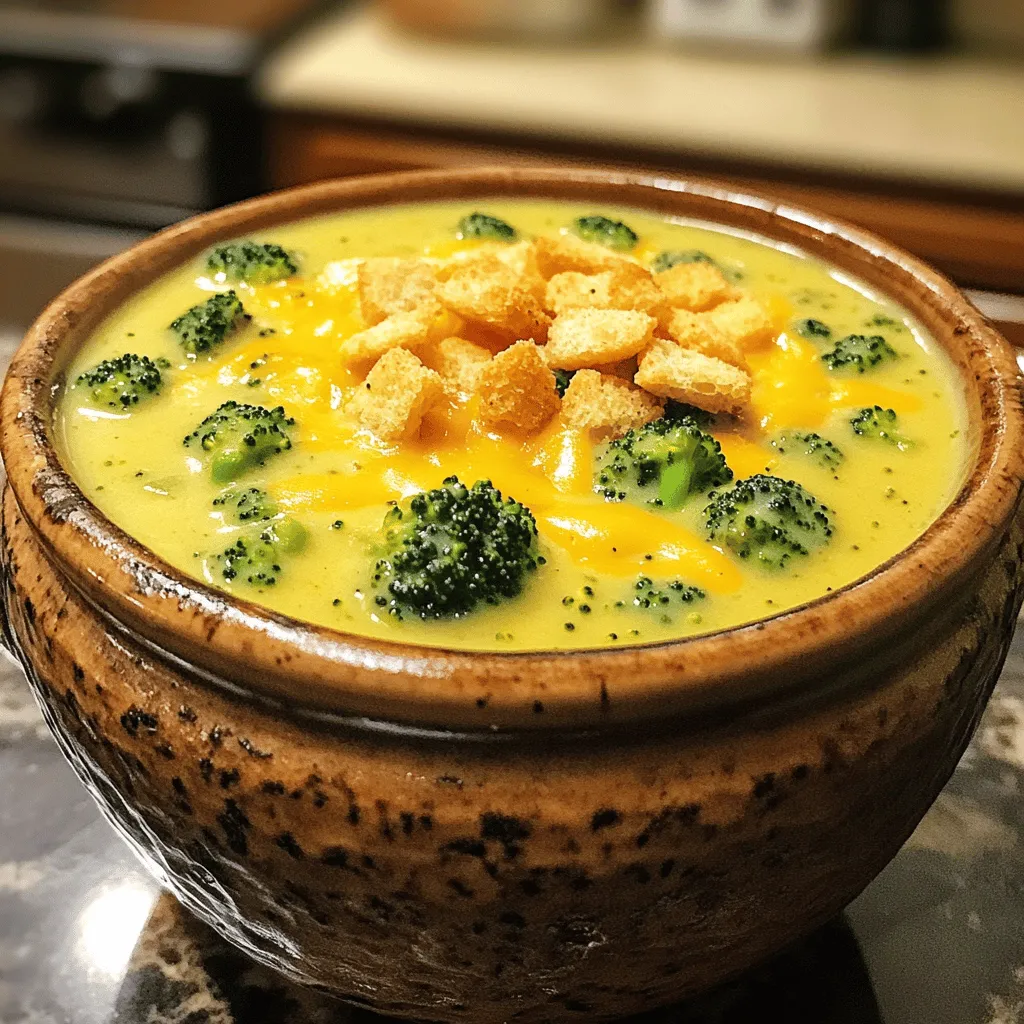
If you’re craving a warm bowl of comfort, you’ve come to the right place! My creamy broccoli cheddar soup cooked
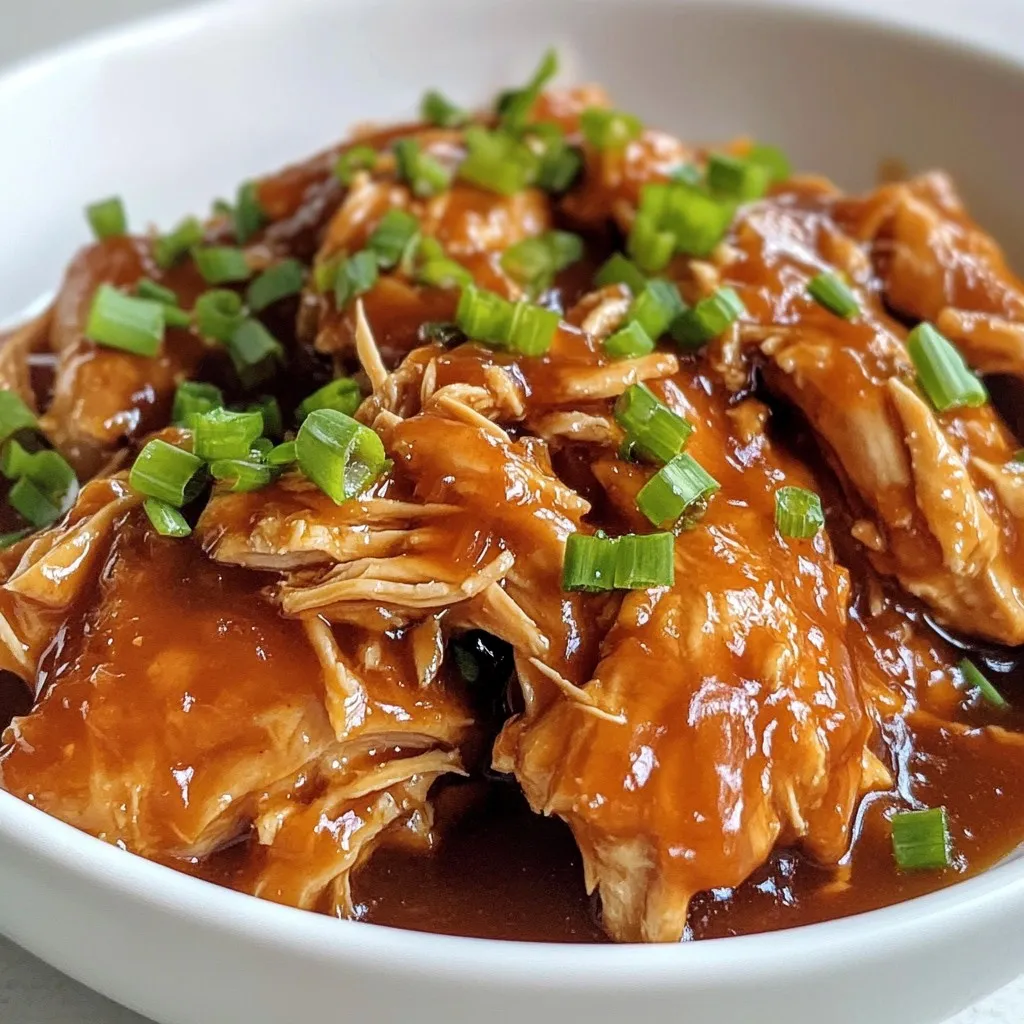
Are you ready for an easy and tasty meal? My Crockpot Bourbon Chicken recipe is a game changer! With tender

Fall treats don’t get much better than a caramel apple galette! This delightful dessert combines sweet, tart apples with rich
