
Bakery-Style Maple Pecan Donuts Deliciously Simple
Do you crave warm, sweet treats that bring the bakery to your home? Look no further! I’m excited to share

Do you crave warm, sweet treats that bring the bakery to your home? Look no further! I’m excited to share
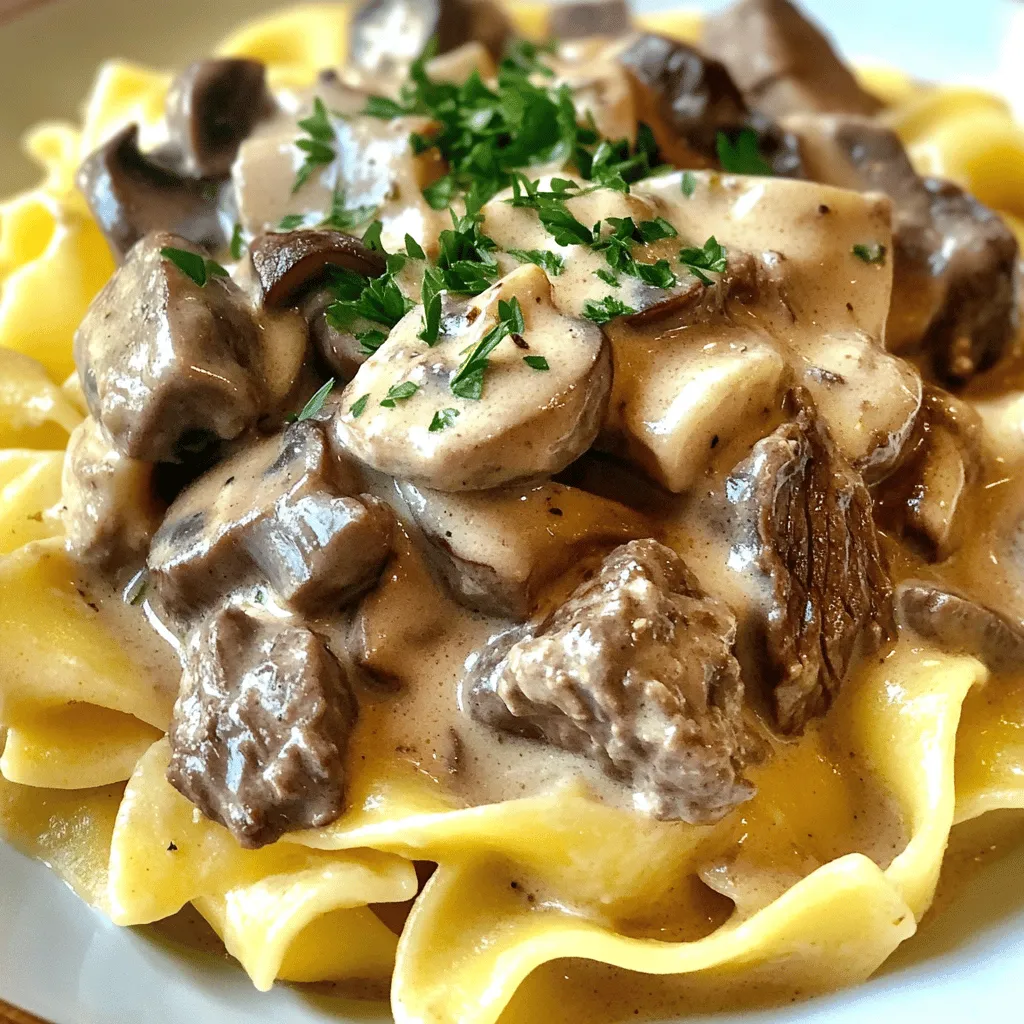
Are you craving a warm, creamy meal that’s both rich and easy to make? Look no further! My Slow Cooker
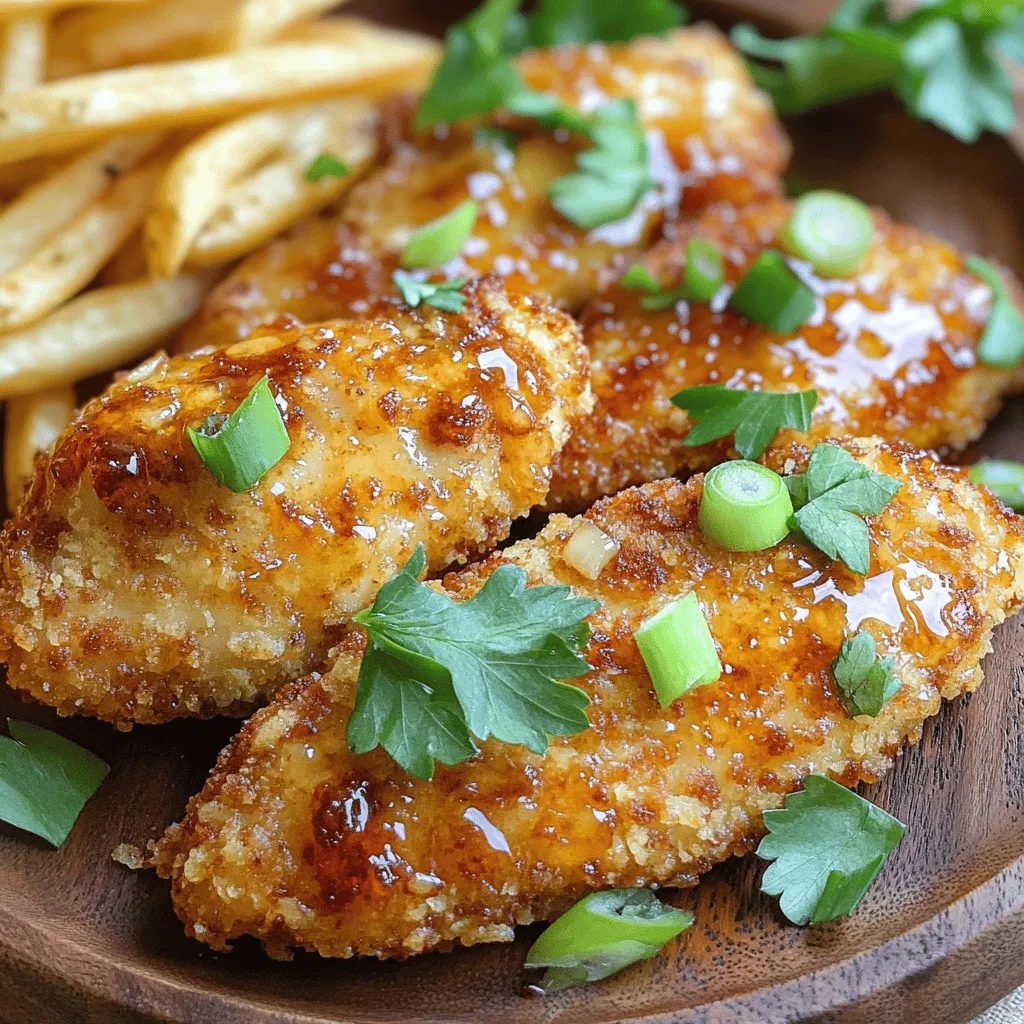
Get ready to enjoy a flavor explosion with my Crispy Honey Garlic Chicken Tenders! These tasty bites are perfect for

Looking for a quick, healthy snack that packs a punch? My No-Bake Chocolate Peanut Butter Energy Bites are the answer!

Craving a dessert that combines the flavors of fall with rich chocolate? Look no further! These Pumpkin Swirl Brownies are
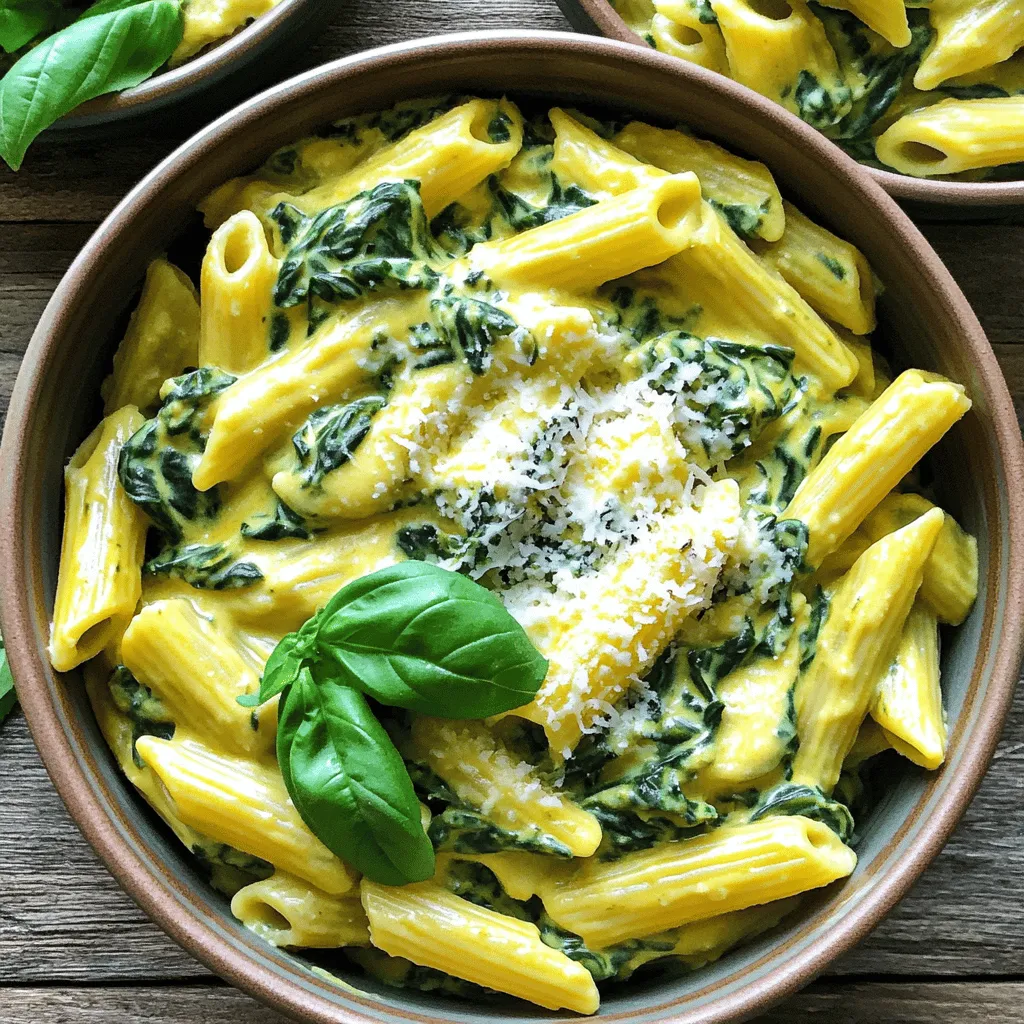
Welcome to a creamy dream! My One-Pot Spinach Ricotta Pasta Delight is the meal you need. In just one pot,

Craving crispy, zesty chicken wings? You’re in the right place! My Savory Air Fryer Lemon Pepper Chicken Wings Recipe packs

Ready to indulge in a treat that’s rich, moist, and packed with flavor? The Caramel Apple Pecan Cake combines juicy

Craving the perfect treat for fall? Let me introduce you to bakery-style chocolate chip pumpkin cookies! These cookies are soft,

Craving a snack that’s both crispy and packed with flavor? Look no further than my Air Fryer Garlic Parmesan Tofu
