
Cinnamon Sugar Apple Pie Fries Fresh and Tasty Treat
Craving a treat that’s both fun and delicious? Let me introduce you to Cinnamon Sugar Apple Pie Fries! This tasty

Craving a treat that’s both fun and delicious? Let me introduce you to Cinnamon Sugar Apple Pie Fries! This tasty

Looking for a simple, tasty treat that combines chocolate, peanut butter, and pumpkin? You’re in the right spot! These No-Bake

Ready to spice up your dinner routine? This Creamy Cajun Shrimp & Rice Skillet is packed with flavor and comes
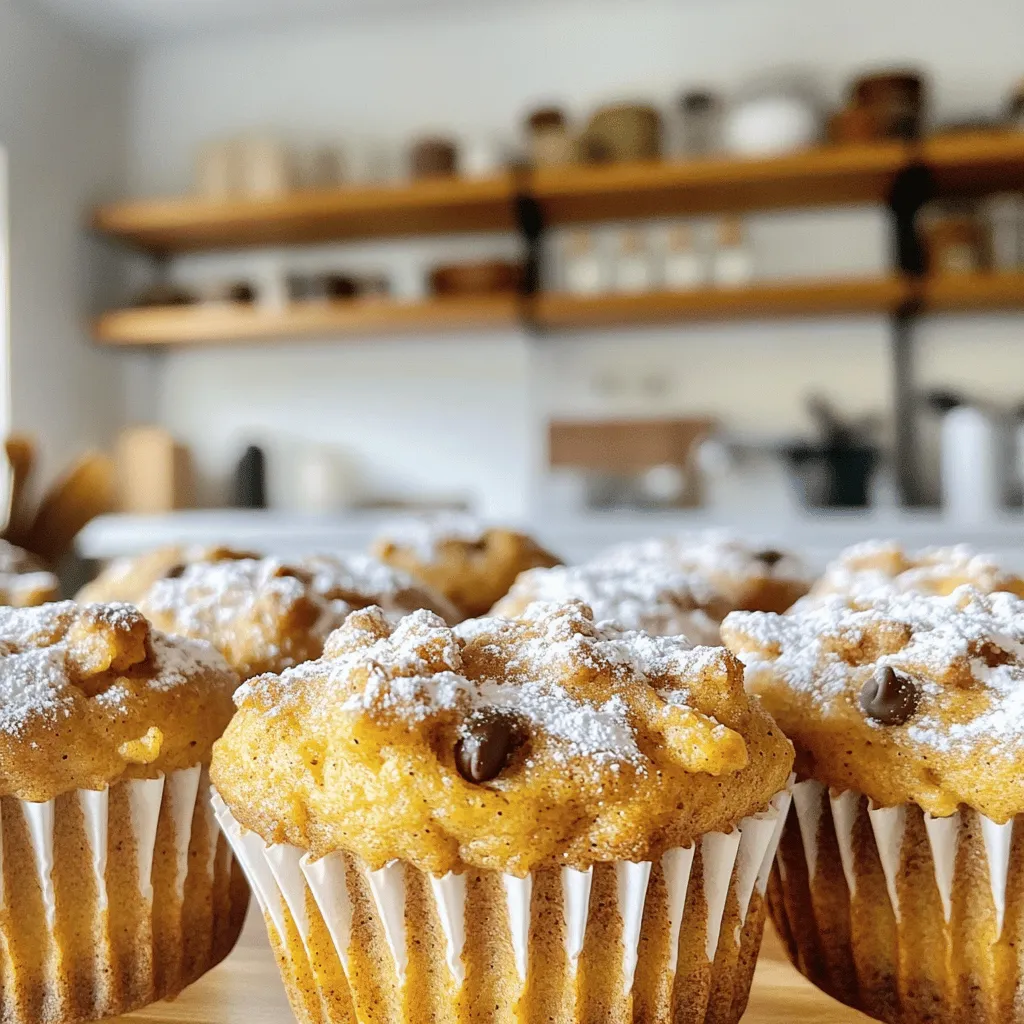
Fall is here, and so is the craving for those cozy flavors of pumpkin spice! In today’s post, I’ll guide

Get ready for a tasty meal with my Maple Dijon Chicken & Potatoes Slow Cooker Delight. This dish is simple,
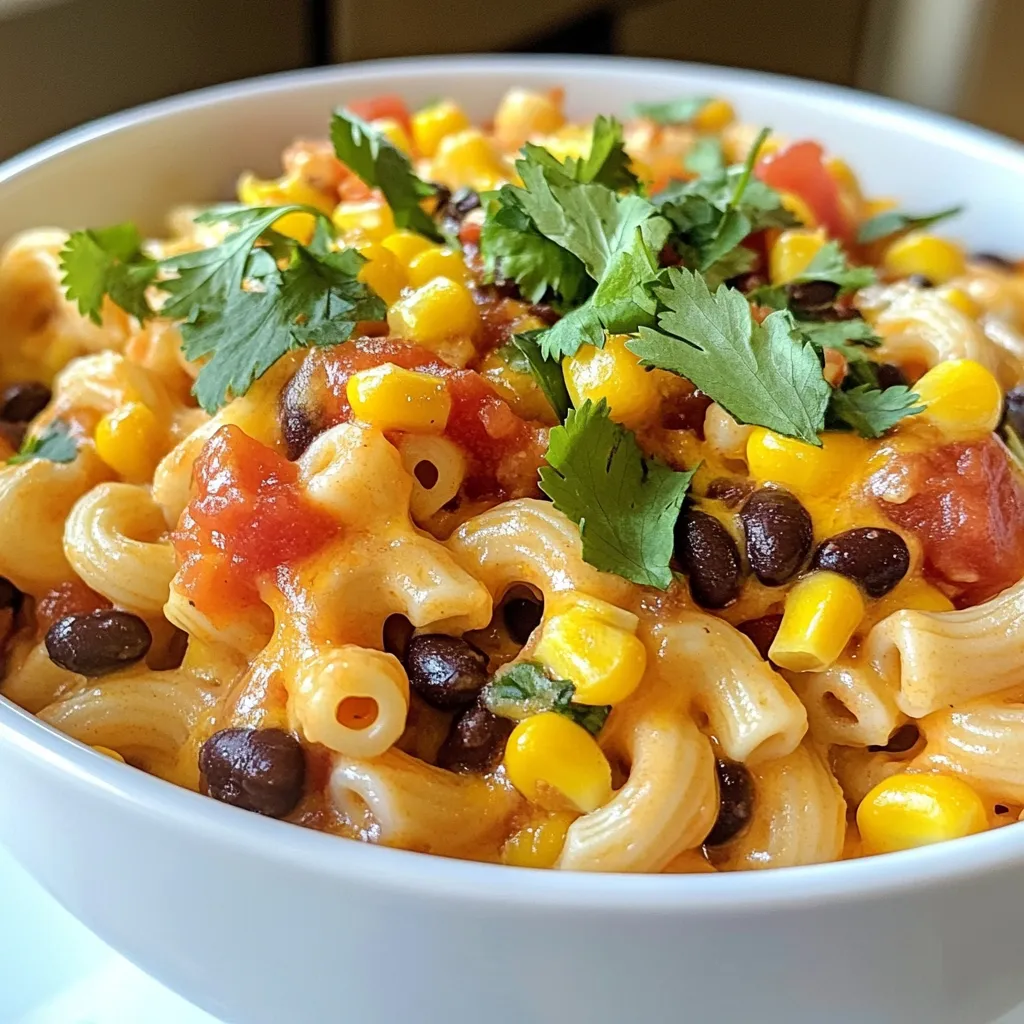
Looking for a quick and tasty dinner? One-Pot Taco Mac is your answer! This dish combines ground meat, creamy macaroni,
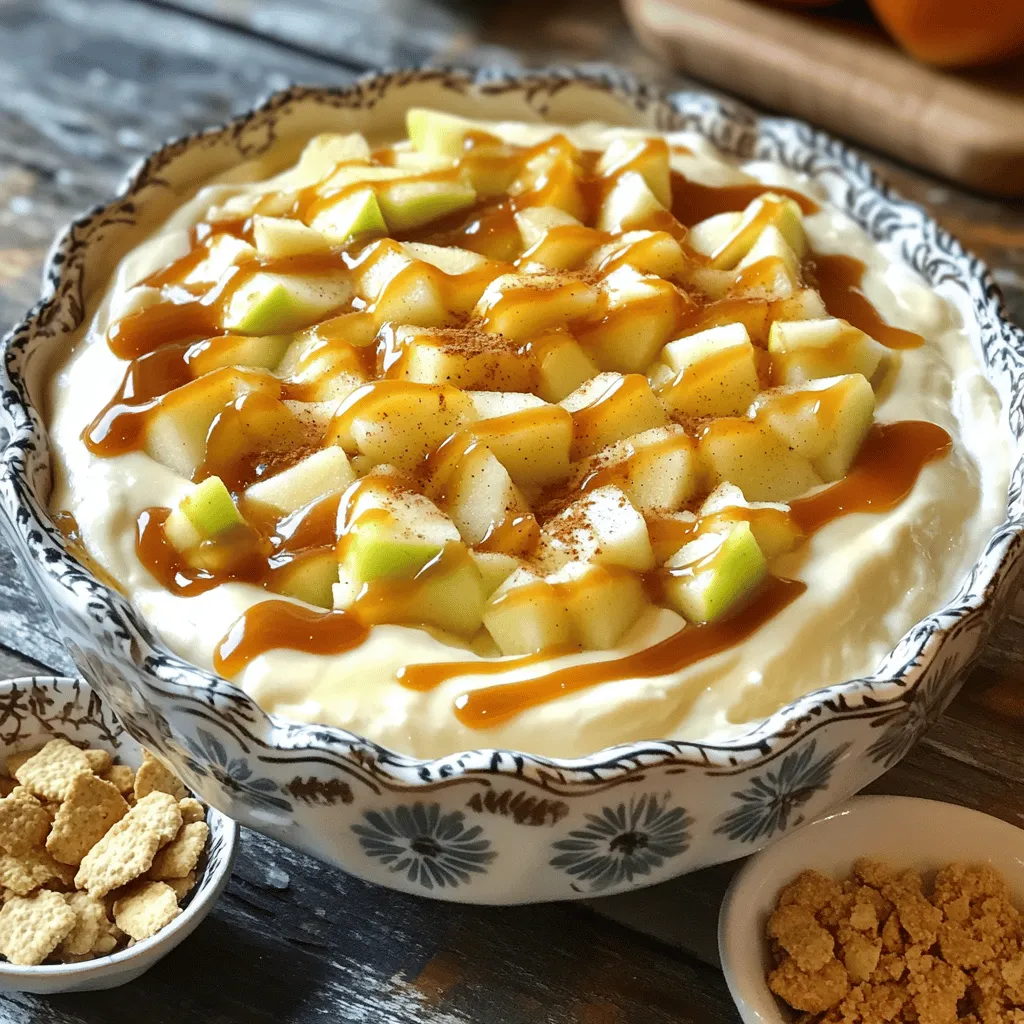
Get ready for a cozy treat with my Caramel Apple Cheesecake Dip made in a slow cooker! This dessert will
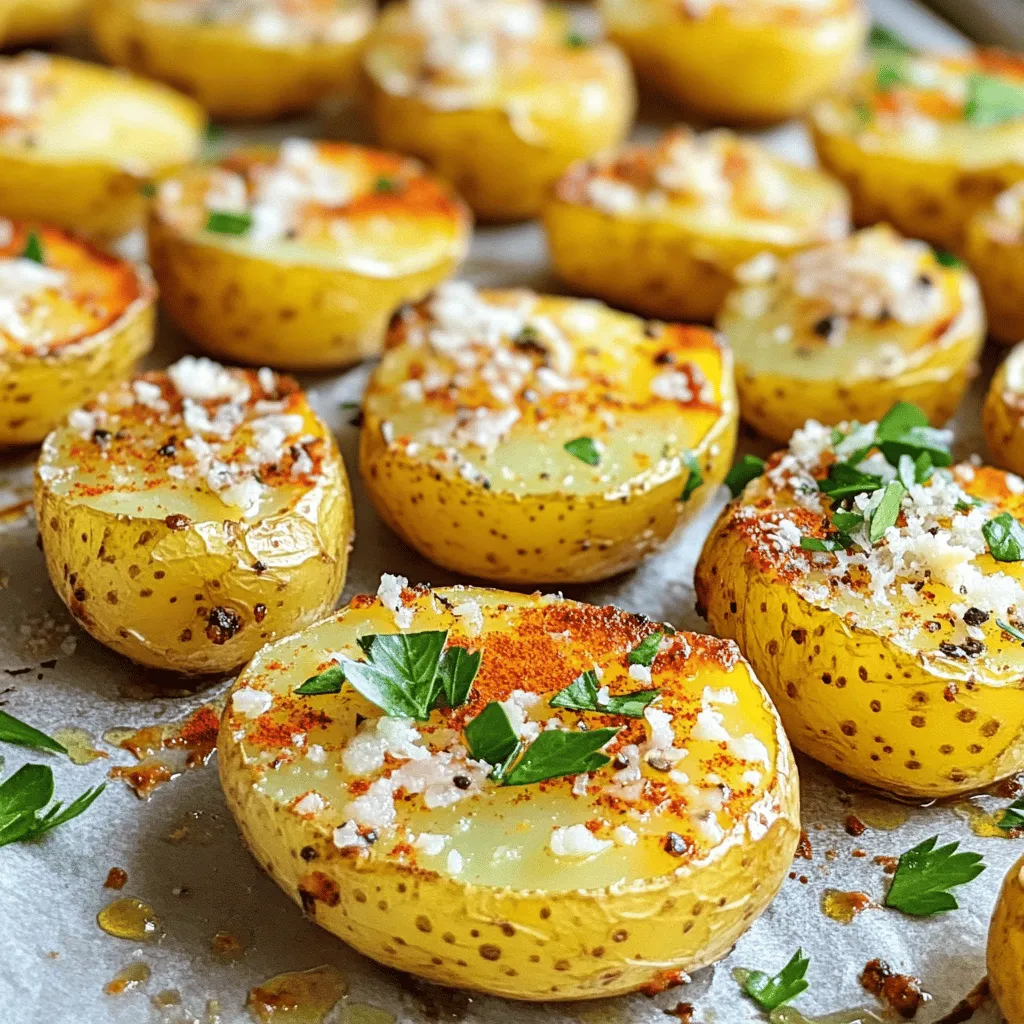
Are you ready to elevate your snack game? My Crispy Parmesan Garlic Potatoes Air Fryer Delight is the perfect side
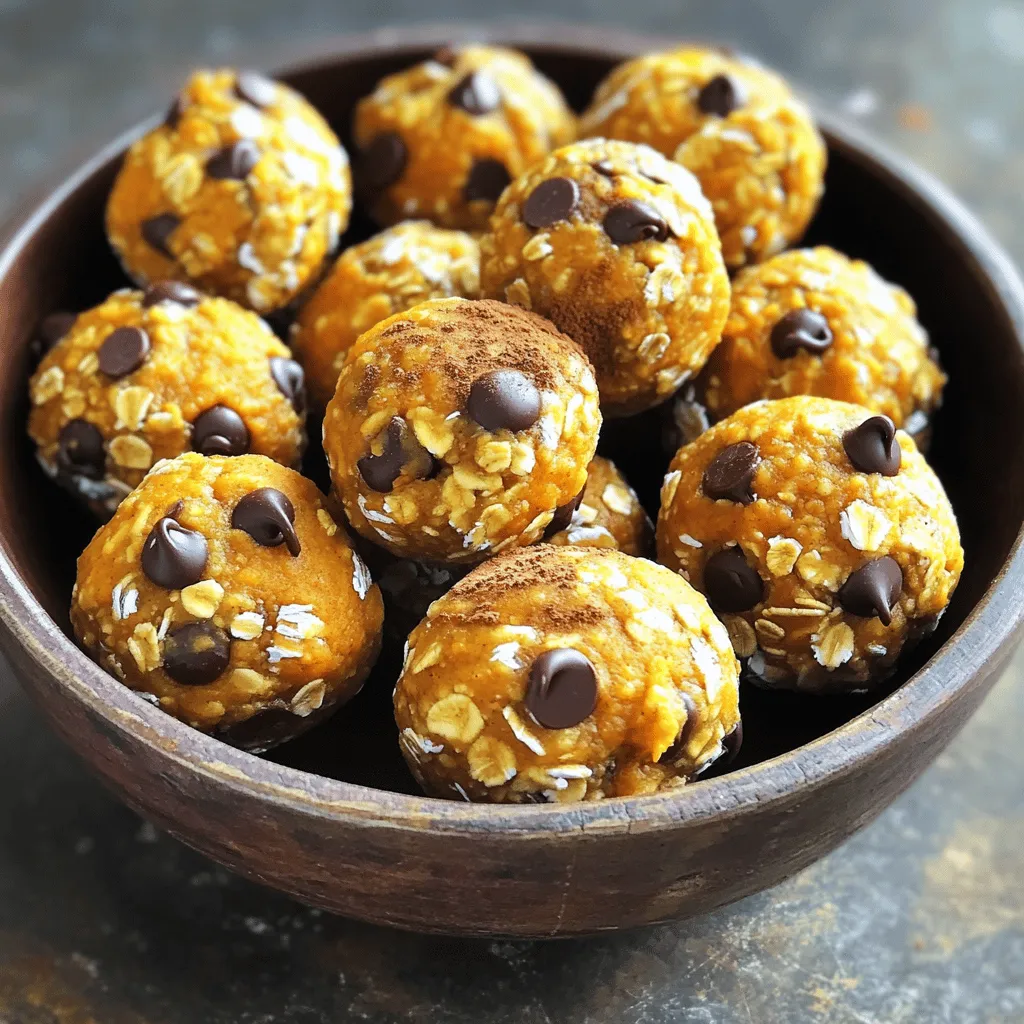
Looking for a quick, healthy snack? You’ll love these Pumpkin Peanut Butter Energy Bites! They’re easy to make and require

Get ready to treat yourself to the ultimate comfort food: Maple Brown Sugar Cinnamon Rolls! In this delicious recipe, I’ll
