
Creamy Tomato Vodka Pasta One Pot Delight Recipe
Are you ready for a delicious, creamy meal that’s easy to make? This Creamy Tomato Vodka Pasta One Pot Delight

Are you ready for a delicious, creamy meal that’s easy to make? This Creamy Tomato Vodka Pasta One Pot Delight

Craving some crispy, sweet satisfaction? Look no further than my Crispy Orange Tofu Better Than Takeout Delight! This dish brings
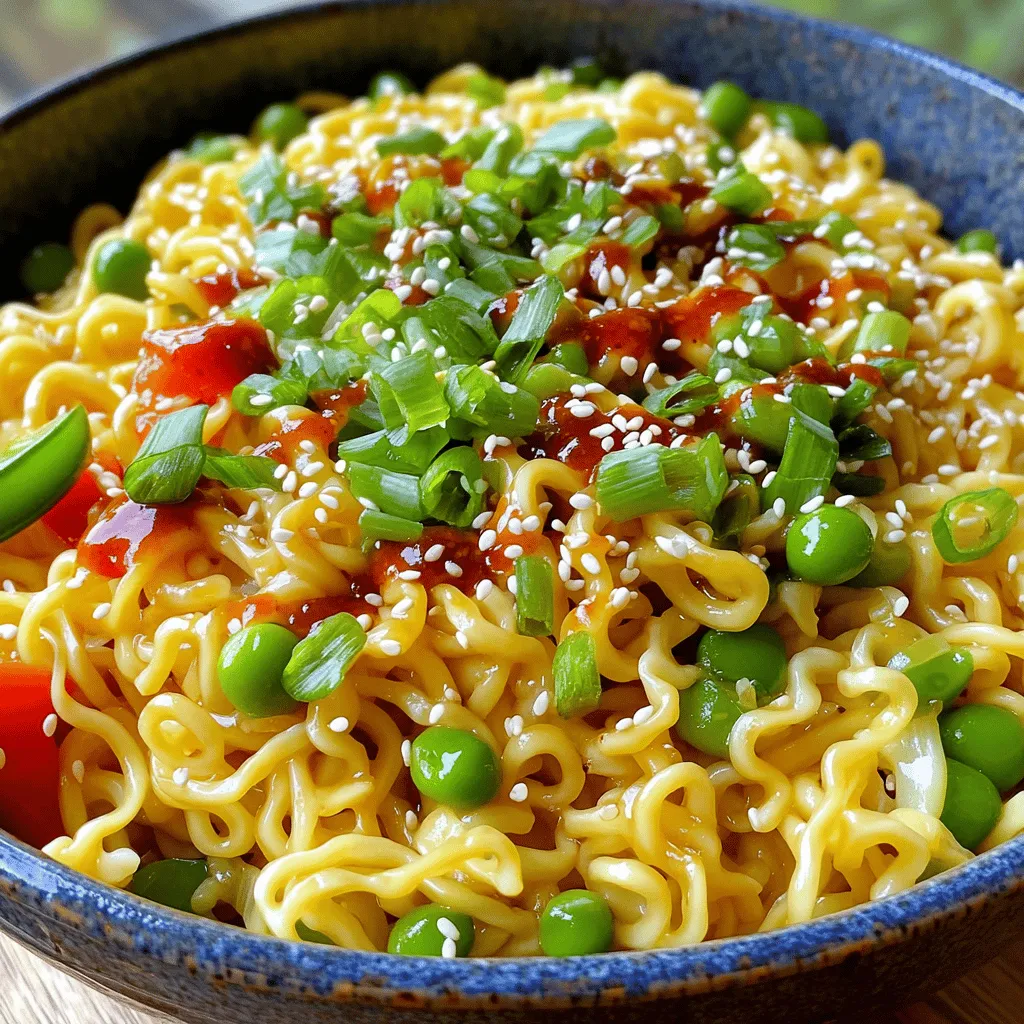
Craving a quick and tasty meal? You’re in the right place! In just 15 minutes, you can whip up Sweet

Fall is here, and it’s the perfect season for cozy drinks! Imagine sipping on a warm Pumpkin Pie White Hot

Get ready to elevate your snack game with Chicken Alfredo Monkey Bread! This savory, cheesy delight combines tender chicken and
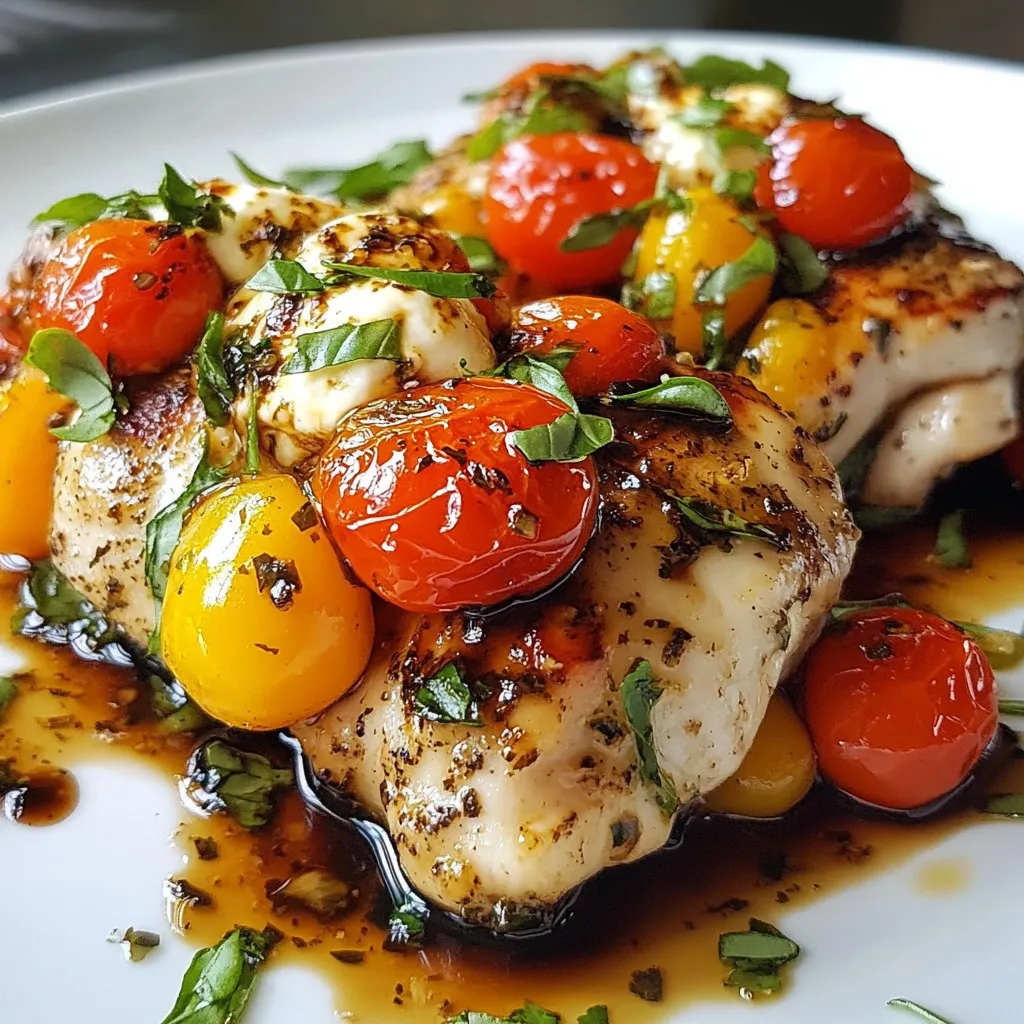
Are you ready to impress your family with a delicious meal? Caprese Stuffed Chicken Breast is a simple yet flavorful

Looking for a quick dinner fix? You’re in the right place! My One-Pan Sausage and Rice Skillet is easy, flavorful,
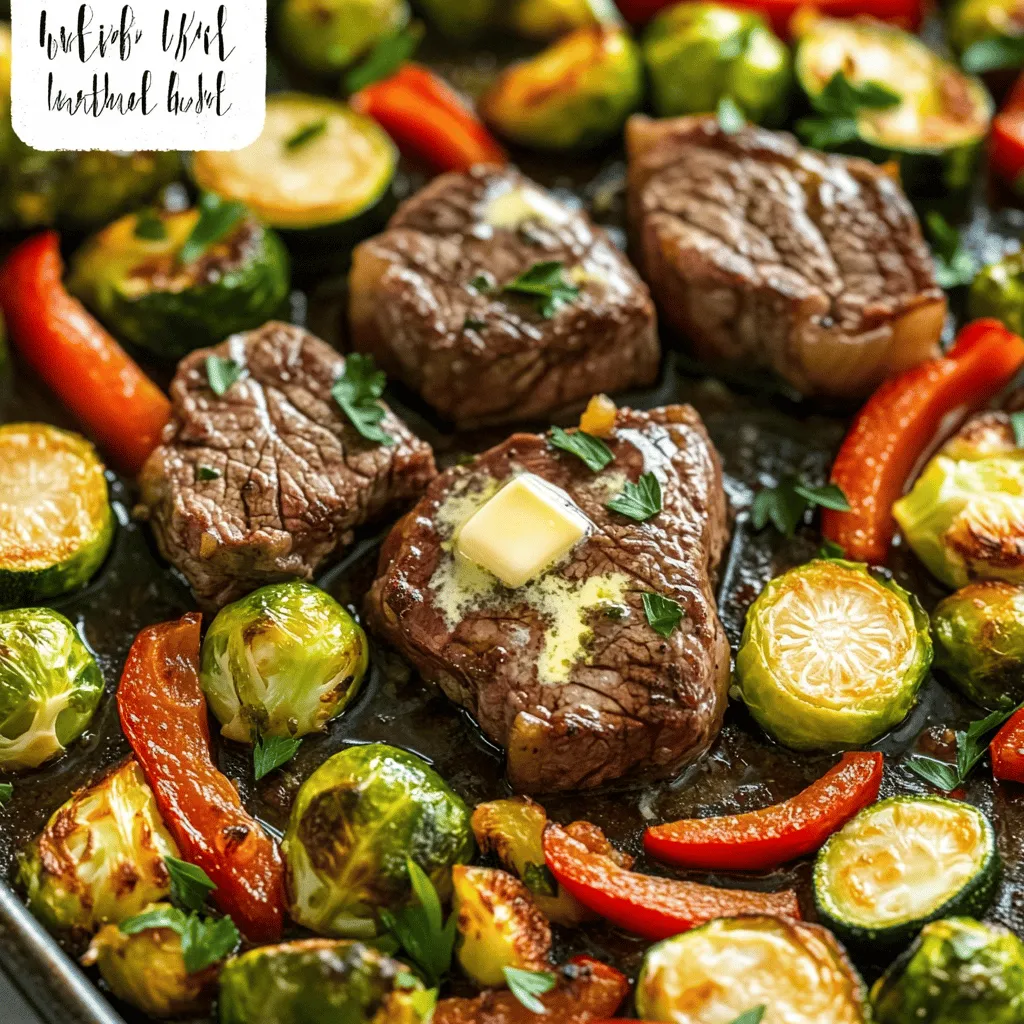
Are you ready for a tasty dinner that’s quick and easy? This Sheet-Pan Garlic Butter Steak and Veggies Delight is
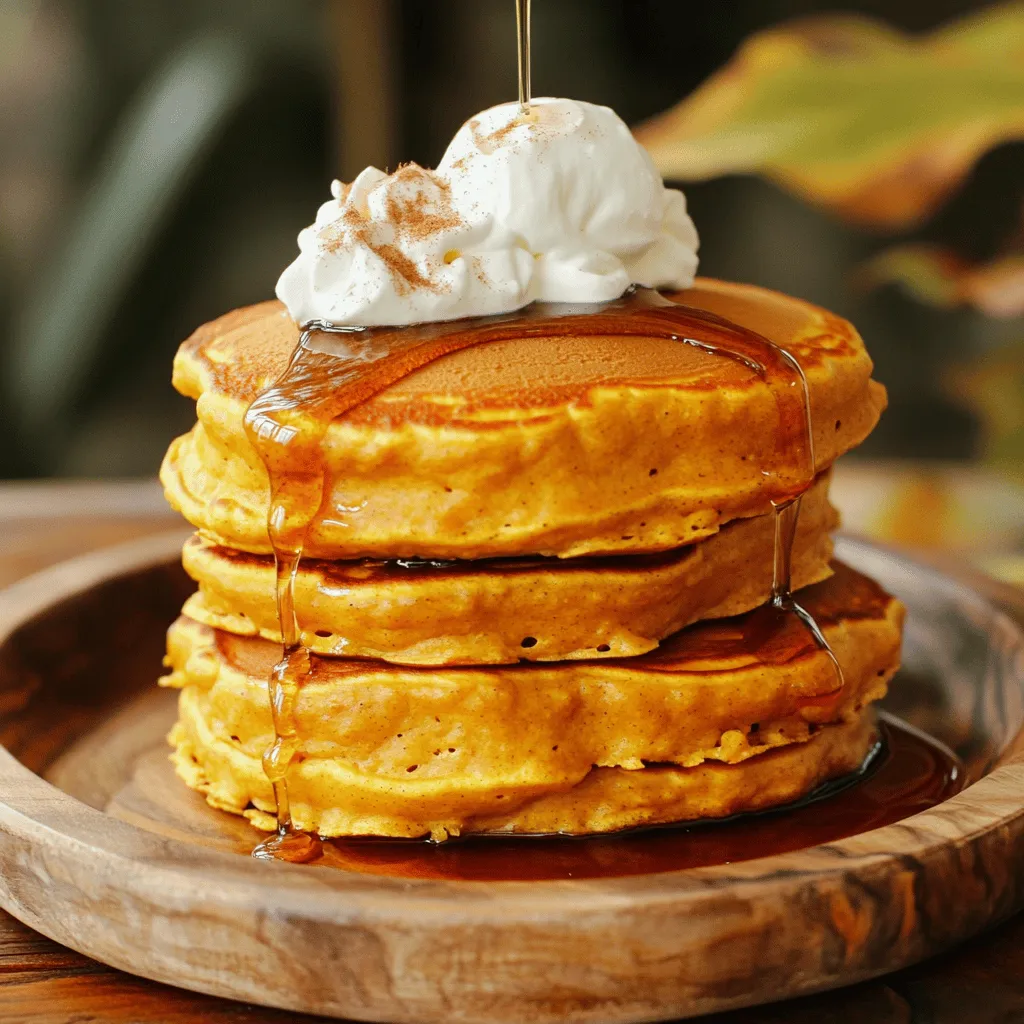
Start your day with a taste of fall! Fluffy Pumpkin Cheesecake Pancakes combine rich pumpkin flavor with a creamy cheesecake
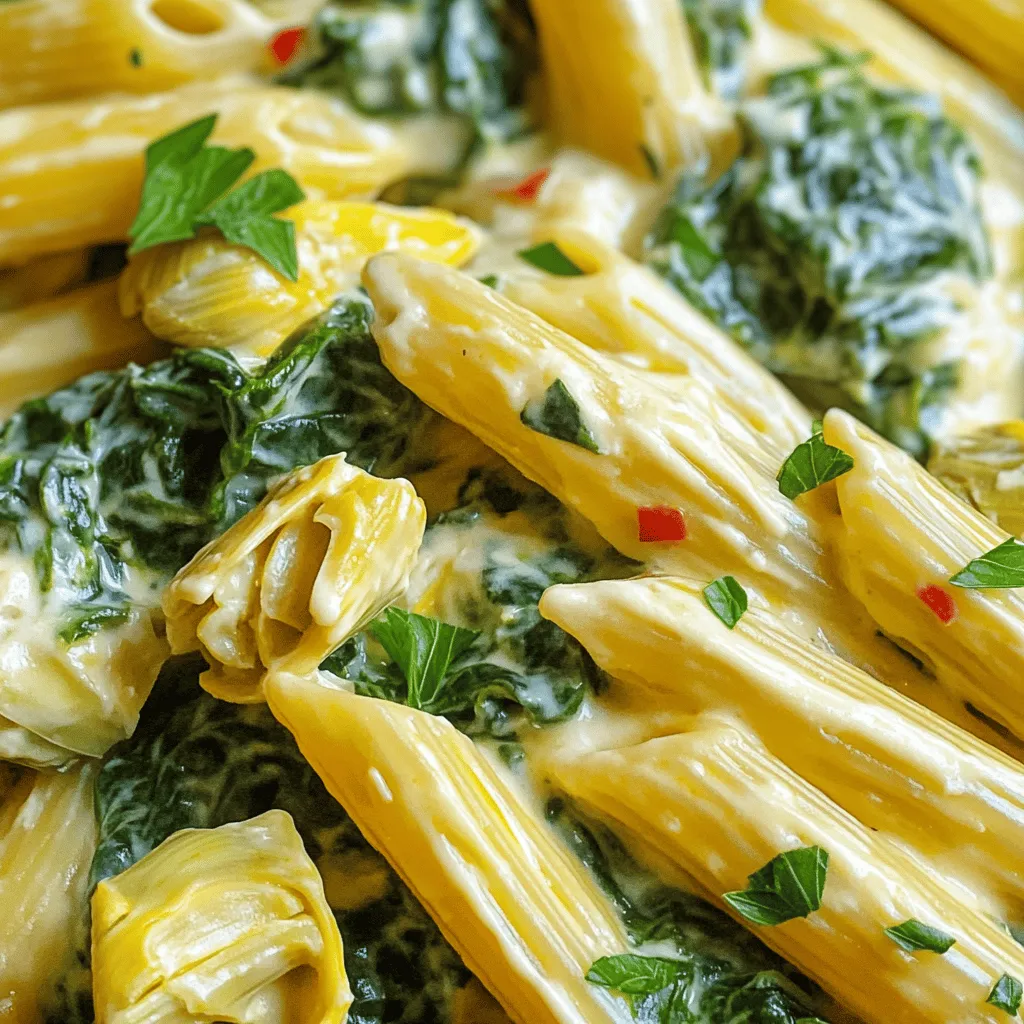
Craving a delicious and creamy dish? You’re in for a treat with Creamy Spinach and Artichoke Dip Pasta Delight! This
