Chocolate Peanut Butter Fudge Irresistible Dessert Treat
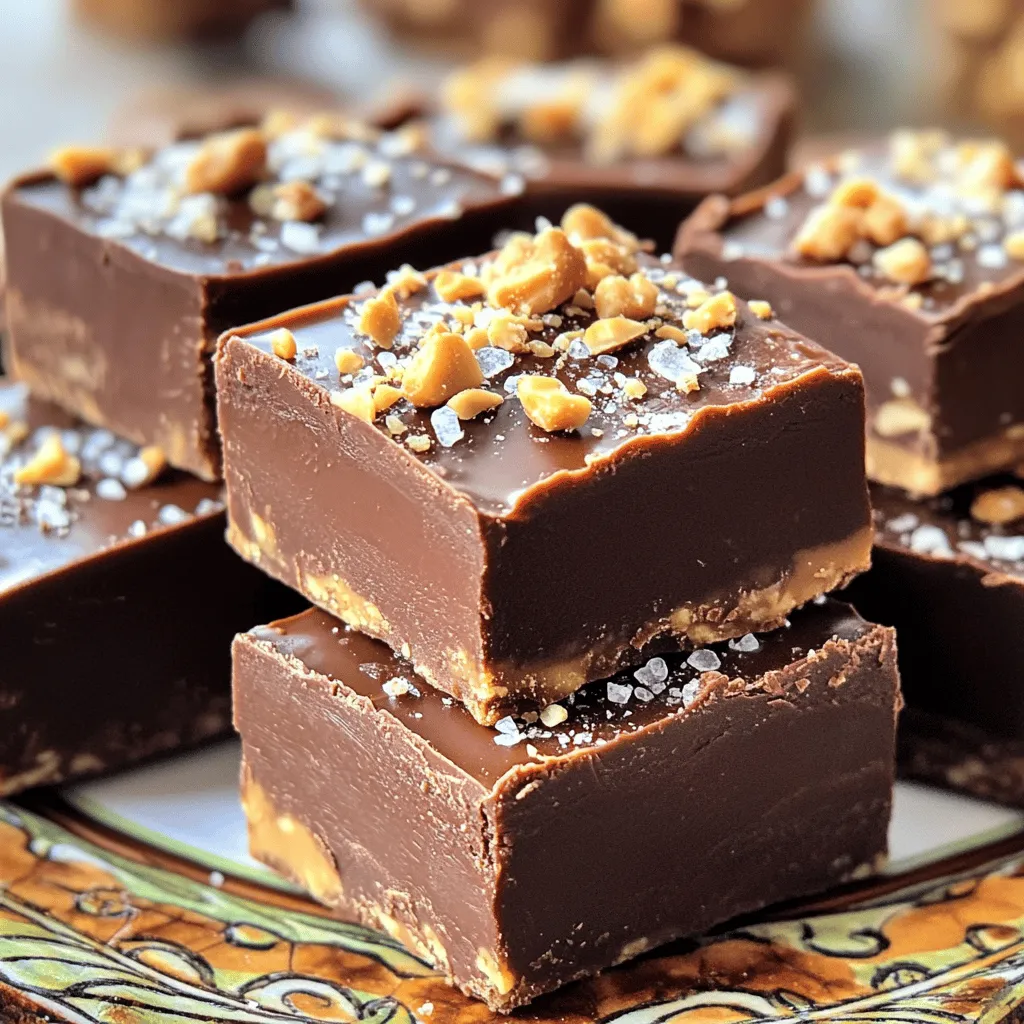
Are you ready to indulge in a rich, creamy delight? Chocolate Peanut Butter Fudge is the dessert you’ll crave. With

Are you ready to indulge in a rich, creamy delight? Chocolate Peanut Butter Fudge is the dessert you’ll crave. With
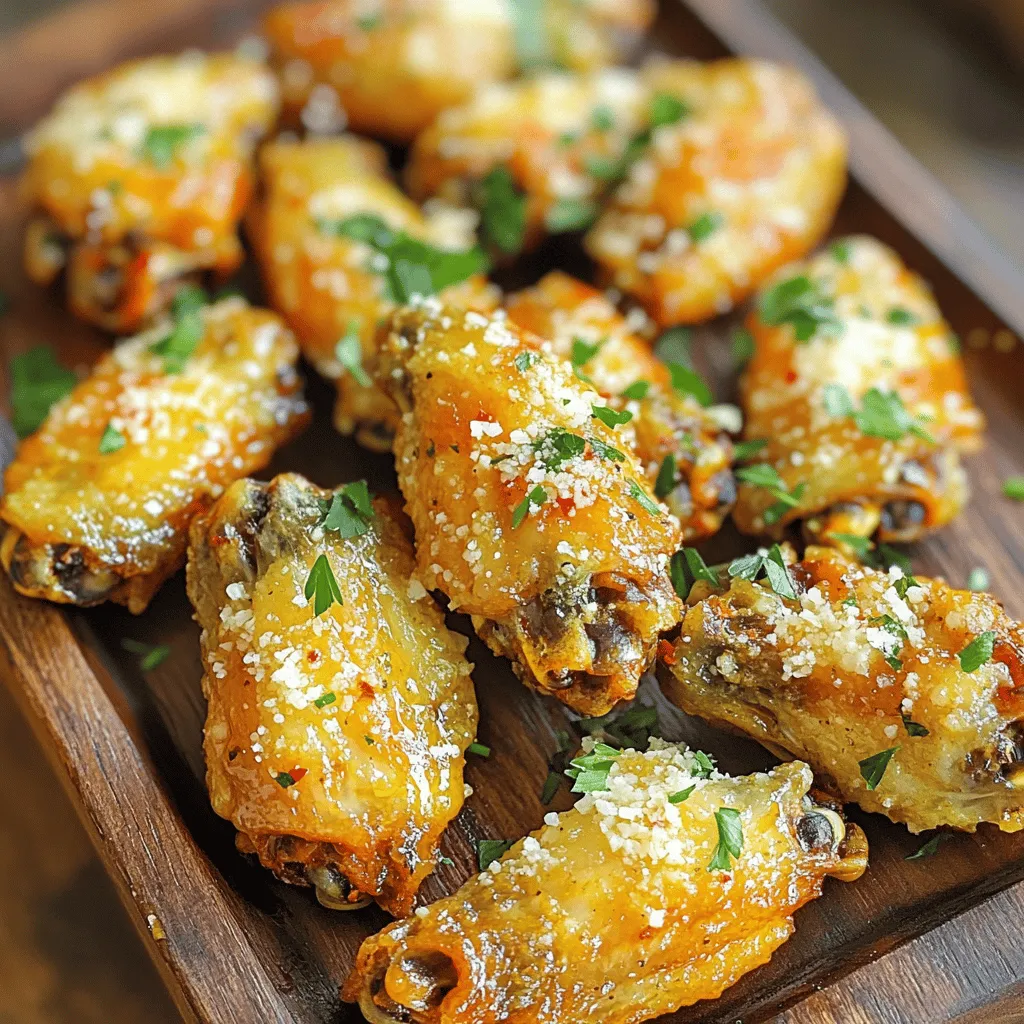
Looking for a tasty snack that’s easy to make? Look no further! Garlic Parmesan Air Fryer Wings are crispy, flavorful,
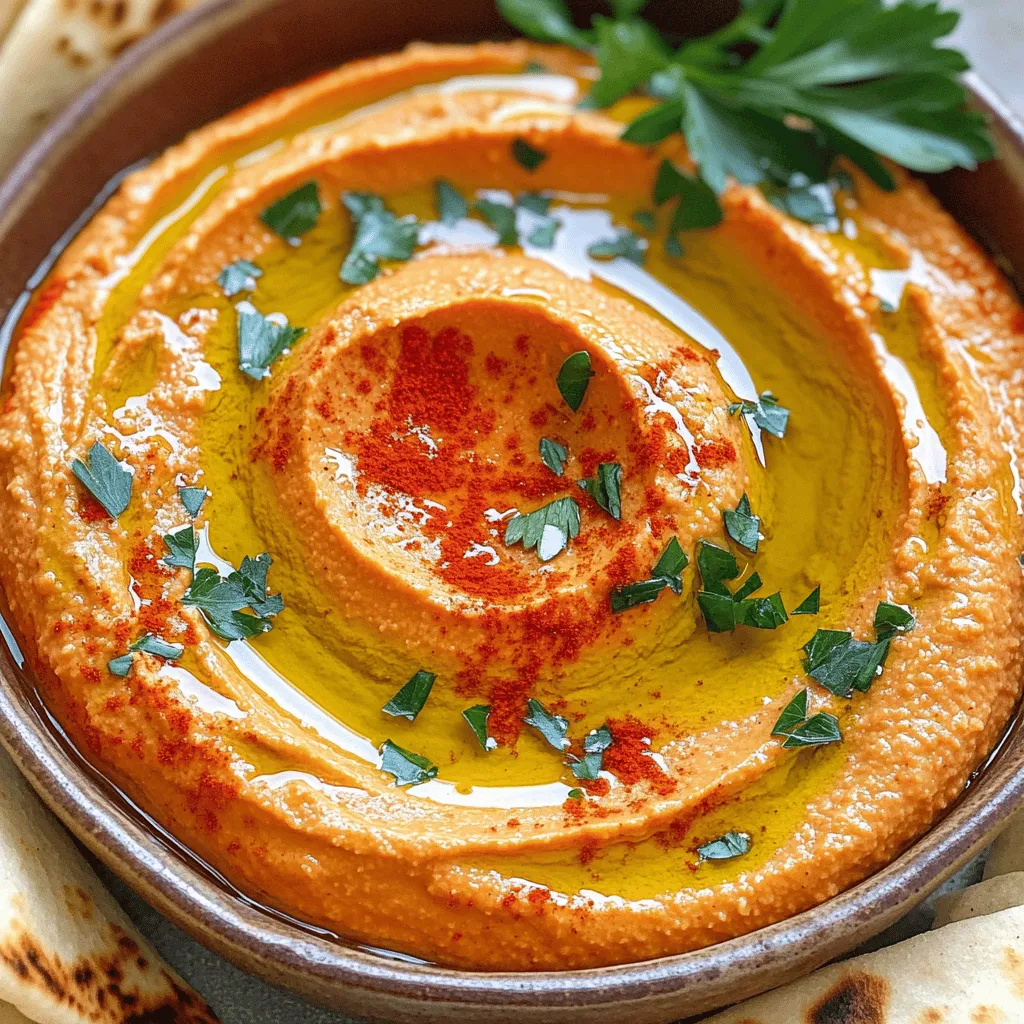
If you crave a tasty snack that’s both simple and healthy, this Roasted Red Pepper Hummus is for you. Made
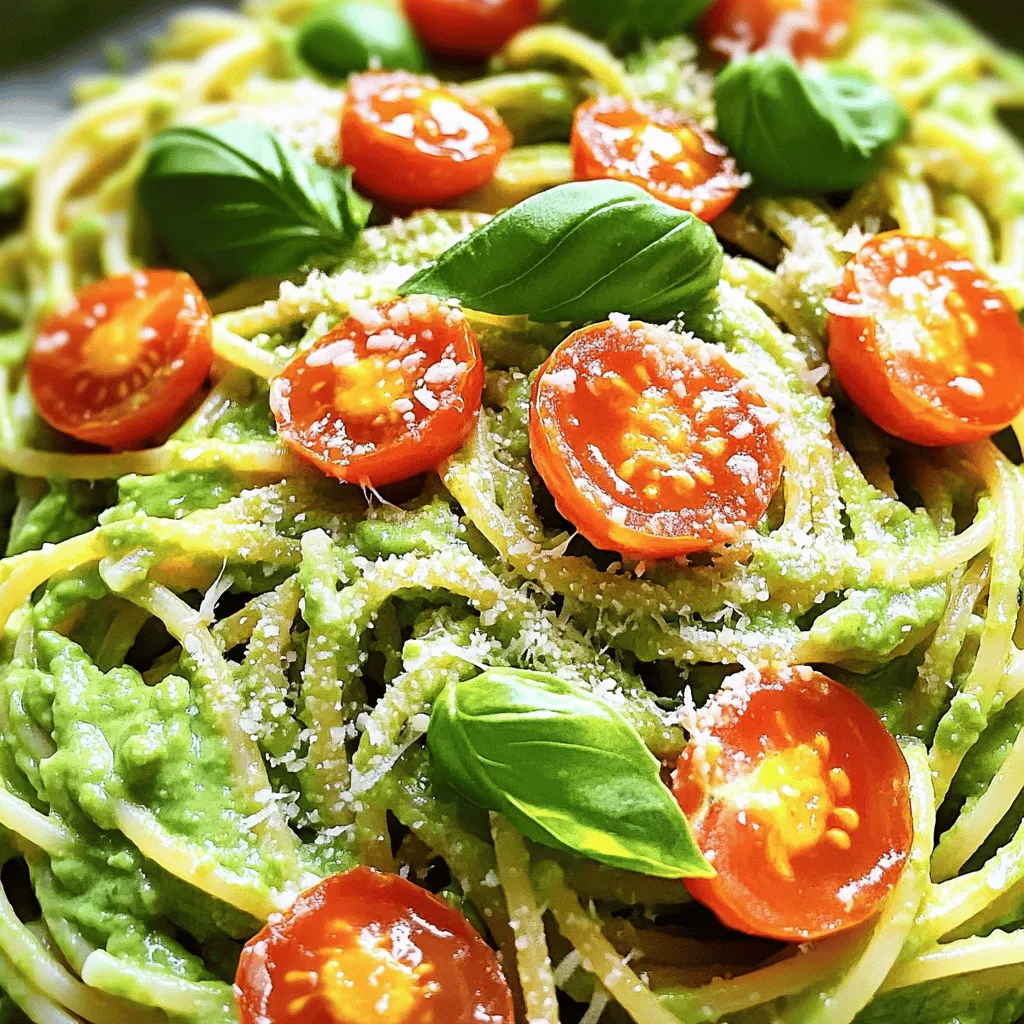
If you love pasta and avocados, you’re in for a treat! My Creamy Avocado Pasta recipe is both delightful and

Looking for a simple and tasty treat? You’ll love these Blueberry Crumble Muffins! With their soft, fluffy texture and sweet,
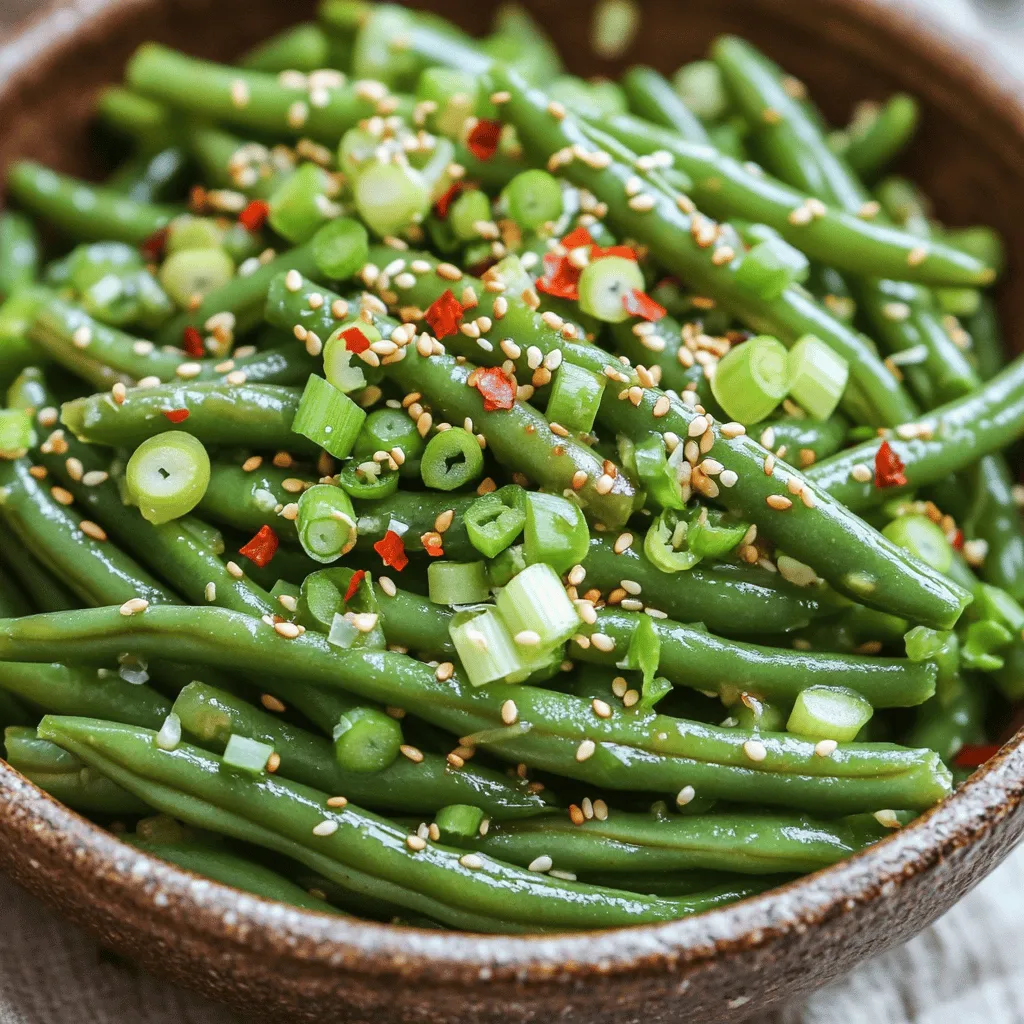
Looking for a quick and tasty side dish? Spicy Garlic Green Beans pack a punch! This recipe is simple, flavorful,
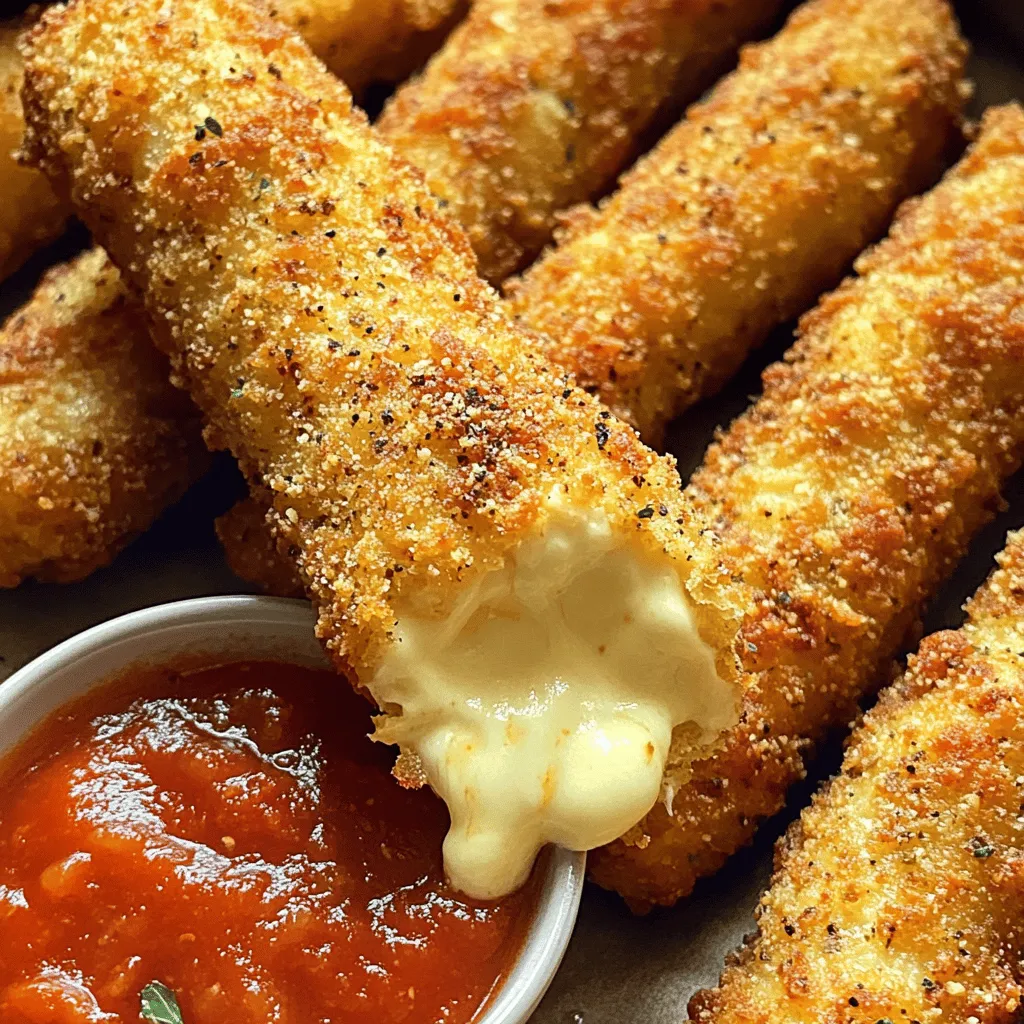
If you crave a quick and delicious snack, these Air Fryer Mozzarella Sticks will hit the spot. They are easy
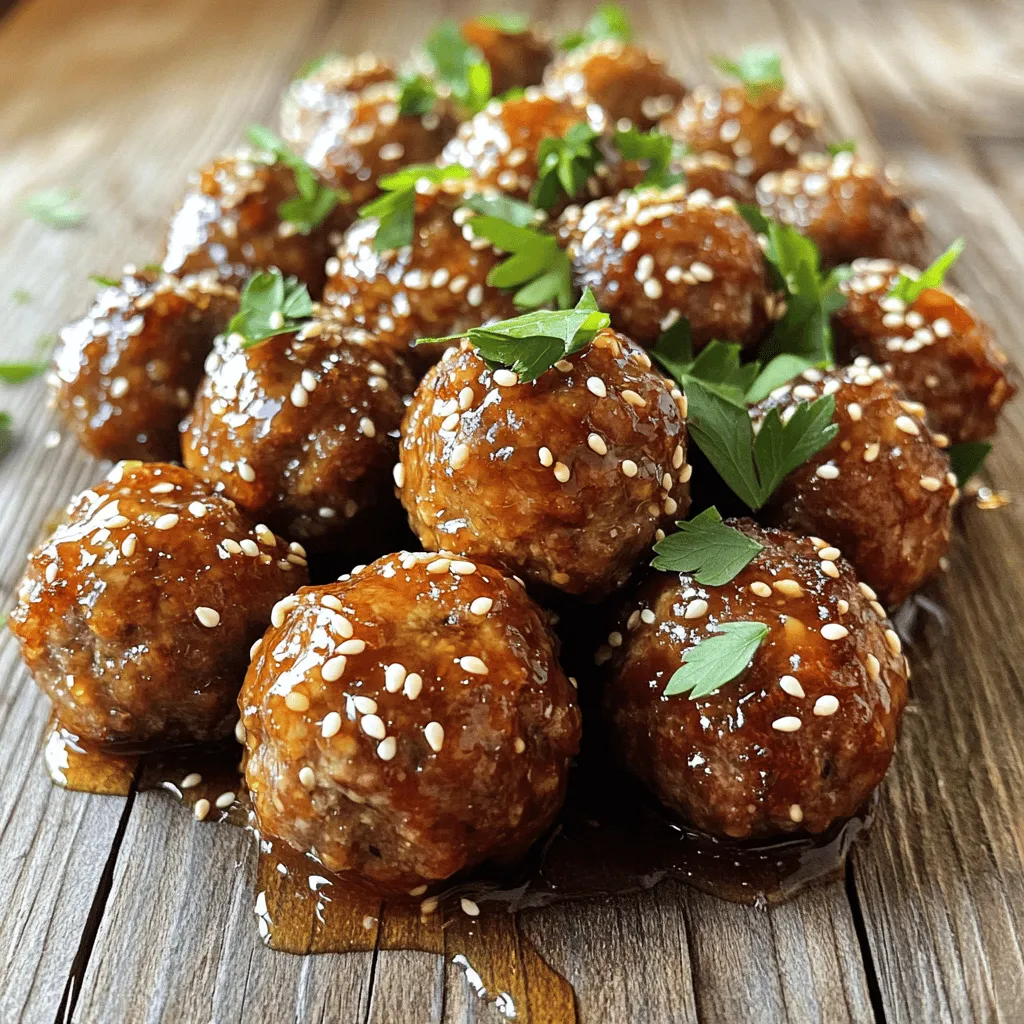
Looking for a dinner that’s both tasty and simple? Honey Garlic Meatballs are the perfect mix of sweet and savory.
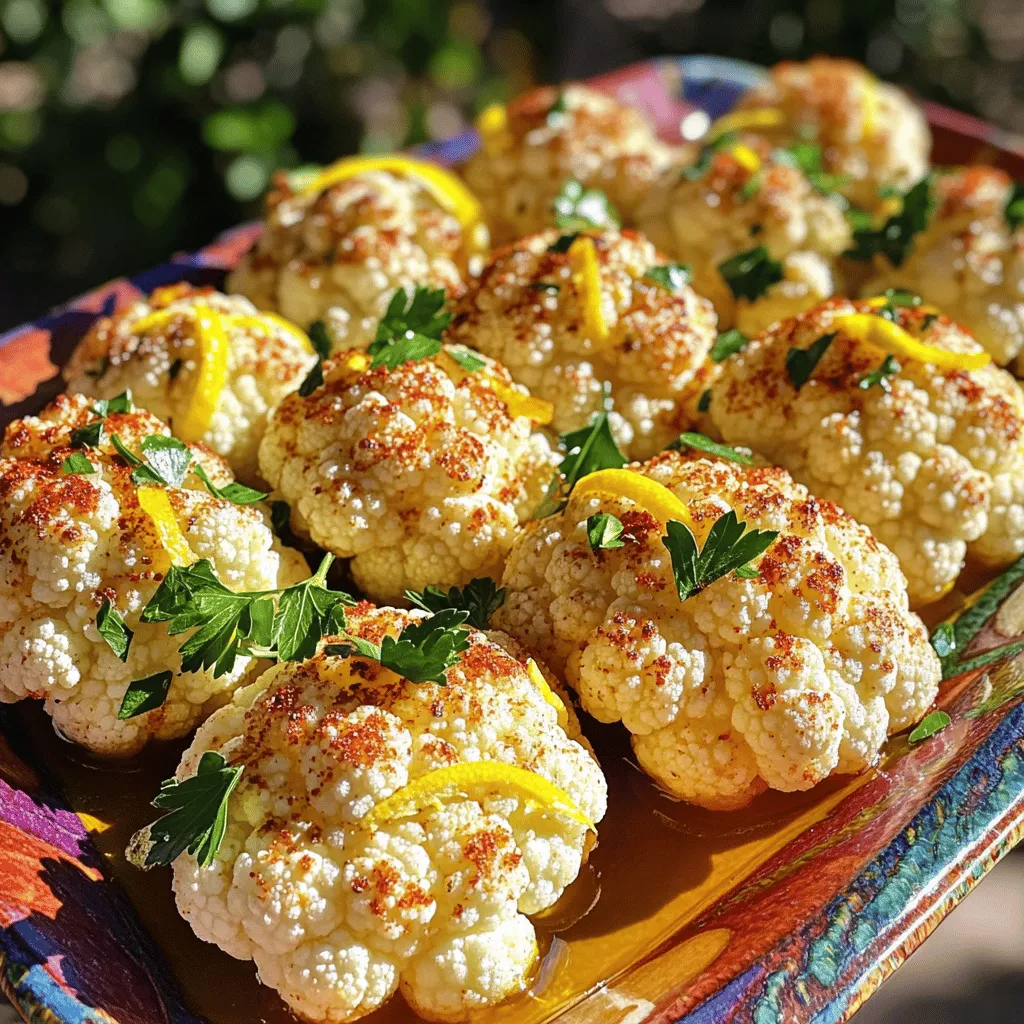
Are you ready to elevate your side dish game? Lemon Garlic Roasted Cauliflower is easy to make and bursting with
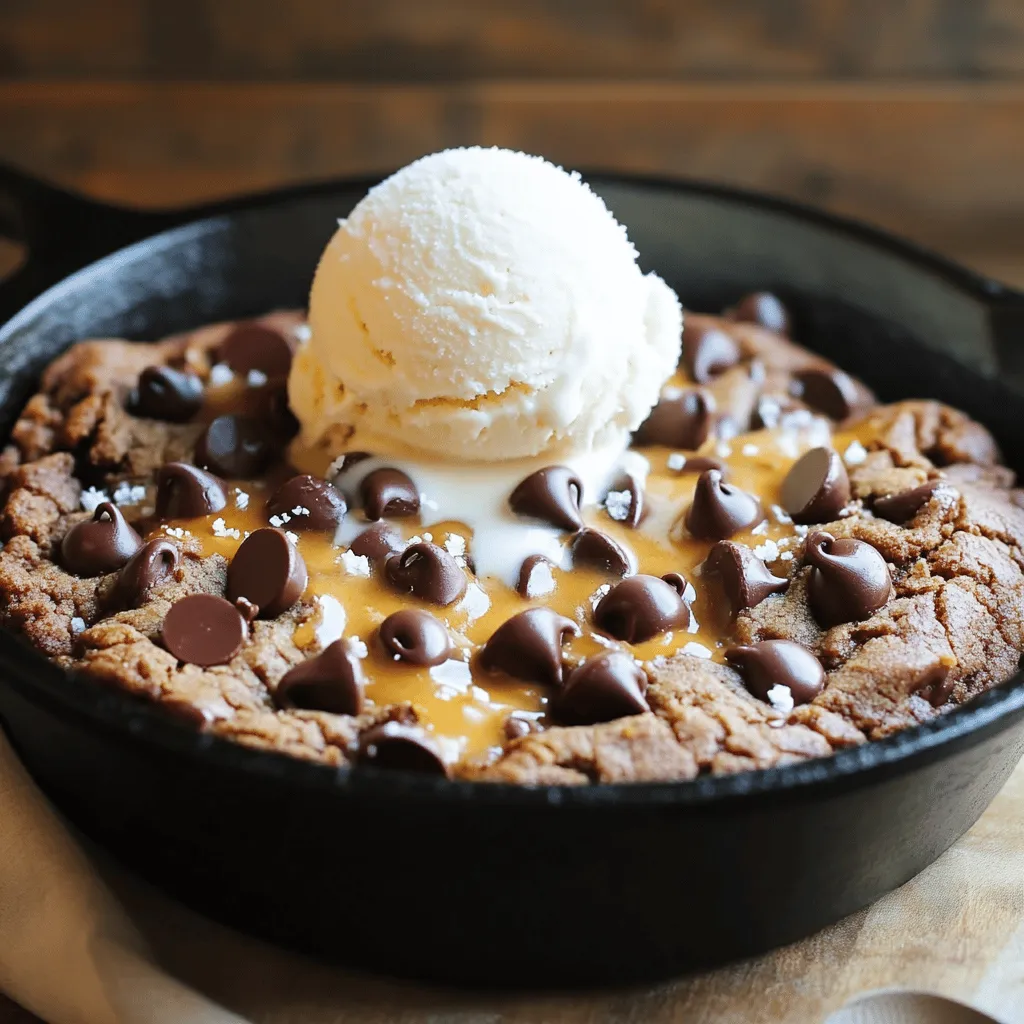
Craving a warm, gooey dessert that’s sure to impress? You’re in the right place! This Chocolate Chip Skillet Cookie combines
