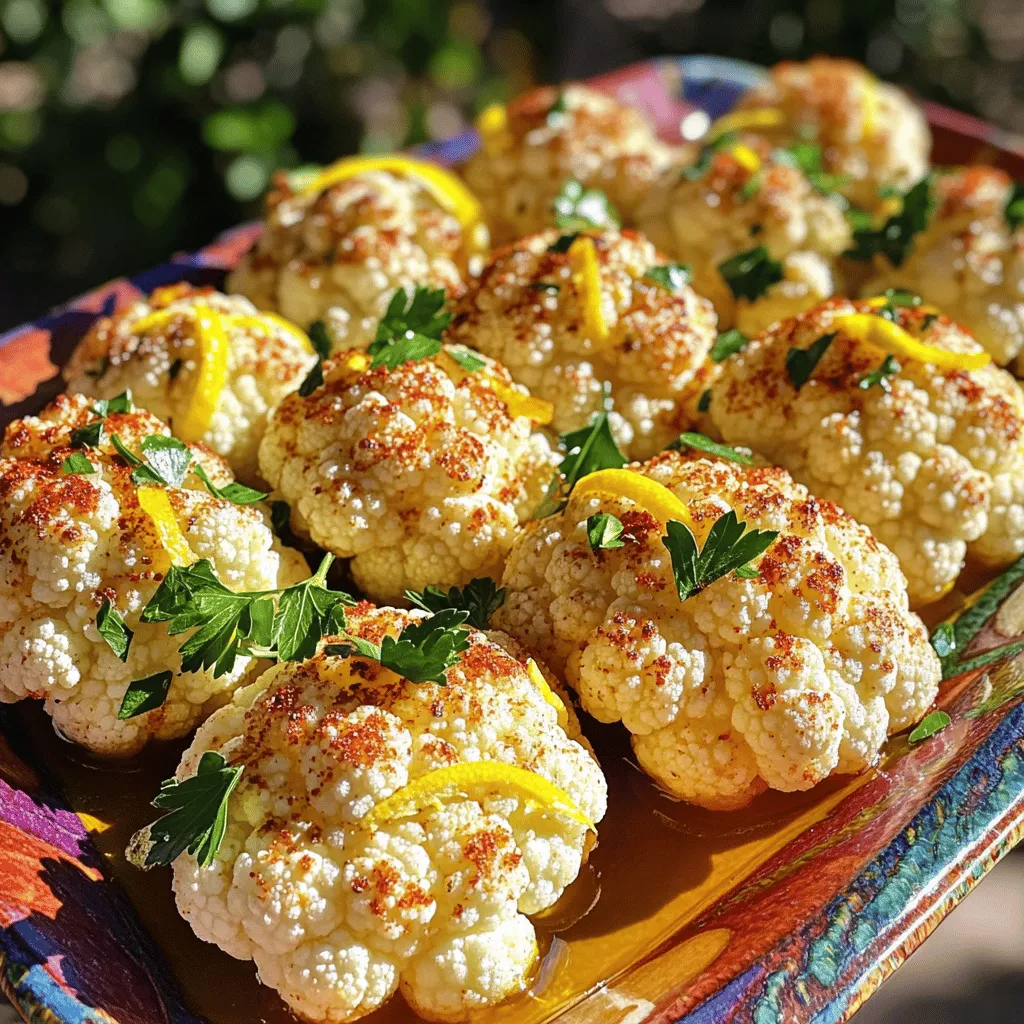
Lemon Garlic Roasted Cauliflower Flavorful Side Dish
Are you ready to elevate your side dish game? Lemon Garlic Roasted Cauliflower is easy to make and bursting with

Are you ready to elevate your side dish game? Lemon Garlic Roasted Cauliflower is easy to make and bursting with
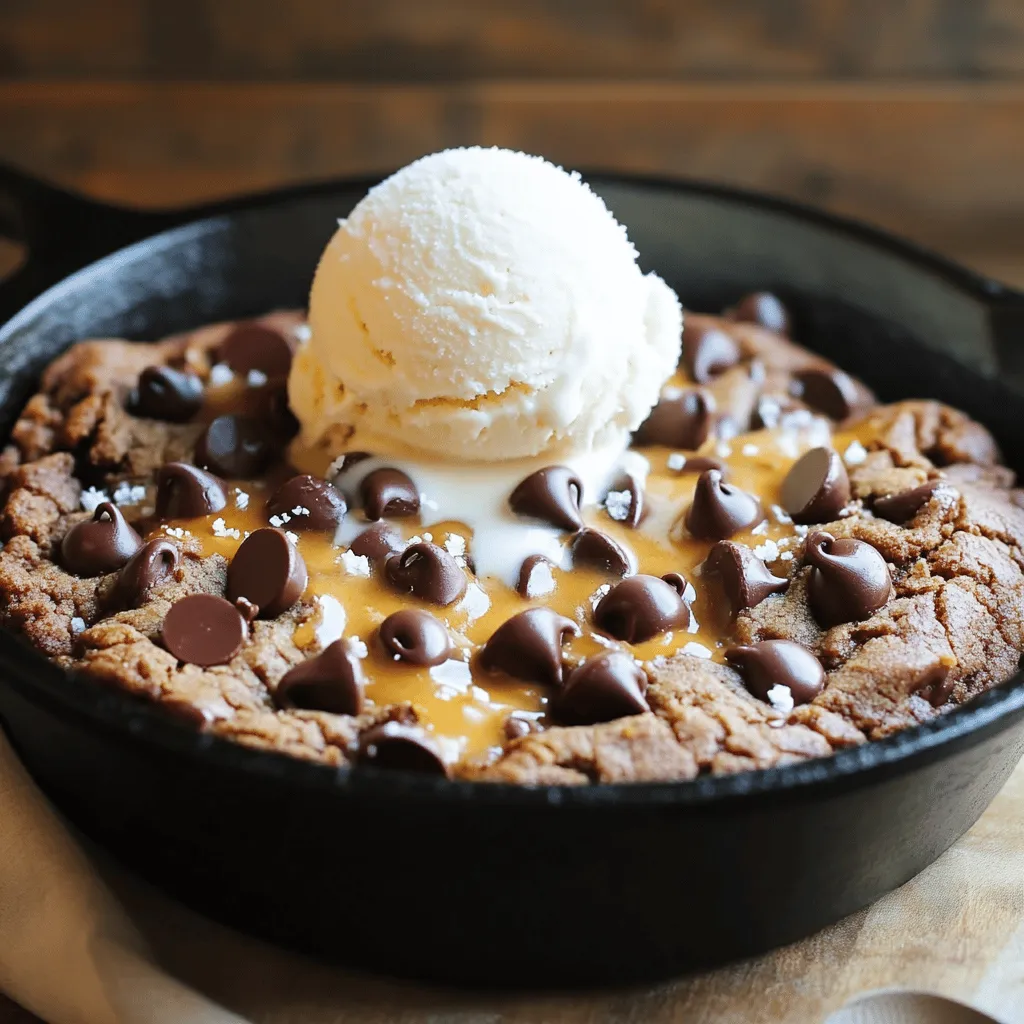
Craving a warm, gooey dessert that’s sure to impress? You’re in the right place! This Chocolate Chip Skillet Cookie combines
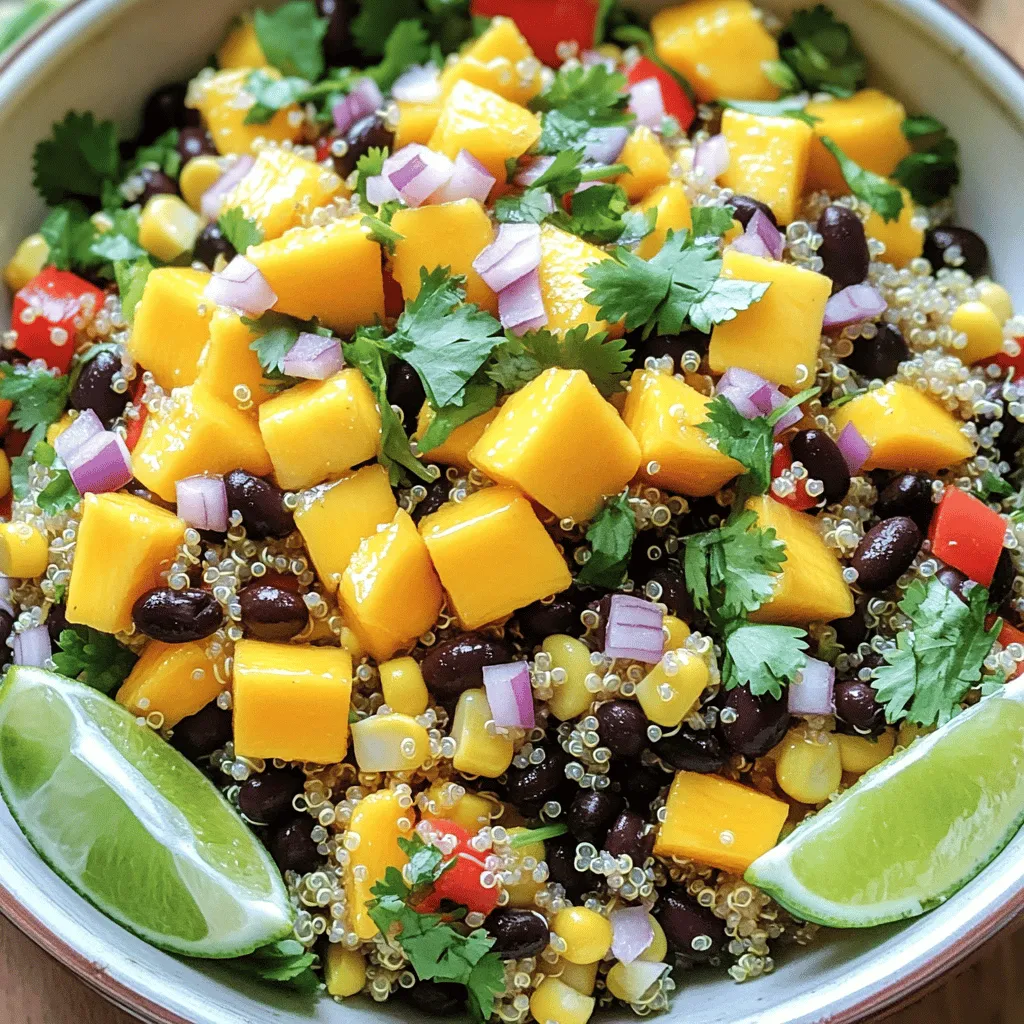
Are you ready to enjoy a clean, fresh dish that bursts with flavor? My Mango Black Bean Quinoa Salad combines
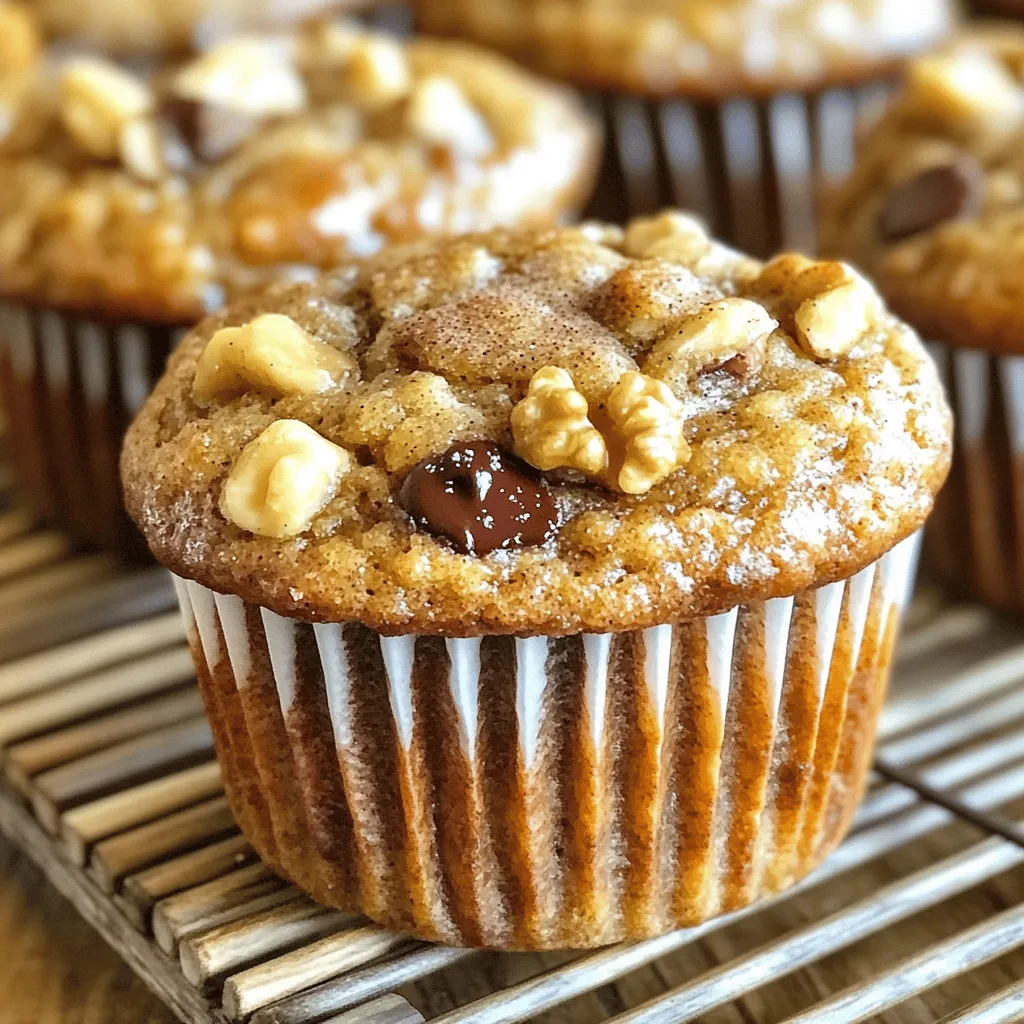
Are you ready to treat yourself to something healthy and delicious? My Thriving Banana Nut Protein Muffins are your perfect
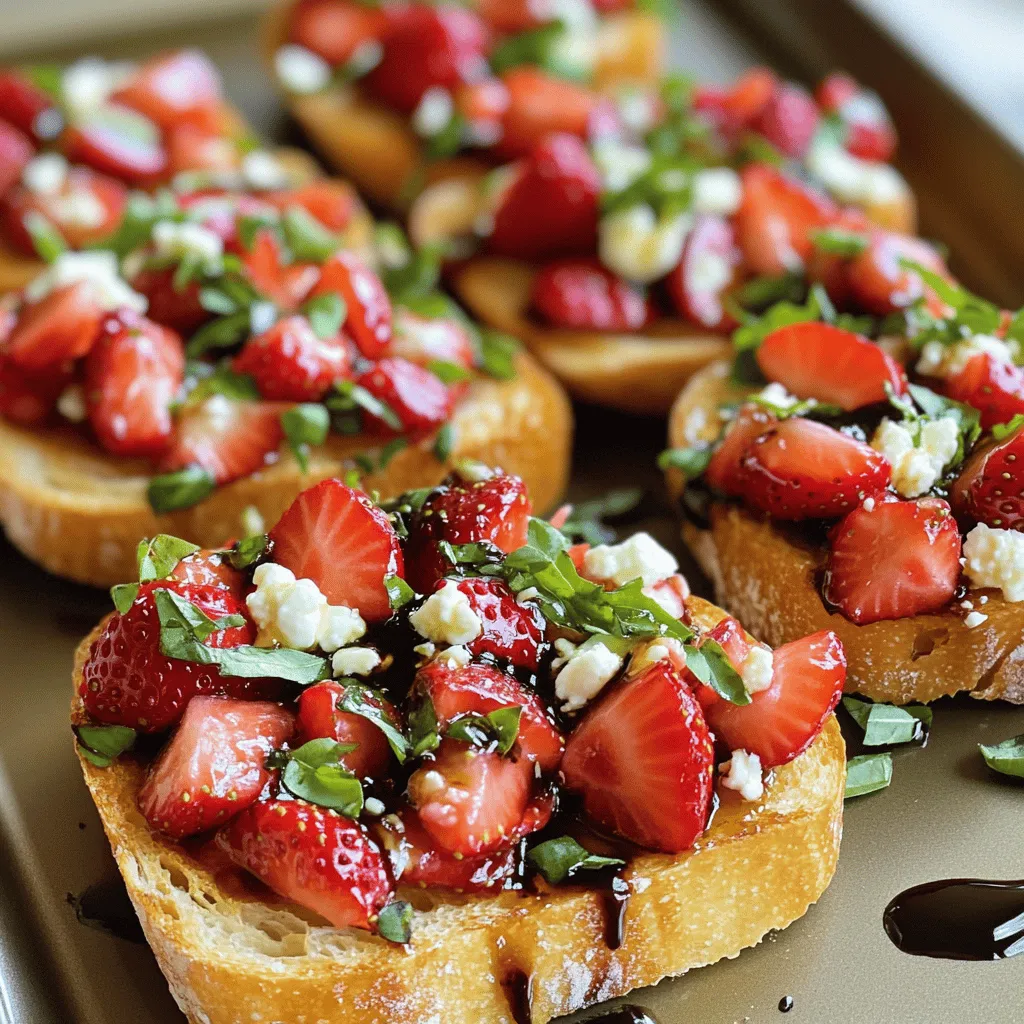
Get ready to indulge in a burst of fresh flavors with my Strawberry Basil Bruschetta! This vibrant appetizer combines sweet
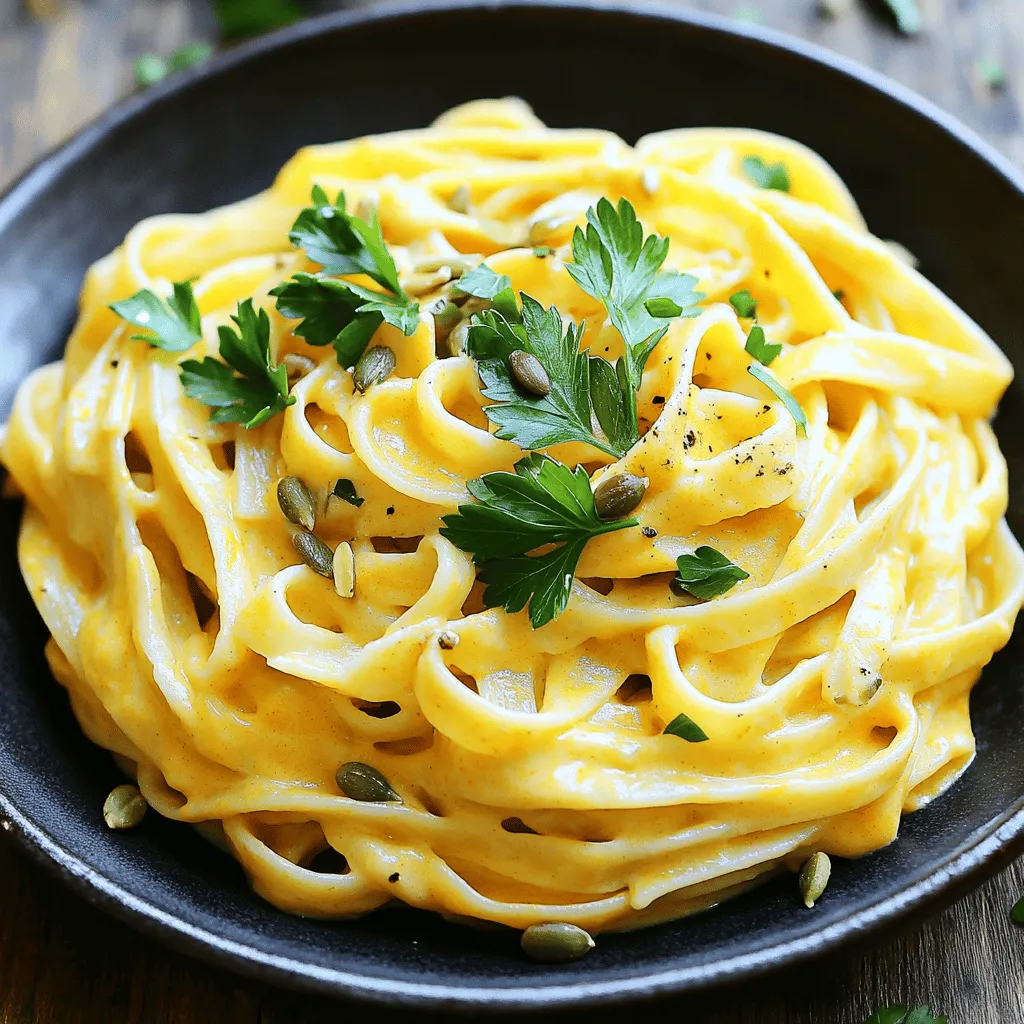
Craving a cozy and delicious dinner? Let me introduce you to my Creamy Pumpkin Alfredo Pasta! This dish is rich,
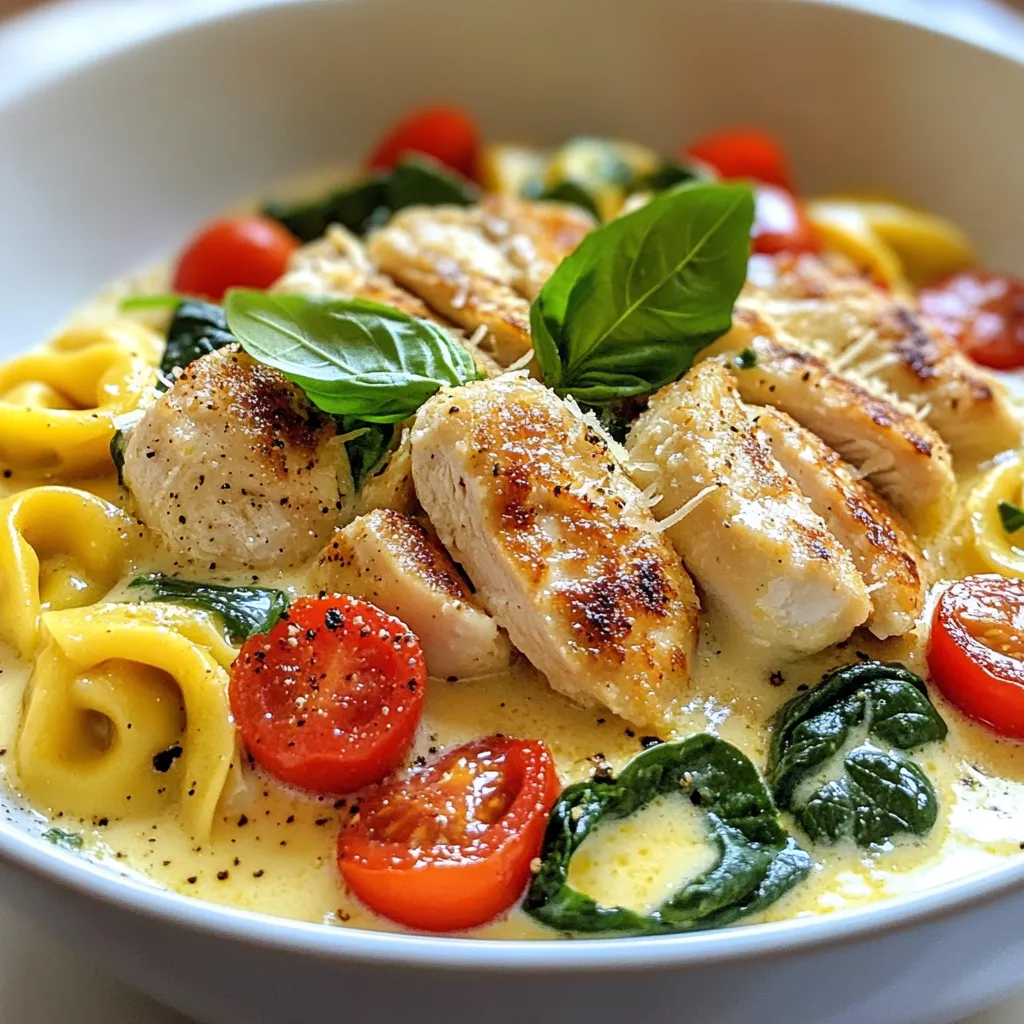
Looking for a dinner idea that’s sure to impress? Try my Marry Me Chicken Tortellini! This creamy, cheesy dish combines
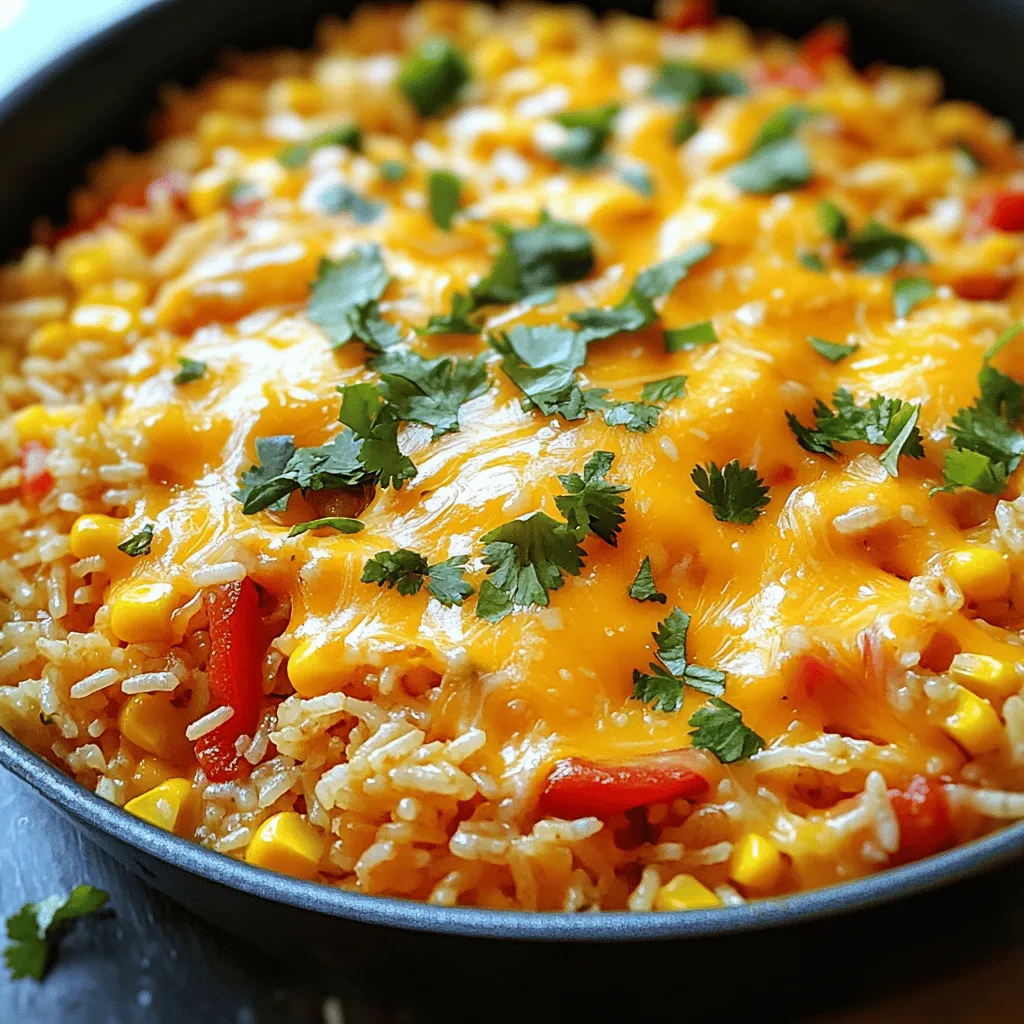
Craving a hearty meal that’s quick and full of flavor? Look no further than my Cheesy Tex-Mex Rice Skillet! With
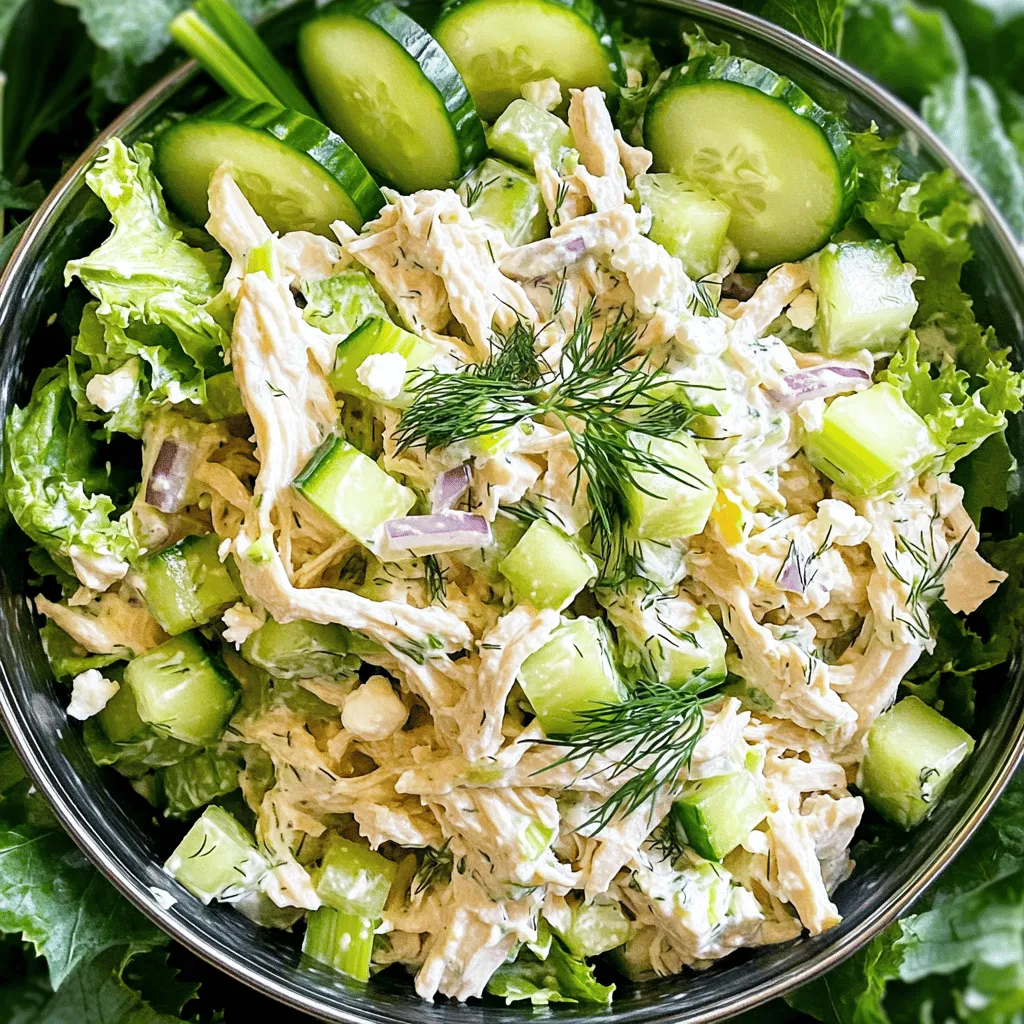
Looking for a fresh, tasty dish that’s quick to make? Greek Yogurt Chicken Salad is a delightful choice! Packed with
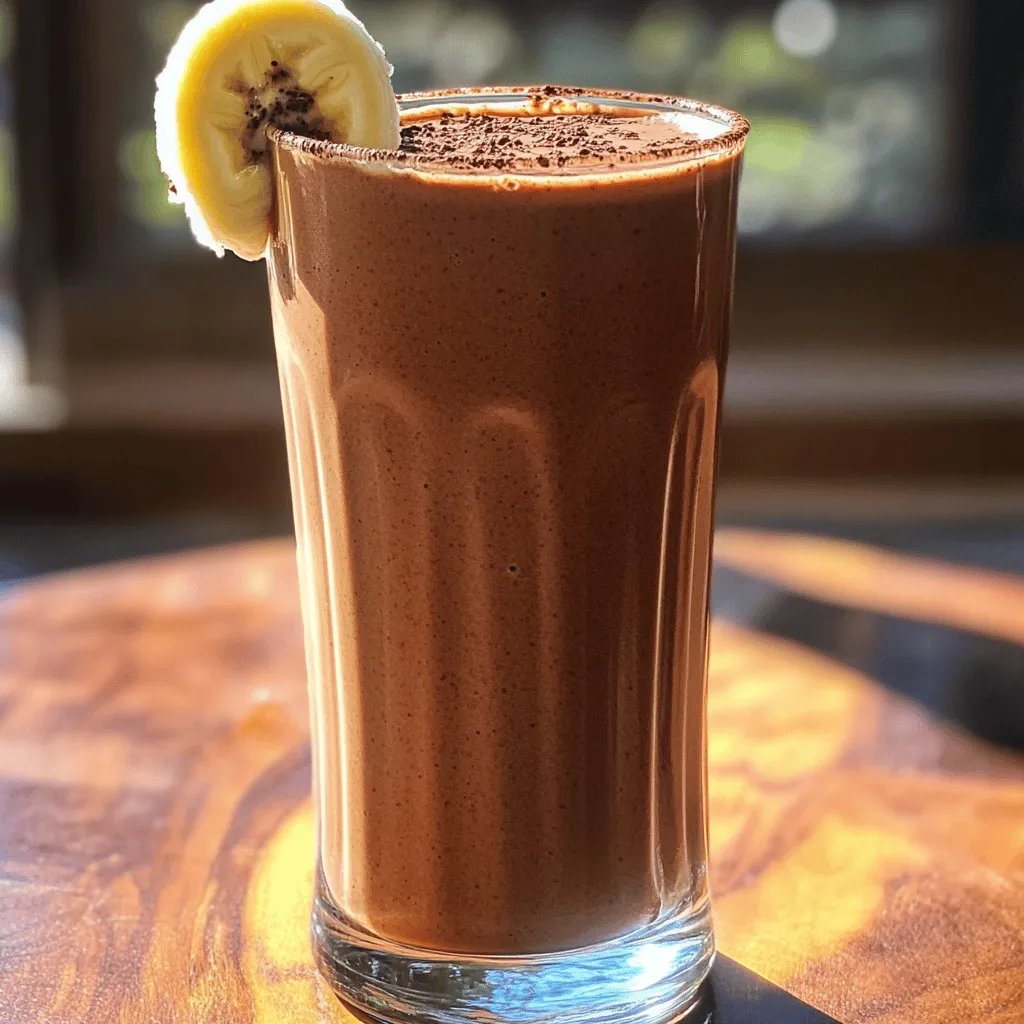
Looking for a delicious way to power up your day? You’ve found it! This Chocolate Peanut Butter Protein Shake not
