
Apple Cinnamon French Toast Casserole Simple and Tasty
Get ready to enjoy a warm and delicious breakfast with my Apple Cinnamon French Toast Casserole! It’s simple, tasty, and

Get ready to enjoy a warm and delicious breakfast with my Apple Cinnamon French Toast Casserole! It’s simple, tasty, and

Ready to indulge in a sweet, zesty treat? This simple recipe for Key Lime Pie Bars combines the tangy goodness

Are you ready to bake something fresh and tasty? My Lemon Blueberry Loaf Cake is the perfect treat! It’s sweet,
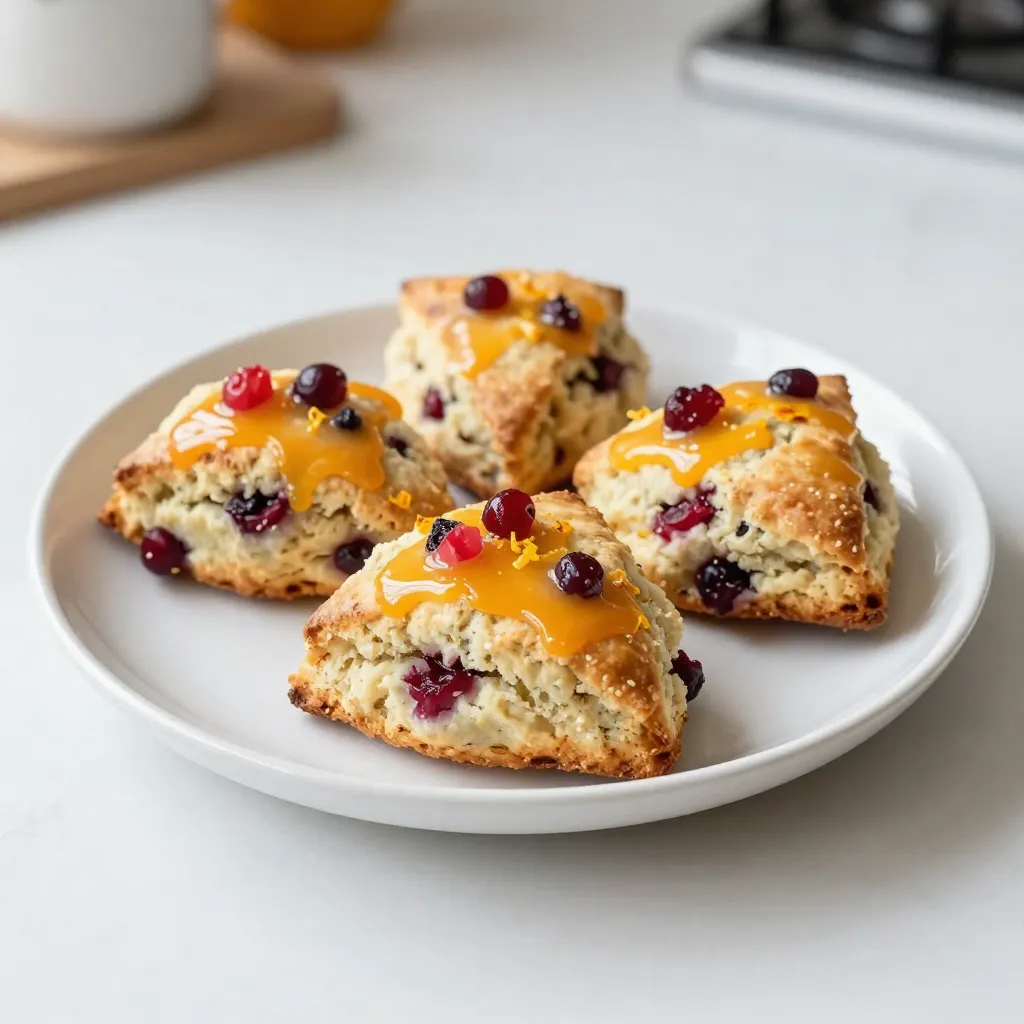
Get ready to savor the delightful taste of cranberry orange scones! In this easy recipe, I’ll guide you step-by-step to

If you’re craving a tasty meal that’s both satisfying and healthy, look no further! Chickpea Shawarma Wraps are a flavorful
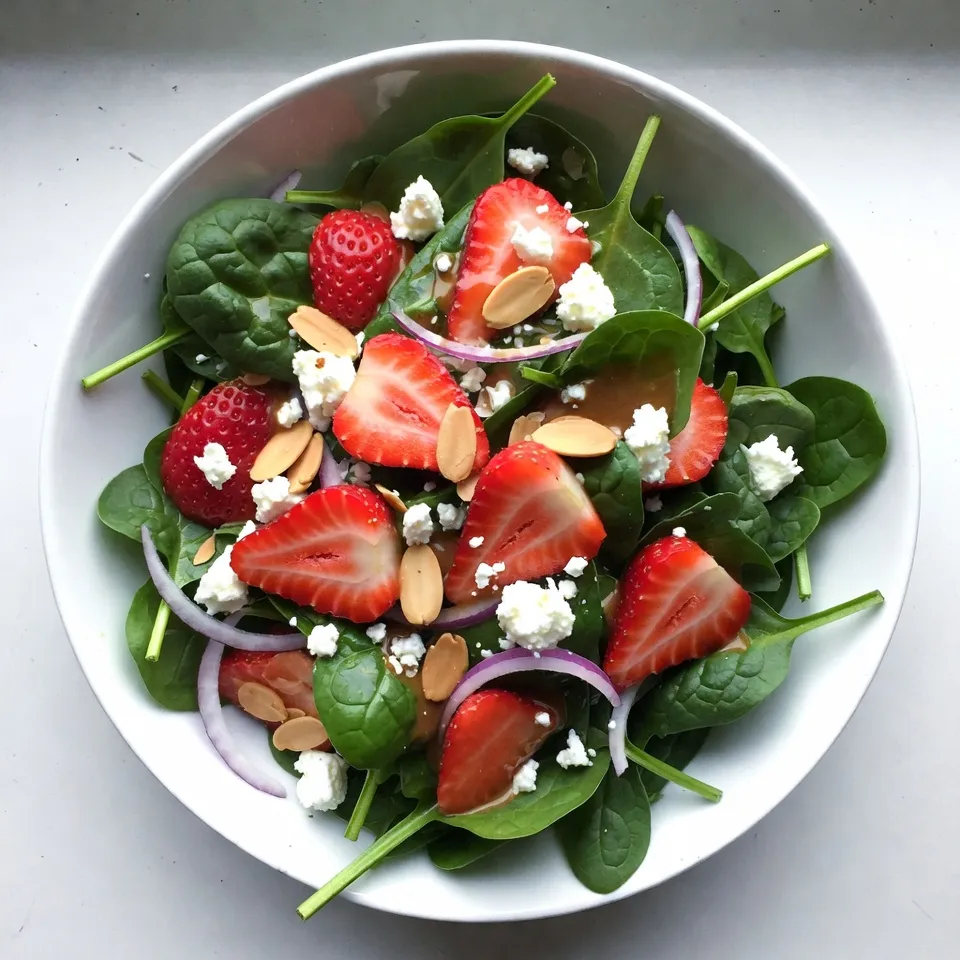
Looking for a vibrant, tasty dish that screams fresh? The Savory Strawberry Spinach Salad is your answer! With bright strawberries

Are you ready to create a treat that bursts with flavor? My Lemon Raspberry Loaf Cake combines zesty lemon with
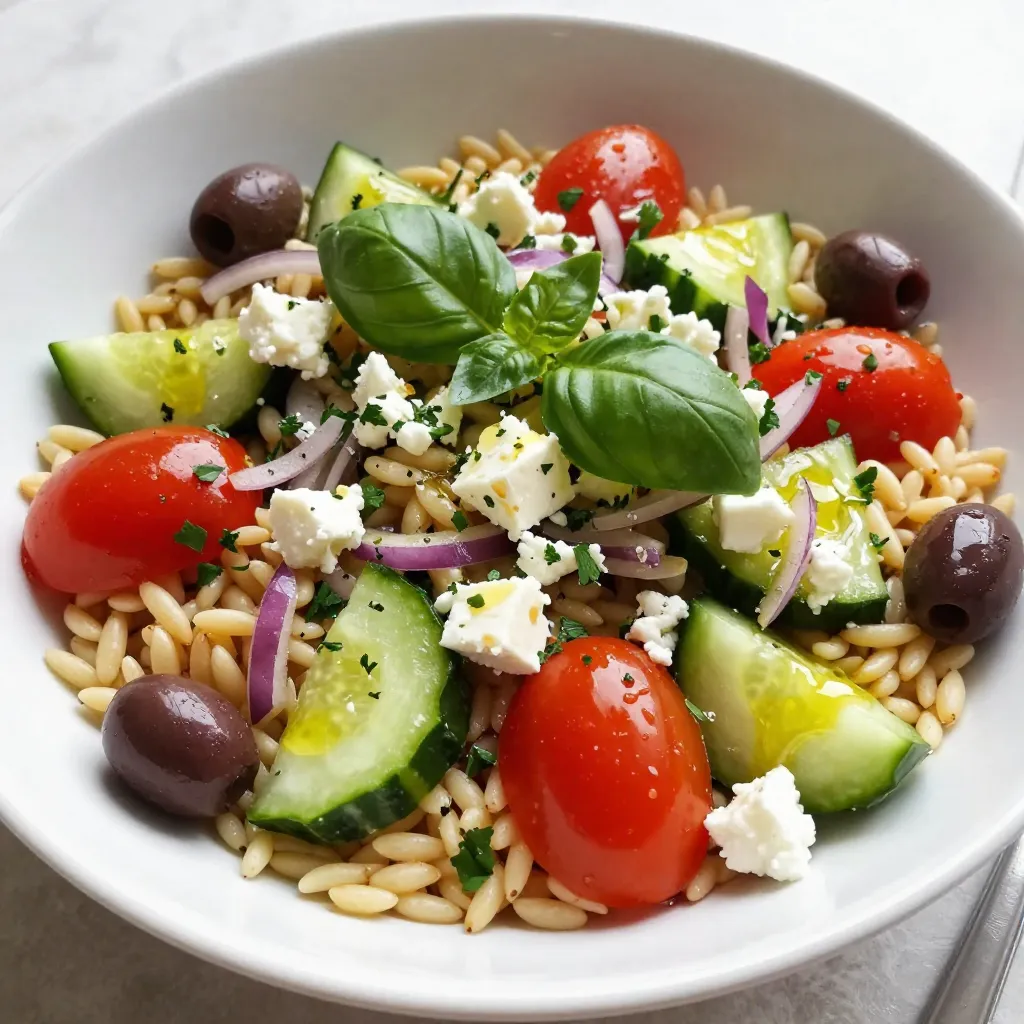
Dive into a world of flavors with my Greek Orzo Pasta Salad recipe! This dish is fresh, colorful, and perfect

Get ready to enjoy a simple and tasty dish that’s sure to impress! Cheesy broccoli stuffed potatoes combine creamy cheese

Do you crave a holiday treat that’s both warm and spiced just right? You’re in for a delight! Chai Spice
