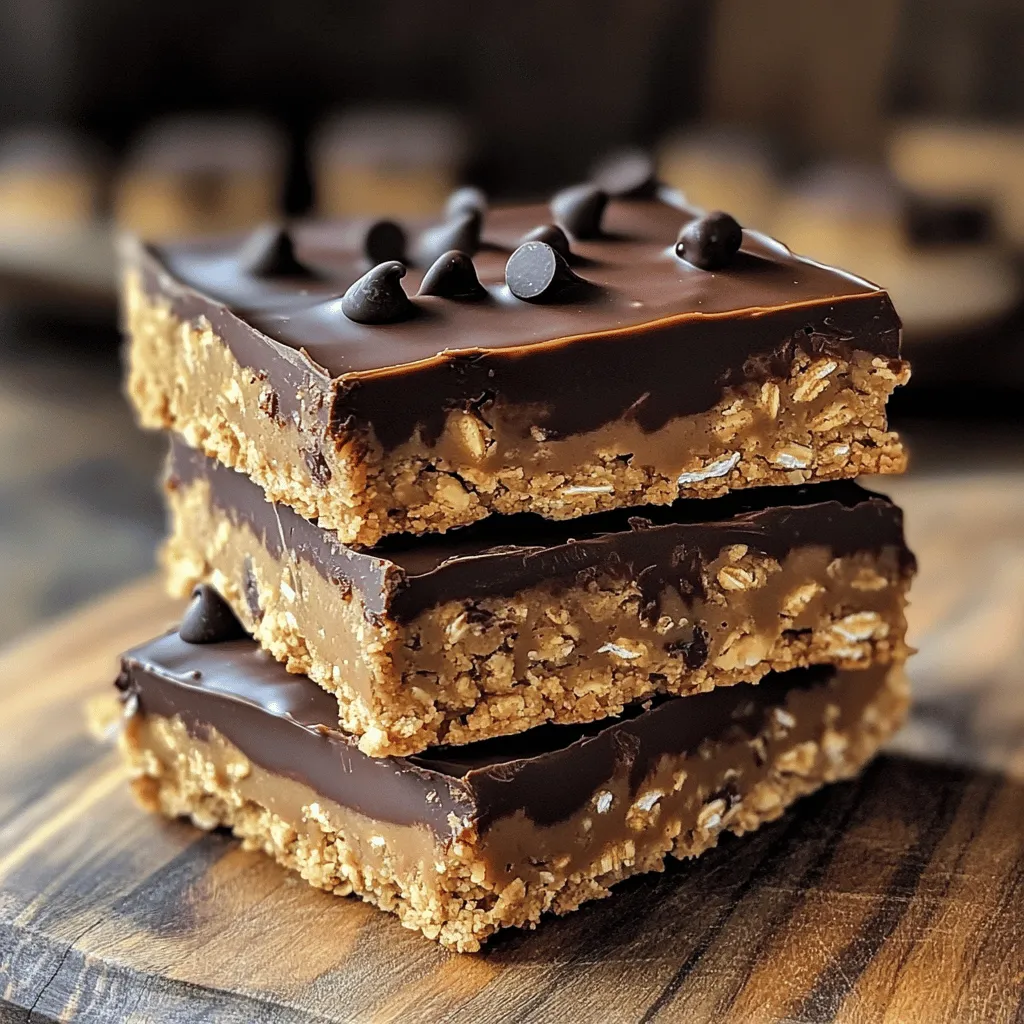
Chocolate Peanut Butter Oat Bars Delicious and Nutritious
Are you ready to treat yourself to a snack that’s both tasty and good for you? Chocolate Peanut Butter Oat

Are you ready to treat yourself to a snack that’s both tasty and good for you? Chocolate Peanut Butter Oat
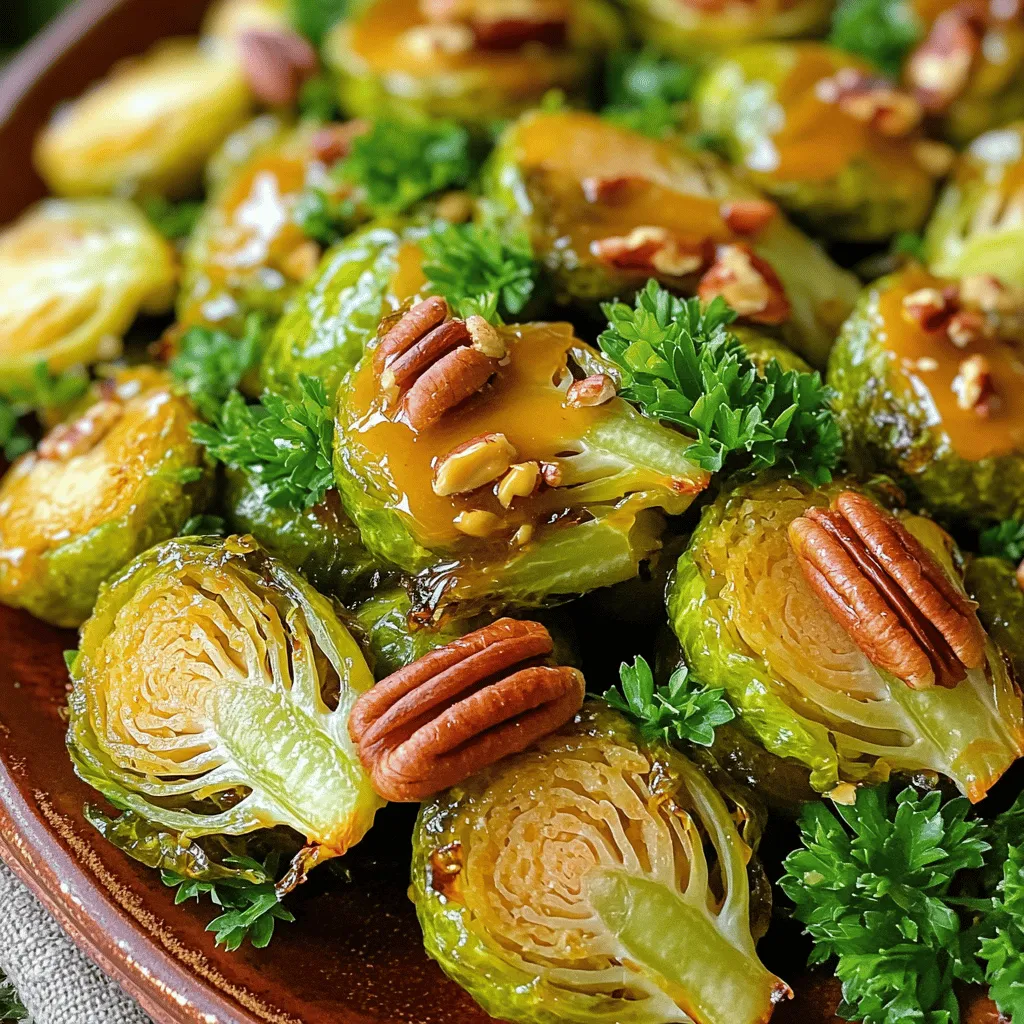
Welcome to a delicious twist on a classic vegetable! Roasted Brussels sprouts with honey mustard is a tasty way to
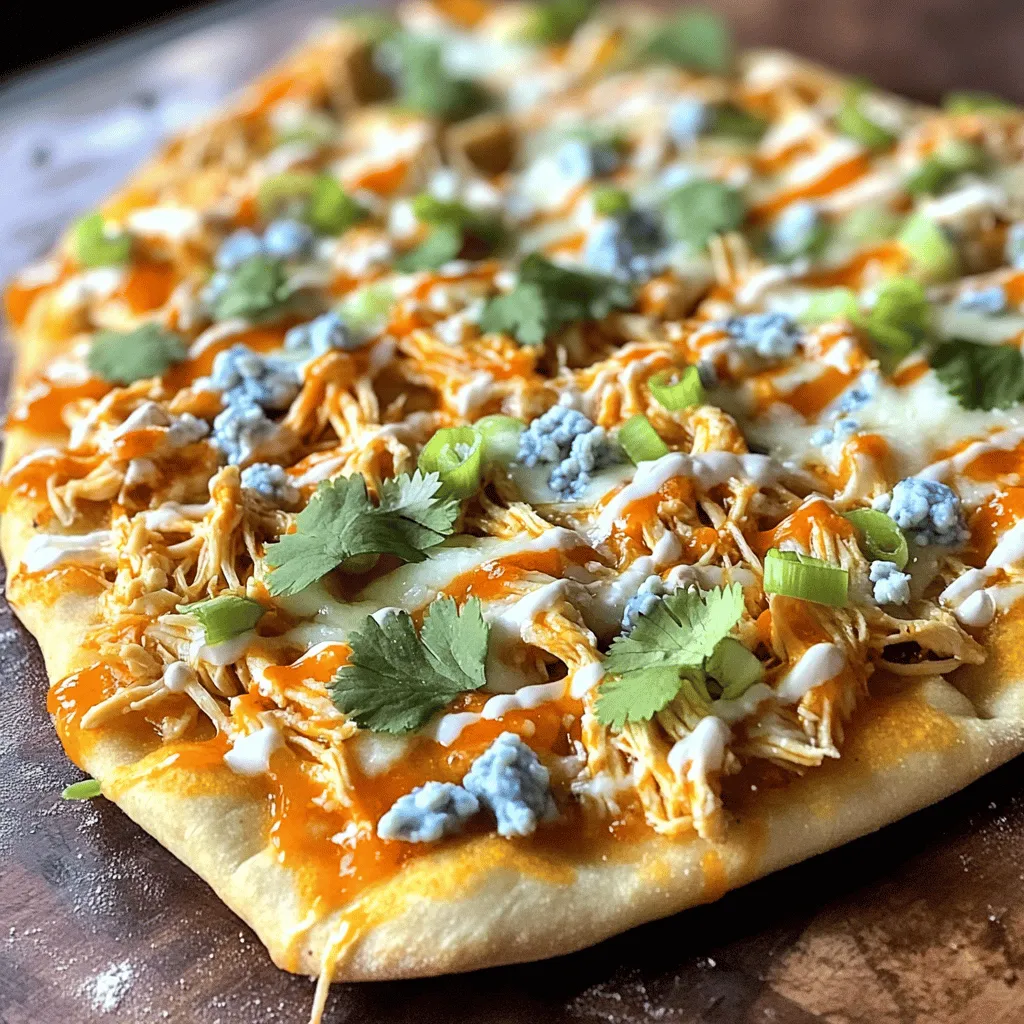
Ready to spice up your dinner routine? This Buffalo Chicken Flatbread Pizza is not only easy to make, but it’s
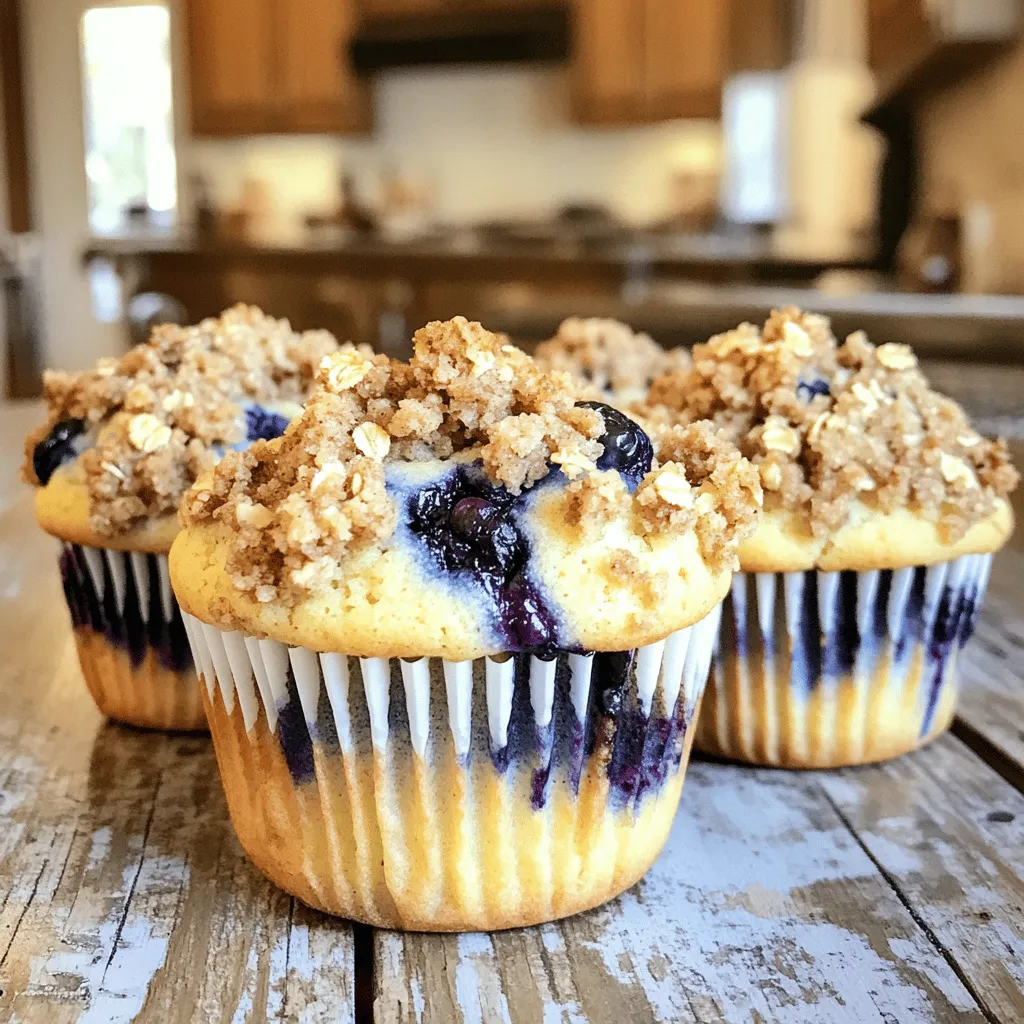
Are you ready to bake some delicious blueberry streusel muffins? This recipe is easy and quick, perfect for breakfast or
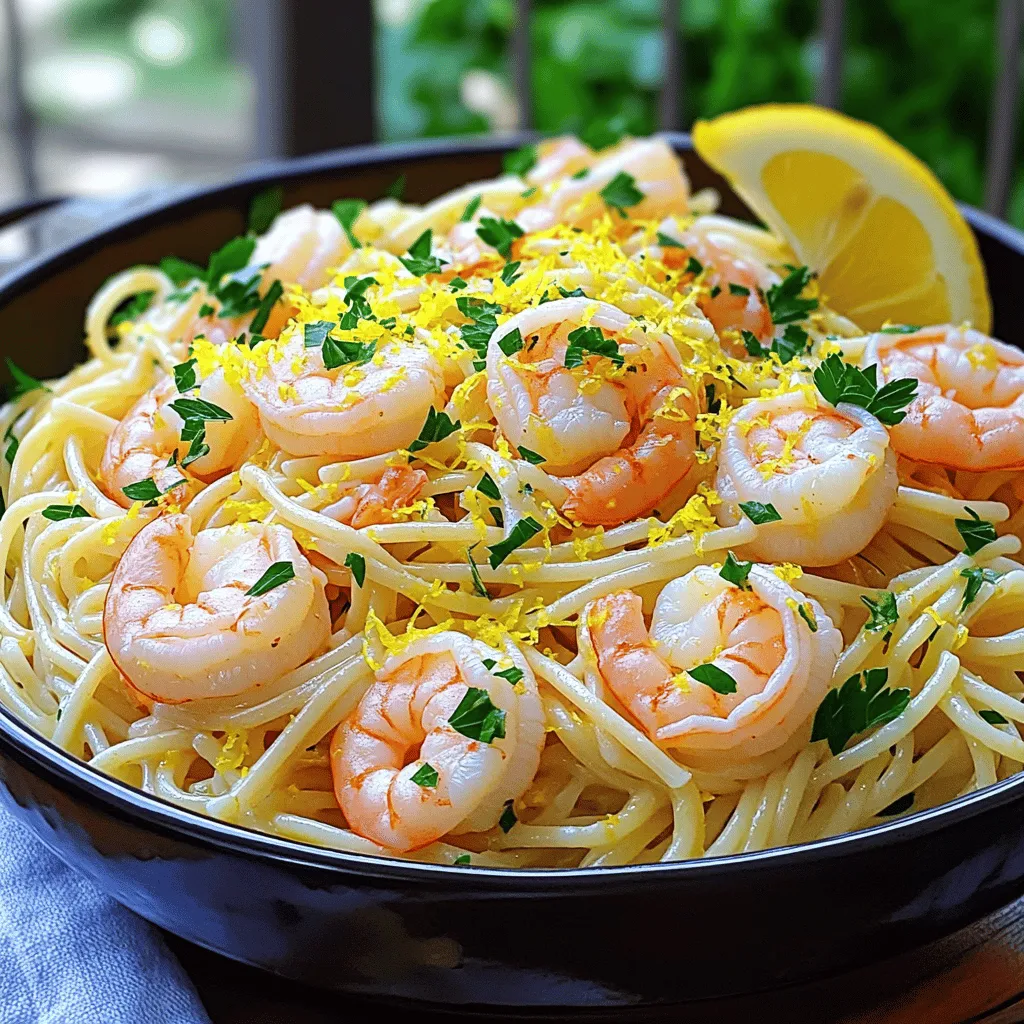
Are you ready to whip up a fresh and flavorful dish that brings the taste of the sea to your
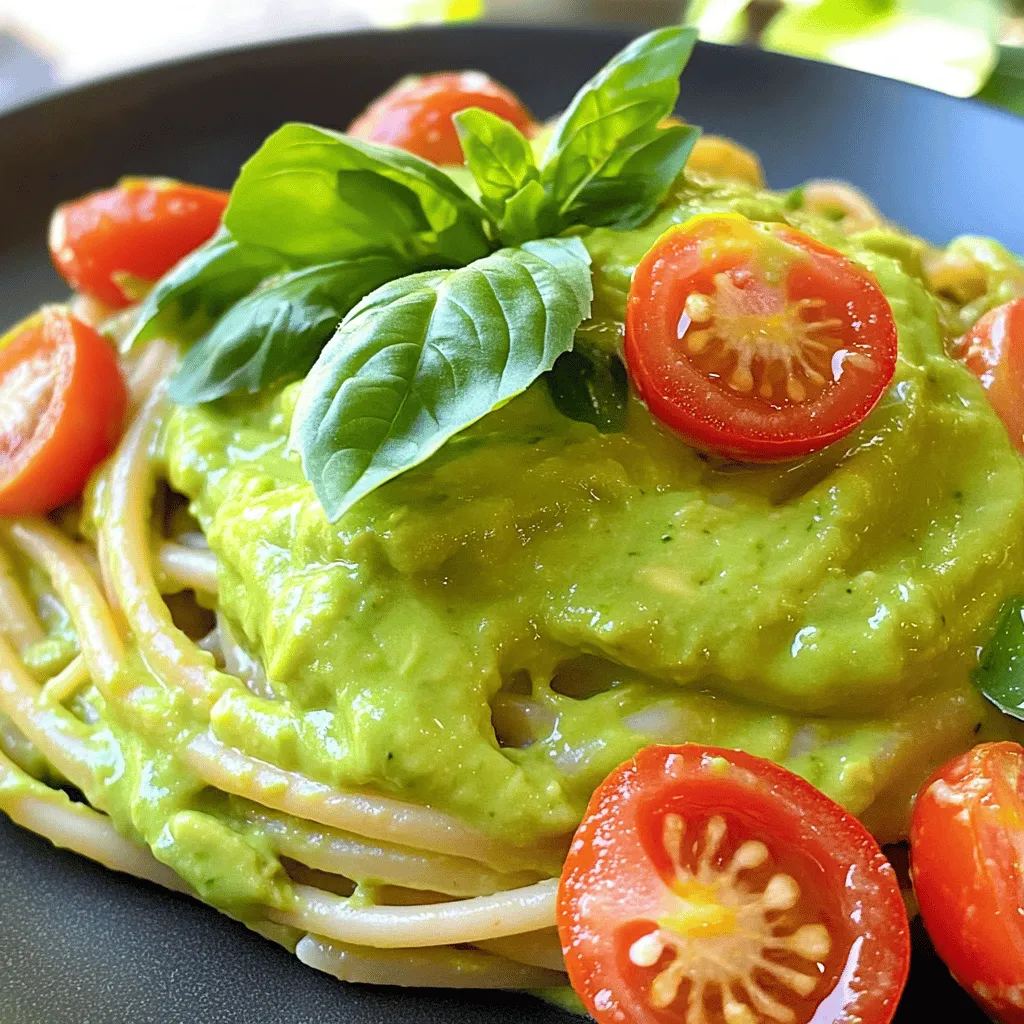
Looking for a quick and healthy meal? This Creamy Avocado Pasta is a must-try! It’s packed with flavor and uses
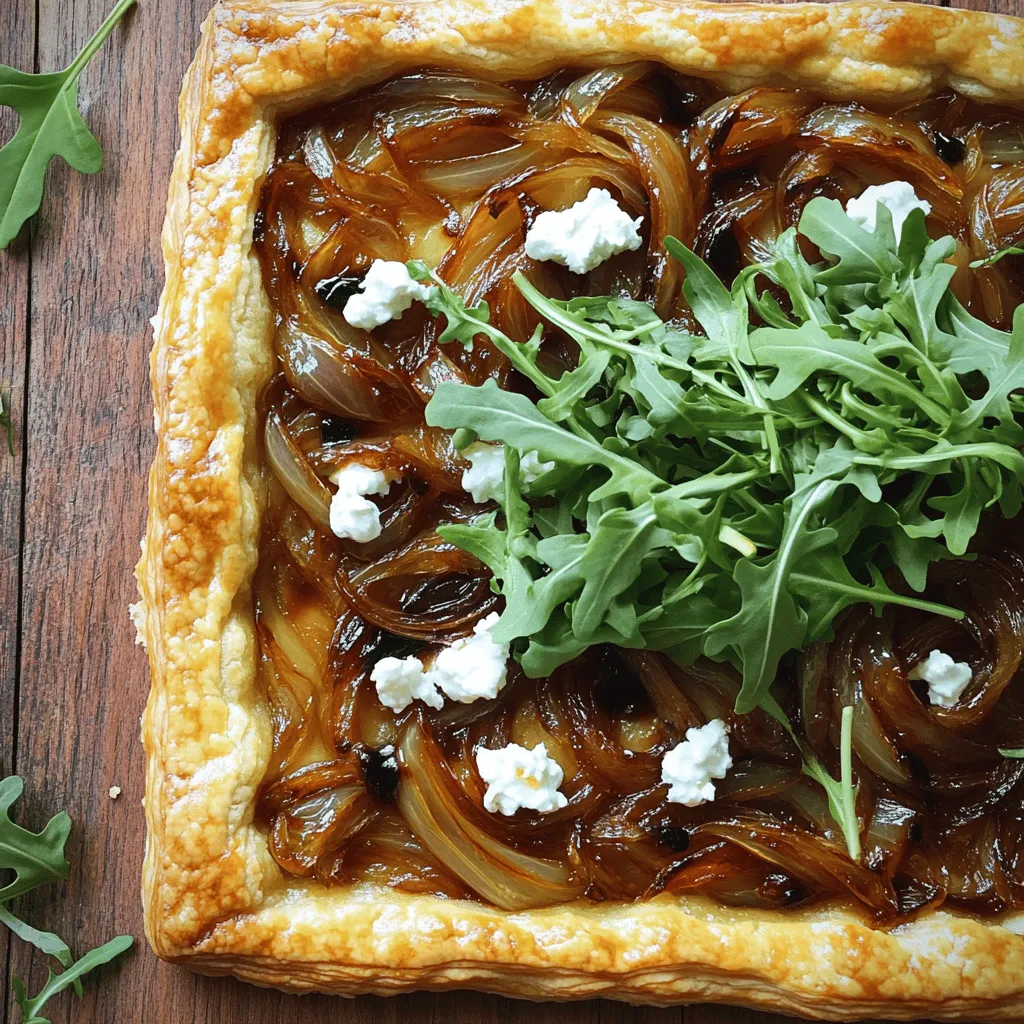
Looking for a savory treat that dazzles your taste buds? Let me introduce you to my Caramelized Onion & Goat
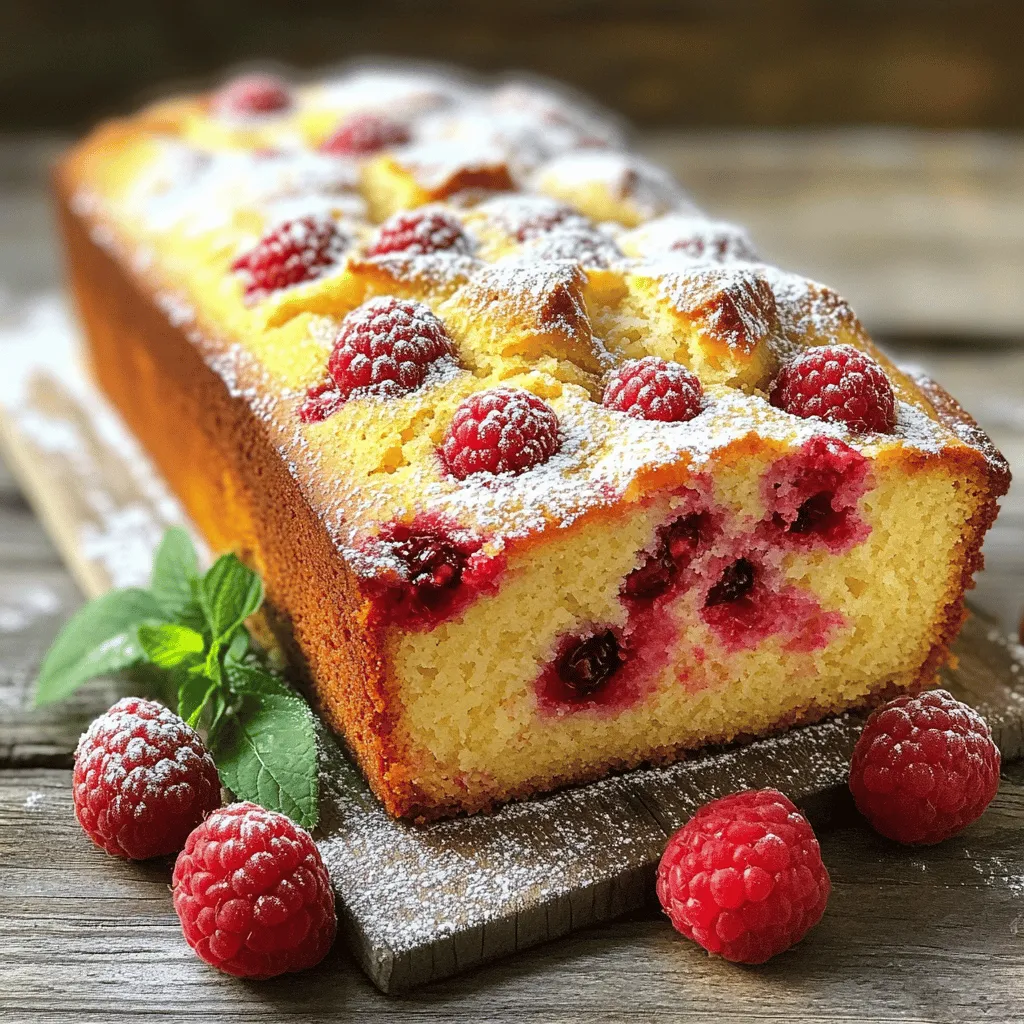
Ready to bake a delightful treat? This Lemon Raspberry Yogurt Loaf is fresh and fluffy, perfect for any occasion. With
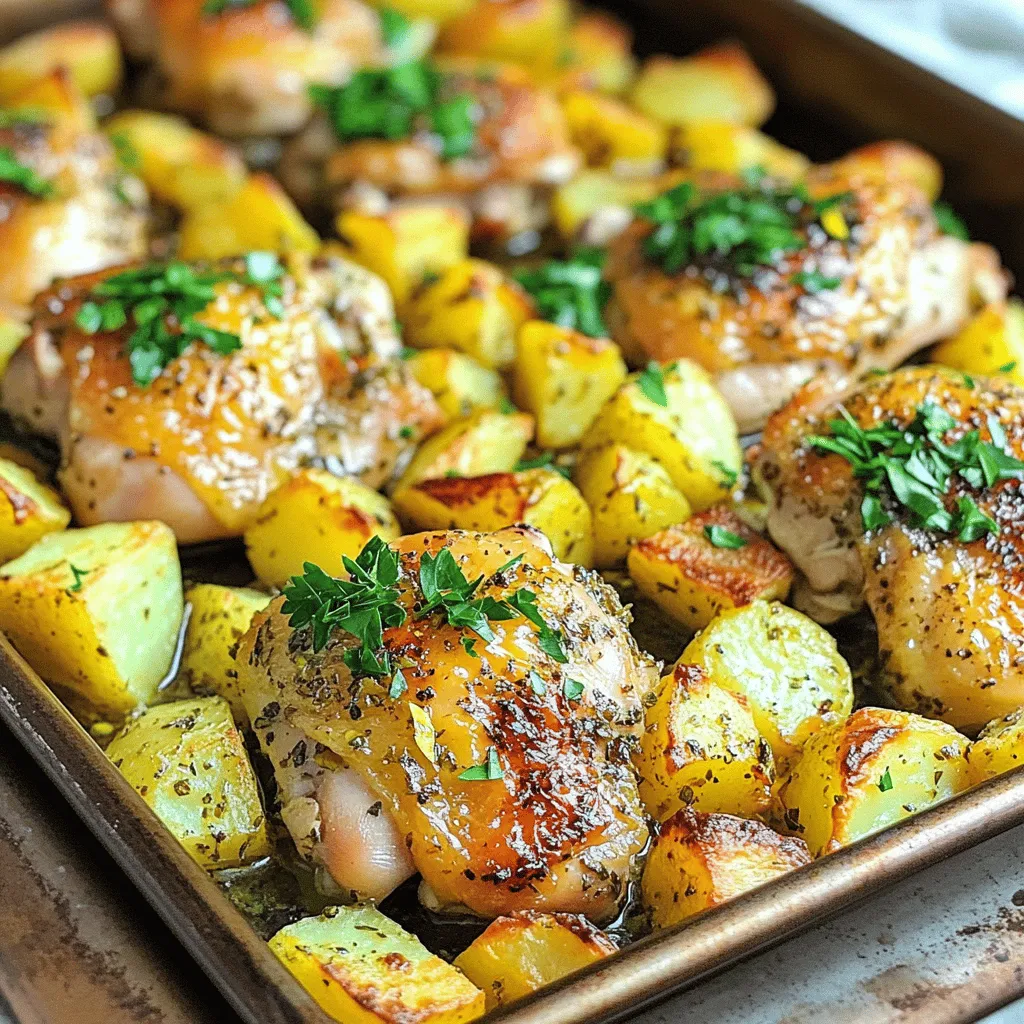
Welcome to One-Pan Greek Lemon Chicken & Potatoes Delight! If you’re craving a meal that’s easy to make and bursting

Are you ready to enjoy a meal that’s both tasty and simple? My Crispy Sesame Tofu Stir Fry is the
