Herb Garlic Pull-Apart Rolls Simple and Flavorful Snack
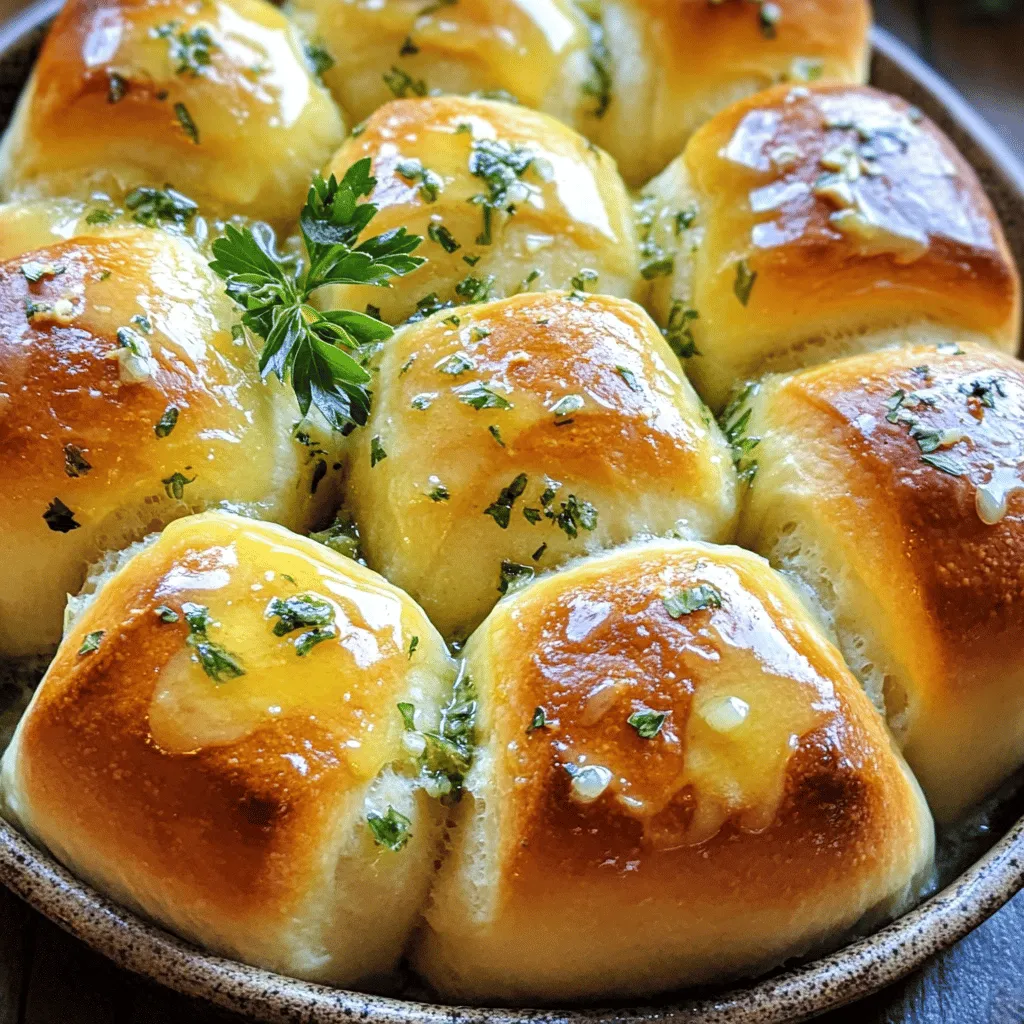
Craving a snack that’s simple yet bursting with flavor? Try my Herb Garlic Pull-Apart Rolls! These rolls are warm, soft,

Craving a snack that’s simple yet bursting with flavor? Try my Herb Garlic Pull-Apart Rolls! These rolls are warm, soft,
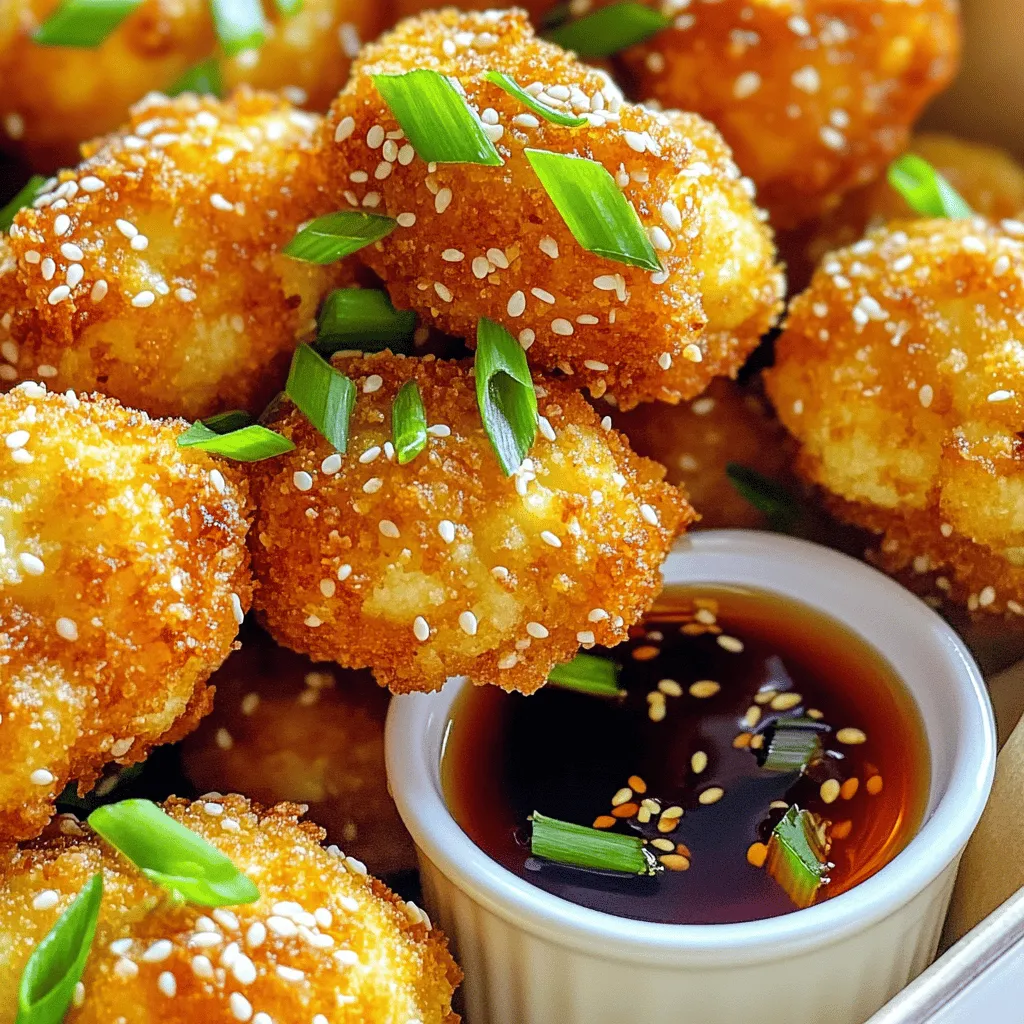
Looking for a tasty snack that’s both crispy and healthy? You’ve found it! My Crispy Sesame Cauliflower Bites are loaded
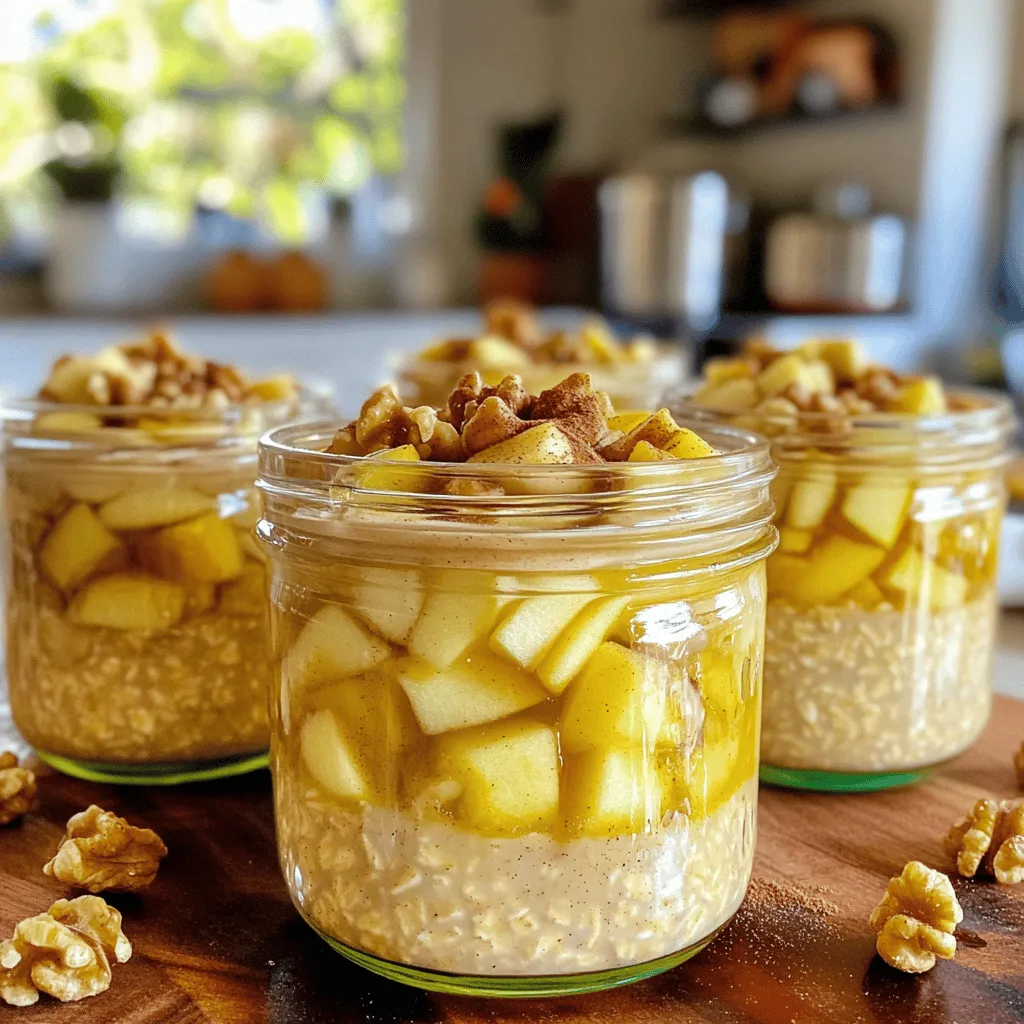
Looking for a healthy and tasty breakfast? Let’s make Apple Pie Overnight Oats! This easy recipe combines rolled oats with
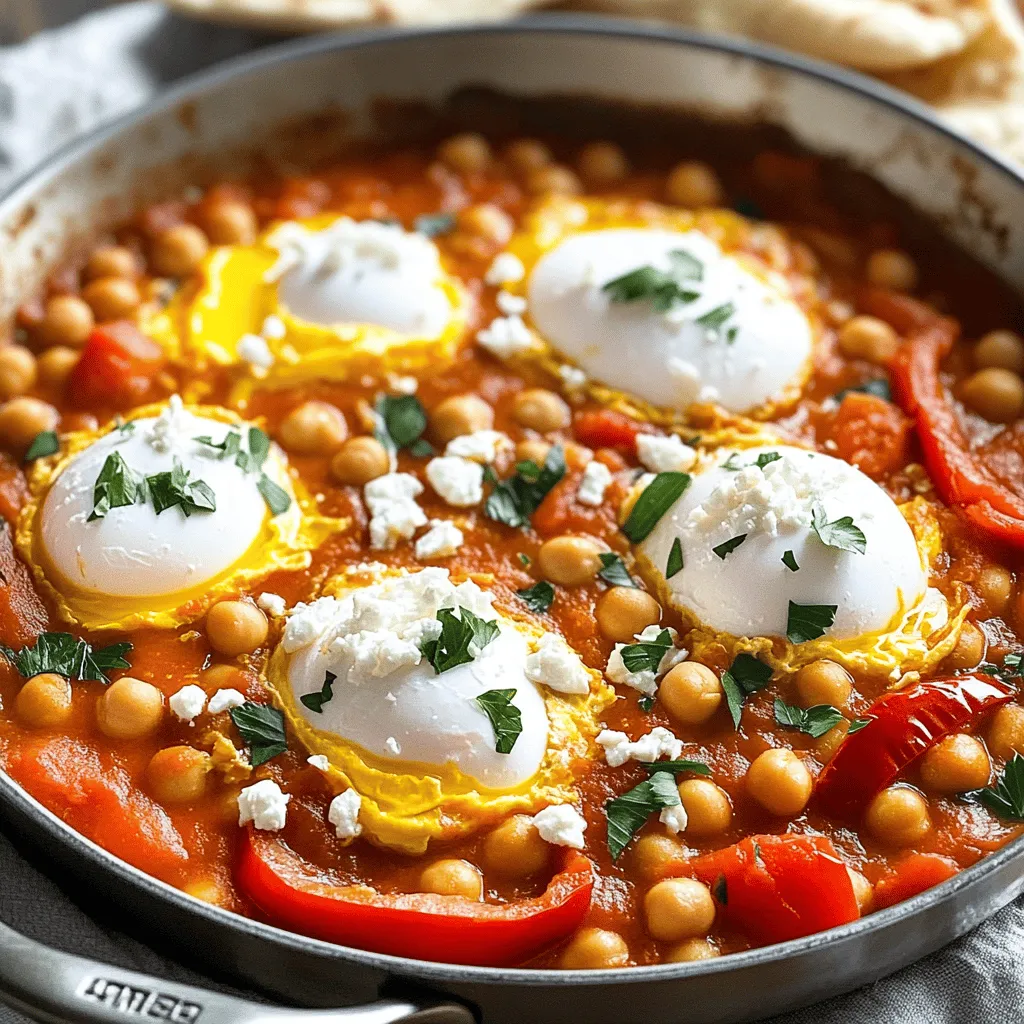
Ready to tantalize your taste buds? Mediterranean Chickpea Shakshuka is a vibrant dish that combines warm spices and fresh ingredients.
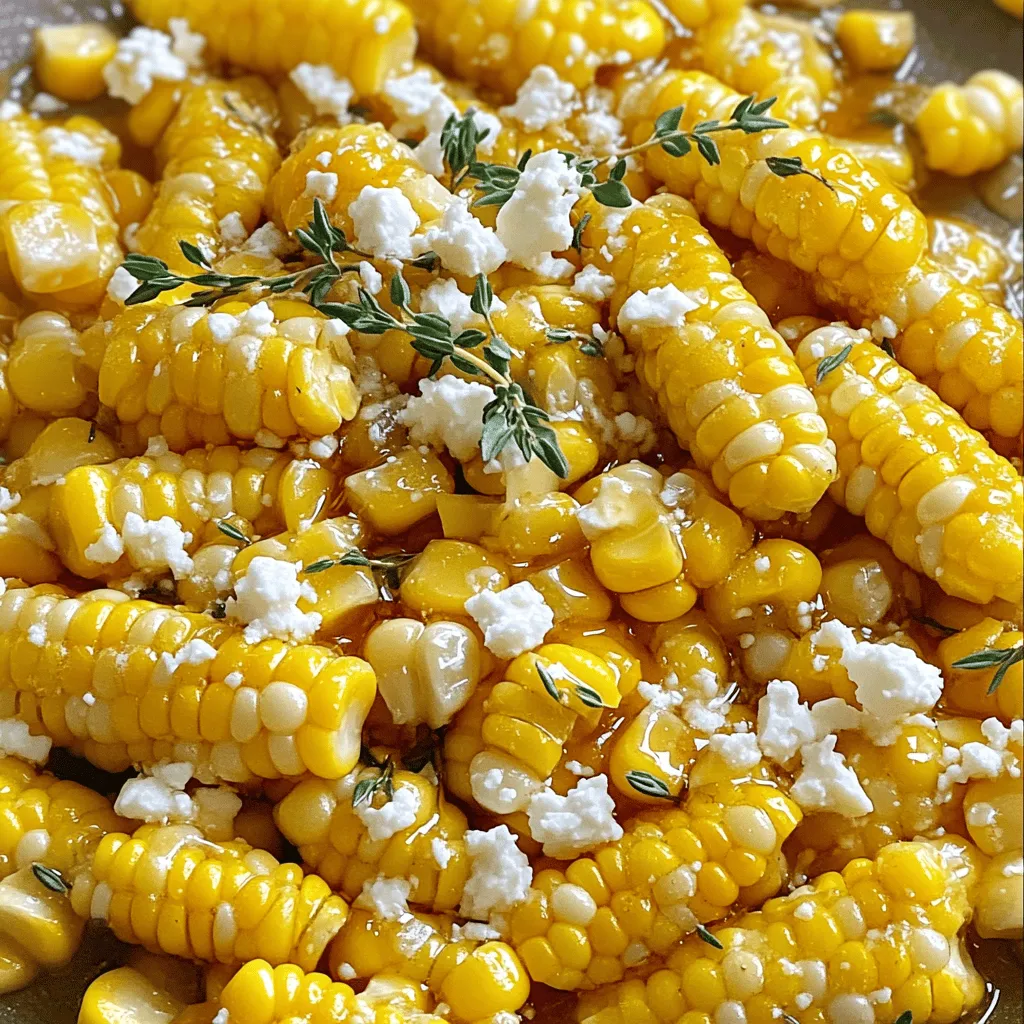
Get ready to thrill your taste buds with Honey Butter Skillet Corn! This easy dish brings sweet and savory flavors
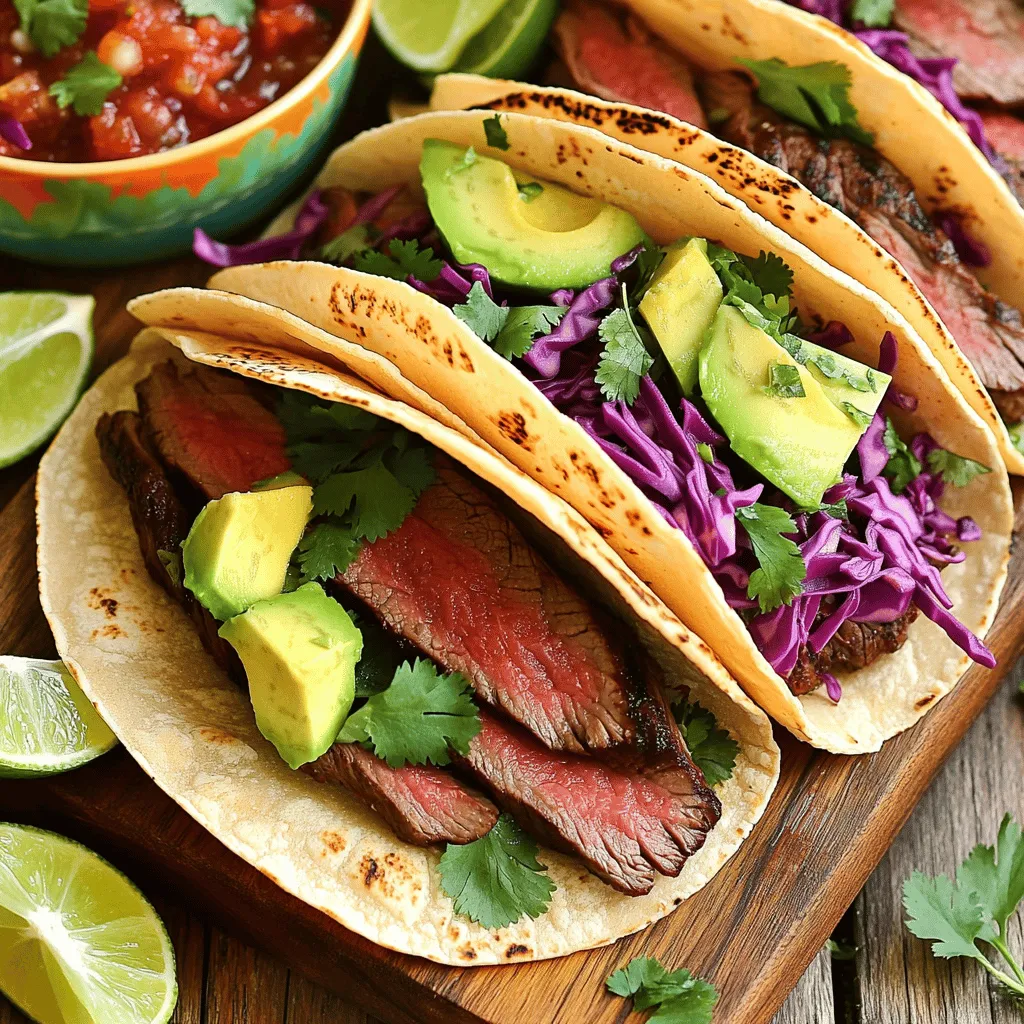
Are you ready to spice up your dinner? Chipotle Lime Grilled Steak Tacos are here to bring bold flavor to

If you’re looking for a sweet treat that’s easy to make and tastes divine, you’ve found it! These Dark Chocolate
If you’re looking to add a burst of vibrant flavor to your meals, then you need to try my Herb
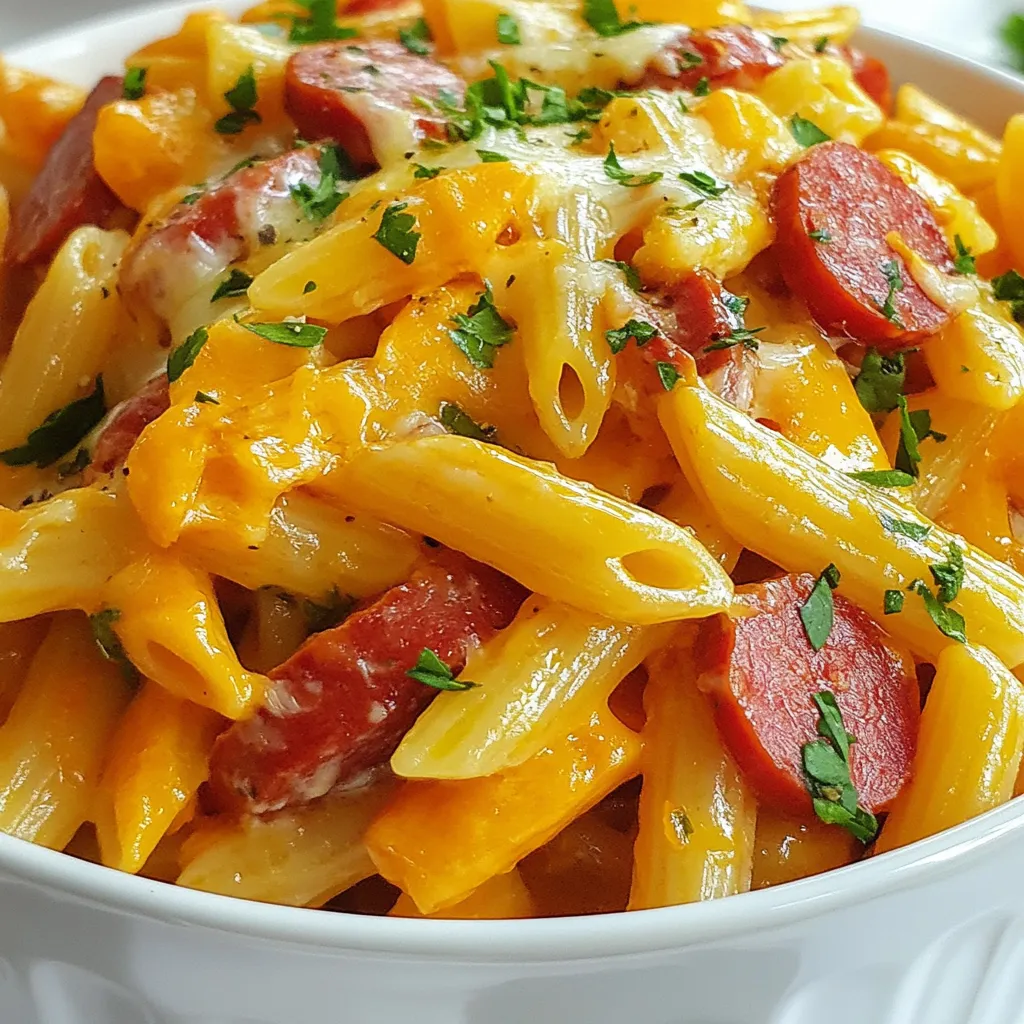
Looking for a quick meal that packs flavor without the fuss? One Pot Kielbasa Pasta is your answer! This simple
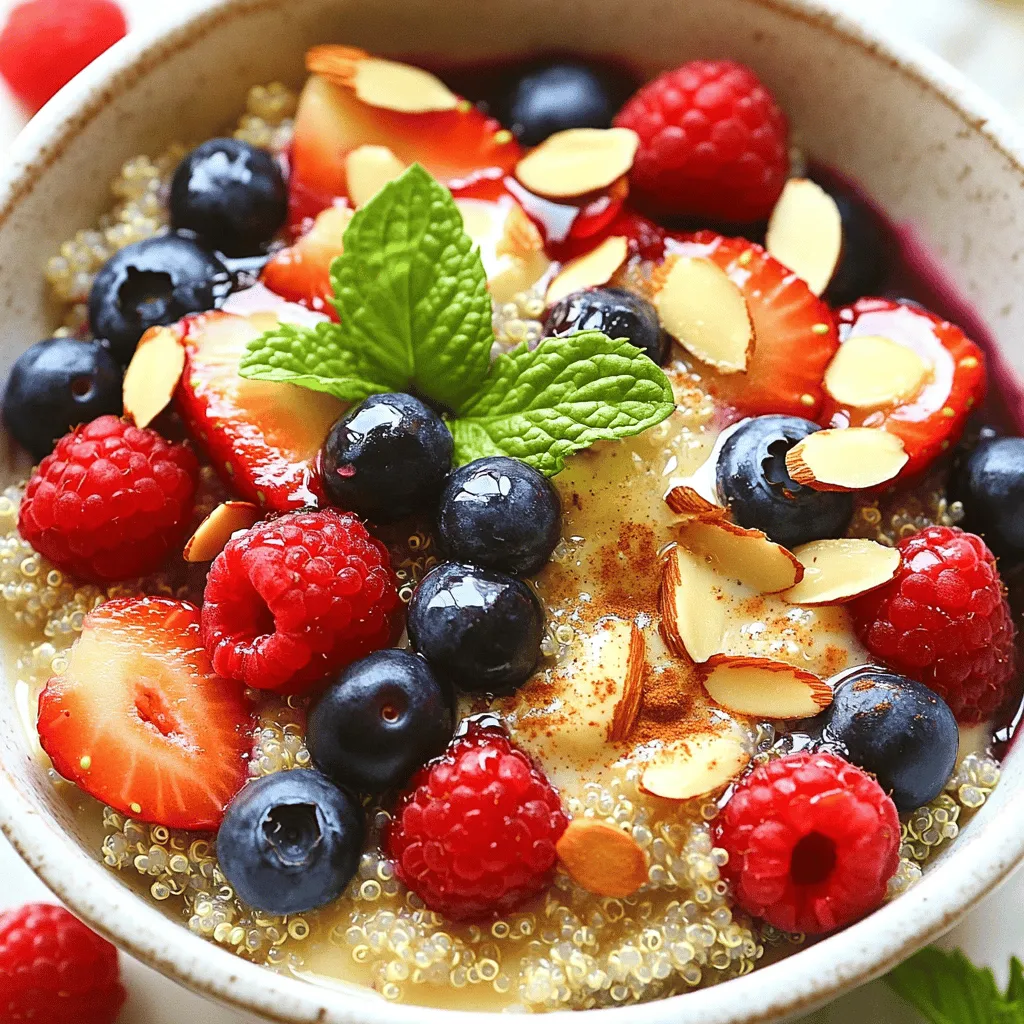
Start your day with a nutritious boost! Berry Almond Breakfast Quinoa offers a tasty blend of flavors and health benefits.
