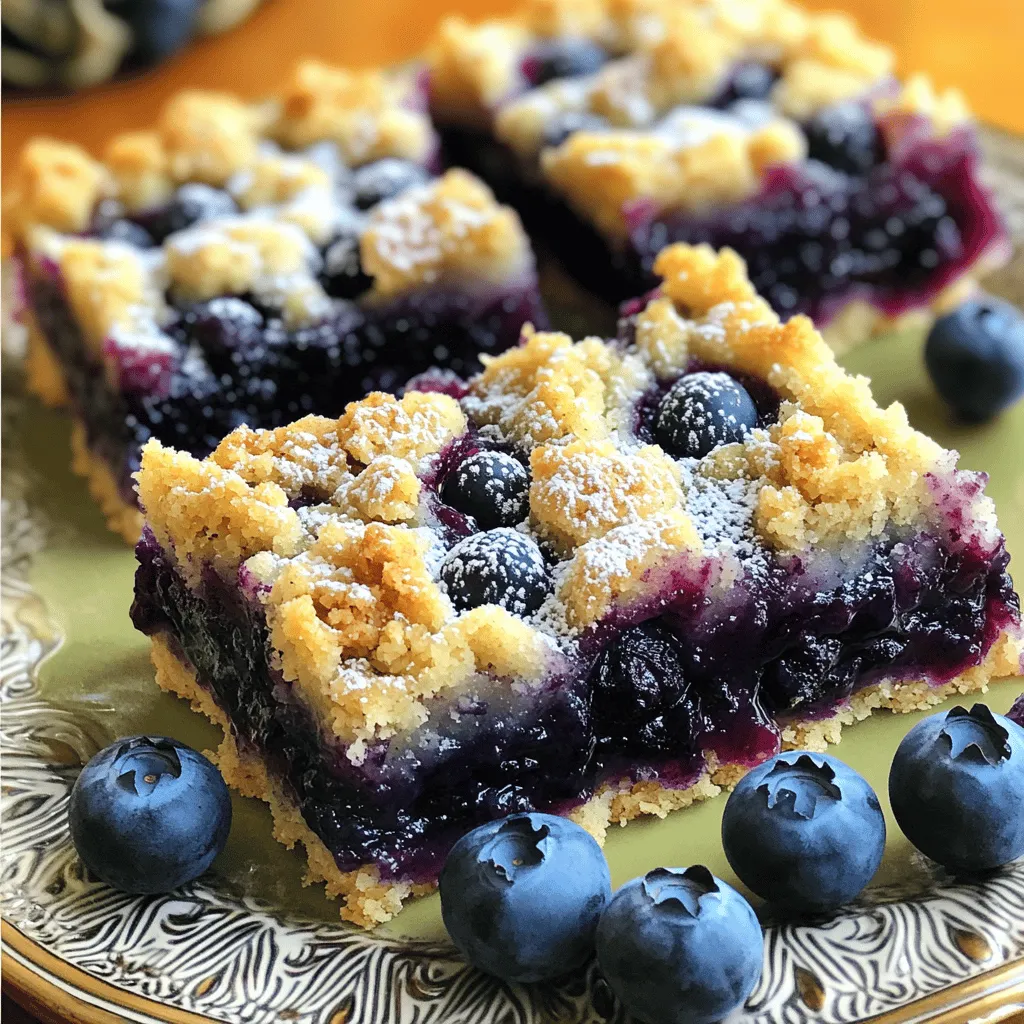
Blueberry Crumble Bars Delightfully Simple Treat
If you’re searching for a sweet treat that’s easy to whip up, blueberry crumble bars are your answer! These delightful

If you’re searching for a sweet treat that’s easy to whip up, blueberry crumble bars are your answer! These delightful
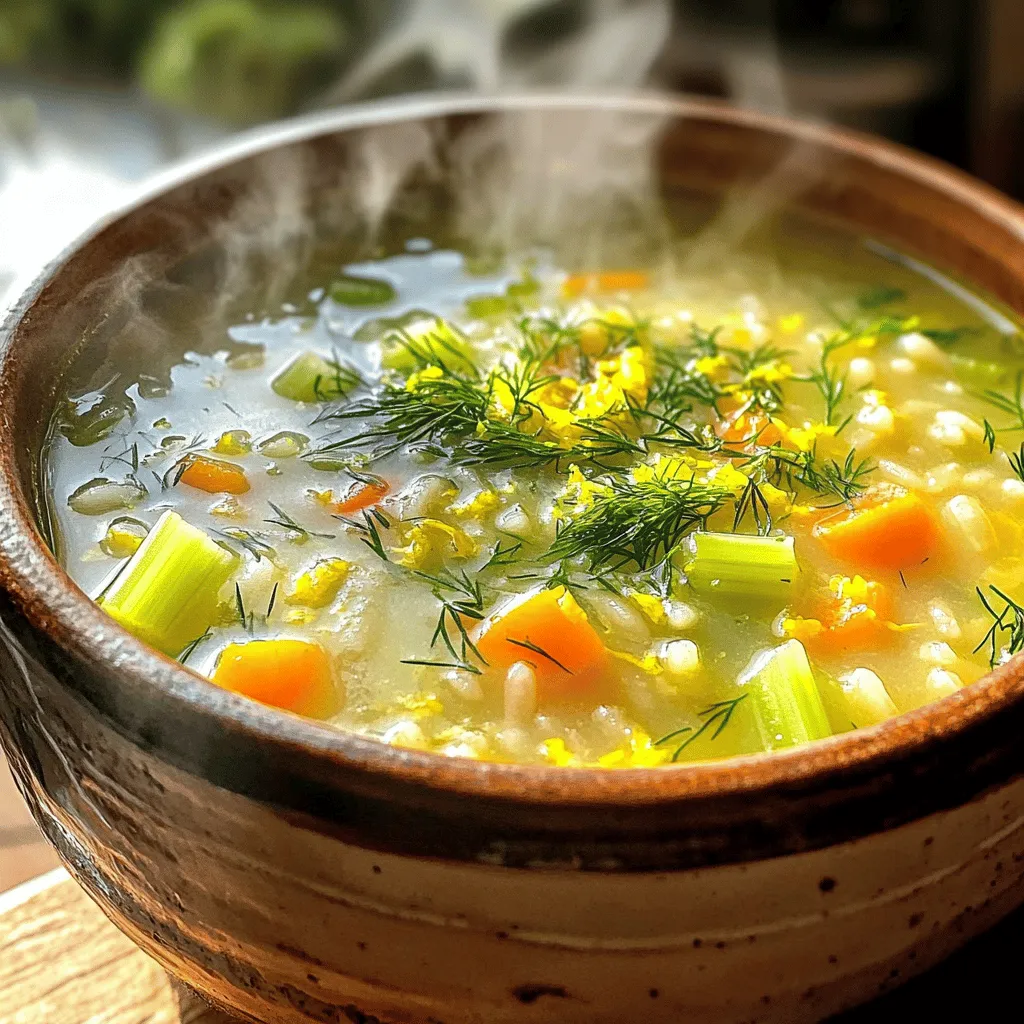
Welcome to my guide on Greek Lemon Rice Soup! If you crave a cozy dish that’s both tangy and comforting,
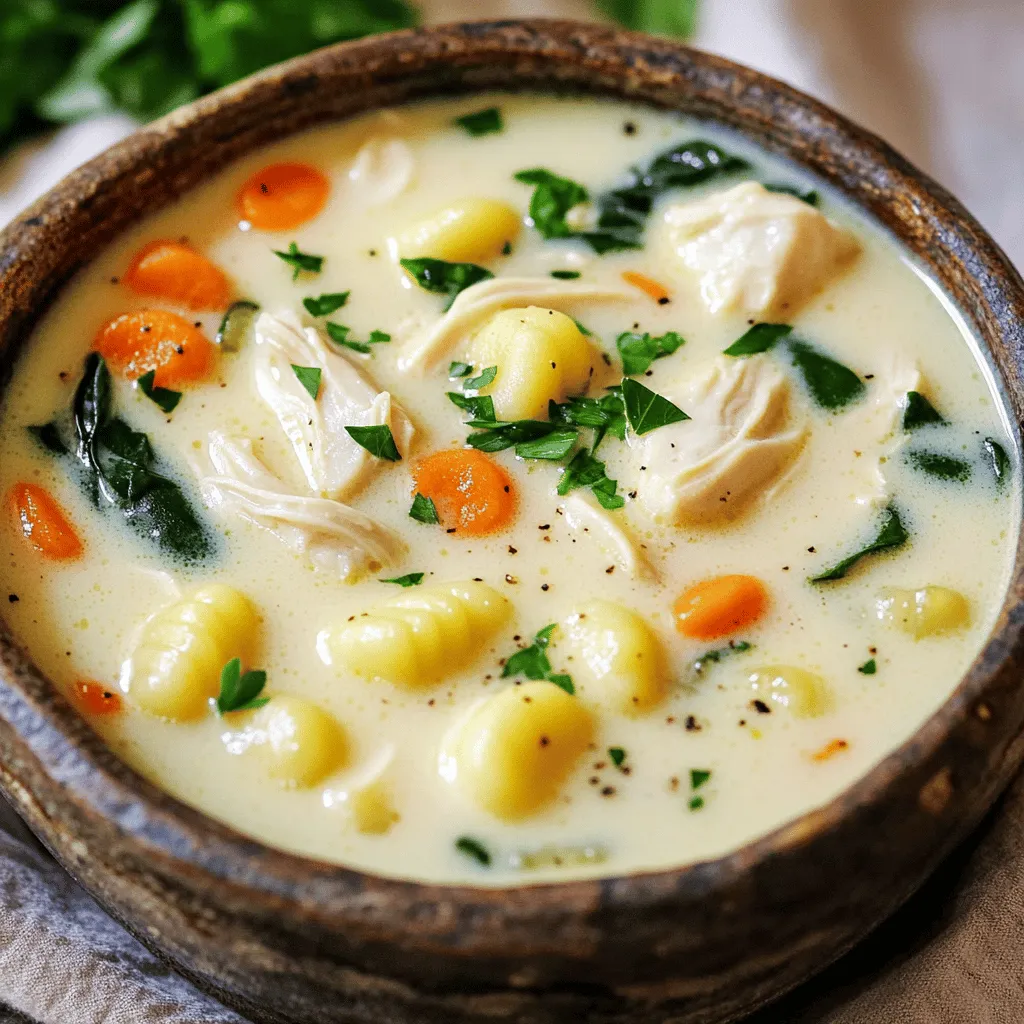
Looking for a cozy meal that’s both creamy and easy to make? You’ve found it! This Creamy Chicken Gnocchi Soup
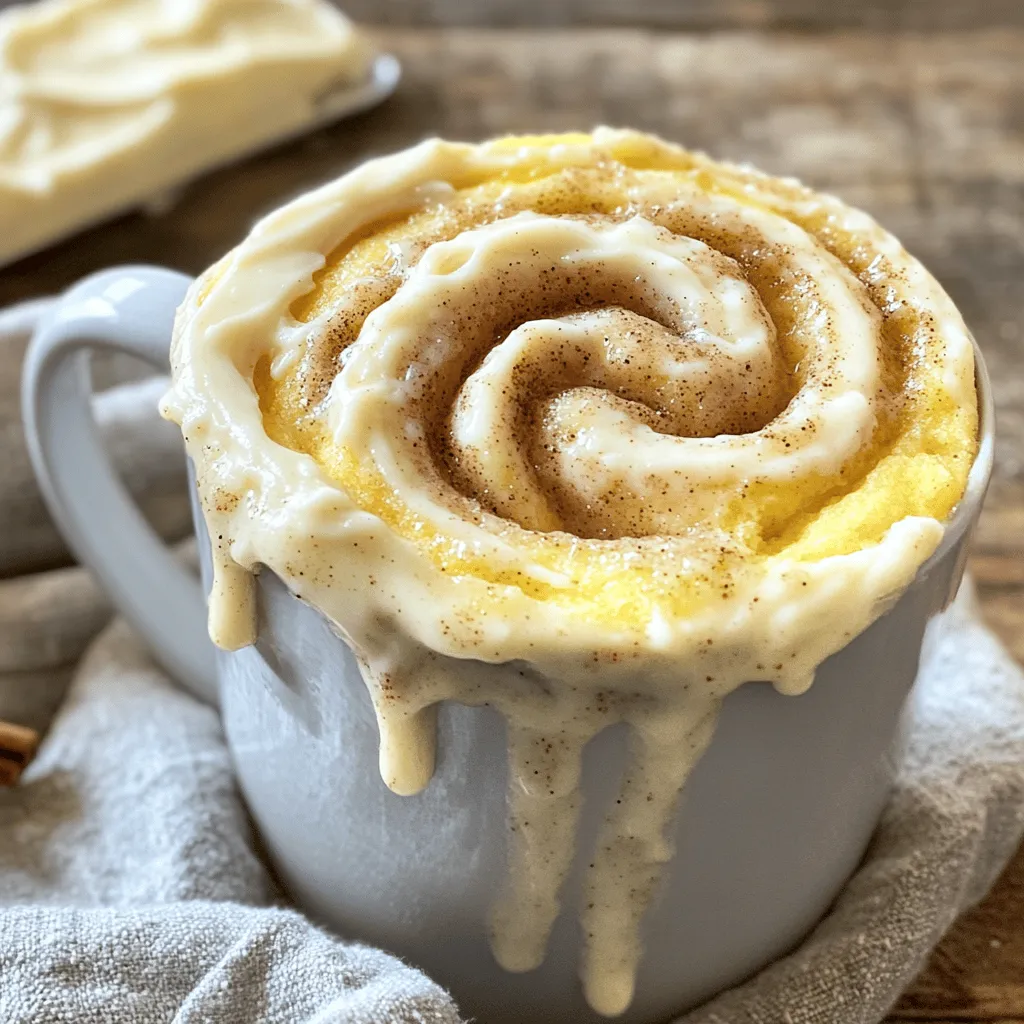
Craving a sweet treat but short on time? Let me introduce you to the Cinnamon Roll Mug Cake! This easy
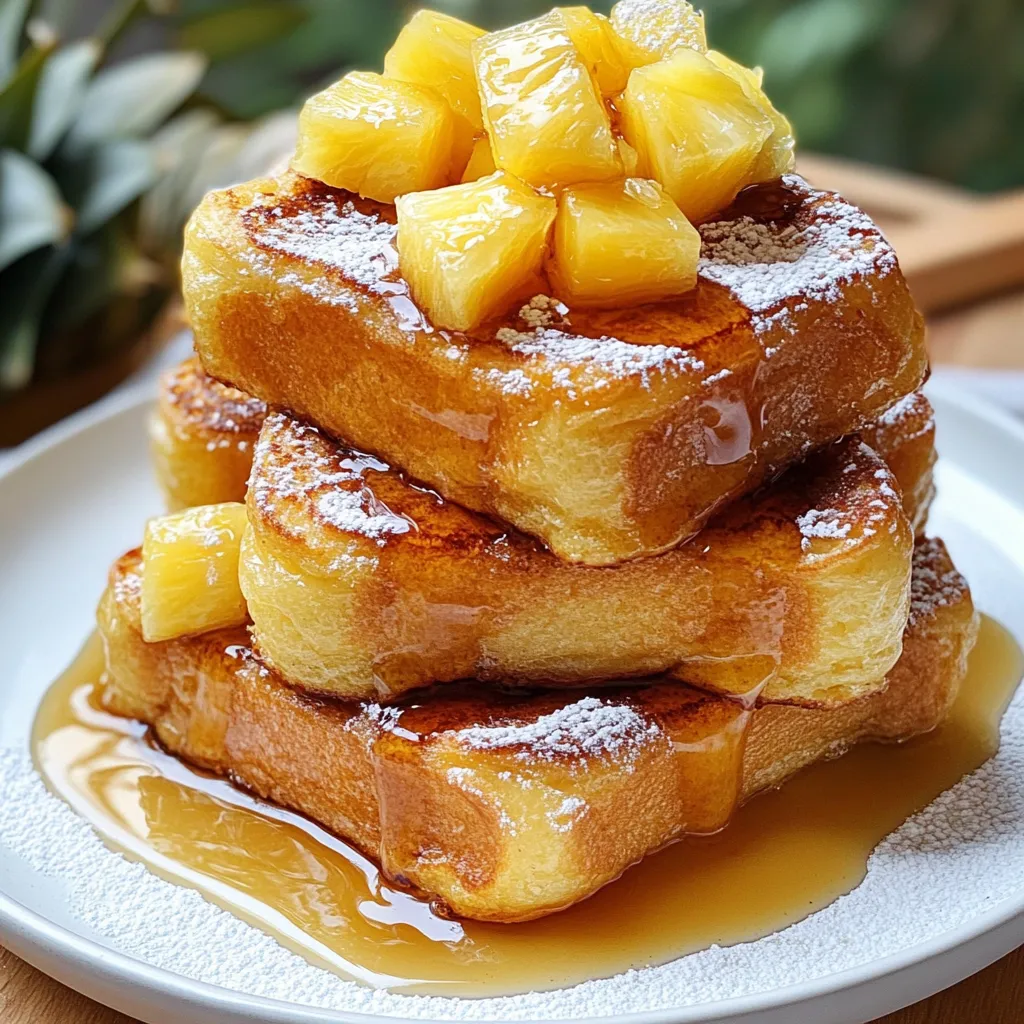
Dive into a delicious world with Hawaiian Roll French Toast! This simple and tasty dish transforms sweet rolls into a
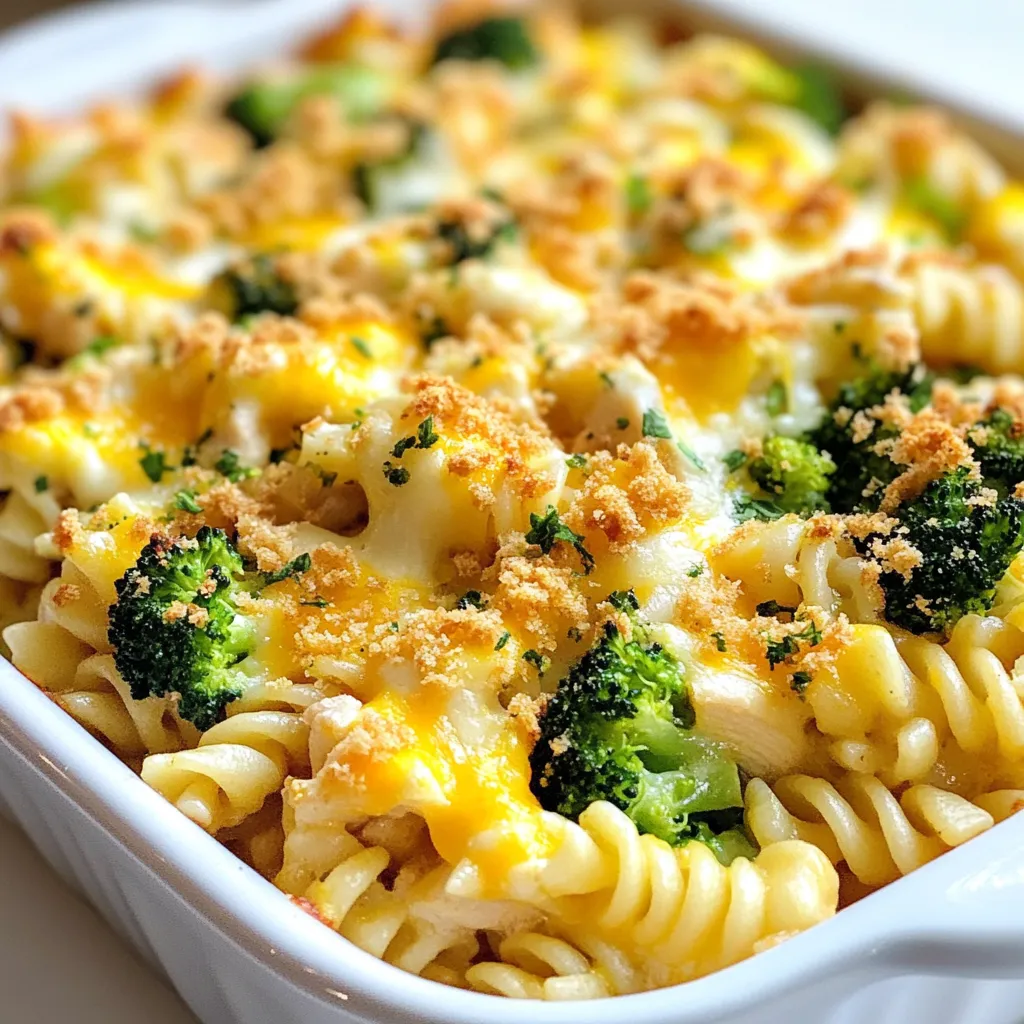
If you’re craving a cozy, delicious meal that’s simple to prepare, look no further! This Cheesy Chicken Pasta Bake combines

Are you ready for a fun twist on the classic campfire treat? My S’mores Dip Skillet is the perfect way
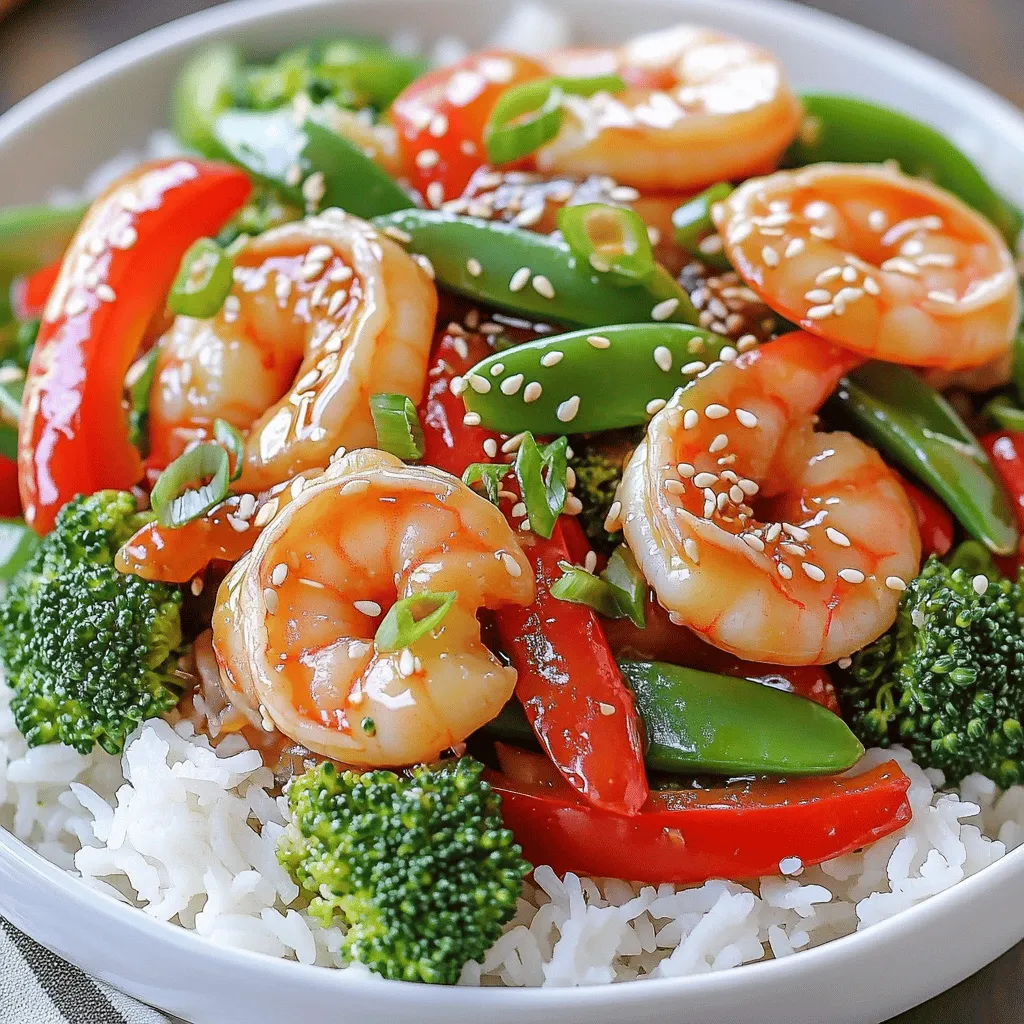
Are you craving a quick and tasty meal that’s packed with flavor? Look no further! This Honey Garlic Shrimp Stir

Get ready to indulge in a sweet delight! In this post, I’ll show you how to make chocolate chip cookie

Are you ready to elevate your salad game? This Crunchy Asian Ramen Salad is vibrant, flavorful, and a breeze to
