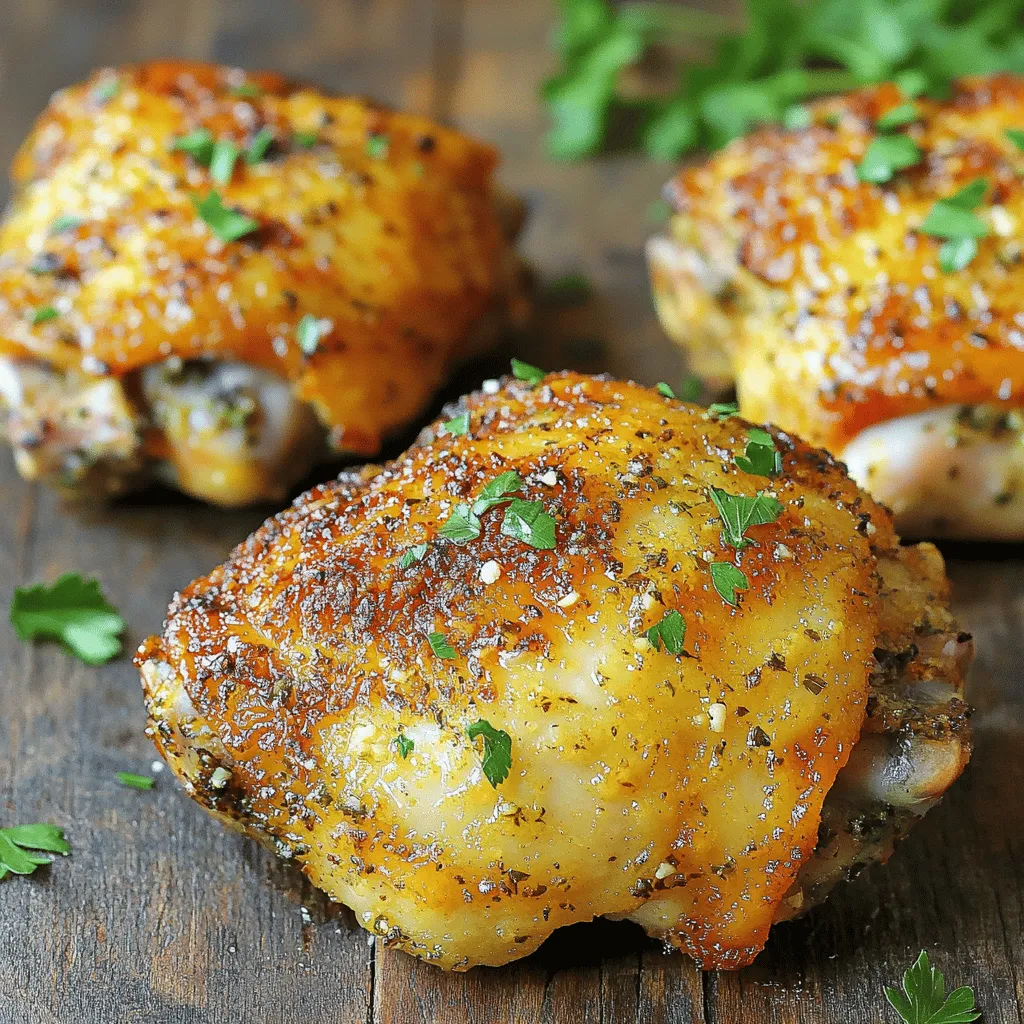
Garlic Parmesan Air Fryer Chicken Thighs Delight
Get ready to elevate your dinner game with my Garlic Parmesan Air Fryer Chicken Thighs Delight! This dish is packed

Get ready to elevate your dinner game with my Garlic Parmesan Air Fryer Chicken Thighs Delight! This dish is packed
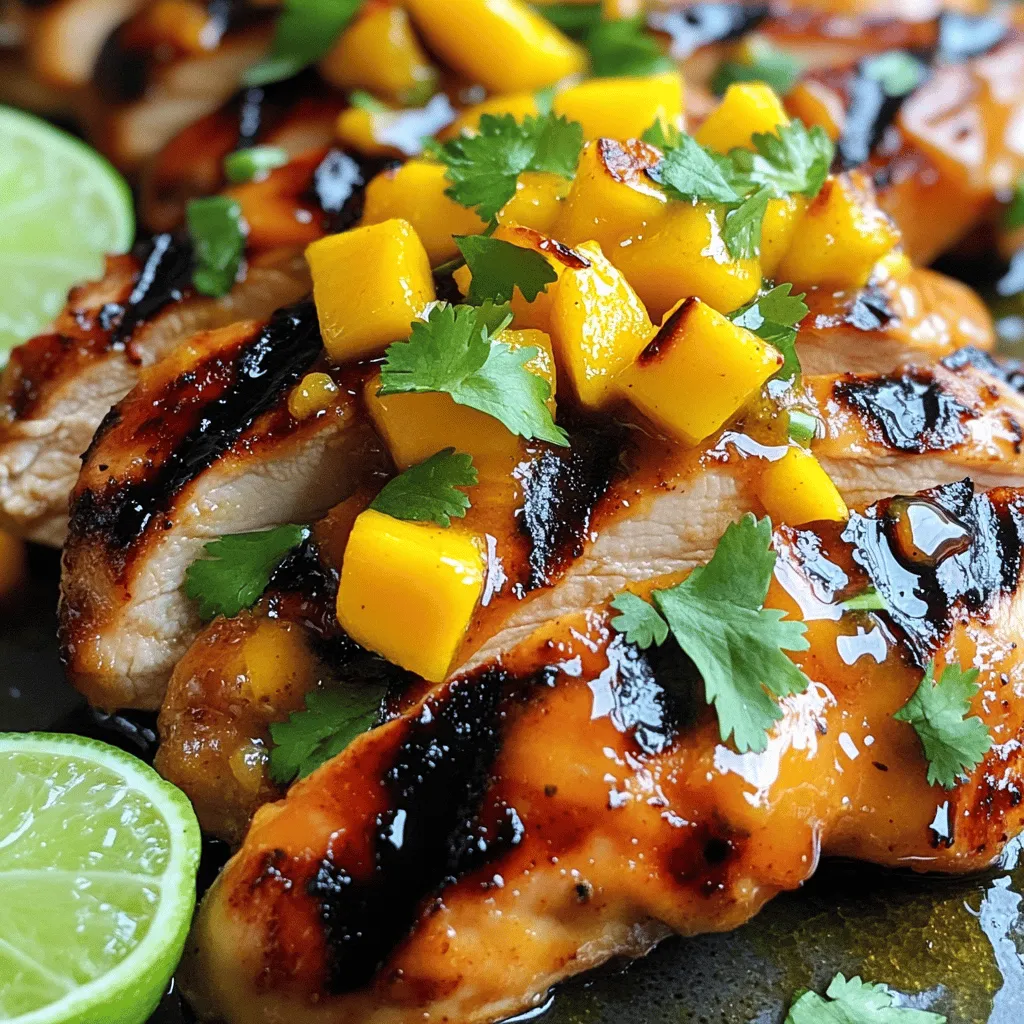
Looking for a tasty dish to impress your family? Try my Sweet and Spicy Mango Chicken! This easy grilling recipe

Are you ready to enjoy a bowl of comfort that’s both healthy and simple? My Creamy Roasted Red Pepper Soup

Fall is here, and that means it’s time to enjoy delicious flavors! Today, I’m excited to share my easy Chocolate

If you’re looking for a fun and tasty side dish that’s sure to impress, you’ve found it! Snickers Apple Salad
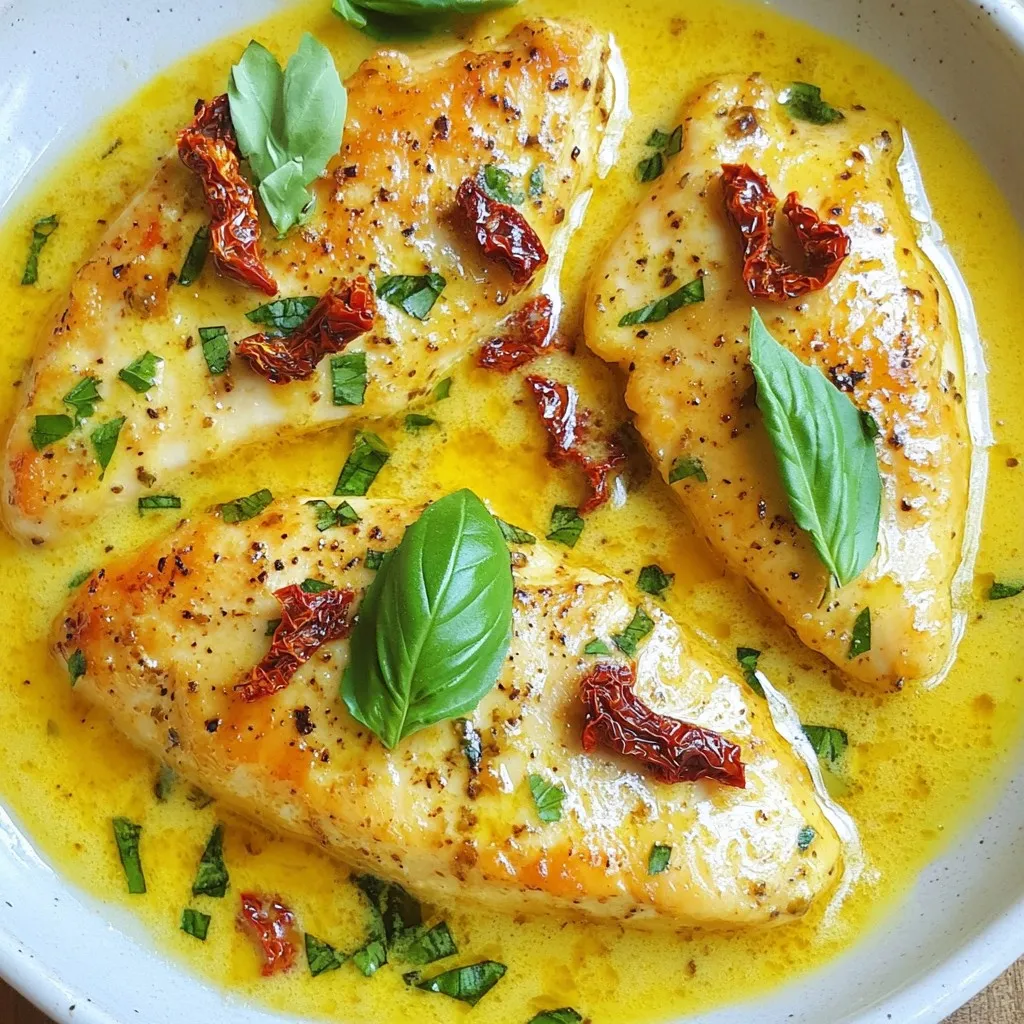
If you’re looking for a quick and tasty dinner, you’ve found it! My Creamy Sun-Dried Tomato Chicken recipe combines rich
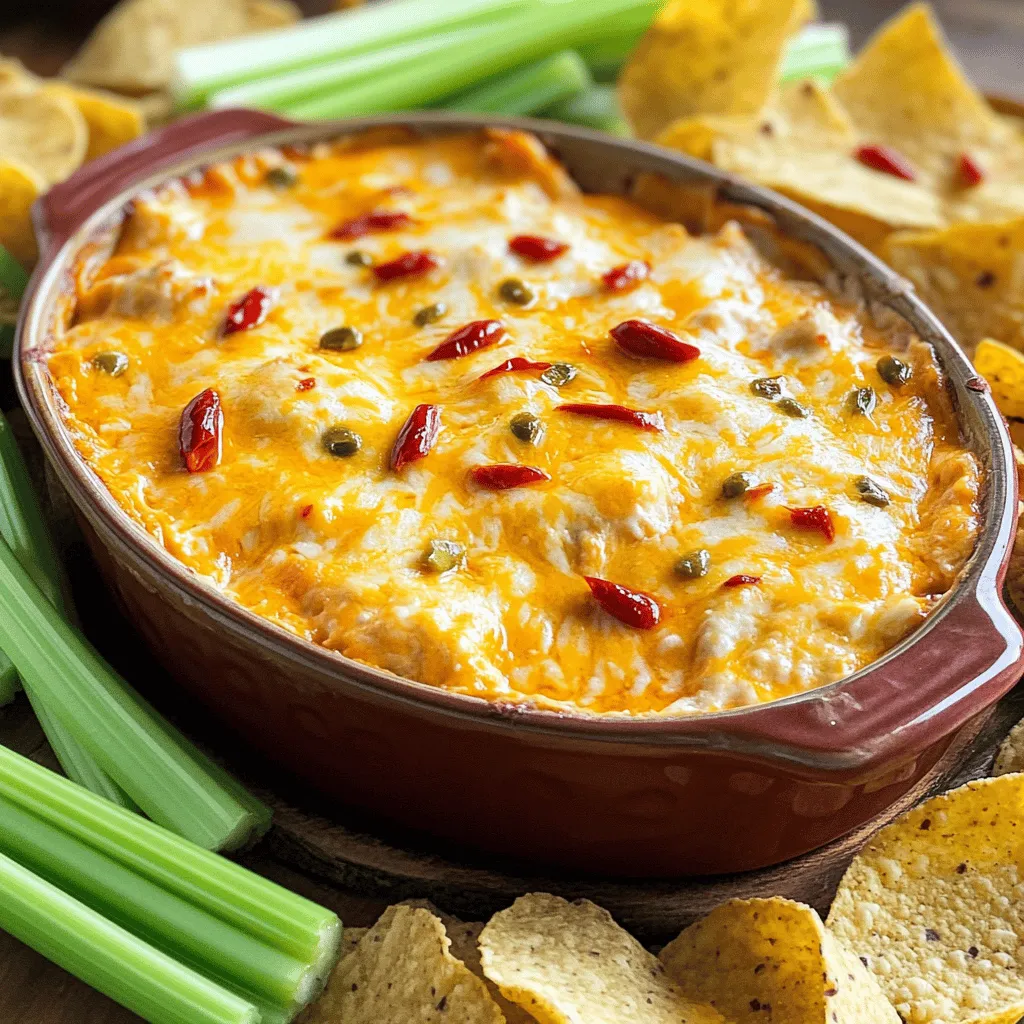
Looking to impress your party guests? This Creamy Buffalo Chicken Dip is a game changer! It’s rich, tangy, and full

Get ready to indulge in a sweet treat that will impress everyone! Mini chocolate lava cakes are the ultimate dessert,
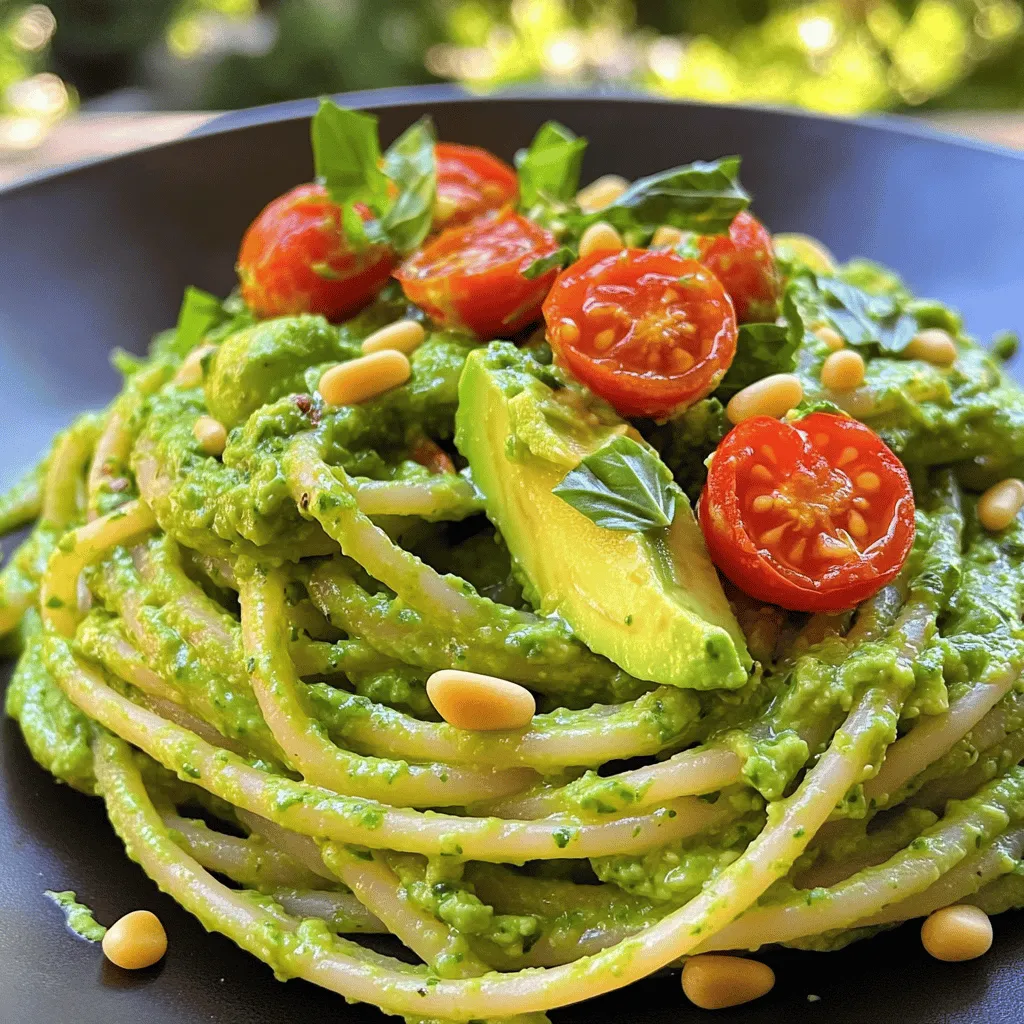
If you’re craving a fresh and vibrant meal, you’ve come to the right place! This Avocado Green Goddess Pasta brings
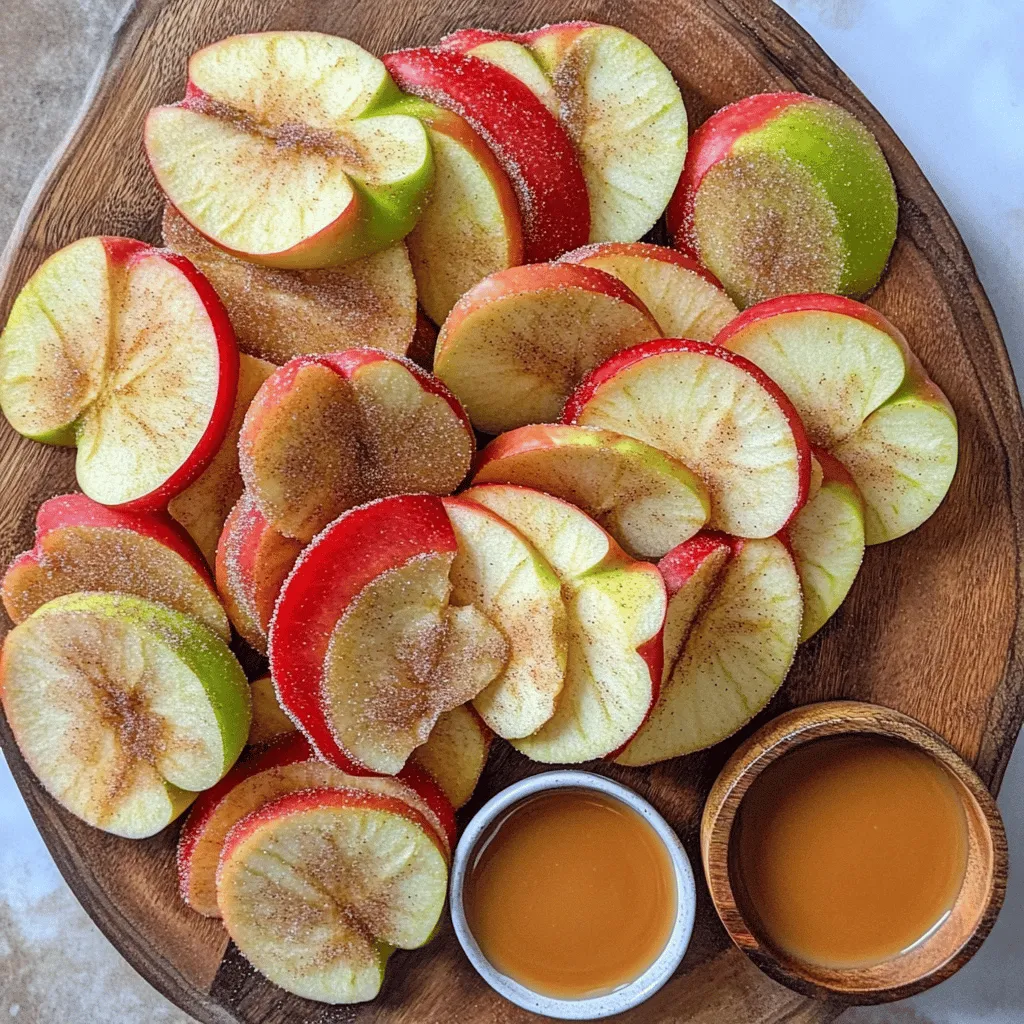
Looking for a quick and tasty snack? Try making Cinnamon Sugar Apple Chips! With just a few simple ingredients, you
