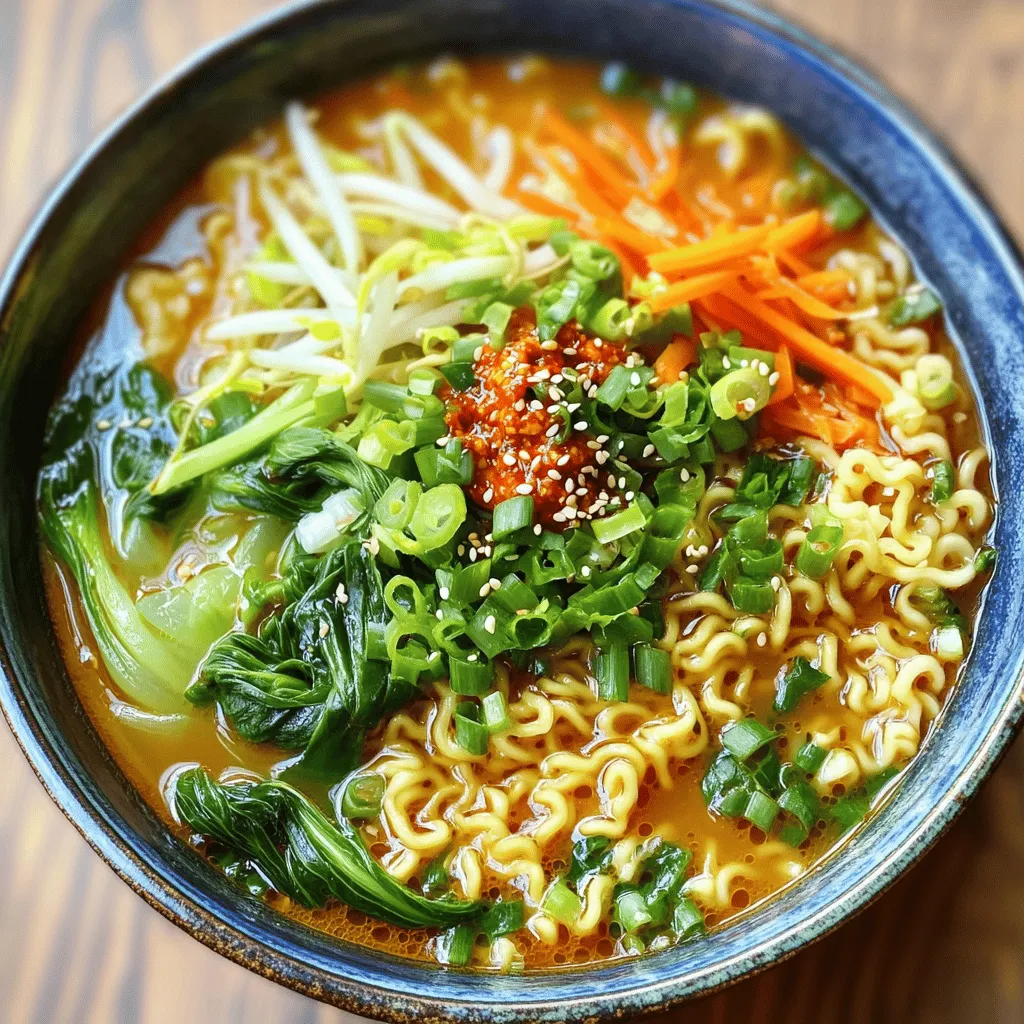
Spicy Garlic Ramen Noodles Flavorful and Simple Meal
Are you ready to spice up your meal with a delicious bowl of ramen? In this article, I’ll show you

Are you ready to spice up your meal with a delicious bowl of ramen? In this article, I’ll show you

Looking for a hearty and filling meal? Sweet Potato Black Bean Chili is your answer! Packed with nutritious ingredients, this
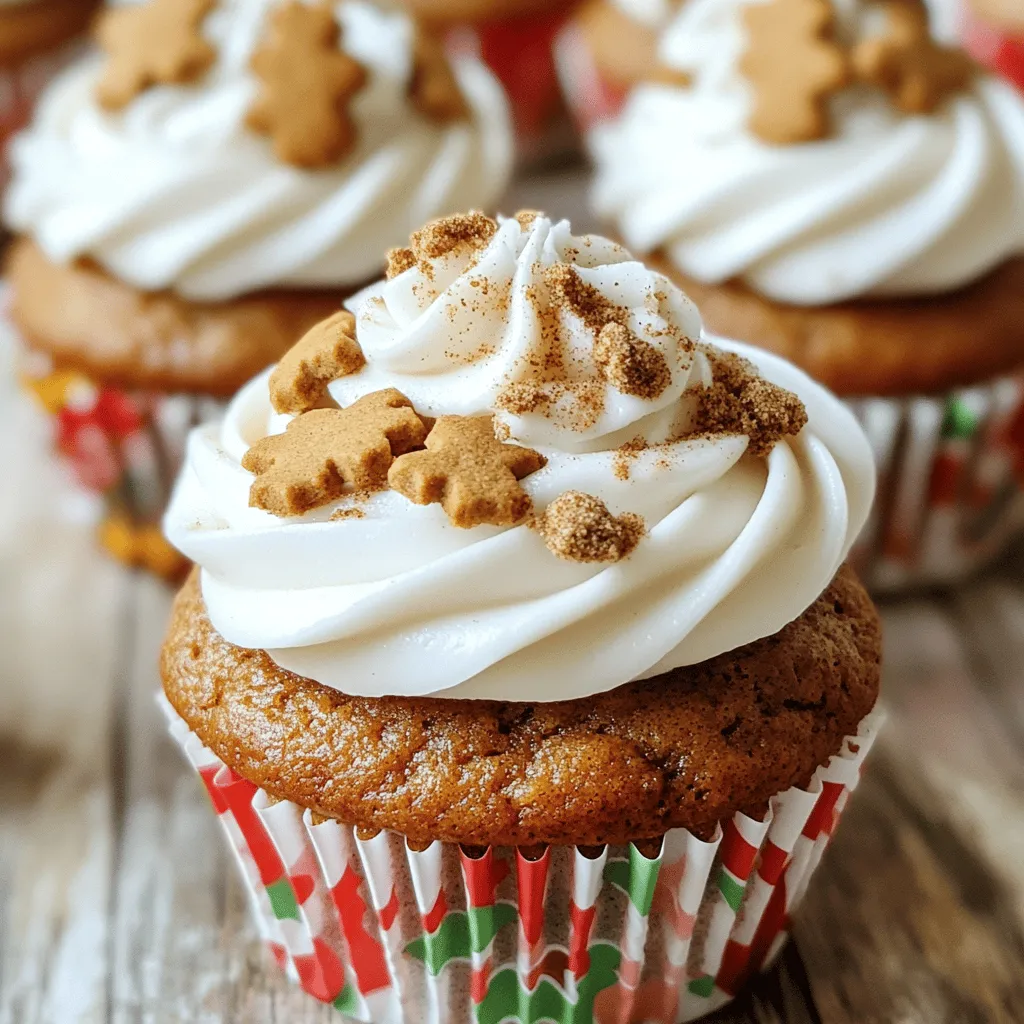
Are you ready to bring festive cheer to your kitchen? These Gingerbread Latte Cupcakes are the perfect holiday treat. With
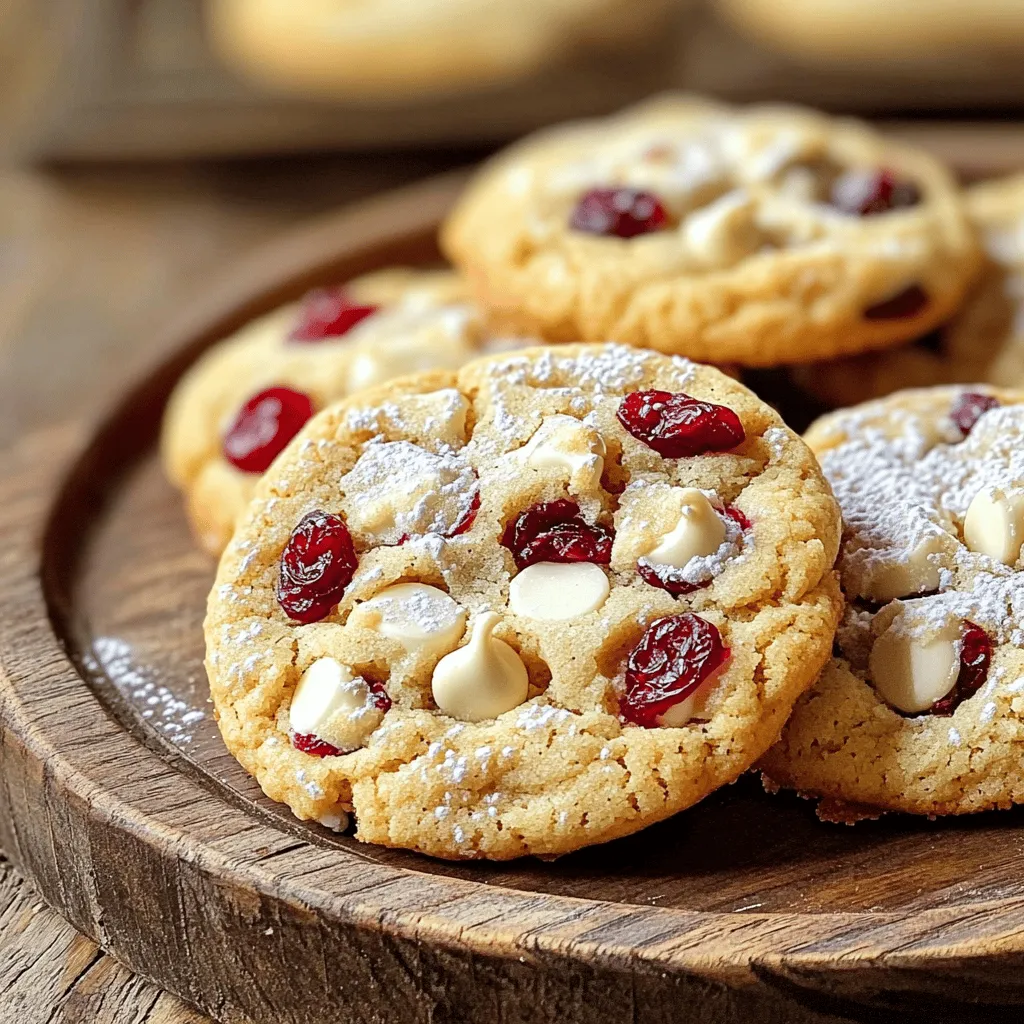
Get ready to bake the best White Chocolate Cranberry Cookies! This simple recipe combines creamy white chocolate and tart cranberries
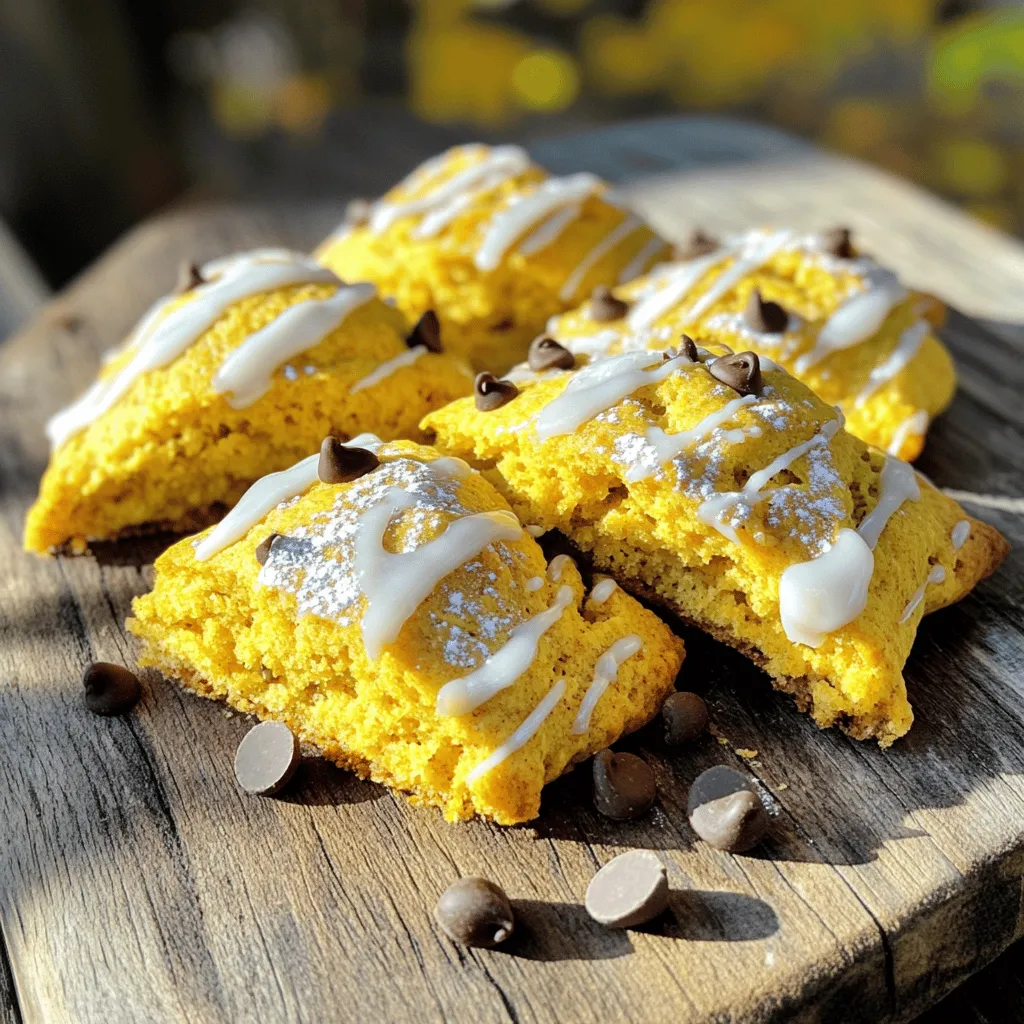
Do you crave cozy fall flavors? I have just the recipe for you! This easy copycat version of Starbucks’ Pumpkin
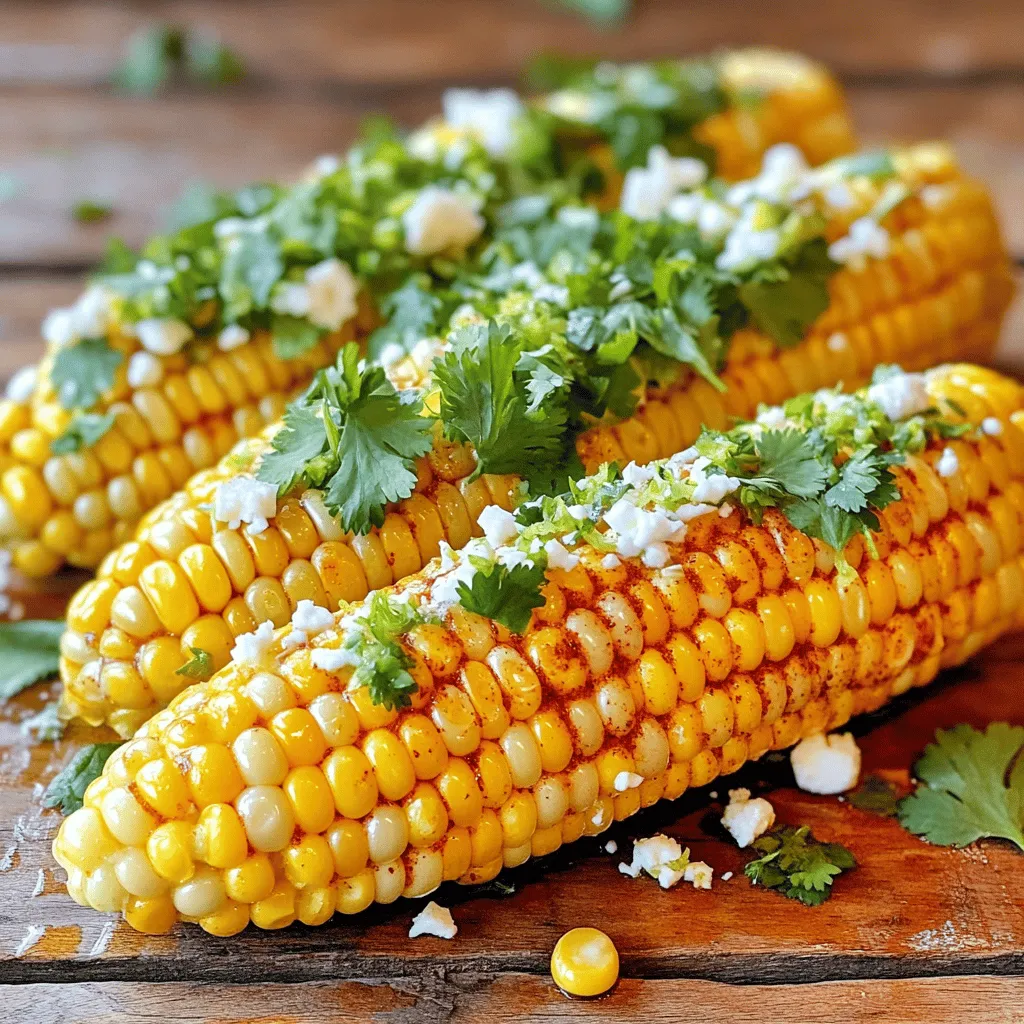
Get ready to elevate your summer cookouts with Chipotle Lime Corn on the Cob! This flavorful grilled treat bursts with
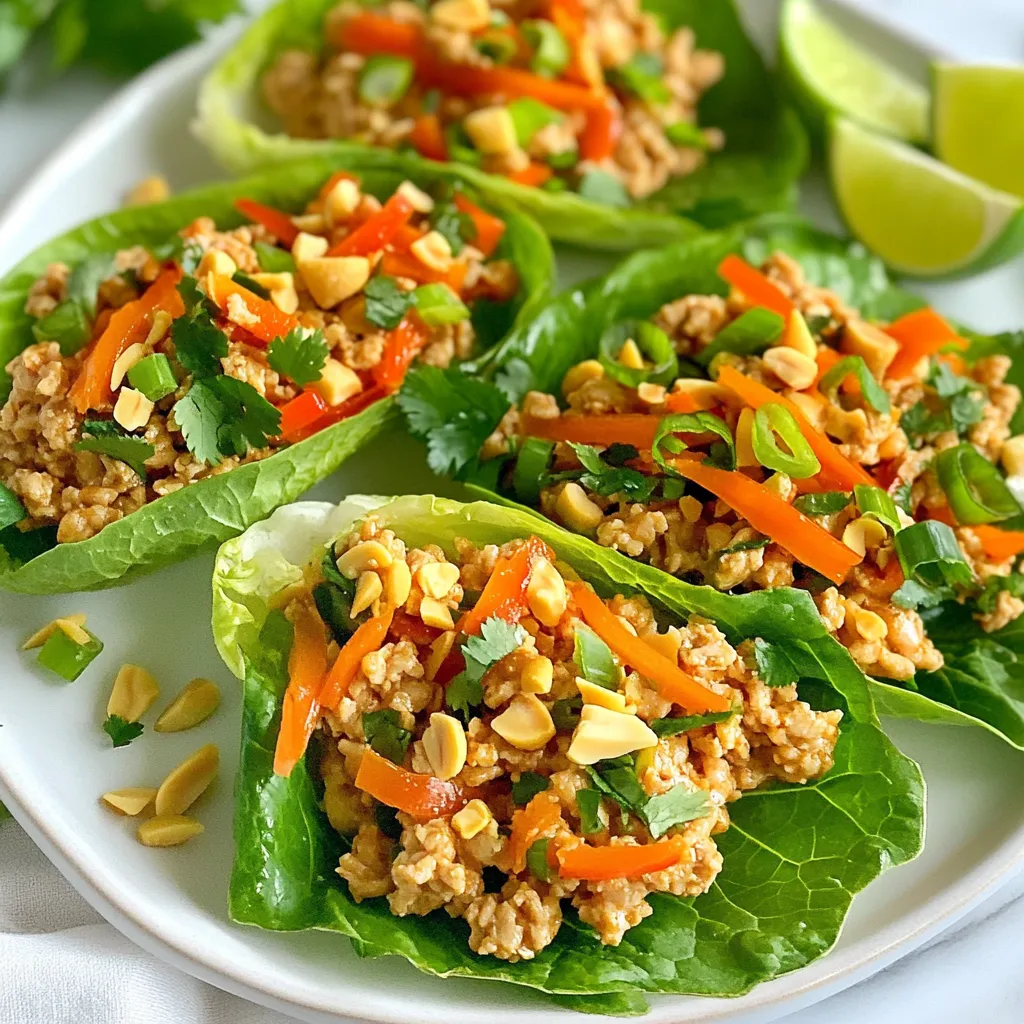
If you’re craving a fresh, flavorful meal that bursts with taste, try Thai Peanut Chicken Lettuce Wraps! This dish combines
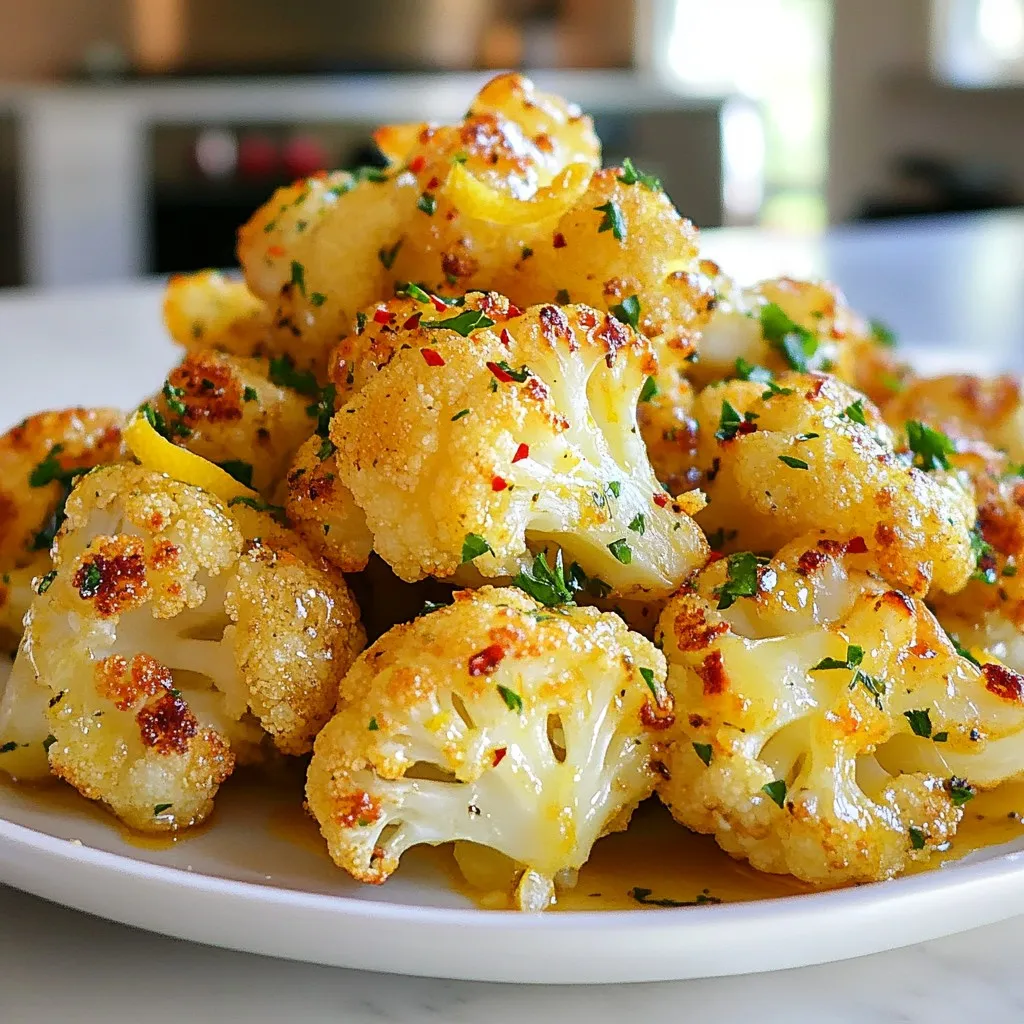
Get ready to elevate your meals with Lemon Garlic Roasted Cauliflower! This tasty side dish packs flavor and nutrition in

Are you craving a warm and filling meal? Sweet potato black bean chili is the perfect dish for you! Packed

Are you ready to bring holiday cheer to your kitchen? These Gingerbread Latte Cupcakes are the perfect festive treat! Bursting
