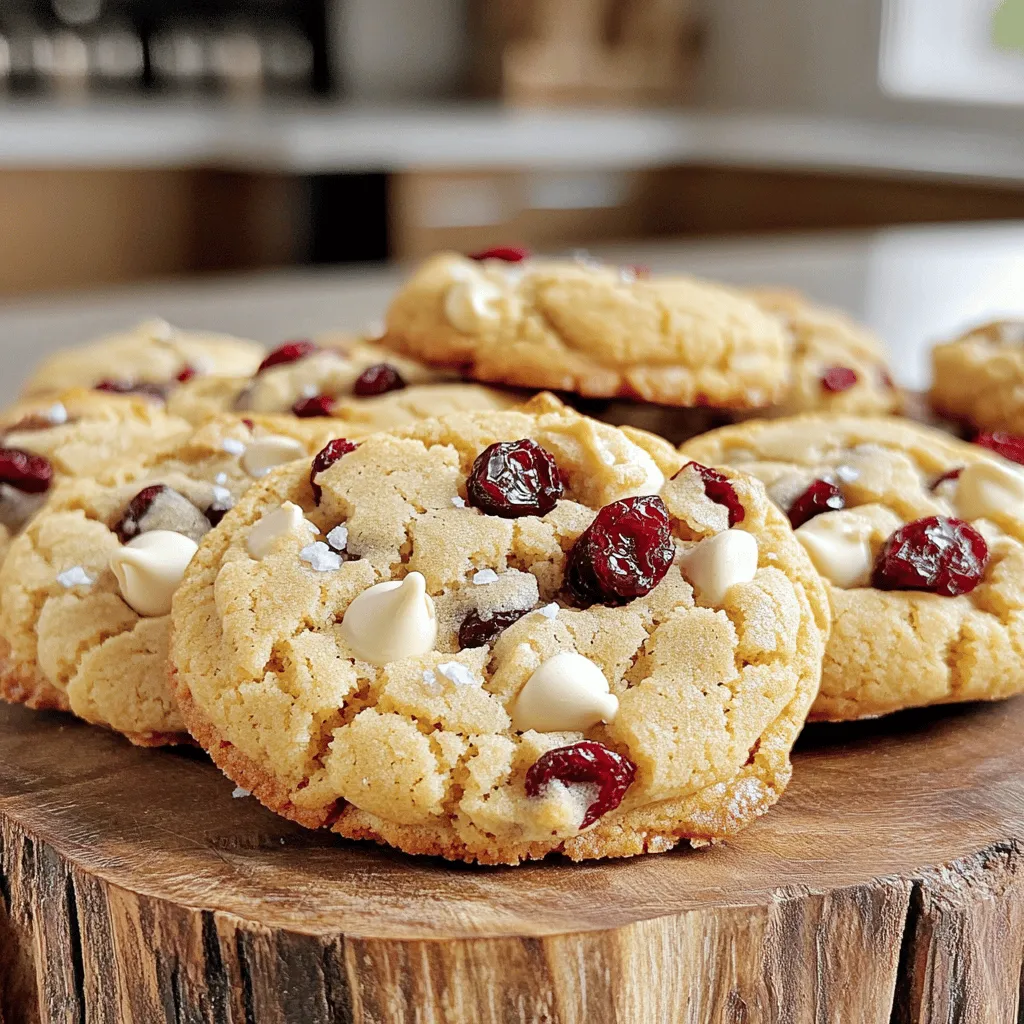
White Chocolate Cranberry Cookies Delightful Treat
Welcome to the world of White Chocolate Cranberry Cookies! If you love sweet treats that combine creamy white chocolate with

Welcome to the world of White Chocolate Cranberry Cookies! If you love sweet treats that combine creamy white chocolate with
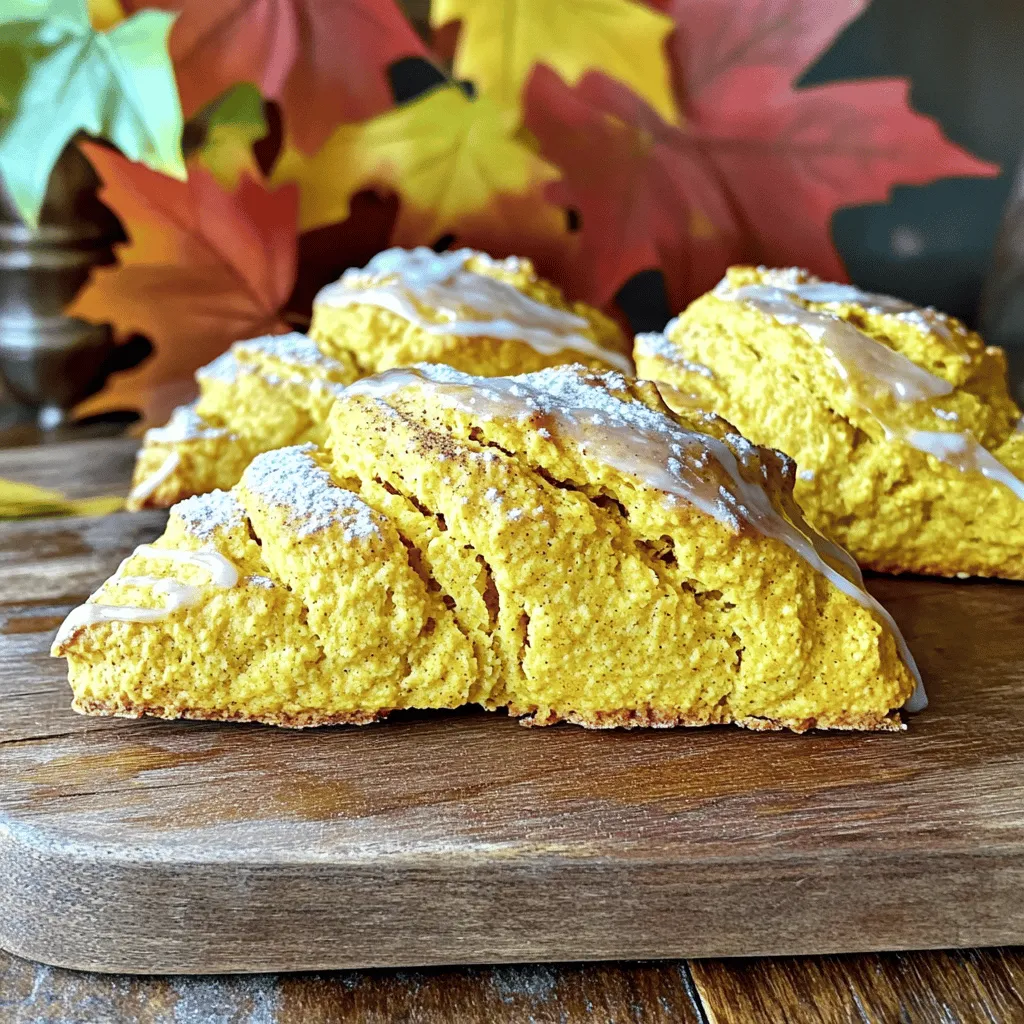
Are you ready to bring that cozy Starbucks vibe home? My Pumpkin Spice Scone Starbucks Copycat recipe is your ticket
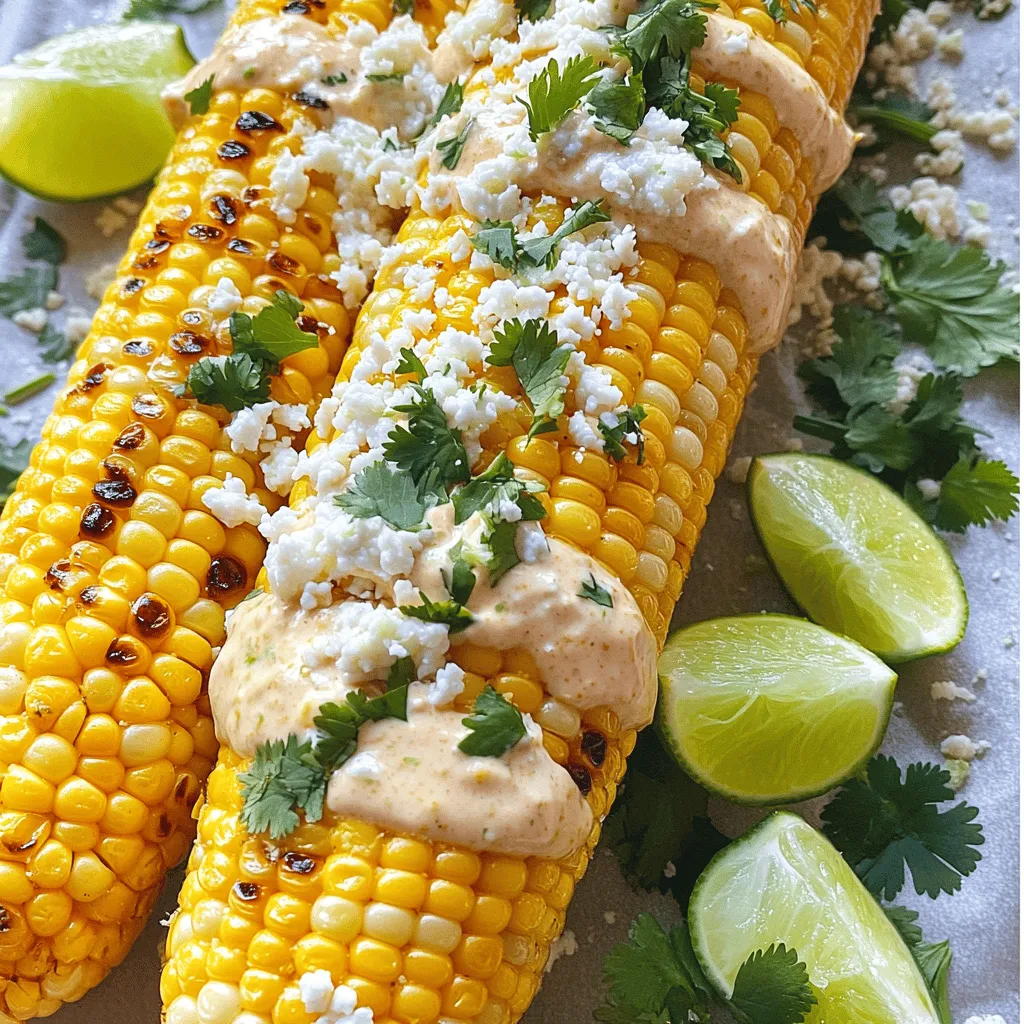
Looking to spice up your summer cookouts? I’ve got just the thing for you! My Chipotle Lime Corn on the

If you’re craving a warm, hearty meal that’s both healthy and satisfying, then this Vegan Lentil Shepherd’s Pie is for
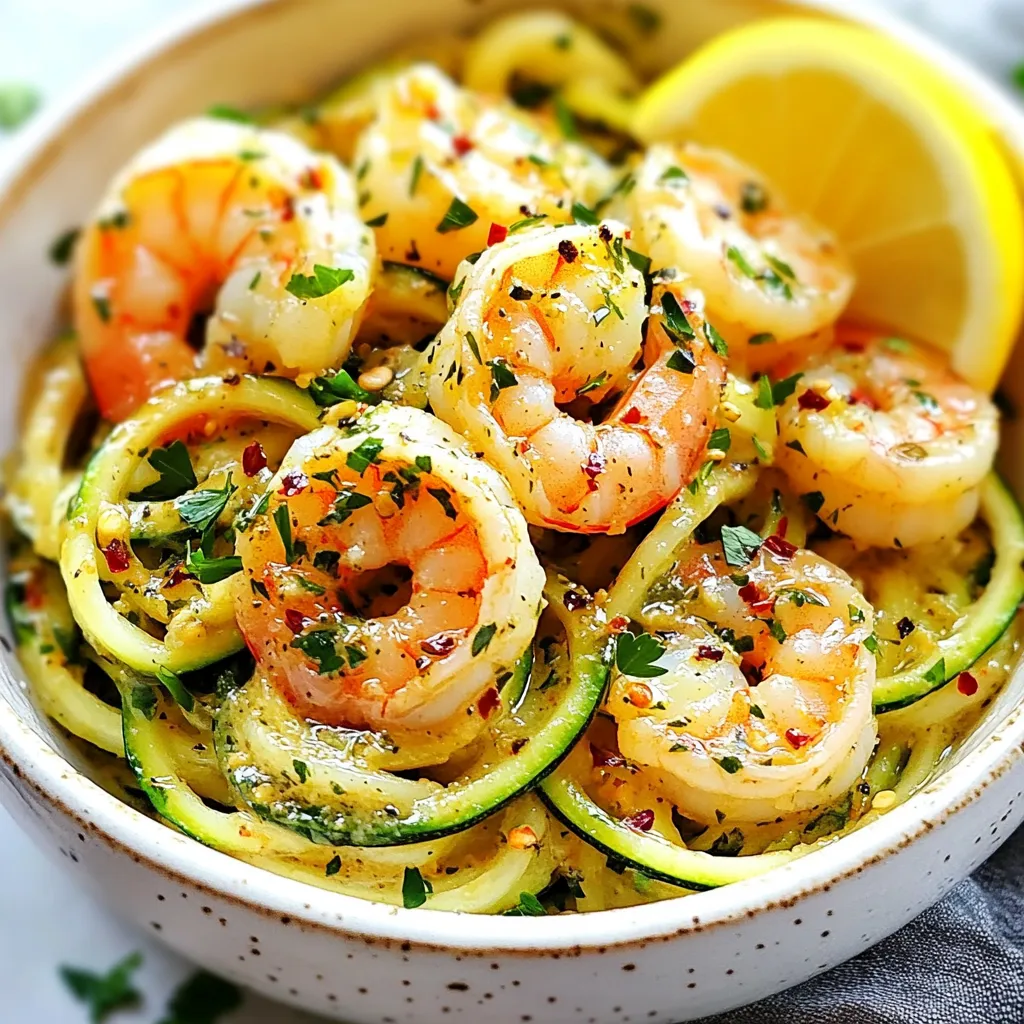
Looking for a quick, tasty meal that won’t weigh you down? Garlic Butter Shrimp Zoodles are your answer! This dish
. To keep your Asian sesame cucumber salad fresh, use an airtight container. This helps keep the salad crisp. Place the salad in the fridge right after serving. If you have extra dressing, store it separately to prevent sogginess. This way, you can enjoy the salad later without losing its crunch. Your salad can last in the fridge for about 2 to 3 days. However, check for signs of spoilage. If the cucumbers look slimy or smell bad, it’s time to toss it. Freshness is key for taste and texture, so always trust your senses. For the full recipe, check the cooking section above. You can try peanut oil, olive oil, or sunflower oil. Each oil has its own taste. Peanut oil adds a nutty flavor. Olive oil gives a mild taste. Sunflower oil is light and neutral. These oils work well in dressings. Just remember, they will change the salad's flavor a bit. Yes, you can make this salad ahead. It holds up well in the fridge. Prepare the salad and store it in an airtight container. Keep the dressing separate until you are ready to eat. This way, the cucumbers stay crunchy. Mix them together just before serving for the best taste. This salad is quite healthy! Cucumbers are low in calories and hydrating. The dressing has healthy fats from sesame oil. It also contains vitamins from the veggies. One serving has about 100 calories. It is full of nutrients and fiber. Enjoy it as a side or a light meal. For the full recipe, check out the Crunchy Asian Sesame Cucumber Salad. Asian Sesame Cucumber Salad is fresh and full of flavor. We explored its key ingredients, from crisp cucumbers to rich sesame oil. You learned how to prepare each element and create a tasty dressing. Tips and variations add fun twists, making this salad perfect for any meal. Store it well to enjoy later. I hope this encourages you to try making this vibrant salad at home. Enjoy its crunch and ease, and share it with friends for a delightful dish everyone will love!](https://mydishspin.com/wp-content/uploads/2025/07/98c05e81-3bc0-46a7-acc0-27f5eff768d4.webp)
If you’re looking for a dish that screams fresh and flavorful, you’ve found it! This Asian Sesame Cucumber Salad combines
. Making chocolate chip zucchini bread is simple and fun. We covered the key ingredients, including gluten-free and vegan options. I shared step-by-step instructions to help you bake it just right. I also provided tips for perfecting your bread and avoiding common mistakes. You can get creative with different chocolate types and spices. Remember to store your bread properly or freeze it for later. With these insights, you can bake delicious zucchini bread that everyone will love. Enjoy your baking journey!](https://mydishspin.com/wp-content/uploads/2025/07/eb235c96-4480-4e17-b5f5-969a9ee85f30.webp)
Are you ready to try a fun, tasty treat that’s both easy and healthy? Chocolate chip zucchini bread is the

Are you looking for a tasty yet healthy twist on a classic dish? My Cottage Cheese Chicken Enchiladas are the

Looking for a quick and tasty meal? My Instant Pot Chicken Noodle Soup packs comfort and flavor into one pot.
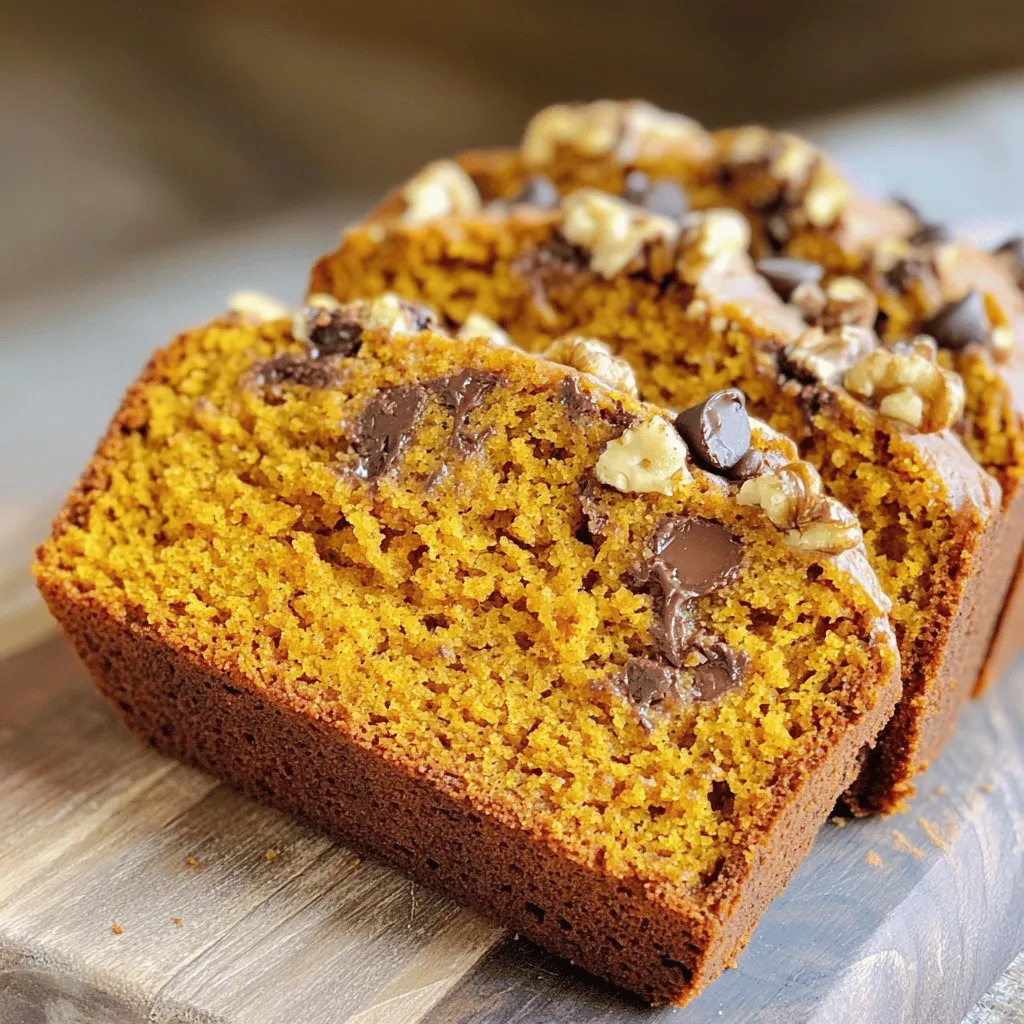
Get ready to savor the tastes of fall with my irresistible Chocolate Chip Pumpkin Bread! This moist, flavorful treat blends
