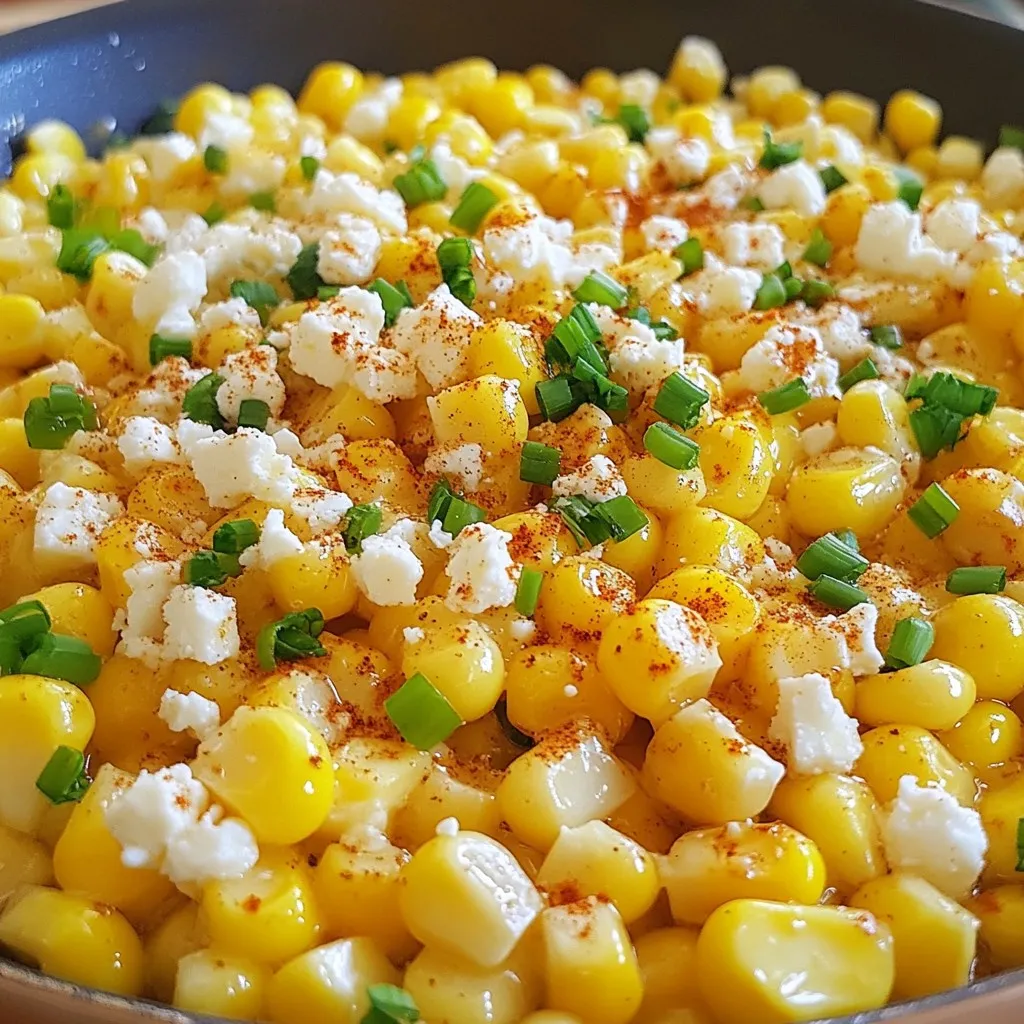
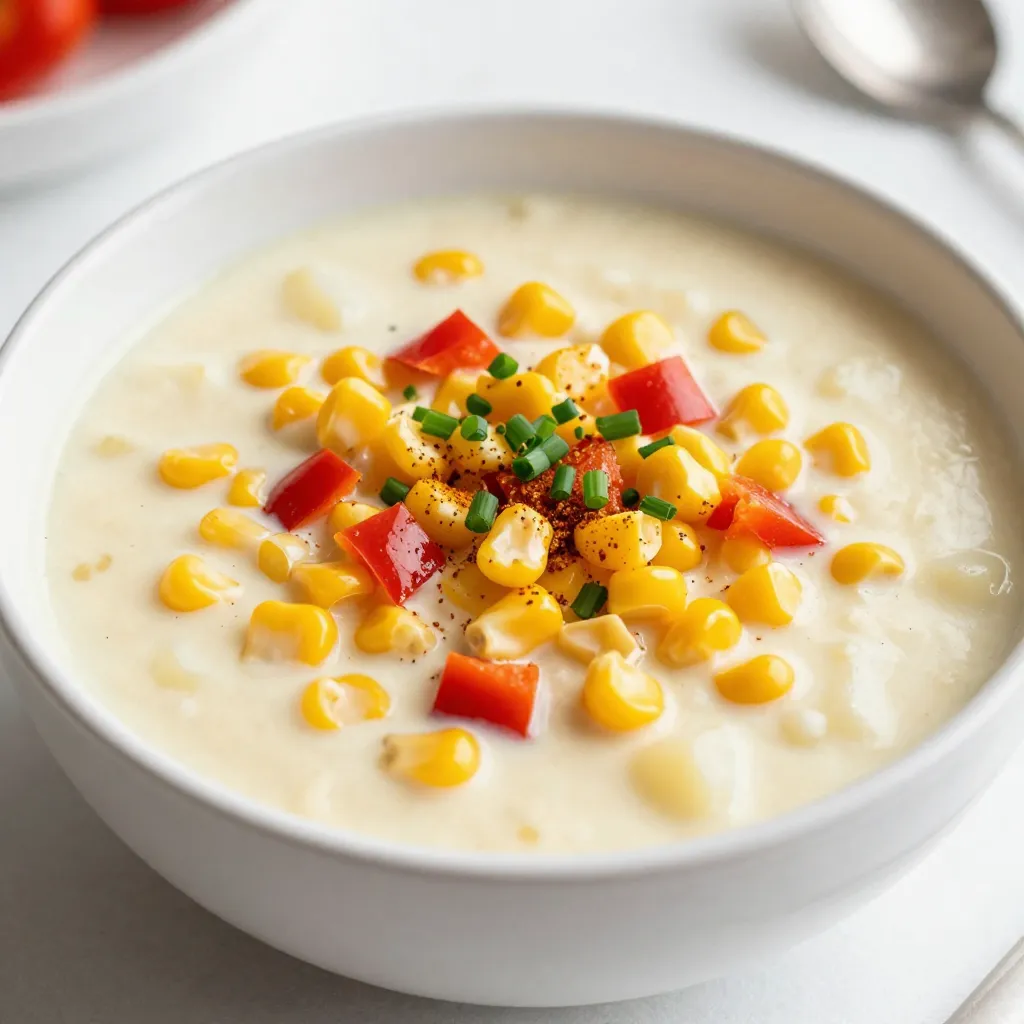
Honey Butter Skillet Corn Simple and Flavorful Recipe
If you’re looking for a quick and tasty side dish, you’ve hit the jackpot! My Honey Butter Skillet Corn recipe

If you’re looking for a quick and tasty side dish, you’ve hit the jackpot! My Honey Butter Skillet Corn recipe
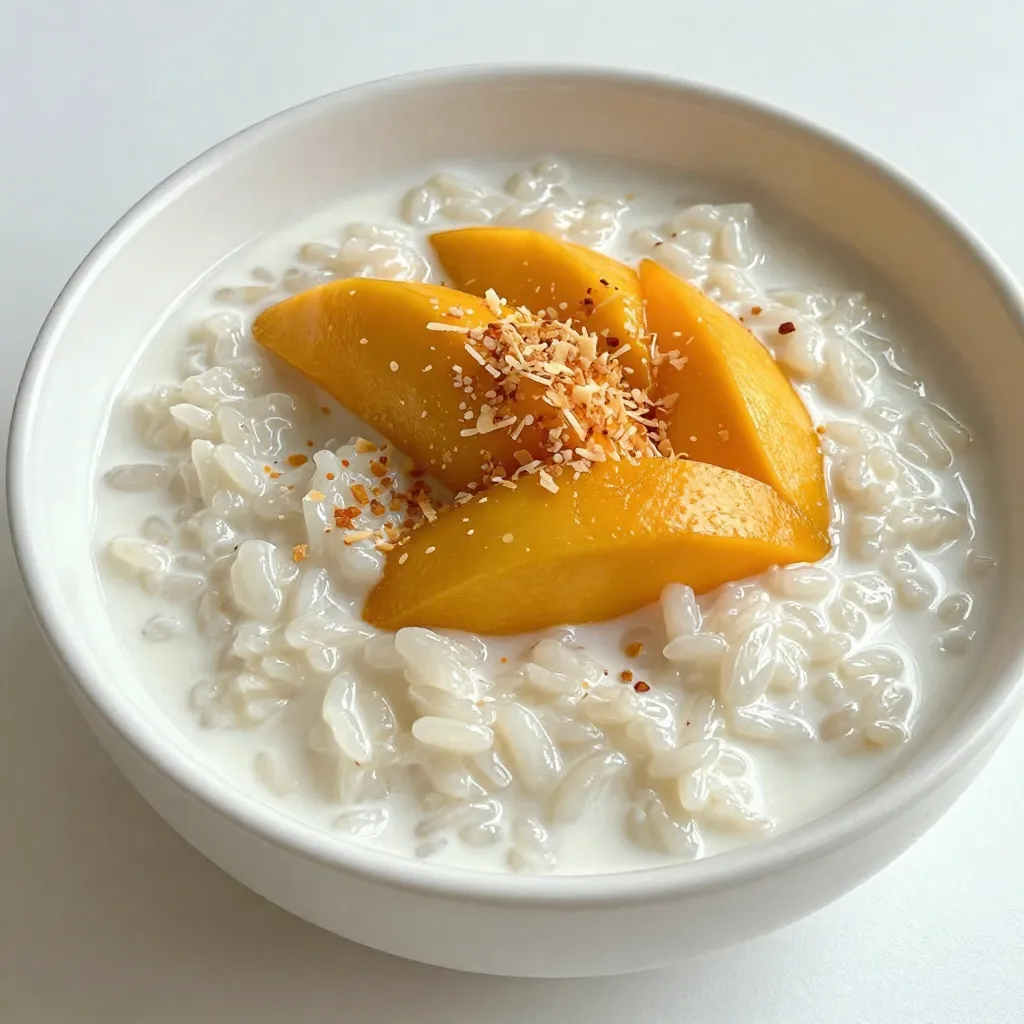
If you crave a sweet, creamy treat that’s easy to make, you’ll love this creamy coconut rice pudding! With just
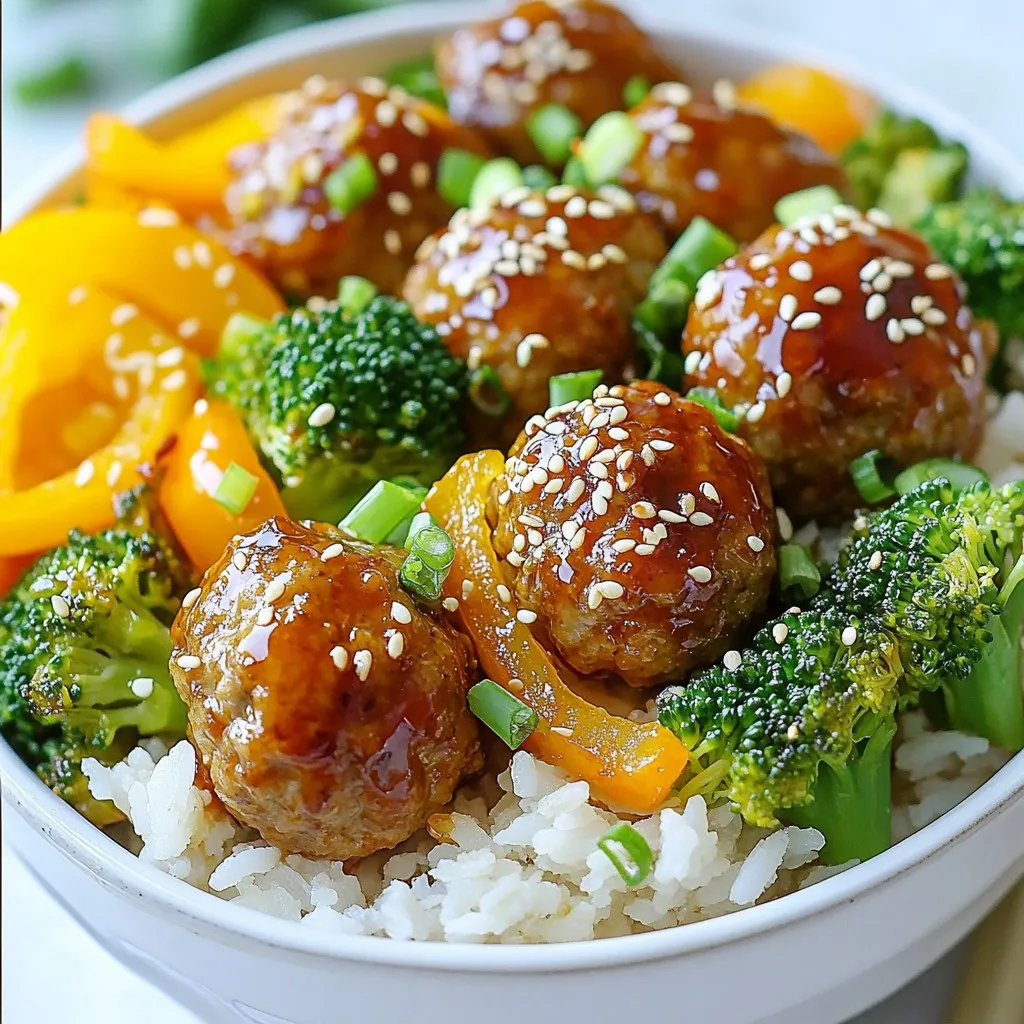
Are you ready for a delicious, healthy meal that’s quick to make? My Teriyaki Turkey Meatball Bowls are a game-changer!
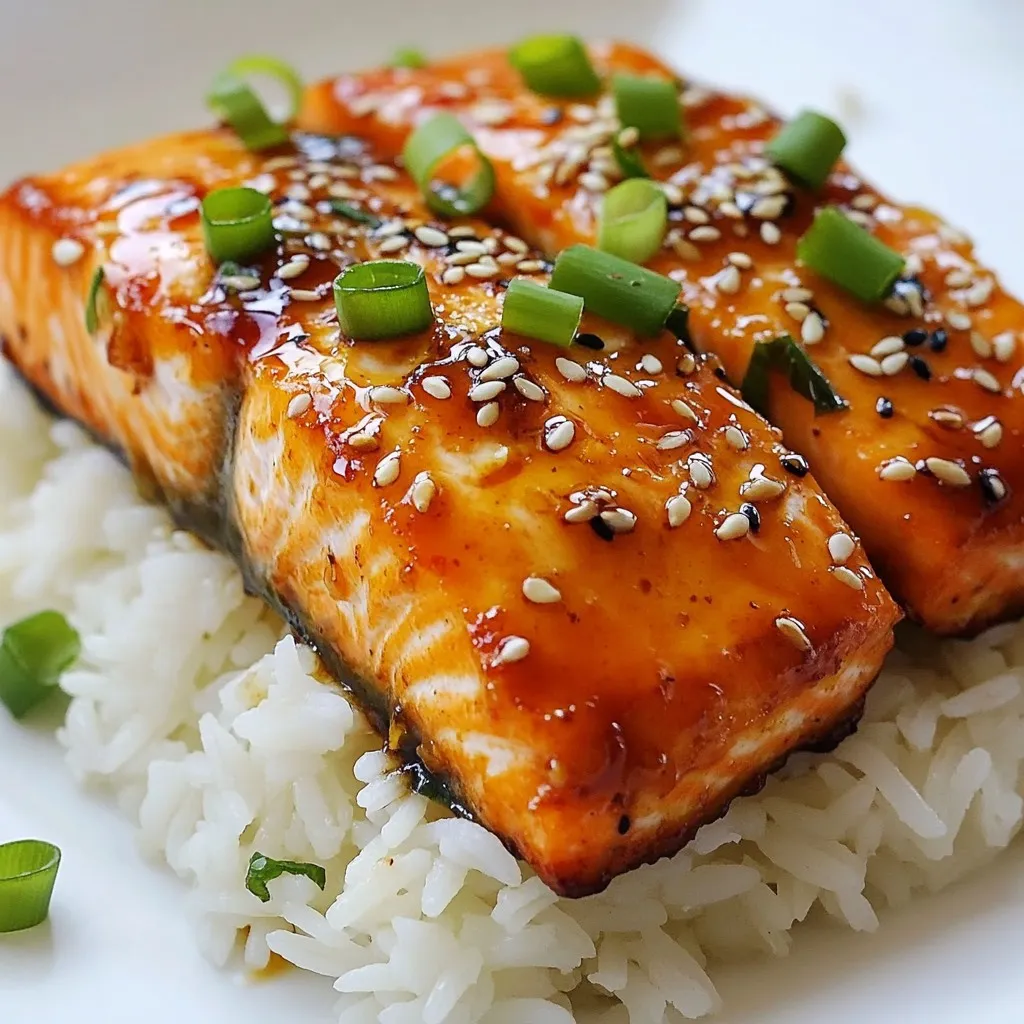
Are you ready to spice up your dinner routine? This Honey Sriracha Glazed Salmon is the perfect blend of sweet
Warm up your kitchen with my Savory Sweet Corn Chowder! This easy recipe combines fresh corn and basic pantry staples
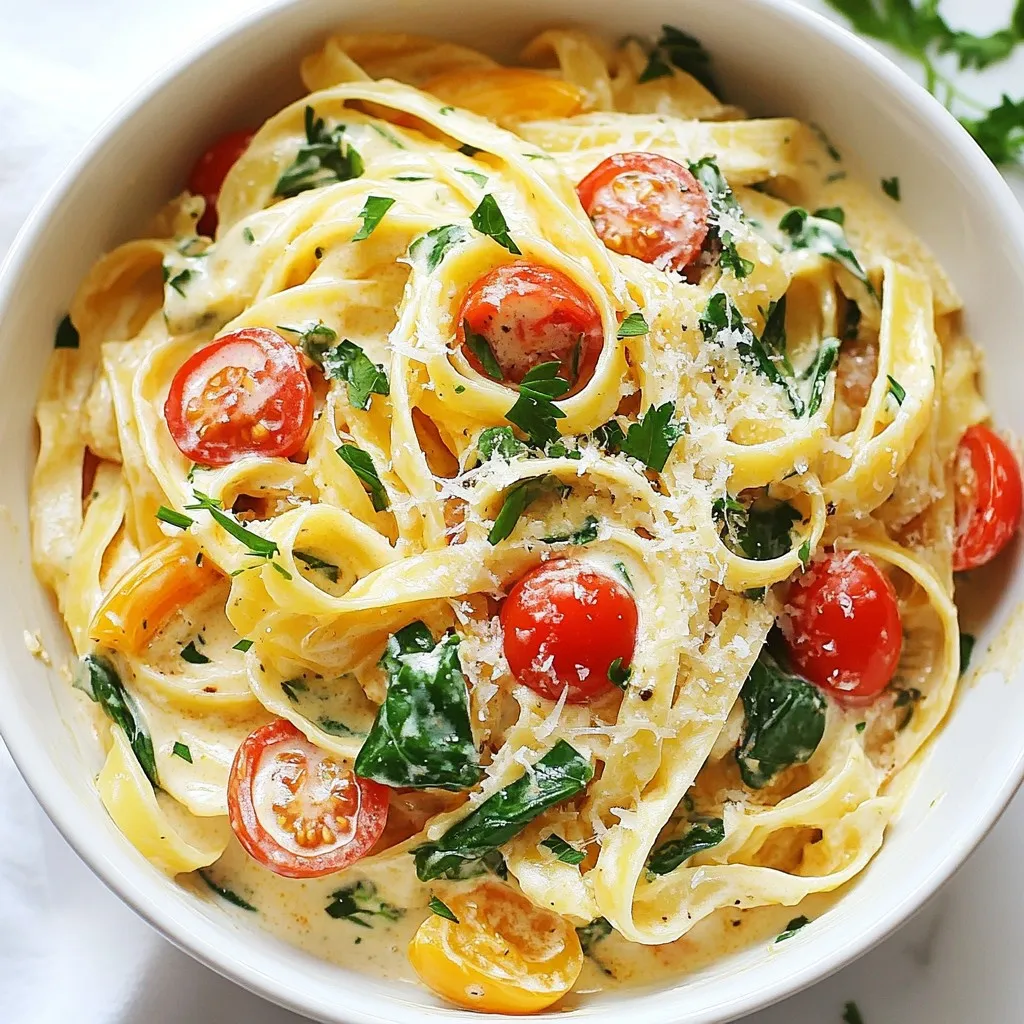
Craving a rich and creamy pasta dish that’s both easy and delicious? Let’s dive into this One-Pot Creamy Cajun Pasta
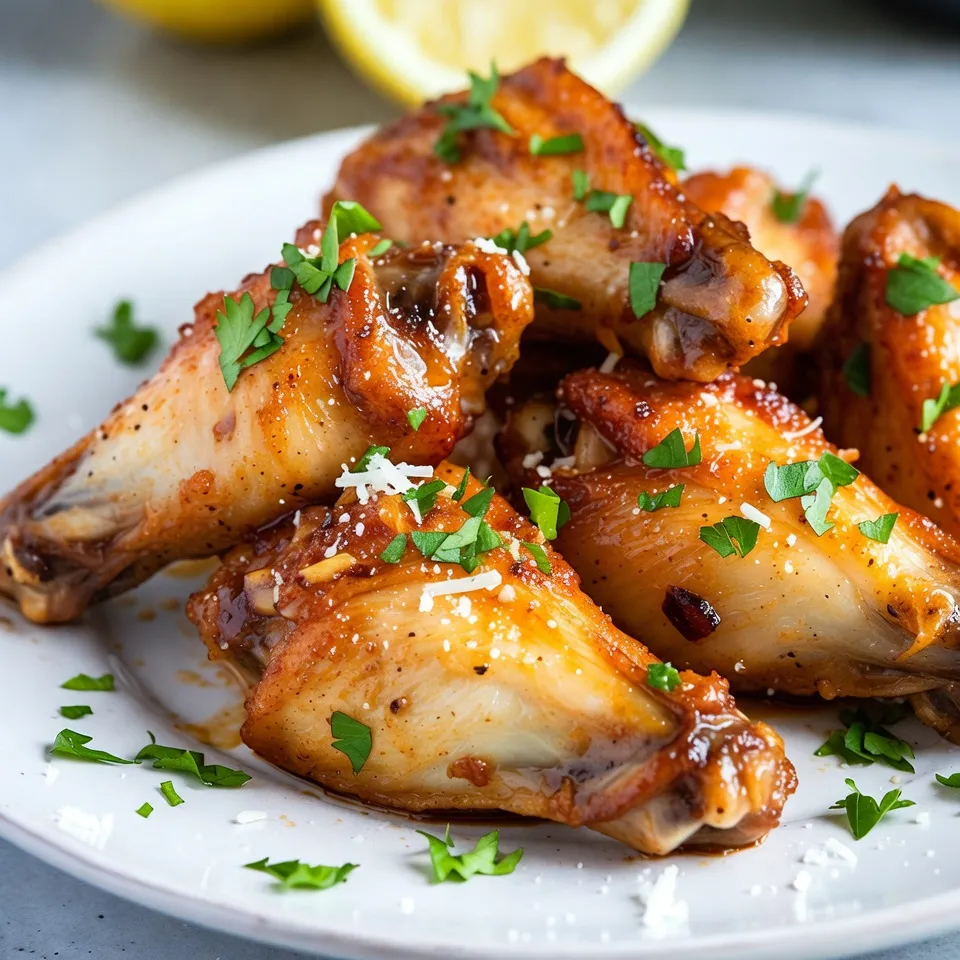
Are you ready for a game-changer in your snacking routine? Garlic Parmesan Chicken Wings are finger-licking good, and I’m here
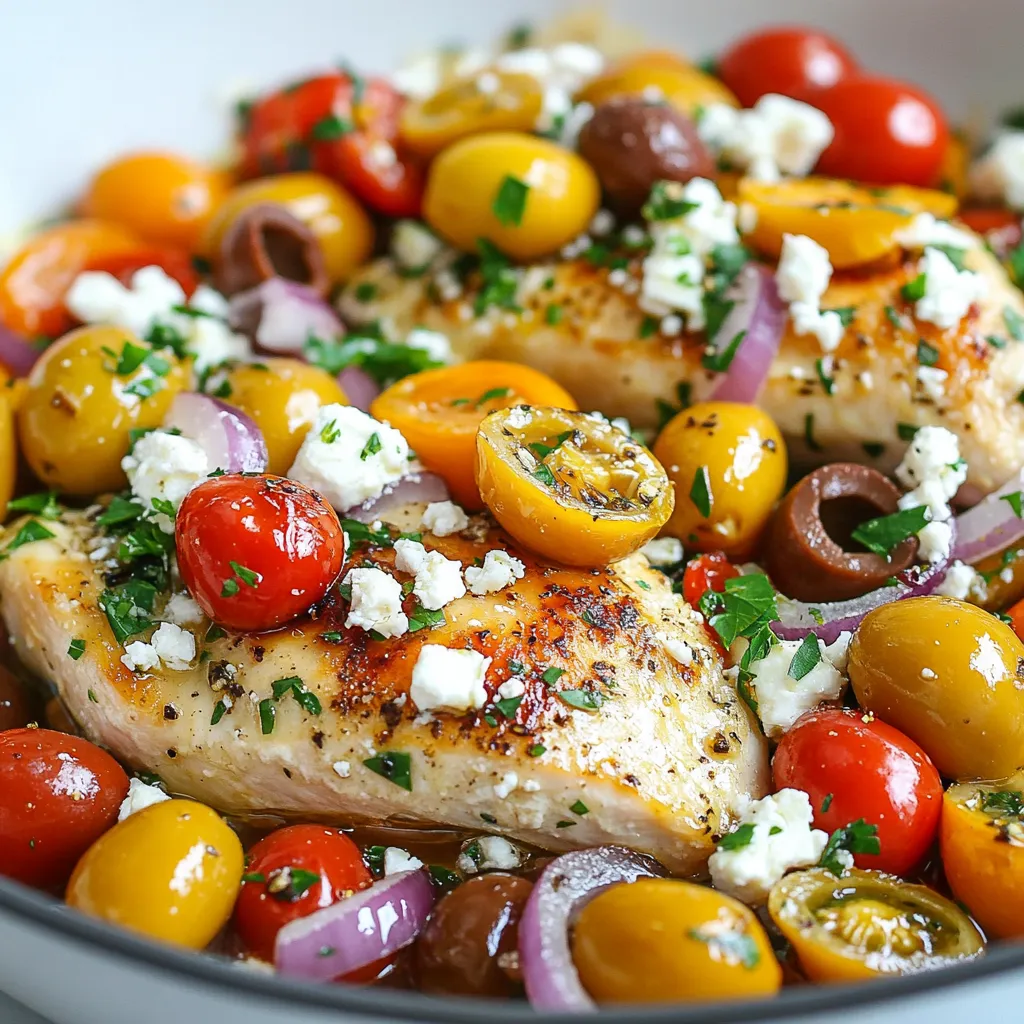
Get ready to enjoy a burst of flavors with my Mediterranean Chicken Skillet with Olives and Feta Delight. This dish
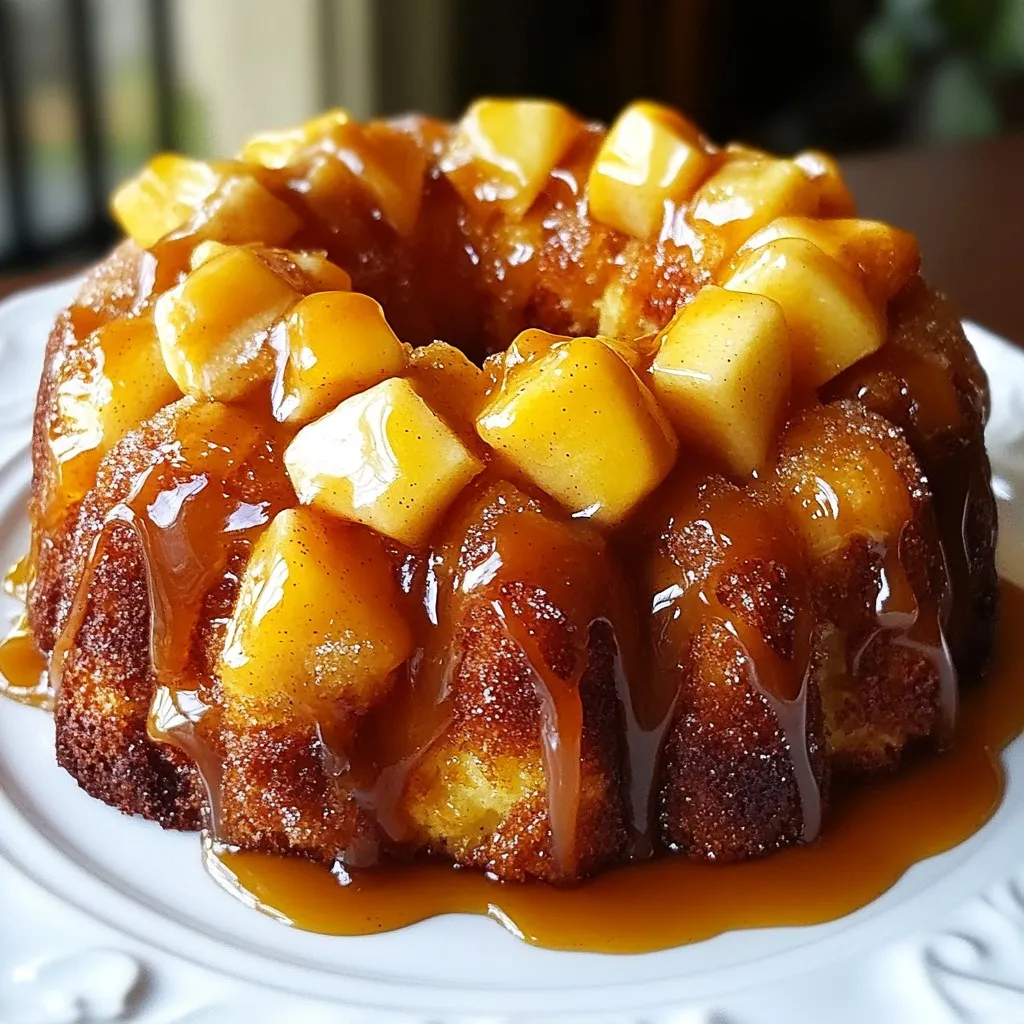
Craving a warm and gooey treat? Look no further! Caramel Apple Monkey Bread is the answer. This dessert combines sweet
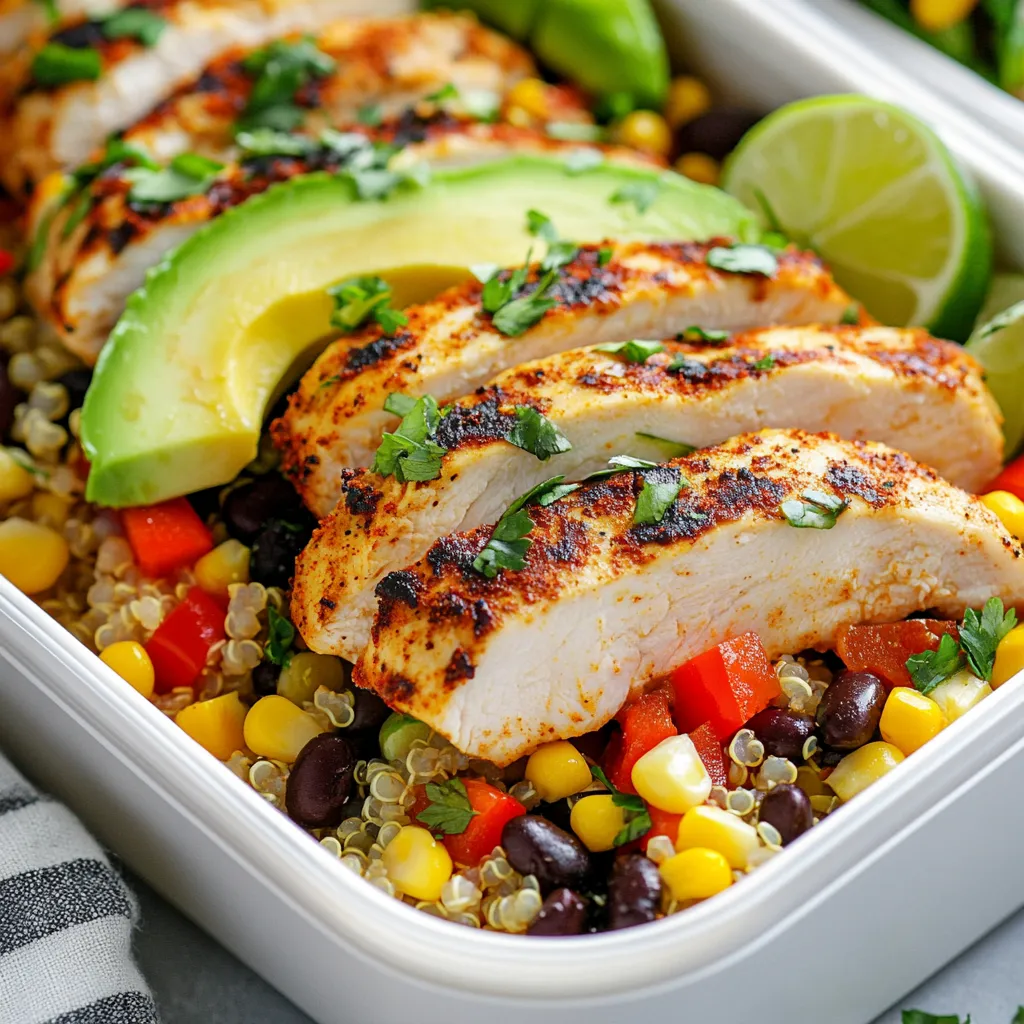
Are you ready to take your healthy eating game to the next level? High Protein Chicken Meal Prep can transform
