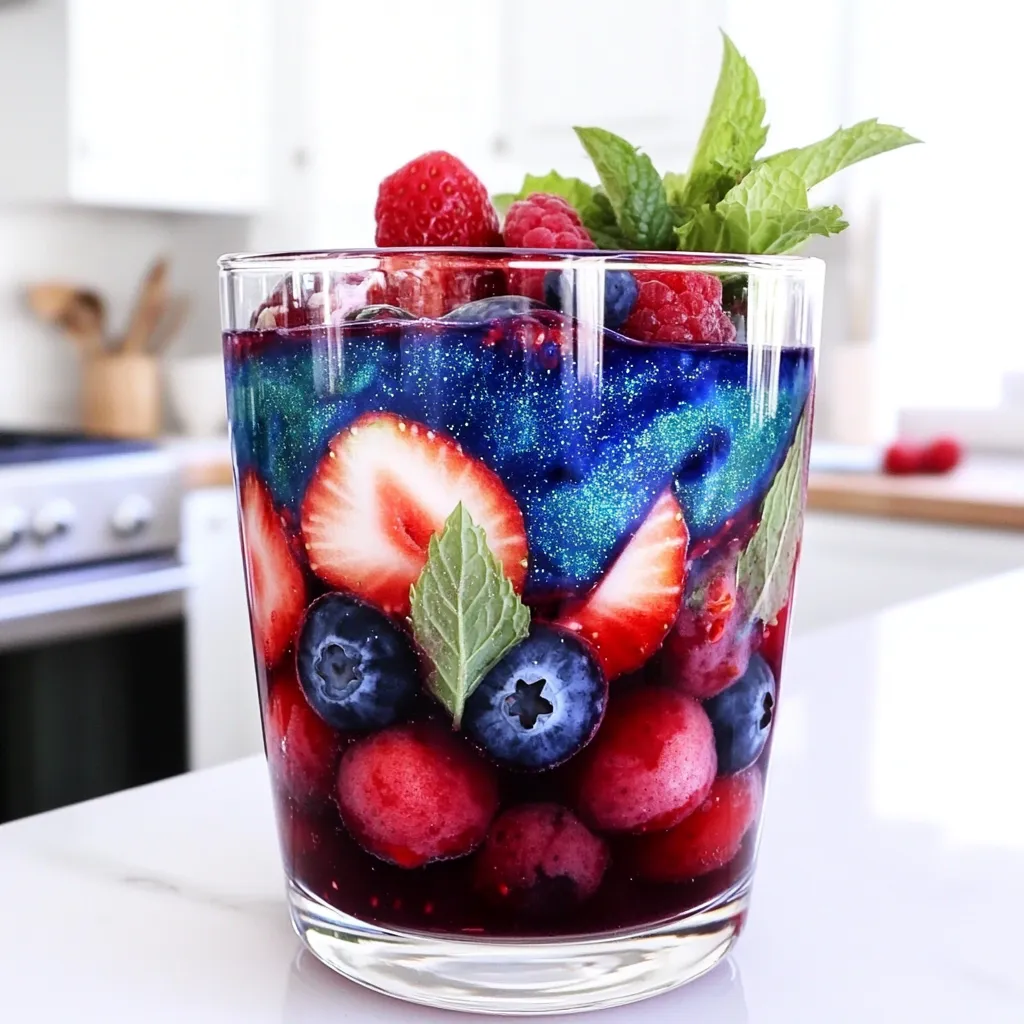
Galaxy Summer Mocktail Refreshing and Colorful Recipe
Looking for a delightful and refreshing drink? The Galaxy Summer Mocktail has you covered! This vibrant, colorful recipe dazzles with

Looking for a delightful and refreshing drink? The Galaxy Summer Mocktail has you covered! This vibrant, colorful recipe dazzles with
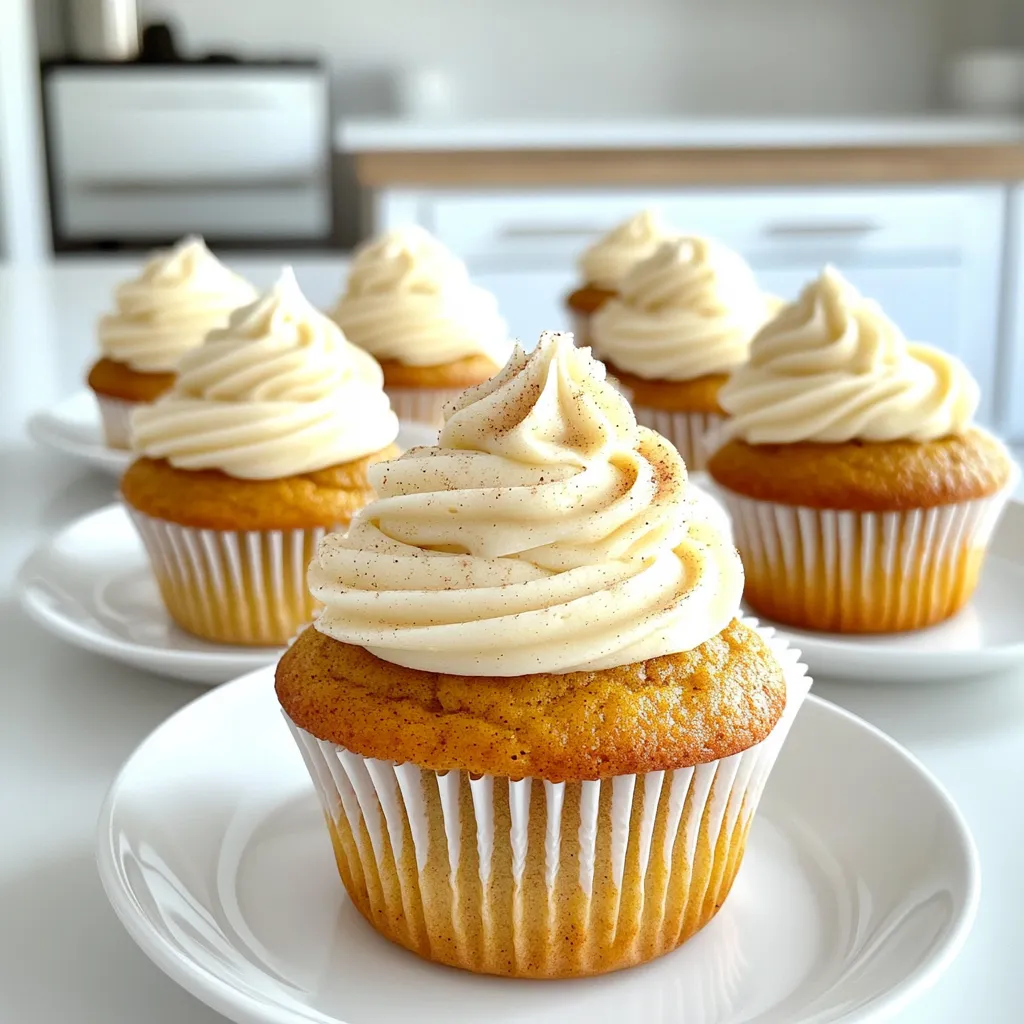
Autumn is the perfect time for cozy flavors, and these Pumpkin Chai Latte Cupcakes bring that warmth to your kitchen.

If you’re ready to elevate your banana bread game, then you’re in for a treat! This Brown Butter Banana Bread
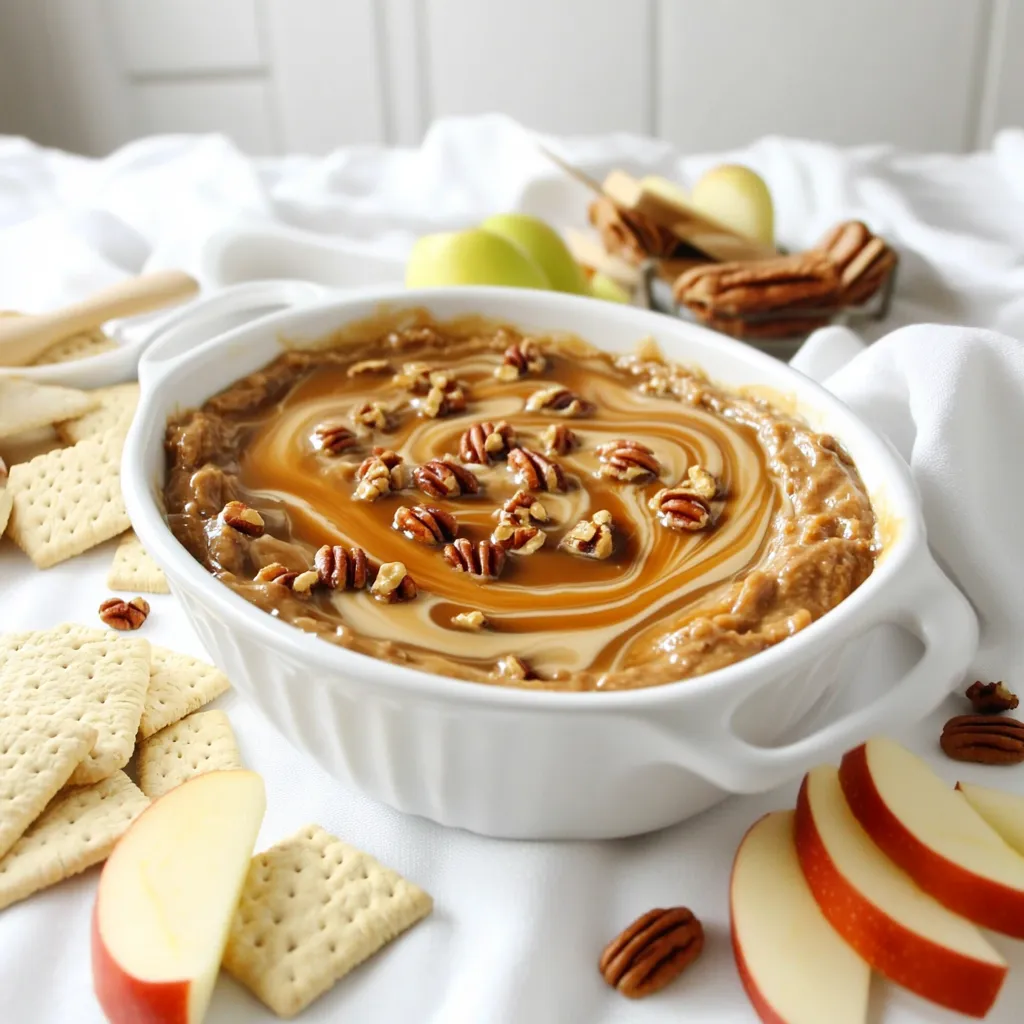
Craving a sweet, creamy treat? You’ll love this no-bake pecan pie dip! It’s quick, easy, and packed with flavor. Perfect
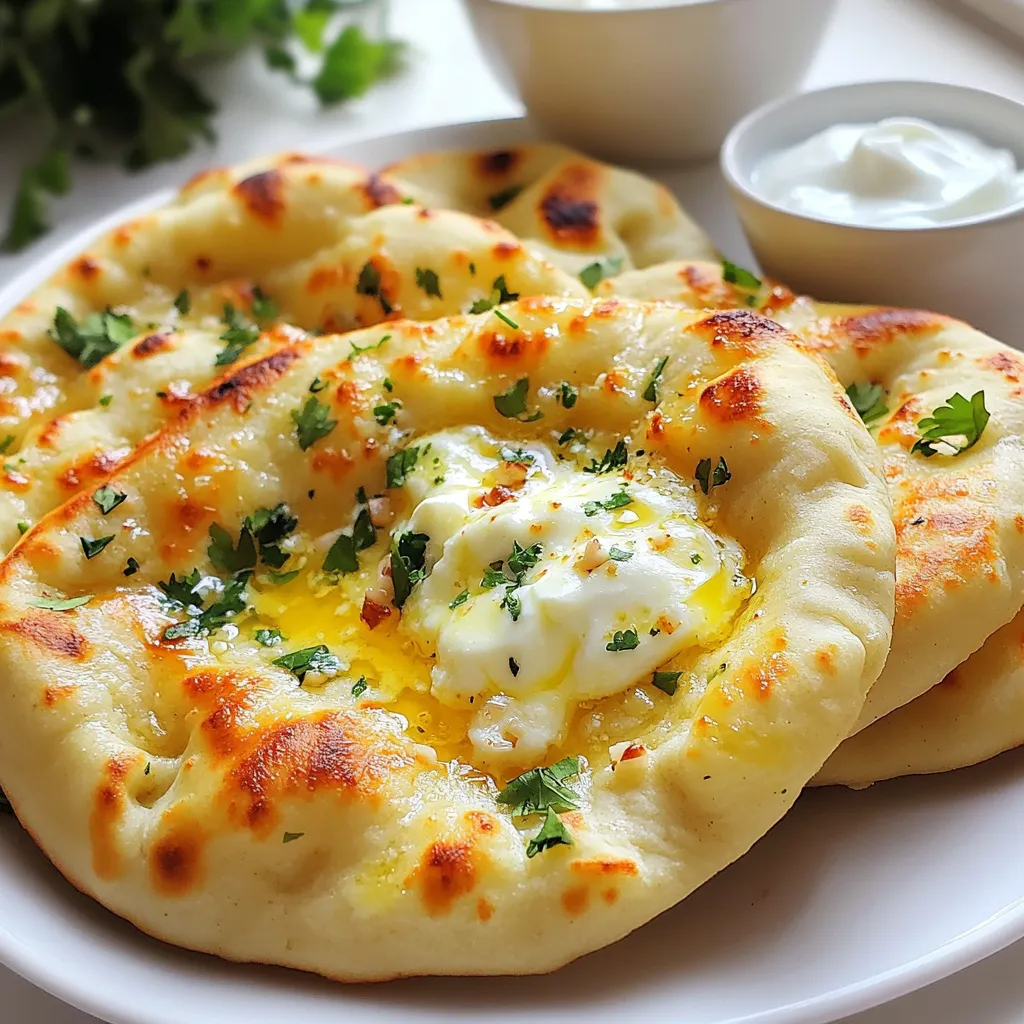
Are you ready to elevate your meal with some cheesy goodness? Cheese Stuffed Garlic Naan is the perfect blend of
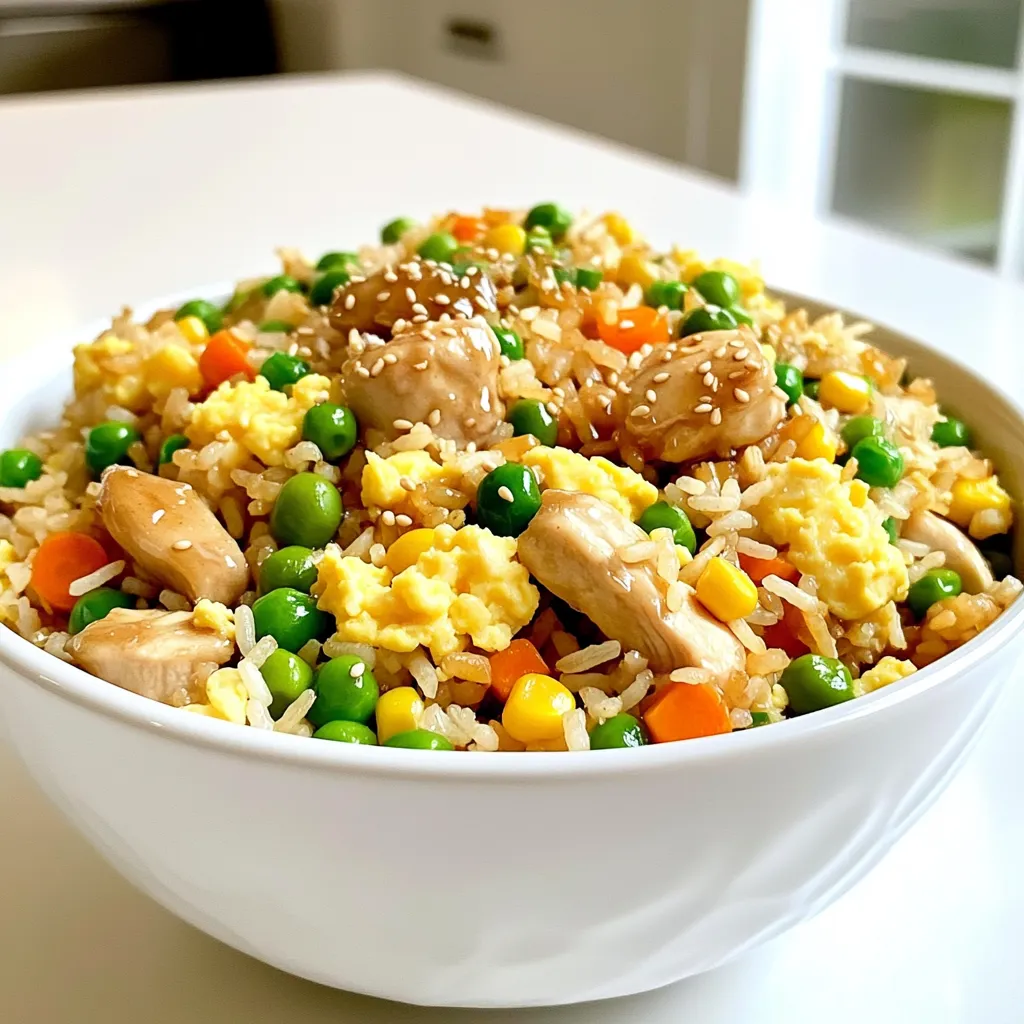
Are you ready to whip up a simple yet satisfying meal? Honey Garlic Chicken Fried Rice is the perfect dish
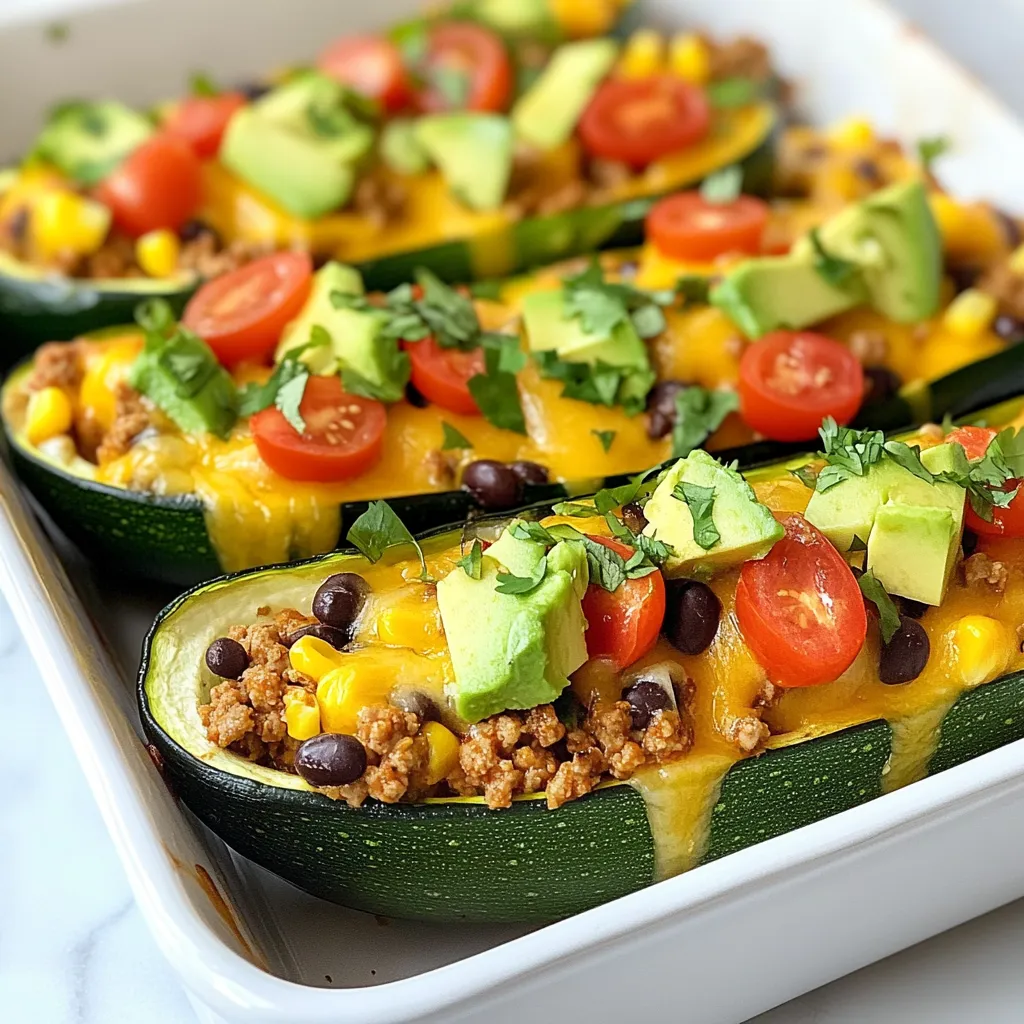
If you crave a meal that’s both tasty and easy, Taco Stuffed Zucchini Boats are for you! This fun dish
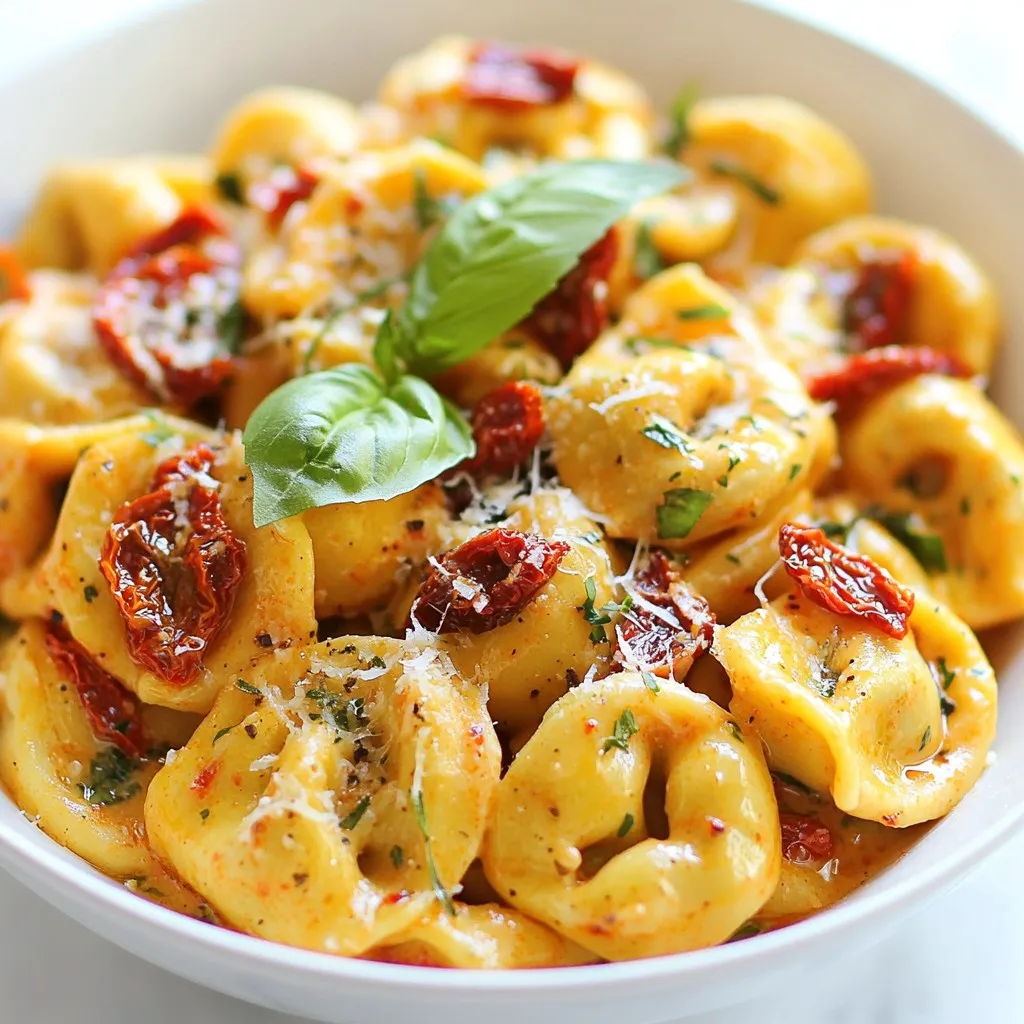
If you’re craving a rich and satisfying meal, try my Creamy Sun-Dried Tomato Tortellini Delight Recipe. This dish combines tender
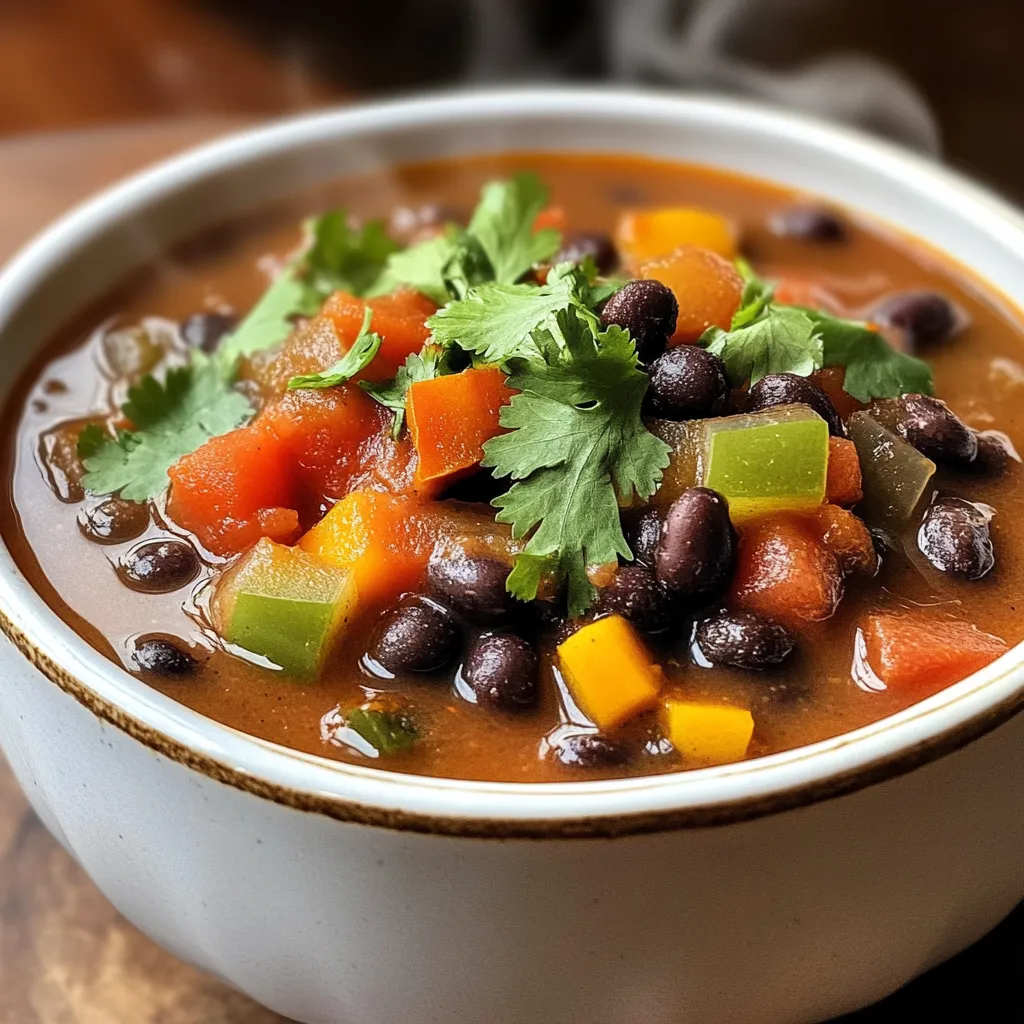
If you’re craving a warm, hearty dish that packs a punch of flavor, look no further than this Spicy Black
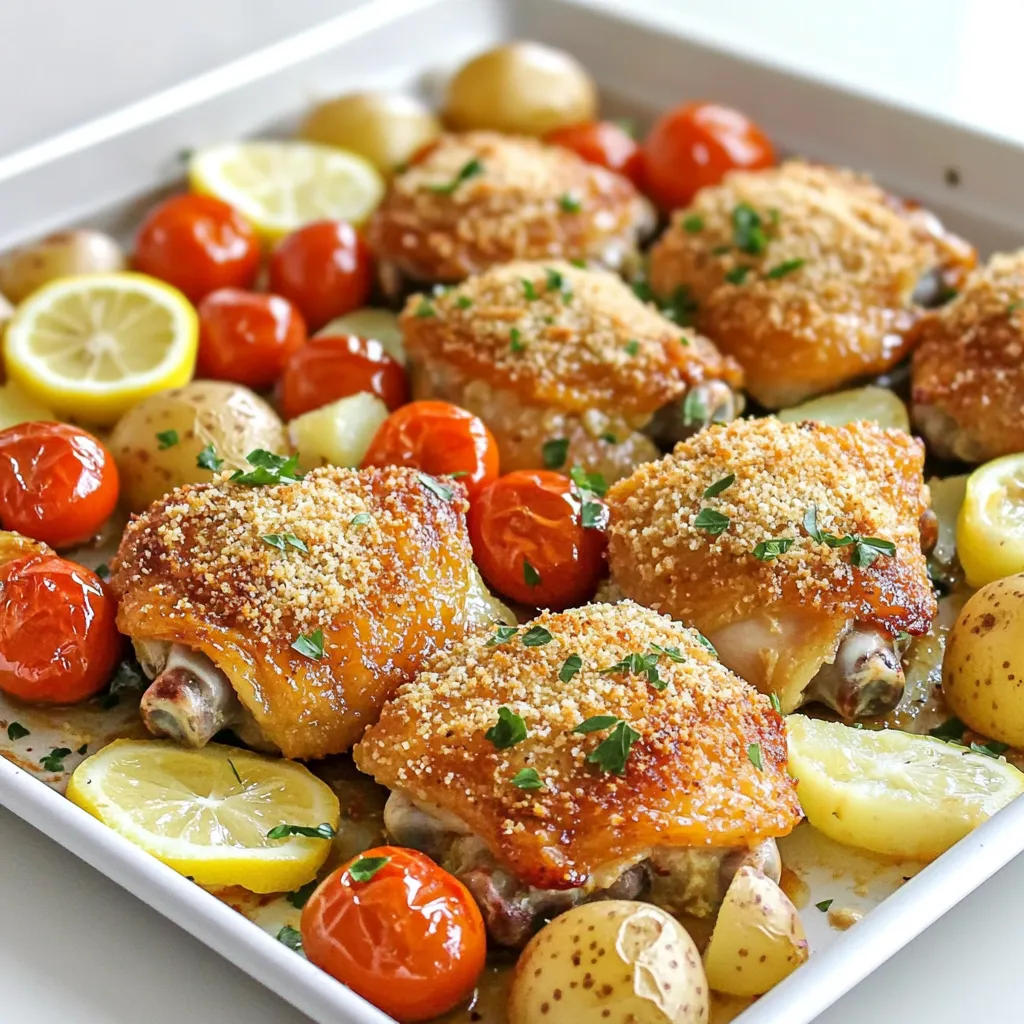
Looking for an easy dinner idea that tastes great? Try my Sheet Pan Parmesan Chicken Thighs! This one-pan wonder combines
