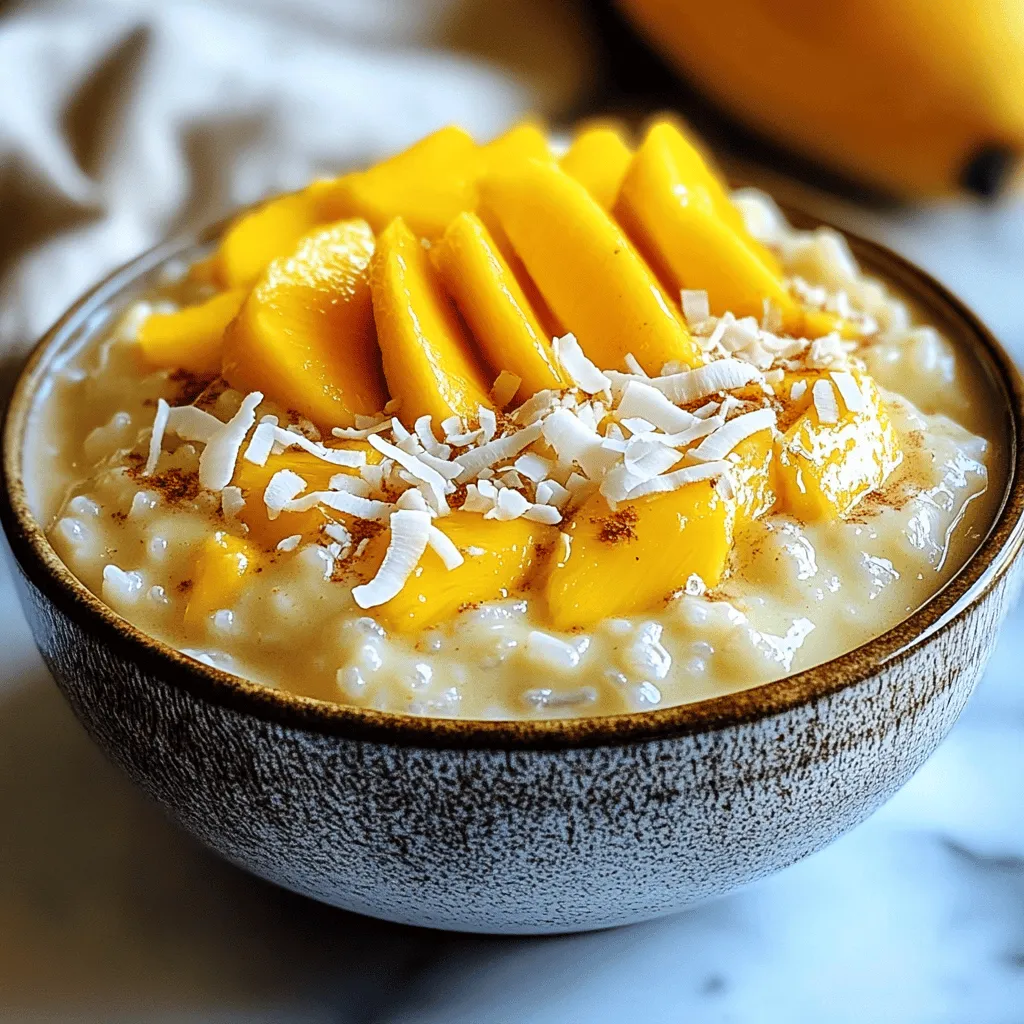
If you crave a rich, creamy dessert, Instant Pot Coconut Rice Pudding is for you. This easy recipe uses simple ingredients like jasmine rice and full-fat coconut milk. You’ll enjoy this comforting treat, perfect for any time of day. Plus, it cooks in just minutes! Let’s dive into the ingredients and steps to create this delicious pudding that will impress everyone at your table.
Ingredients
List of Ingredients
– 1 cup jasmine rice, rinsed
– 2 cups coconut milk (full-fat)
– 1 cup water
– 1/2 cup granulated sugar
– 1/4 teaspoon salt
– 1/2 teaspoon vanilla extract
– 1/4 teaspoon ground cinnamon
– Optional garnishes: fresh mango slices or toasted coconut flakes
Ingredient Substitutions
You can swap jasmine rice for arborio or basmati rice. These types work well too. If you want a dairy-free option, use coconut cream instead of coconut milk. This change keeps the creamy texture.
Importance of Quality Ingredients
Using full-fat coconut milk brings rich flavor. It makes the pudding smooth and creamy. Fresh spices make a big difference too. Always check the dates on your spices. Freshness boosts the taste and aroma of your dish.
Step-by-Step Instructions
Preparing the Ingredients
Start by rinsing 1 cup of jasmine rice under cold water. This removes excess starch and helps the rice stay fluffy. Next, measure out your liquids. You will need 2 cups of full-fat coconut milk and 1 cup of water. The coconut milk adds creaminess, while the water helps with cooking.
Cooking Process in the Instant Pot
Now, place the rinsed rice, coconut milk, water, 1/2 cup of granulated sugar, and 1/4 teaspoon of salt into the Instant Pot. Stir everything well to coat the rice. Close the lid and set the steam release knob to sealing. Select the “Manual” setting and set the timer for 10 minutes on high pressure.
Post-Cooking Steps
Once the cooking time is complete, allow for a natural pressure release for 10 minutes. This means you do not touch the steam release knob right away. After 10 minutes, carefully turn the knob to venting. This releases any remaining pressure. Open the lid and stir the rice pudding. It might look runny at first, but it will thicken as it cools. Add in 1/2 teaspoon of vanilla extract and 1/4 teaspoon of ground cinnamon. Mix well to combine everything. Let the pudding sit for 5-10 minutes to get that creamy texture you desire. Serve warm or chilled, and feel free to garnish with fresh mango slices or toasted coconut flakes if you want to make it extra special.
Tips & Tricks
Achieving the Perfect Texture
To get the best texture for your coconut rice pudding, timing is key. I suggest cooking it for exactly 10 minutes on high pressure. If you want a thicker pudding, try cooking it for an extra minute. If your pudding turns out runny, don’t worry. Let it sit for 5 to 10 minutes after cooking. It will thicken as it cools. If it’s still too loose, you can add a bit more rice next time or allow it to cook a little longer.
Enhancing Flavor
Adding spices can really boost the taste. Consider adding a pinch of nutmeg or cardamom for a warm flavor. For sweetness, adjust the sugar based on your taste. If you like it sweeter, add a bit more sugar. You can also use honey or maple syrup as a substitute for granulated sugar.
Serving Suggestions
Serve coconut rice pudding warm or chilled. It’s delicious either way! For a nice touch, try garnishing with fresh mango slices or toasted coconut flakes. A sprinkle of cinnamon on top adds both flavor and visual appeal. Use a clear bowl to show off the creamy texture.
Variations
Flavorful Additions
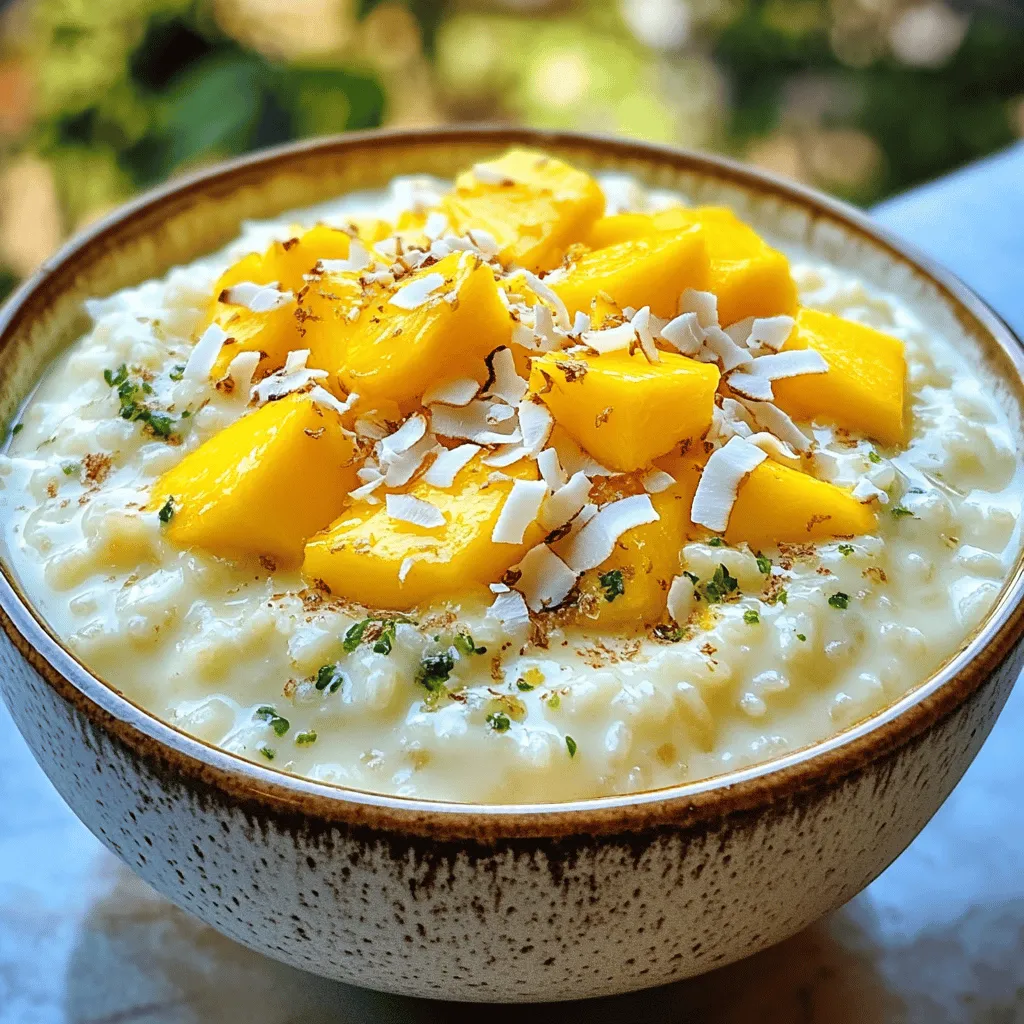
You can easily change the taste of your coconut rice pudding. For a tropical twist, try mango coconut rice pudding. Just add fresh mango slices before serving. The sweet and juicy fruit blends perfectly with the creamy pudding.
If you love chocolate, consider adding cocoa powder. Mix in 2 tablespoons of cocoa powder during cooking. You can also top the pudding with chocolate shavings. For a nutty flavor, add chopped nuts like almonds or walnuts. They add a nice crunch and extra taste.
Dietary Adjustments
If you want a vegan version, simply replace the sugar with a plant-based sweetener. Maple syrup or agave nectar work well. Use coconut cream instead of coconut milk if you like it richer. This keeps the dish fully vegan and delicious.
If you need low-sugar alternatives, try using a sugar substitute. Erythritol or stevia are great choices. These will keep your pudding sweet without the extra calories.
Different Cooking Methods
You can also make rice pudding on the stovetop. Start by rinsing the rice, then combine it with coconut milk and sugar in a pot. Cook it on low heat, stirring often. This may take about 30 minutes.
If you prefer using a slow cooker, combine all ingredients in the pot. Set it on low for 3-4 hours. Stir occasionally to get the best texture. This method gives a warm, comforting dessert that you can enjoy anytime.
Storage Info
Proper Storage Techniques
To keep your instant pot coconut rice pudding fresh, follow these tips:
– Refrigeration: Place the pudding in an airtight container. It can stay in the fridge for up to 4 days.
– Freezing: For long-term storage, freeze the pudding in a freezer-safe container. It can last for about 2 months. Just remember to leave some space for expansion as it freezes.
Reheating Tips
When you are ready to enjoy your pudding again, here are the best ways to reheat it:
– Microwave Method: Place the pudding in a bowl. Heat it for 30 seconds, then stir and check. Repeat until warm.
– Stovetop Method: Put the pudding in a saucepan. Add a splash of coconut milk or water. Heat it on low, stirring gently to keep the texture smooth.
Shelf Life
Knowing how long your pudding lasts is important:
– Fridge Life: It stays good for 4 days when stored properly in the fridge.
– Signs of Spoilage: If you see any mold or smell an off odor, throw it away. Always trust your senses to keep your food safe.
FAQs
How do I make Instant Pot Coconut Rice Pudding thicker?
To thicken your pudding, let it cool for a bit. The rice will absorb more liquid as it sits. If you want it thicker, you can also add more rice. Start with a few extra tablespoons of rinsed rice before cooking. Another option is to cook it a little longer. You can check the texture and decide if you want to add more coconut milk.
Can I make this recipe in advance?
Yes, you can definitely make this recipe ahead of time. Just store it in an airtight container in the fridge. It will last for about three to four days. When you are ready to serve it, heat it up on the stove or in the microwave. Add a splash of coconut milk to bring back the creamy texture.
What can I serve with coconut rice pudding?
You can serve this pudding with fresh fruit like mango or berries. Toasted coconut flakes also add a nice crunch. For a special touch, drizzle some honey or maple syrup on top. A dollop of whipped cream can also make it feel fancy.
Is Coconut Rice Pudding gluten-free?
Yes, coconut rice pudding is gluten-free. All the ingredients are naturally gluten-free. This makes it a great dessert for anyone with gluten allergies. Enjoy it without worry!
This blog post guides you through making delicious coconut rice pudding. We covered key ingredients, like jasmine rice and coconut milk, plus great substitutions. I explained the cooking process and shared tips for texture and flavor. Also, I included variations and storage tips to enhance your experience.
Now, you can enjoy this creamy dessert anytime. Experiment with flavors and make it your own! Happy cooking!