Are you looking for a tasty snack that’s also safe for those with nut allergies? You’re in the right place! This easy recipe for nut-free granola bars uses simple ingredients like oats, seeds, and dried fruits. Whether you’re prepping for a busy week, a school lunch, or a healthy treat, these bars are perfect. Let’s dive into the delicious details and get started on your new favorite snack!
Ingredients
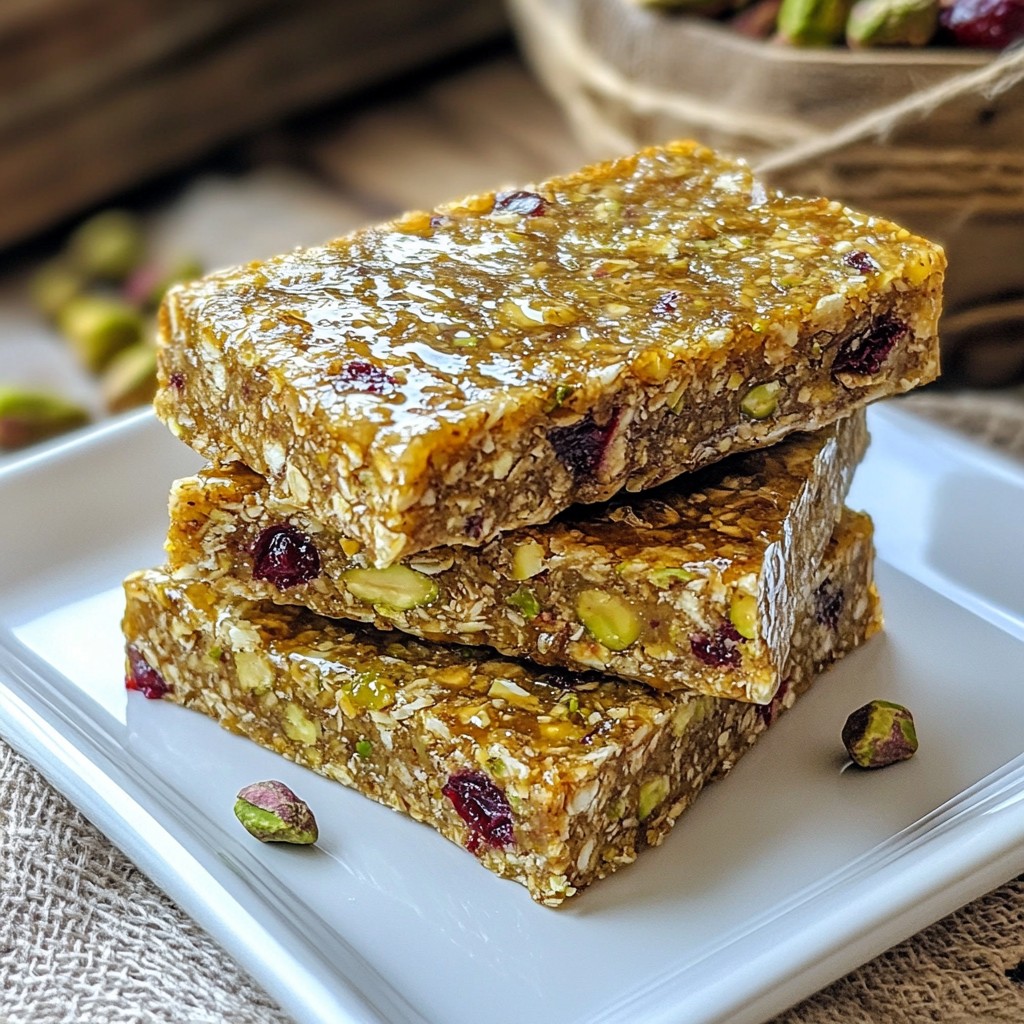
When making nut-free granola bars, you’ll need a few simple ingredients. These ingredients create a tasty and satisfying snack.
List of Ingredients
– 2 cups rolled oats
– 1 cup sunflower seeds
– 1/2 cup pumpkin seeds
– 1/2 cup dried cranberries (or other dried fruits)
– 1/2 cup honey or maple syrup
– 1/4 cup coconut oil, melted
– 1/2 teaspoon vanilla extract
– 1 teaspoon cinnamon
– 1/4 teaspoon salt
Each ingredient plays a key role in the final taste and texture. Rolled oats form the base of the bars, providing fiber and a chewy texture. Sunflower seeds add crunch and healthy fats. Pumpkin seeds offer a nice bite and extra nutrients. Dried fruits bring sweetness and chewiness.
You can switch out dried cranberries for raisins, apricots, or any dried fruit you enjoy. Honey or maple syrup serves as the sweetener, binding everything together. Coconut oil helps with moisture and adds a hint of flavor.
Don’t forget vanilla extract and cinnamon! They enhance the overall taste, making your granola bars even more delicious. You can also experiment with different flavoring options like nutmeg or ginger to find your perfect blend.
Step-by-Step Instructions
Preparation Steps
1. Preheat your oven: Start by setting your oven to 350°F (175°C). This heat helps to crisp the bars.
2. Combine dry ingredients: In a large bowl, mix together the rolled oats, sunflower seeds, pumpkin seeds, dried cranberries, cinnamon, and salt. Make sure everything is well mixed.
3. Mix wet ingredients: In another bowl, whisk together the honey (or maple syrup), melted coconut oil, and vanilla extract. Whisk until it looks smooth.
4. Combine and press the mixture: Pour the wet mix into the dry mix. Stir until all the dry ingredients get coated. Then, transfer the mixture to a lined baking dish. Press it down firmly. Use the back of a spatula or your hands to make a flat layer.
Baking Instructions
– Time and temperature details: Place the dish in the oven and bake for 20-25 minutes. Look for golden edges as a sign they are done.
– Cooling process: After baking, take the dish out of the oven. Let it cool for about 10 minutes. Then, lift the granola out using the parchment paper. Put it on a wire rack to cool completely.
Cutting and Storing
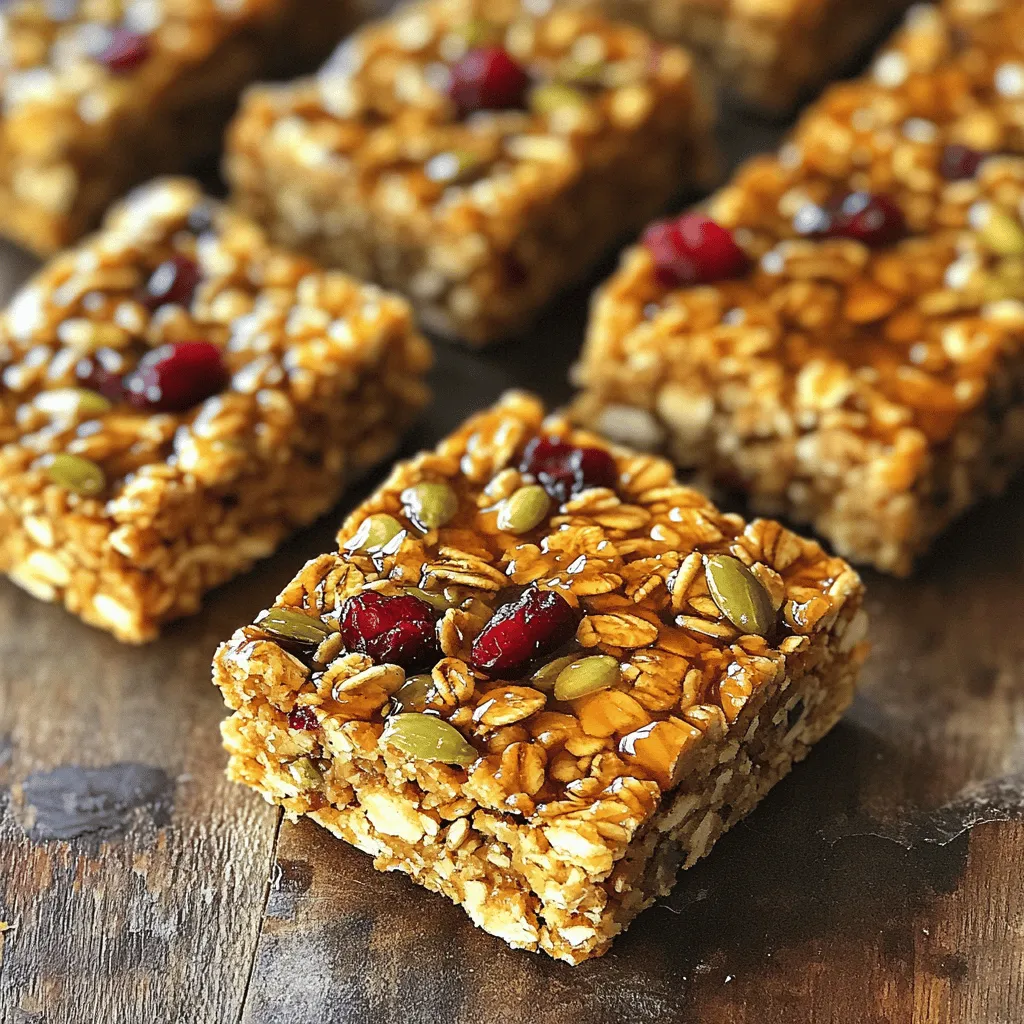
– Recommended bar sizes: Once cool, cut the granola into bars. I suggest cutting them into 12 equal pieces, but you can make them smaller or larger as you like.
– Storage tips: Store the bars in an airtight container. They stay fresh at room temperature for about a week. For longer storage, freeze them. Just wrap them tightly to keep them fresh.
Tips & Tricks
Perfecting Your Nut-Free Granola Bars
Avoiding common mistakes:
One big mistake is not pressing the mixture down enough. If you don’t press firmly, your bars can fall apart. Make sure to use the back of a spatula or your hands. Another mistake is not baking long enough. If they look pale, bake a bit longer.
Ensuring the best texture:
For a chewy bar, add more sweetener. Honey or maple syrup helps bind the ingredients. If you prefer a crunchy texture, bake them a little longer. Letting them cool completely helps them firm up too.
Customization Tips
Adding different dried fruits:
Try adding raisins, apricots, or dates. Each fruit adds a unique flavor. You can mix and match to find your favorite combo. Just keep the amount similar to cranberries.
Using various sweeteners:
For a twist, swap honey for agave syrup. You can also use brown sugar for a richer taste. Each sweetener brings its own flavor, so experiment to find what you love.
Enhancing Flavor
Adding spices:
Cinnamon is just the start. Try nutmeg or ginger for extra warmth. A pinch of cardamom can add a lovely twist too. Spices can change the whole vibe of your bars.
Options for texture variations:
Consider adding puffed rice or crispy cereal for crunch. You can also mix in coconut flakes for a tropical touch. Just remember to adjust your wet ingredients to keep the right balance.

Variations
Flavor Options
You can switch up the flavors of your nut-free granola bars easily. Here are two tasty ideas:
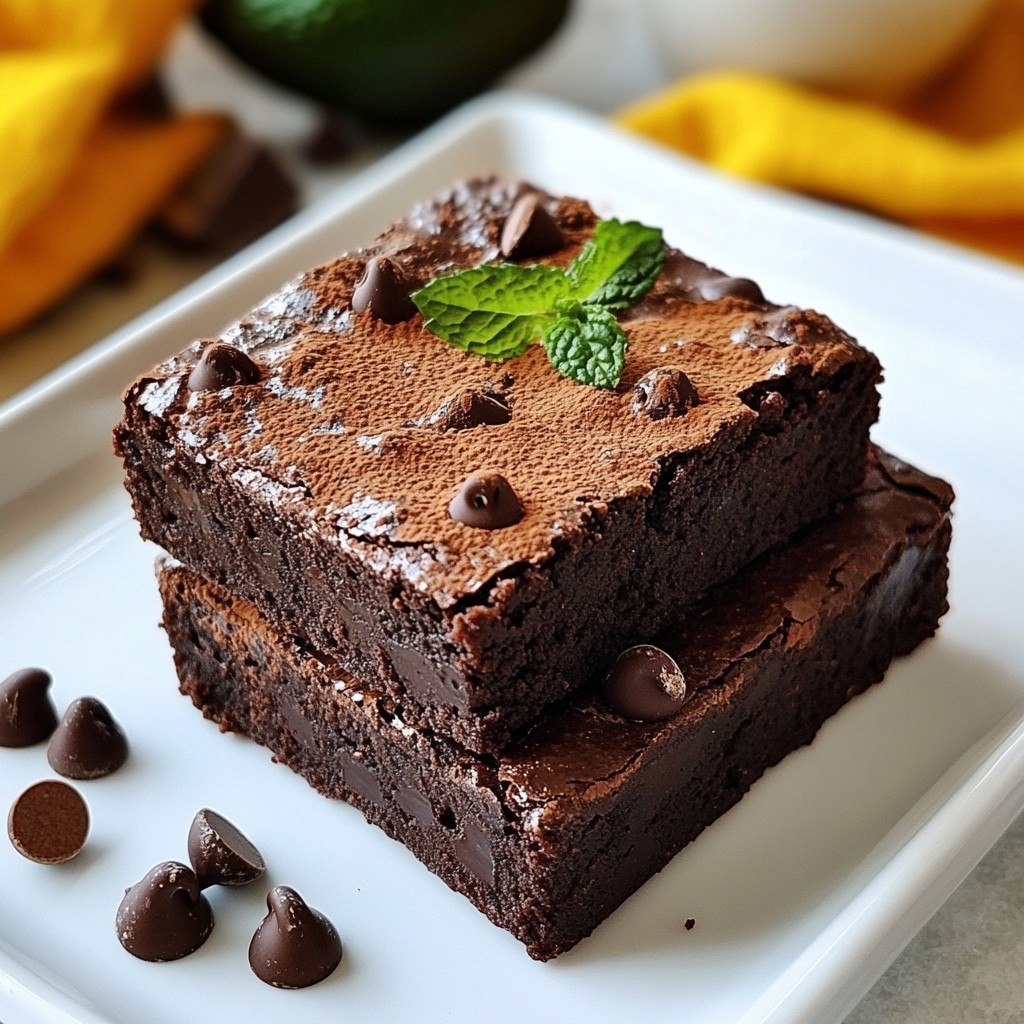
– Chocolate chip nut-free granola bars: Add 1/2 cup of chocolate chips to your mix. They give a sweet touch that kids love.
– Coconut and fruit granola bars: Mix in 1/2 cup of shredded coconut and use dried mango or pineapple instead of cranberries. This gives a tropical flavor.
Allergy-Friendly Substitutions
If you need to cater to allergies, here are some great swaps:
– Gluten-free options: Make sure to choose certified gluten-free oats. This keeps the bars safe for those with gluten allergies.
– Other common allergen substitutes: You can replace honey with agave syrup for a vegan option. Also, try using rice syrup if you need a different sweetener.
Storing and Serving Variations
These bars are versatile in how you can serve them:
– Ideas for serving with yogurt or as toppings: Crumble a bar over yogurt for a quick breakfast or snack. It adds a nice crunch!
– Freezing ideas for long-term storage: Wrap each bar in plastic wrap and place them in a freezer bag. They can last up to three months in the freezer. Just thaw them overnight before eating.
Storage Info
Best Practices for Storage
To keep your nut-free granola bars fresh, store them in an airtight container. This prevents air and moisture from making them stale. Glass or plastic containers with tight seals work great. You can also wrap each bar in parchment paper and place them in the container for extra protection.
At room temperature, these bars last about one week. If you want them to stay fresh longer, consider freezing them.
Freezing Instructions
To freeze your granola bars, first, let them cool completely. Then, cut them into bars as you like. Wrap each bar in plastic wrap or aluminum foil. Place the wrapped bars in a freezer-safe bag. Make sure to remove as much air as possible before sealing.
When you’re ready to enjoy them, simply take out a bar and let it thaw at room temperature. It should take about 30 minutes. For best quality, eat frozen bars within three months.
Signs of Spoilage
Check your granola bars for signs of spoilage before eating. If they smell off or have a strange taste, it’s best to toss them. Look for mold or any change in color. If they feel overly hard or stale, they may not taste good. Always trust your senses to keep your snacks safe and tasty.
FAQs
Common Questions About Nut-Free Granola Bars
Are nut-free granola bars healthy?
Yes, nut-free granola bars can be very healthy. They often use whole grains, seeds, and dried fruits. These ingredients provide fiber, vitamins, and minerals. You can control the sugar by choosing natural sweeteners like honey or maple syrup. This makes them a great snack for energy.
How to ensure no cross-contamination?
To avoid cross-contamination, read labels carefully. Look for products marked “nut-free.” If you make them at home, use clean tools and surfaces. Wash your hands before cooking. It helps to keep your kitchen free from nuts, especially if someone has a severe allergy.
Homemade vs. Store-bought
Which is better for allergies?
Homemade granola bars are usually better for allergies. You can choose safe ingredients and avoid allergens. Store-bought options might contain hidden nuts or traces. Always check labels for allergy warnings when buying.
Differences in taste and ingredients
Homemade bars taste fresher and can be customized. You can add your favorite fruits or spices. Store-bought bars often use preservatives and may lack flavor. Making your own gives you control over what goes into your snacks.
Where to Buy Nut-Free Granola Bars
Suggested brands and stores
You can find nut-free granola bars at many grocery stores. Brands like MadeGood and Enjoy Life specialize in allergy-friendly snacks. Health food stores often carry a range of nut-free options too.
Online purchasing options
You can buy nut-free granola bars online at sites like Amazon or Thrive Market. Always check customer reviews to ensure the product is safe and tasty. Look for special deals or bulk options to save money.
You learned how to make tasty nut-free granola bars using simple ingredients. We covered preparation, baking, and storage tips to keep them fresh. You can customize your bars with fruits and flavors that you love. Remember to store them right to avoid spoilage. Making these bars can be fun and easy, and they fit many diets. Enjoy your homemade snacks, knowing they fit your needs and taste great!