Looking for a fun and tasty snack? You’re in the right place! Peanut Butter Chocolate Protein Balls are simple to make and packed with flavor. In just a few steps, you’ll create a treat that fuels your day. Whether you need a quick energy boost or a delicious post-workout snack, these protein balls are a perfect choice. Let’s dive into the easy ingredients and steps to whip up this yummy snack!
Ingredients
Main Ingredients for Peanut Butter Chocolate Protein Balls
To make peanut butter chocolate protein balls, gather these key items:
– 1 cup natural peanut butter
– 1/2 cup honey or maple syrup
– 1 cup rolled oats
– 1/2 cup chocolate protein powder
– 1/2 cup mini dark chocolate chips
– A pinch of salt
These ingredients create a rich flavor and good texture. The peanut butter gives a creamy base. Honey or maple syrup adds sweetness. Rolled oats provide fiber and help bind everything together. The protein powder boosts nutrition, while chocolate chips add indulgence.
Optional Ingredients to Enhance Flavor and Nutrition
You can add ingredients to make your protein balls even better:
– 1/4 cup chia seeds (optional)
– 1/2 teaspoon vanilla extract
Chia seeds offer extra fiber and omega-3s. They also give a nice crunch. Vanilla extract adds a warm, sweet note to the mix. Feel free to experiment with other nuts or dried fruit to find your favorite flavor.
Equipment Needed
For this tasty snack, you will need:
– A large mixing bowl
– A spoon or spatula for stirring
– A baking sheet
– Parchment paper
– An airtight container for storage
Having the right equipment makes the process smoother. A mixing bowl allows for easy combining of ingredients. Parchment paper helps with cleanup and prevents sticking. This setup helps you create delicious snacks in no time.
Step-by-Step Instructions
Preparation of the Mixture
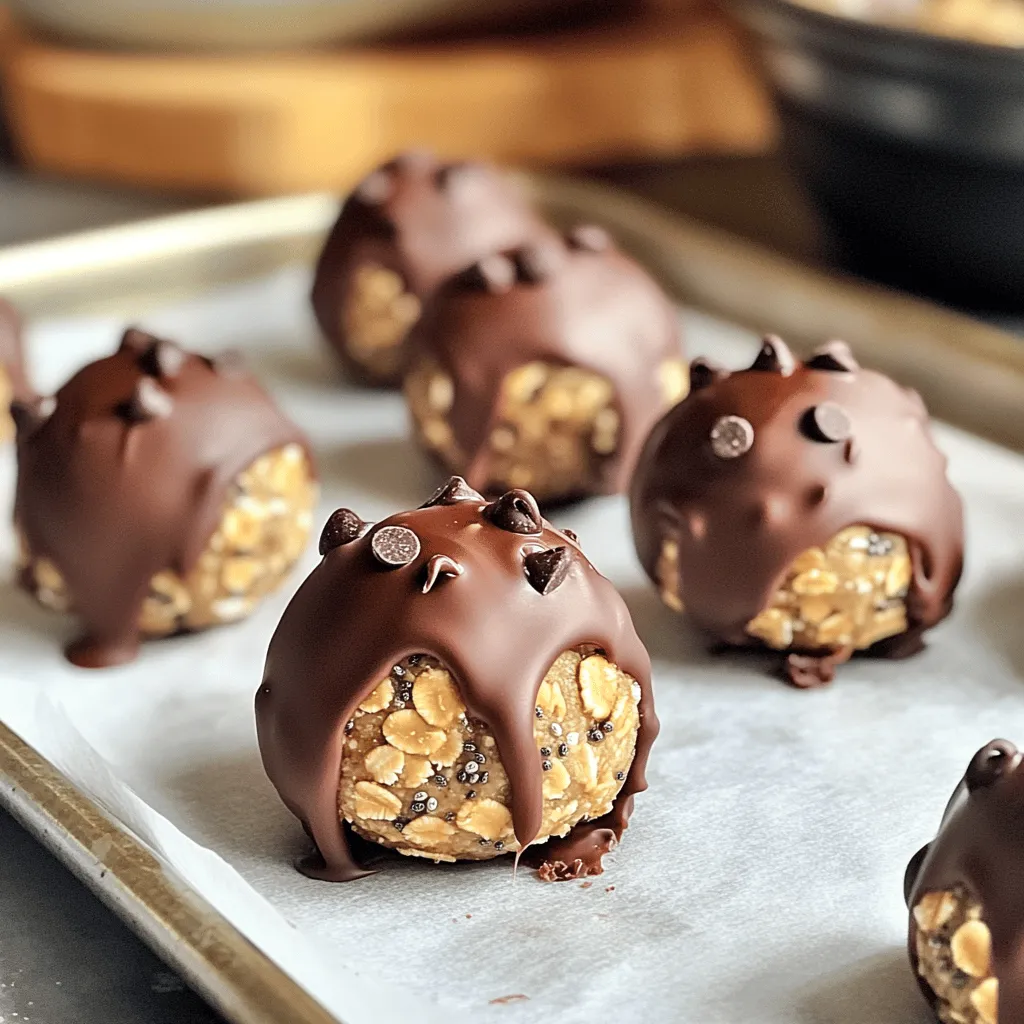
Start by gathering your ingredients. You will need peanut butter, honey, oats, protein powder, chocolate chips, chia seeds, vanilla extract, and salt. In a large bowl, mix the peanut butter and honey until smooth. This may take a minute. Next, add rolled oats, chocolate protein powder, mini chocolate chips, chia seeds, vanilla extract, and salt to the bowl. Stir the mix until everything combines into a thick dough. If it’s sticky, add a bit more oats or protein powder.
Forming the Protein Balls
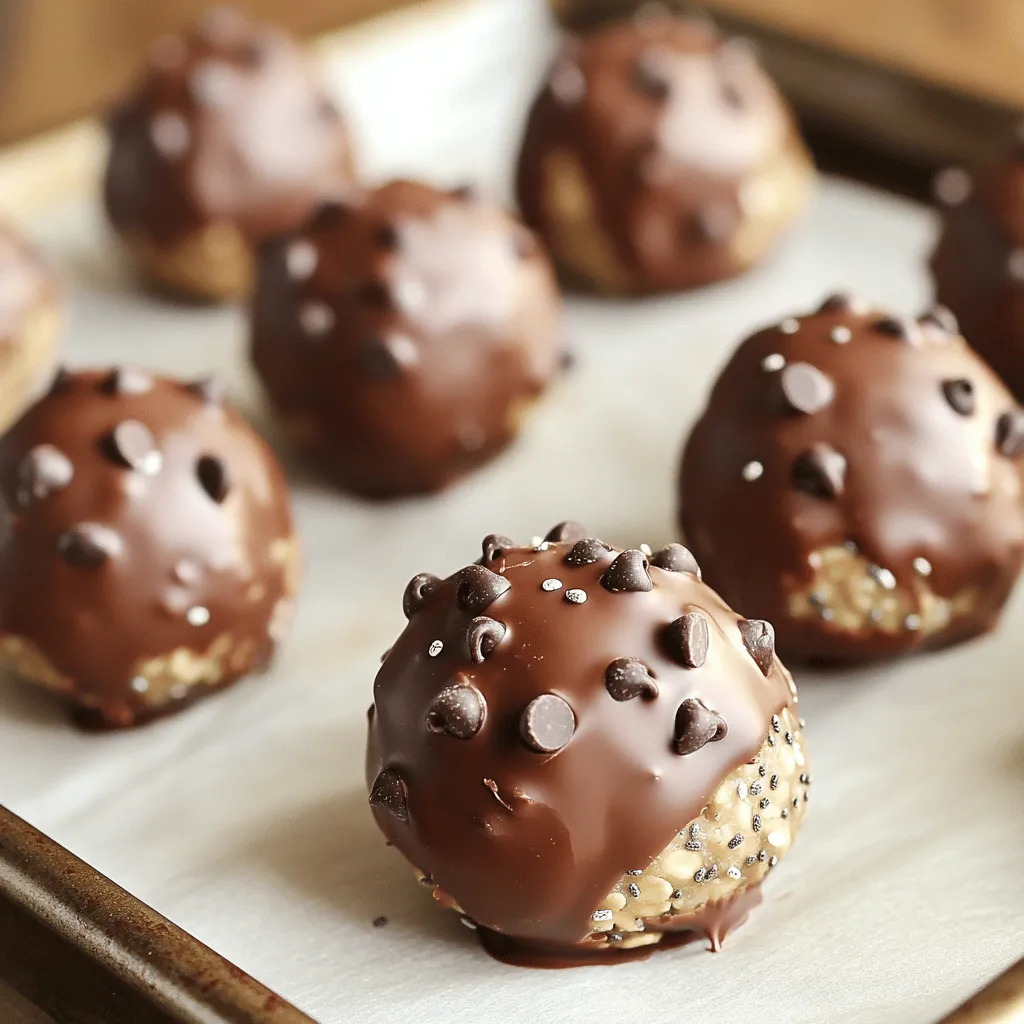
Now, it’s time to shape the mixture. Lightly wet your hands to stop sticking. Take a small amount of the dough and roll it into a ball about one inch wide. Place the formed balls on a baking sheet lined with parchment paper. Make sure they are spaced apart to avoid sticking together. This step is fun and easy. You can make as many as you like!
Chilling and Storing Instructions
Once you form all the balls, refrigerate them for at least 30 minutes. This helps them firm up nicely. After chilling, transfer the protein balls to an airtight container. You can keep them in the fridge for up to a week or freeze them for longer storage. Enjoy your tasty snack any time you need a boost!
Tips & Tricks
How to Achieve the Perfect Texture
To get the best texture for your peanut butter chocolate protein balls, start with creamy peanut butter. It blends well and gives a nice mouthfeel. Use the right amount of honey or maple syrup for sweetness and stickiness. If your mixture feels too sticky, add more rolled oats or protein powder. This helps make it easier to roll into balls. A smooth dough is key for nice, round shapes.
Common Mistakes to Avoid
One common mistake is not measuring ingredients accurately. This can lead to a dry or overly wet mix. Always measure carefully. Another mistake is skipping the chill time. Refrigerating the balls for at least 30 minutes helps them firm up. This makes them easier to handle and keeps their shape. Lastly, avoid rolling the balls too big. Aim for about one inch in diameter for the perfect bite-sized snack.
Best Practices for Rolling and Storing
When rolling the protein balls, lightly wet your hands. This prevents the mixture from sticking to your hands. Roll each ball with a gentle touch to keep them smooth. After forming the balls, place them on a baking sheet lined with parchment paper. For storage, use an airtight container. Keep them in the fridge for up to a week or freeze them for longer. This helps keep them fresh and ready to eat.
Variations
Vegan Options for Peanut Butter Chocolate Protein Balls
You can easily make these protein balls vegan. Just swap honey for maple syrup. Use a plant-based protein powder too. This way, you still get a tasty and healthy snack.
Flavor Variations
Adding nuts or seeds can change the taste. Try adding chopped almonds or walnuts for crunch. You can also toss in sunflower seeds or pumpkin seeds for extra nutrients. If you want a fun twist, add dried fruits like cranberries or apricots.
Different Protein Powder Choices
The type of protein powder can alter the flavor. I often use chocolate protein powder for a rich taste. You can also try vanilla or unflavored protein powder. Each choice gives a unique taste and nutrition profile. Be sure to check the ingredient list for any added sugars.
These options let you customize the protein balls to your liking.
Storage Info
How Long Do Protein Balls Last?
Protein balls can last up to a week in the fridge. They stay fresh if you store them in an airtight container. If you keep them at room temperature, they will only last for a day or two. Always check for any signs of spoilage before eating.
Best Ways to Store Protein Balls
To keep your protein balls fresh, refrigerate them right after you make them. Place them in a tightly sealed container. This will help keep them from drying out or absorbing other smells in your fridge. You can also choose to layer them between parchment paper to prevent sticking.
Freezing Instructions for Longer Shelf Life
If you want your protein balls to last even longer, freezing is the way to go. Place the balls on a tray and freeze them for about an hour. After they are firm, transfer them to a freezer-safe bag. They can last for up to three months in the freezer. Just thaw them in the fridge overnight before enjoying.
FAQs
Can I use almond butter instead of peanut butter?
Yes, you can use almond butter. It works well in this recipe. Almond butter has a different taste but still gives a nice flavor. Just swap it 1:1 with peanut butter. Your protein balls will still taste great!
How many calories are in Peanut Butter Chocolate Protein Balls?
Each Peanut Butter Chocolate Protein Ball has about 100 calories. This can vary based on the size of each ball and the ingredients used. If you want a lower-calorie option, use less honey or chocolate chips. You can also adjust the size of the balls to fit your needs.
What can I substitute for honey or maple syrup?
You can use agave nectar or brown rice syrup. Both of these options are sweet and sticky. If you prefer a sugar-free option, try using stevia or erythritol. Just remember that these sweeteners may change the texture a bit. Always taste and adjust as needed.
In this blog post, we covered how to make Peanut Butter Chocolate Protein Balls. We explored the main and optional ingredients, equipment needed, and detailed step-by-step instructions. You learned tips for the best texture and common mistakes to avoid. We also shared fun variations and how to store these snacks properly.
These protein balls are easy to make and packed with flavor. Enjoy making them for a quick and tasty treat!