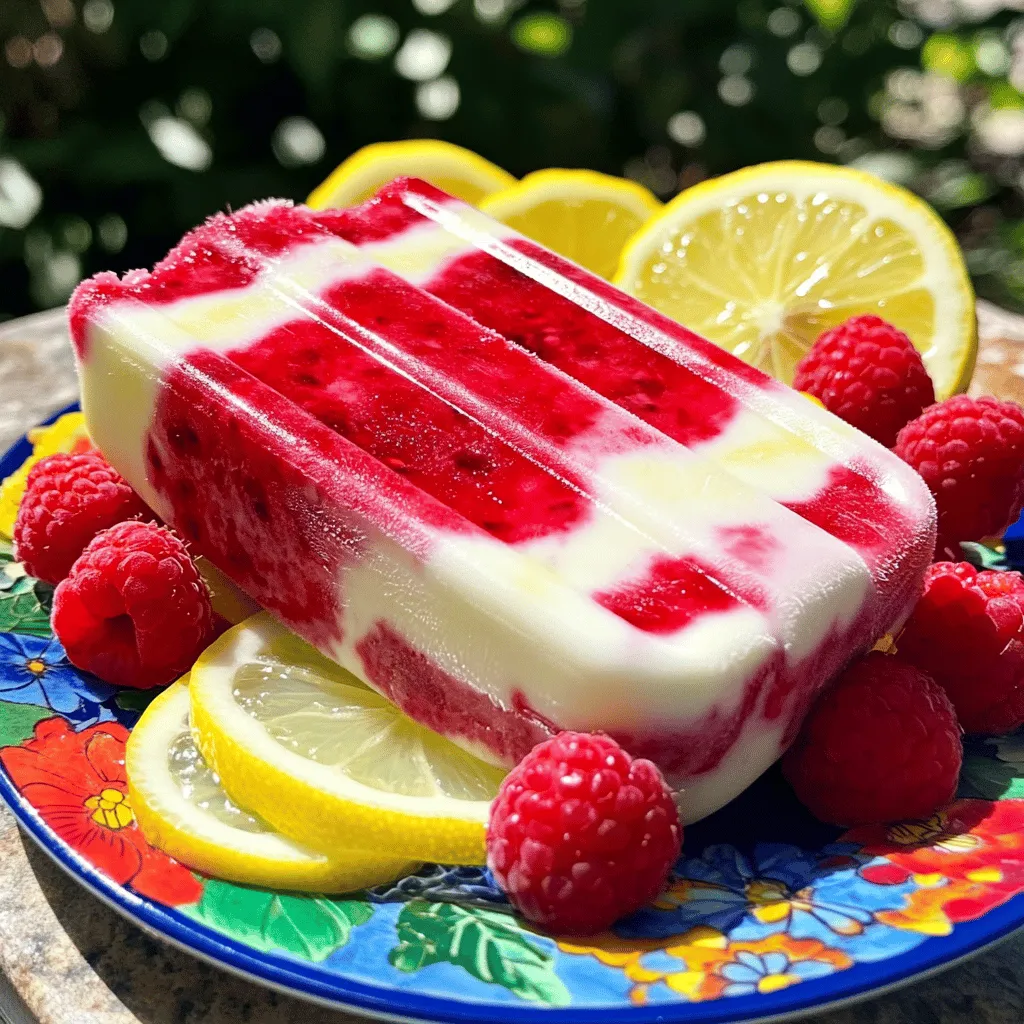
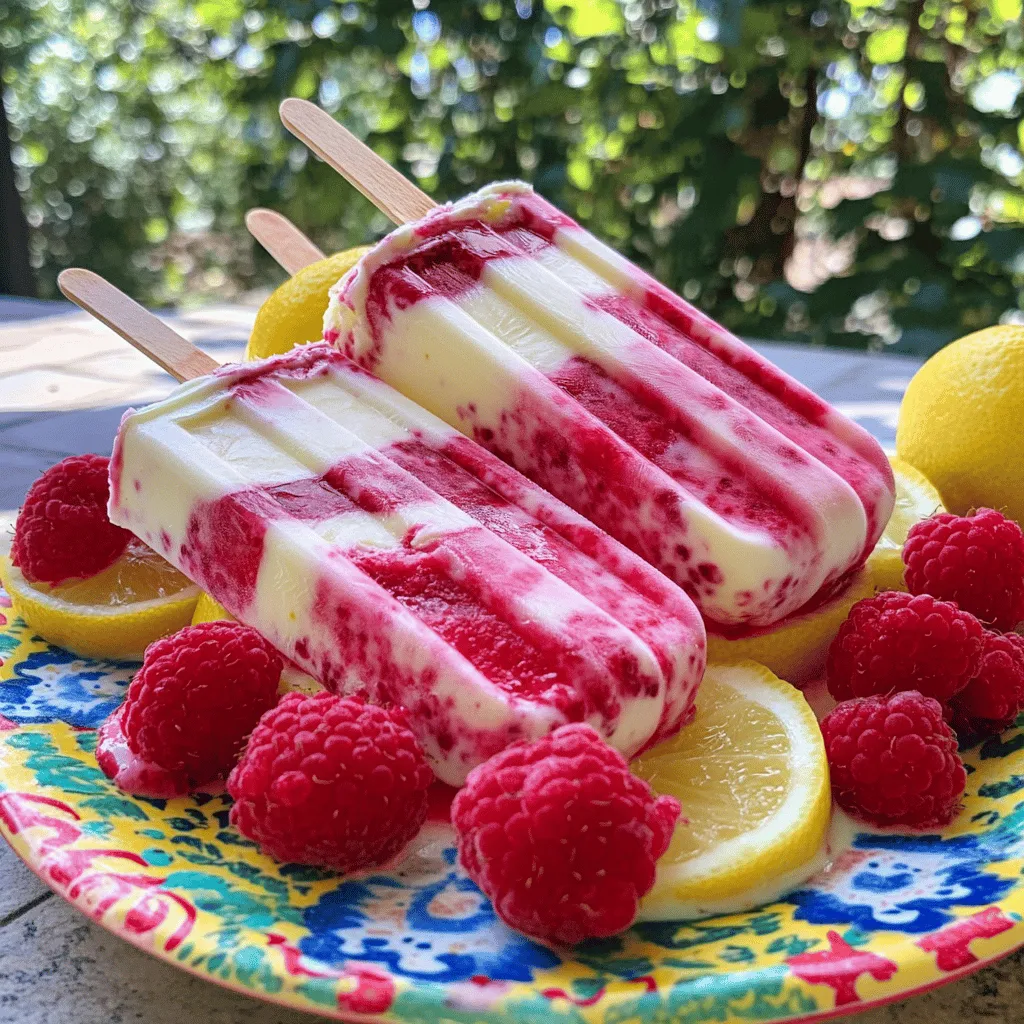
Looking for a refreshing summer treat? These Raspberry Lemon Yogurt Popsicles are the answer! Bursting with tart raspberries and zesty lemon, they are easy to make and perfect for hot days. Plus, I’ll show you how to customize the flavors to fit your taste. Whether you want to impress guests or just cool off, these popsicles are a tasty way to beat the heat. Let’s dive into the delicious details!
Ingredients
Main Ingredients for Raspberry Lemon Yogurt Popsicles
– 2 cups fresh raspberries
– 1/2 cup honey (adjust for sweetness)
– 1 cup plain Greek yogurt
– 1/4 cup fresh lemon juice
– Zest of 1 lemon
– 1/4 cup water
– A pinch of salt
The main ingredients for these popsicles create a bright and tangy flavor. Fresh raspberries bring a juicy sweetness. I love using plain Greek yogurt for its creamy texture and protein boost. Honey adds natural sweetness, making it a hit with kids. Fresh lemon juice and zest give a zesty kick that enhances the overall taste. The water helps blend everything smoothly, while a pinch of salt balances the flavors.
Optional Add-Ins
– 1 teaspoon vanilla extract
– Additional sweeteners (like agave or maple syrup)
– Inclusions (e.g., chopped fruit or nuts)
For extra flavor, consider adding a splash of vanilla extract. This simple addition makes a big difference. You can also adjust sweetness with other sweeteners like agave or maple syrup. If you want to get creative, add chopped fruit or nuts for fun textures. They add a surprise with every bite!
Step-by-Step Instructions
Preparing the Raspberry Puree
To start, gather your fresh raspberries, honey, and water. In a blender, add these ingredients. Blend them until you have a smooth mix. This step helps to crush the berries well. Next, strain the mixture through a fine mesh sieve into a bowl. This removes the seeds, giving your popsicles a smooth texture. Check the consistency; it should be thick but pourable. If it’s too thick, add a bit more water.
Creating the Lemon Yogurt Mixture
Now, let’s make the lemon yogurt mix. In a separate bowl, add plain Greek yogurt, fresh lemon juice, lemon zest, and a pinch of salt. Mix these ingredients until they blend well. You want a smooth texture with no lumps. If you like it sweeter, this is the time to adjust. Add more honey if needed, tasting as you go to find the right flavor.
Layering the Popsicles
Layering gives your popsicles a beautiful look. Start by adding a spoonful of raspberry puree to the bottom of each popsicle mold. Use a small spoon to help with this. Next, add a layer of the lemon yogurt mixture, smoothing it out gently. Repeat the layers, finishing with a layer of raspberry puree on top. This method creates nice color and flavor contrast. When the molds are full, insert sticks and place them in the freezer. Freeze for at least four hours. To remove, run warm water over the mold for a few seconds and gently pull them out. Enjoy your homemade popsicles!
Tips & Tricks
Achieving the Perfect Texture
To make your popsicles creamy, use full-fat Greek yogurt. It gives a smooth and rich texture. Mix the yogurt well with lemon juice and zest. A smooth blend helps keep everything together.
To avoid ice crystals, freeze the popsicles slowly. This makes a difference in texture. You can also stir the mixture after 2 hours of freezing. This helps create a creamy bite.
Customization Suggestions
Feel free to experiment with different berries. Strawberries or blueberries can add unique flavors. Each berry will change the taste and color of your popsicles. You can even mix several berries for a fruity twist.
Adjust the sweetness to your liking. If you want it sweeter, add more honey. You can also use agave or maple syrup as alternatives. Taste the mixture before you freeze to ensure it matches your preference.
Variations
Dairy-Free Options
You can still enjoy these popsicles without dairy. Use coconut yogurt instead of Greek yogurt. It gives a nice creamy texture and adds a hint of coconut flavor. Almond yogurt is another great choice. It’s light and pairs well with lemon.
For sweeteners, maple syrup works well if you want a vegan option. Agave nectar is another choice. Both will keep your popsicles sweet and tasty without using honey.
Different Flavor Combinations
Want to mix it up? Try adding more fruits to your popsicles. Strawberries, blueberries, or peaches can work great with raspberries. Just blend them together for a new flavor twist.
You can also play with citrus options. Add lime juice or zest for a zesty kick. Or mix in orange juice for a sweeter, sunny flavor. These changes can make your popsicles even more exciting.
Storage Info
Freezing and Storing Popsicles
To keep your raspberry lemon yogurt popsicles fresh and tasty, follow these steps. First, make sure they are fully frozen. This takes about four hours. Once solid, remove them from the molds carefully. Place the popsicles in a freezer-safe bag or container. Seal it tightly to prevent air from getting in. You can also wrap them in plastic wrap for extra protection. This keeps them from getting freezer burn.
For the best taste, store them in the back of your freezer. This part stays the coldest. Avoid placing them near the door, where the temperature changes often. If you have leftover popsicle mix, pour it into a container and freeze it too. You can use this for smoothies later.
Shelf Life
Your raspberry lemon yogurt popsicles can last up to two months in the freezer. This means you can enjoy them throughout the summer. To check for spoilage, look for ice crystals or a strange smell. If you see these signs, it’s best to toss them. The popsicles should look bright and have a nice taste. If they taste off, don’t eat them. Always trust your senses when it comes to food safety.
FAQs
How to make Raspberry Lemon Yogurt Popsicles creamier?
To make these popsicles creamier, use full-fat Greek yogurt. This yogurt has more fat and gives a richer taste. You can also blend in a little coconut cream. This will add smoothness and a nice flavor. Avoid over-blending the mixture. If you blend too much, it can become watery.
Can I use frozen raspberries?
Yes, you can use frozen raspberries. They work well, but the texture may change. Make sure to thaw them first. This helps in blending them smoothly. You may need to add a bit of water to help with blending. If the mixture is too thick, adjust as needed.
What if I don’t have popsicle molds?
No worries! You can use small cups or ice cube trays instead. Just pour the mixture into them and insert sticks. You can also use muffin tins lined with paper cups. This method makes it easy to pop the treats out.
For a fun twist, consider serving the mixture in bowls. Top with fresh raspberries or granola. It gives a nice crunch and looks great!
Making raspberry lemon yogurt popsicles is simple and fun. We covered key ingredients, step-by-step instructions, and helpful tips. You learned how to customize flavors and textures, ensuring tasty results every time. Don’t forget about storage tips for long-lasting popsicles.
These flavorful treats can refresh you on hot days. Enjoy experimenting with different fruits and add-ins. With this guide, you can create delicious popsicles that everyone will love. Happy making!