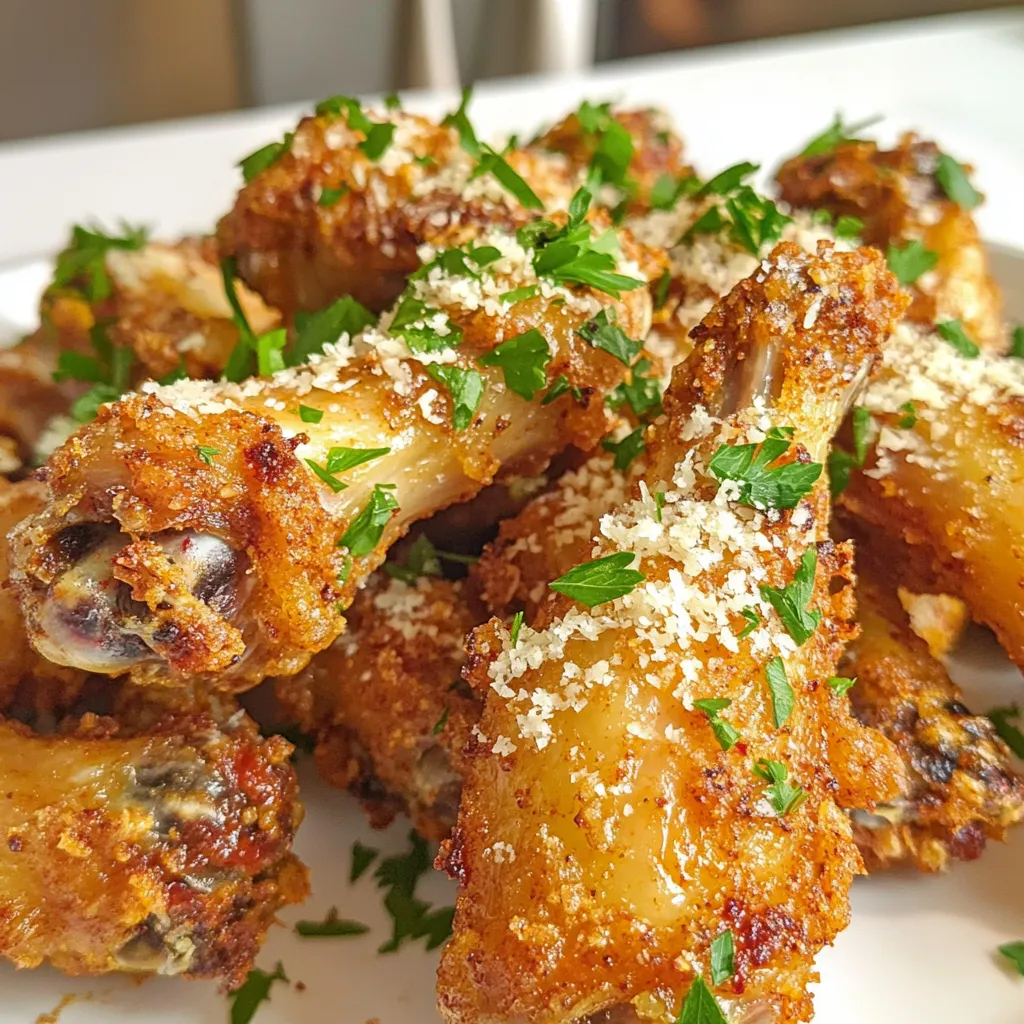
Garlic Parmesan Wings Air Fryer Crispy Delight
Are you ready for a tasty treat? If you love garlic and cheese, these Garlic Parmesan Wings from the air

Are you ready for a tasty treat? If you love garlic and cheese, these Garlic Parmesan Wings from the air
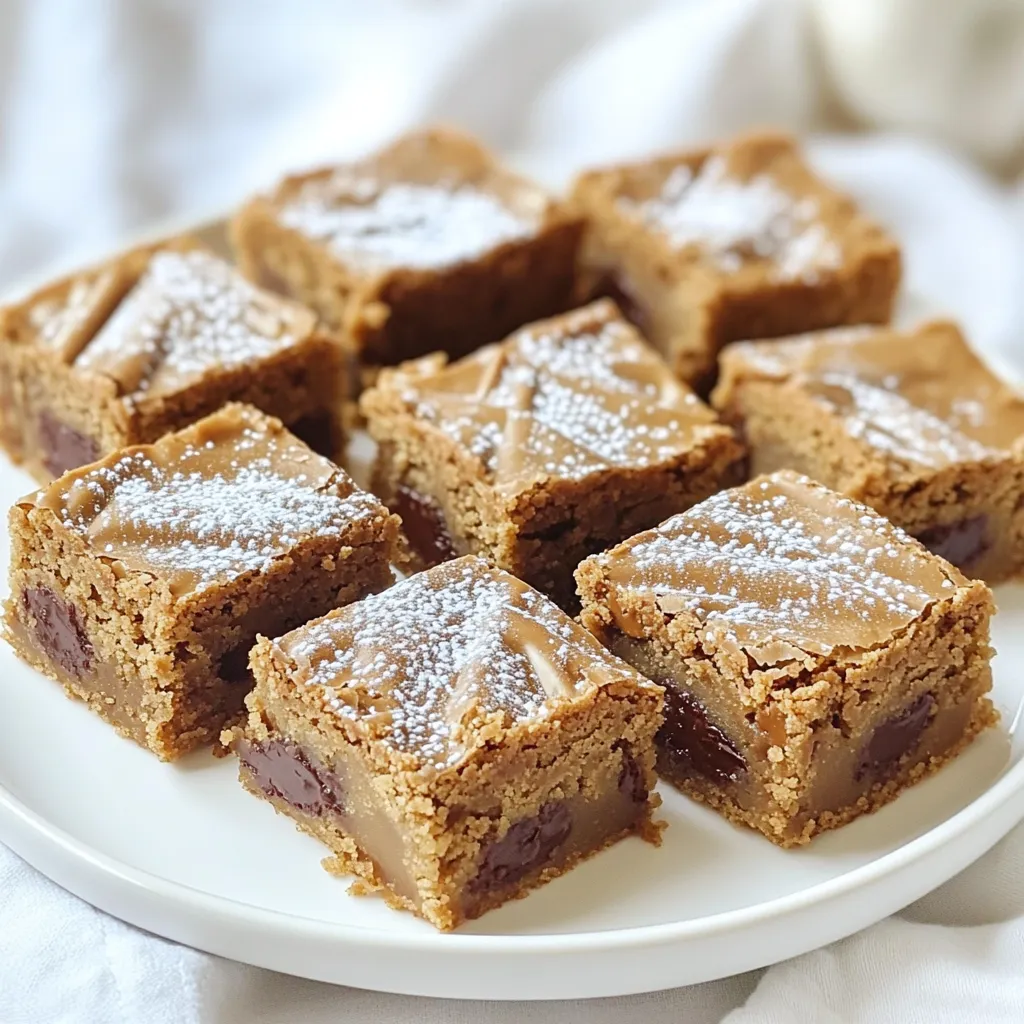
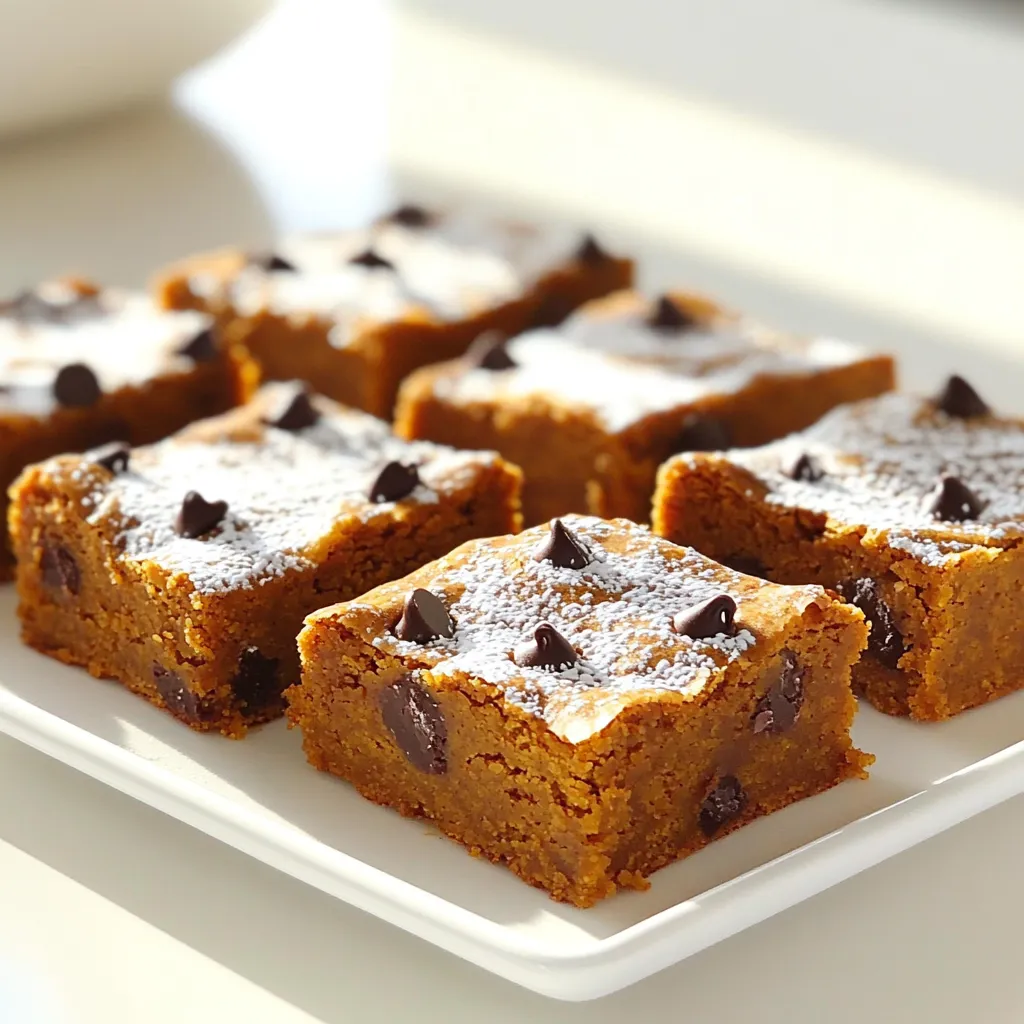
Get ready to delight your taste buds with my Brown Butter Chocolate Chunk Blondies! These treats blend rich, nutty brown
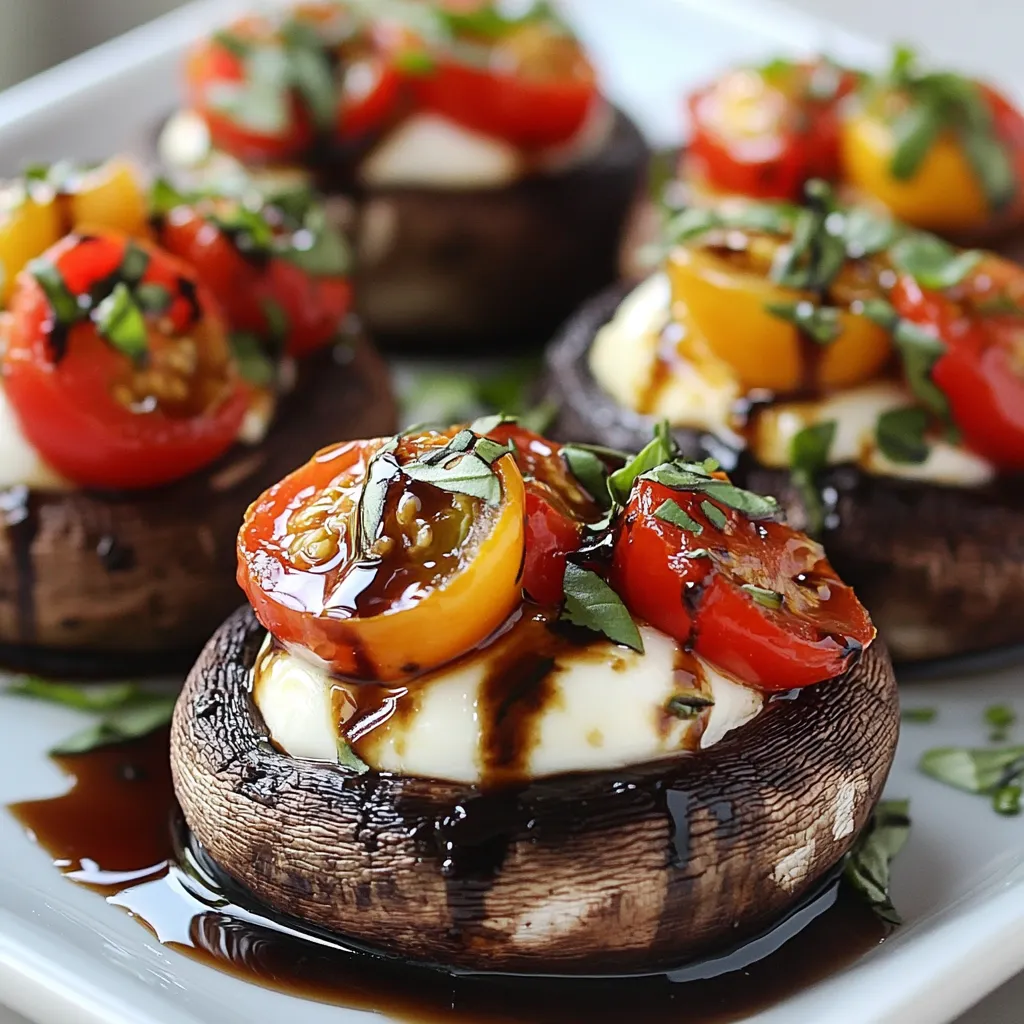
If you crave a dish that’s both simple and bursting with flavor, you’ve hit the jackpot! Caprese Stuffed Portobello Mushrooms
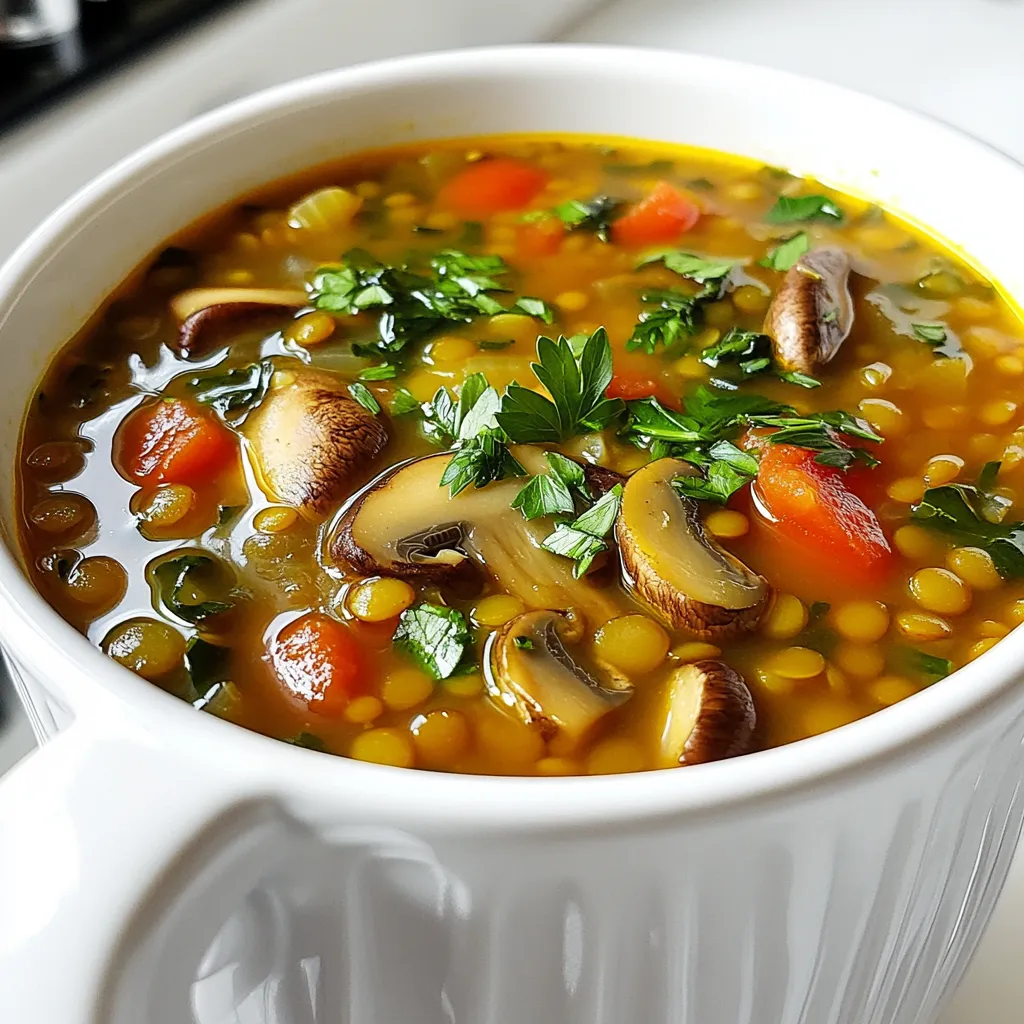
Are you ready for a meal that warms your soul? My Mouthwatering Mushroom Lentil Soup is the perfect comfort food.
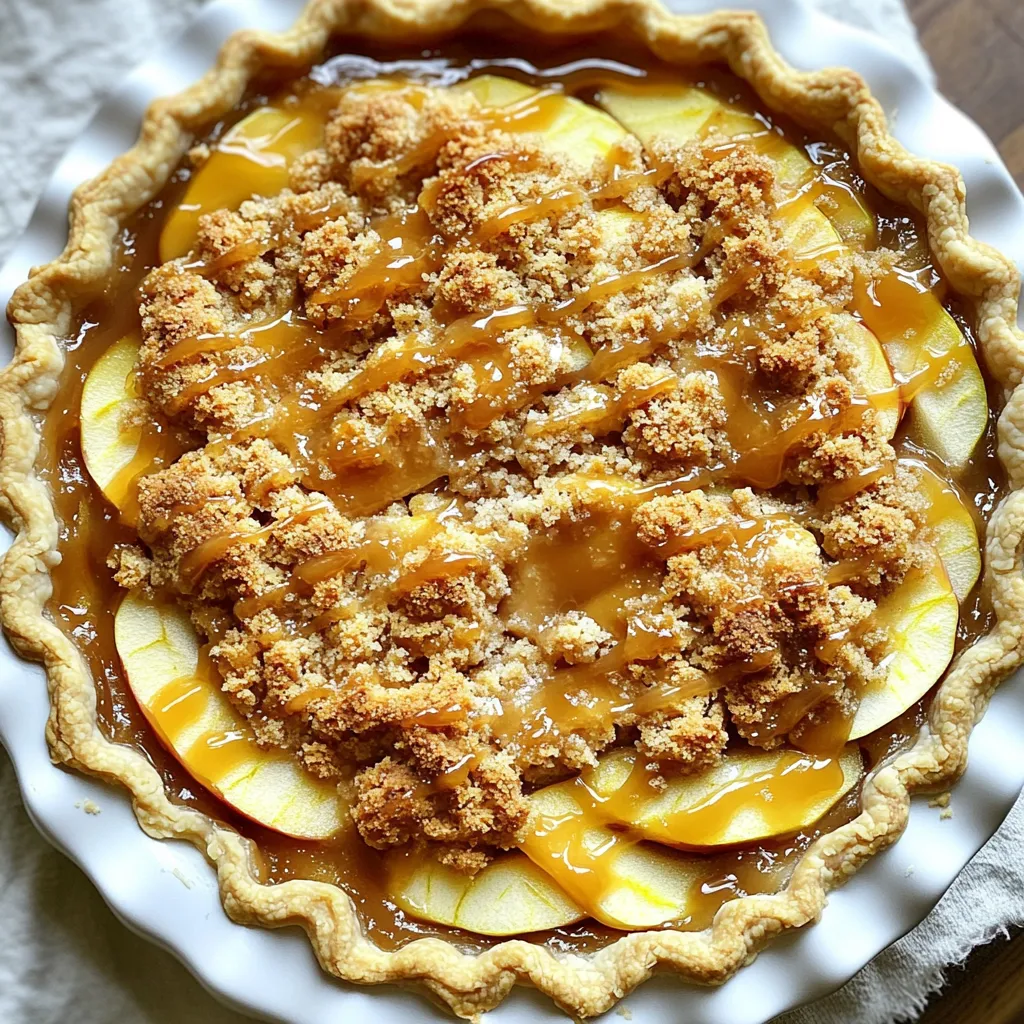
Fall is the perfect time for warm treats, and my Caramel Apple Crumble Pie is a must-try! This delicious dessert
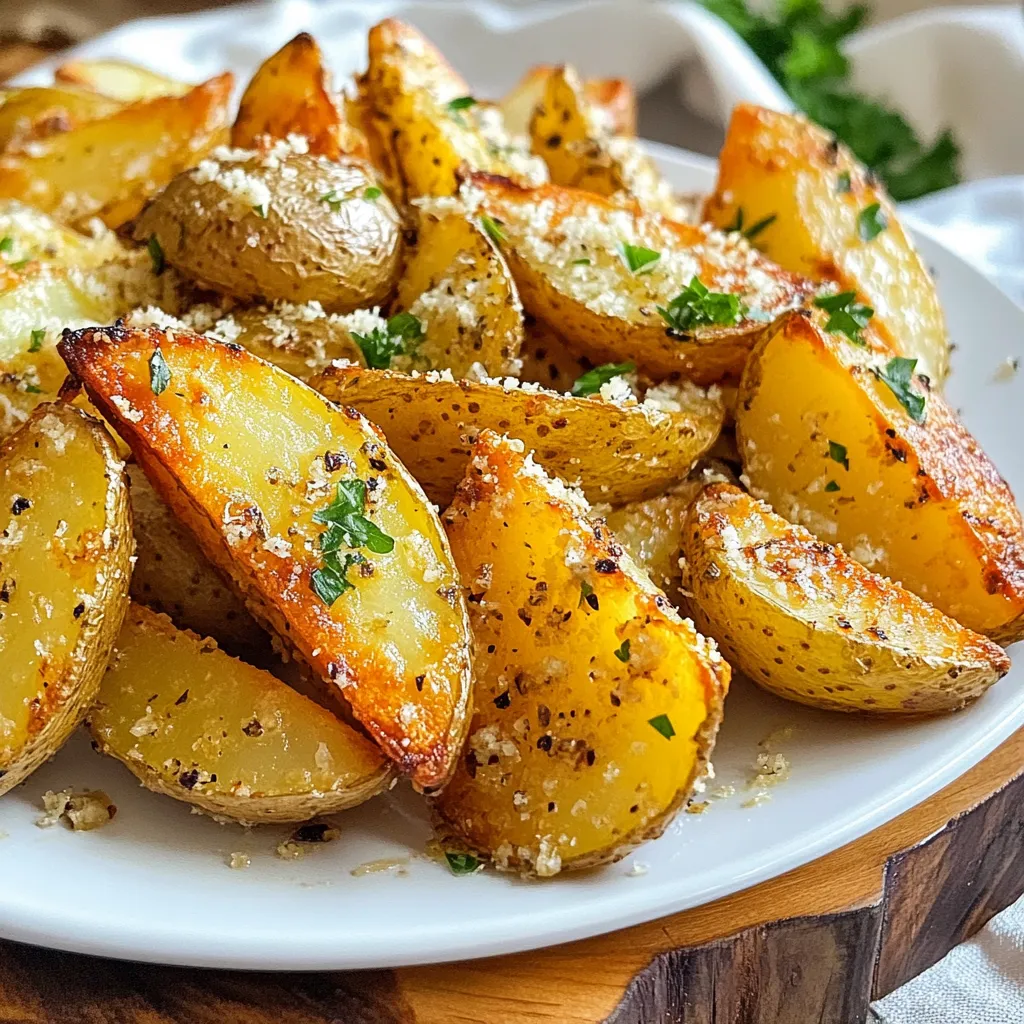
If you crave crispy, flavorful potato wedges, you’re in for a treat! In this guide, I’ll show you how to
Are you ready for a dessert that blends the cozy flavors of fall with sweet chocolate? These Pumpkin Chocolate Chip
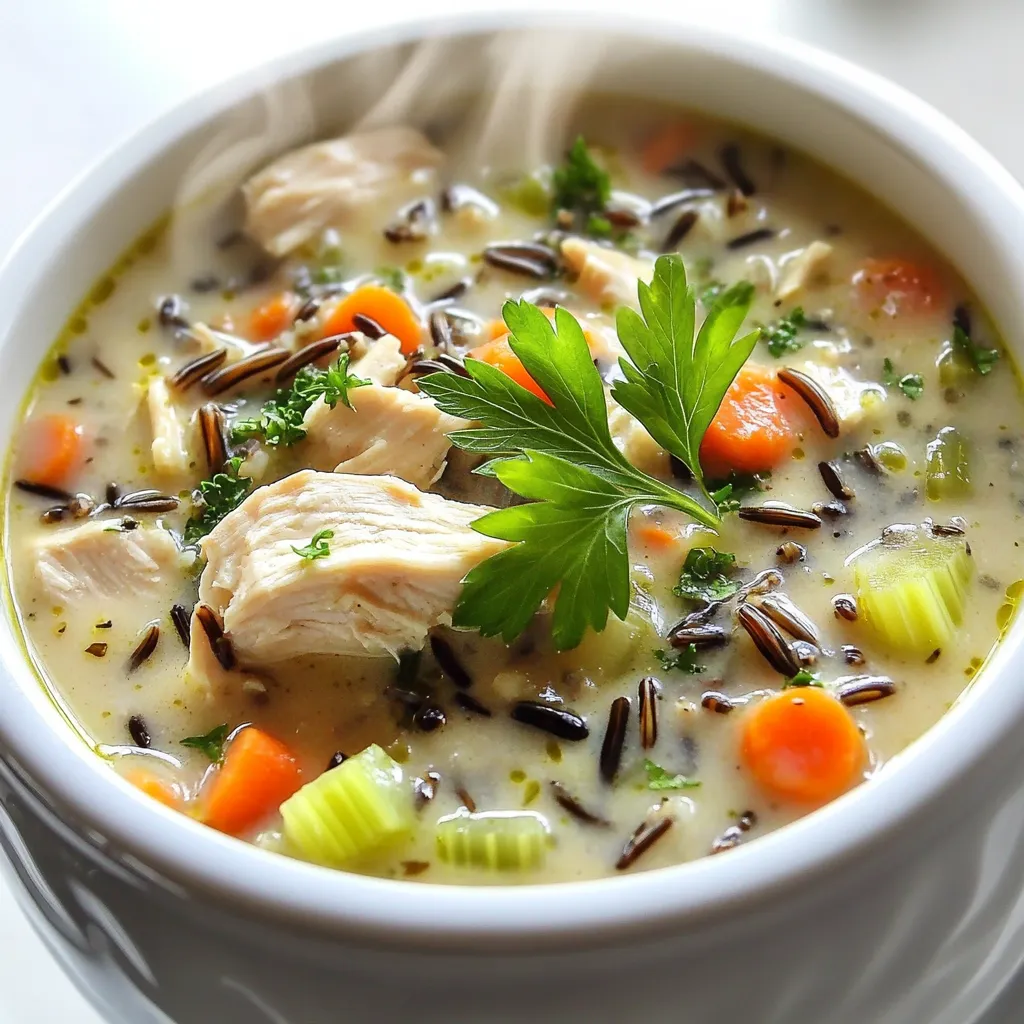
Warm up your kitchen and your heart with my Slow Cooker Chicken Wild Rice Soup! This hearty dish combines tender
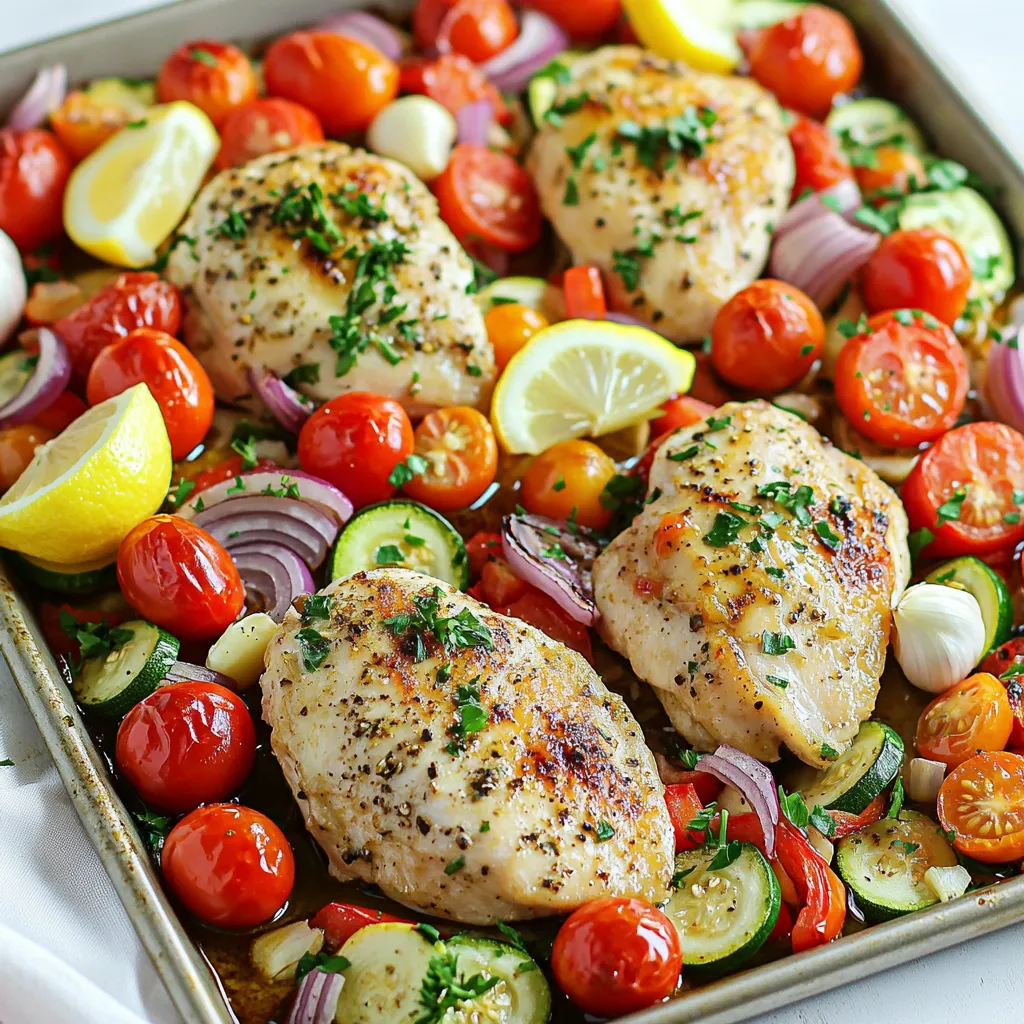
Are you ready to make dinner time easy and flavorful? This Sheet Pan Mediterranean Chicken Veggies recipe brings together juicy
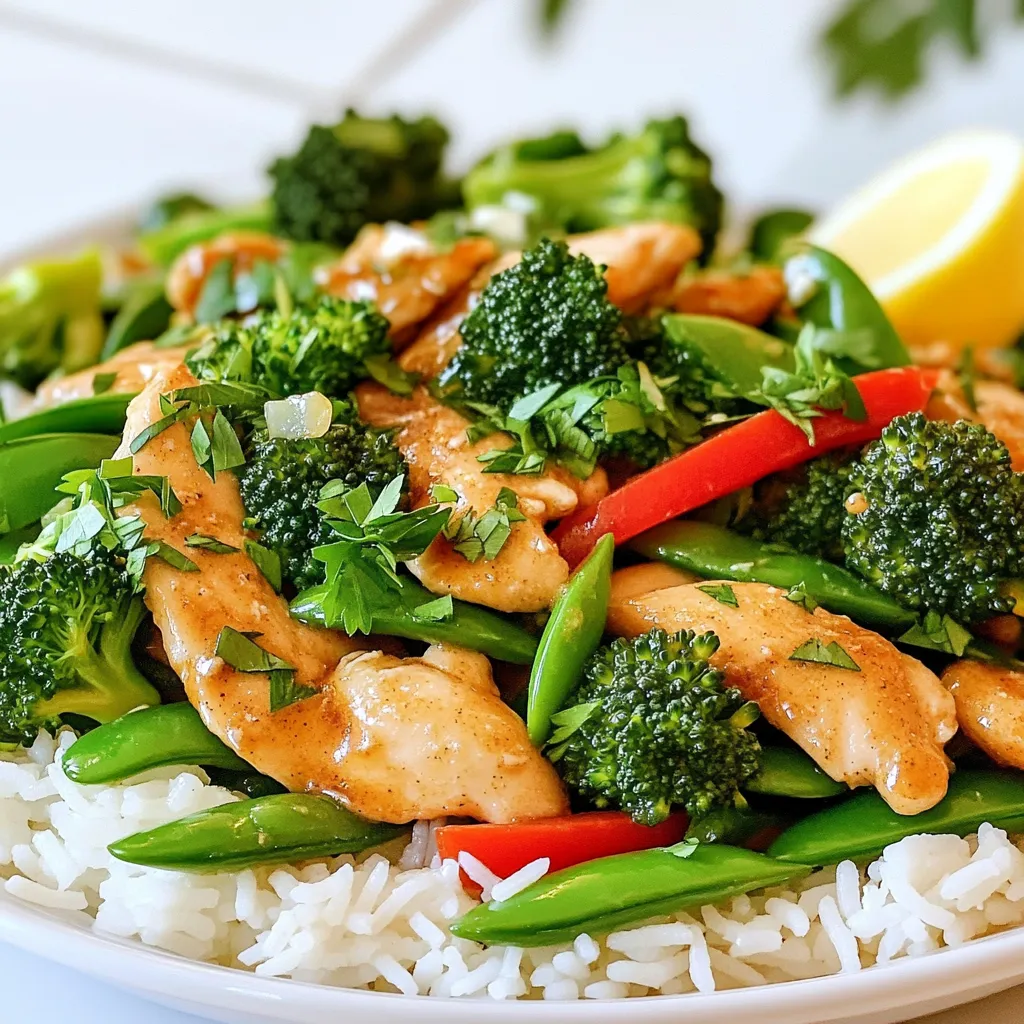
Looking for a quick meal packed with flavor? This Garlic Herb Chicken Stir Fry is just what you need! With
