
Apple Cider Cupcakes Maple Frosting Tasty Delight
Looking for a sweet treat that captures fall’s delicious flavors? These Apple Cider Cupcakes with Maple Frosting are a must-try!

Looking for a sweet treat that captures fall’s delicious flavors? These Apple Cider Cupcakes with Maple Frosting are a must-try!
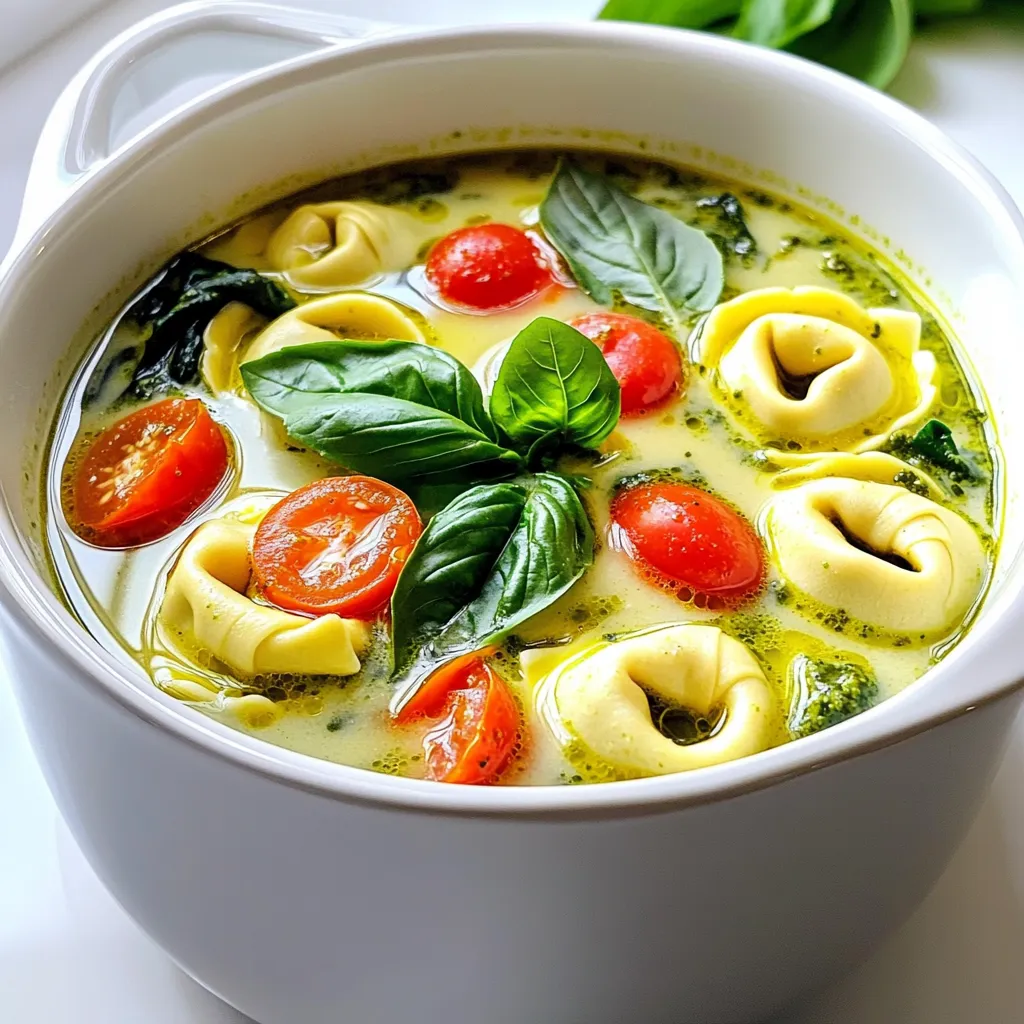
Looking for a cozy meal? Try my Creamy Pesto Tortellini Soup. It’s hearty, flavorful, and perfect for any dinner table.

Looking to spice up your dinner routine? In this “Pollo Loco Chicken and Rice Flavorful Cooking Guide,” I will show
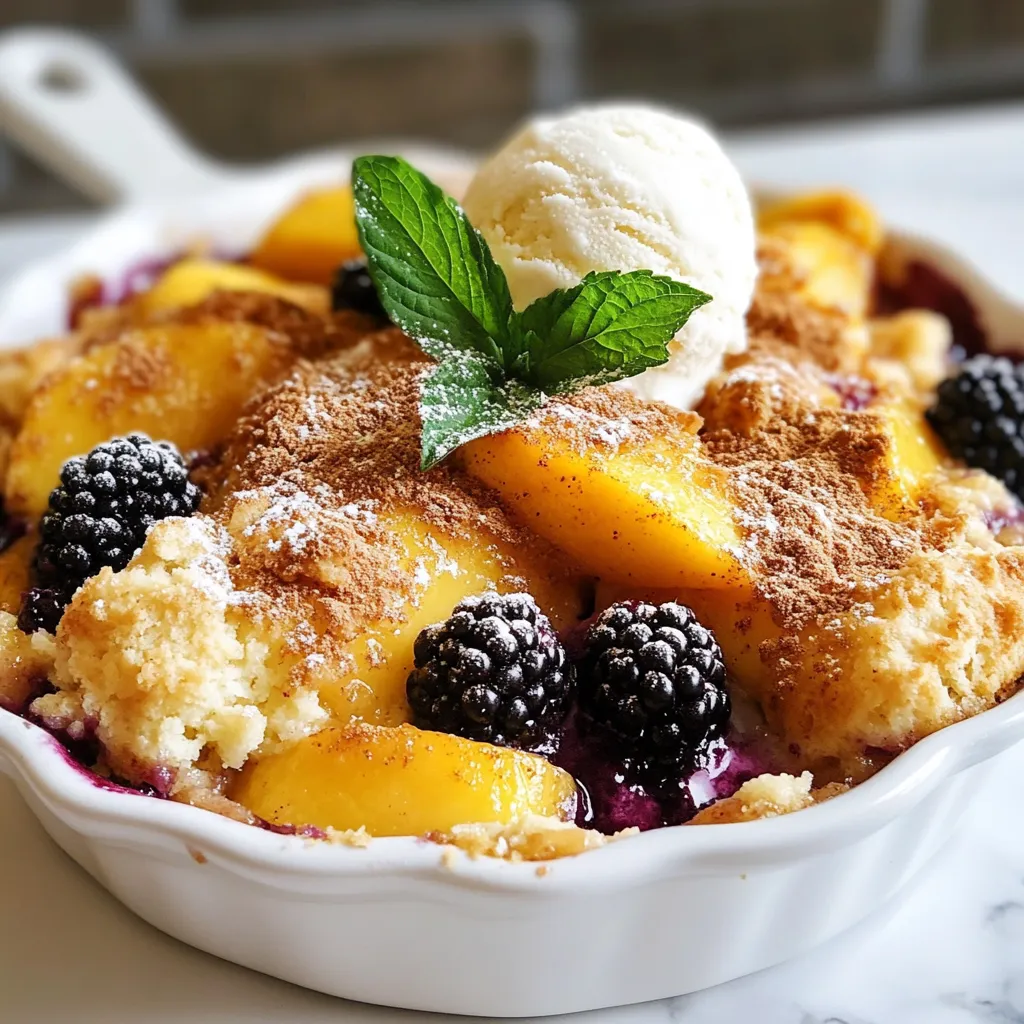
Are you ready to whip up a treat that’s bursting with summer flavor? My Blackberry Peach Cobbler Skillet is simple,
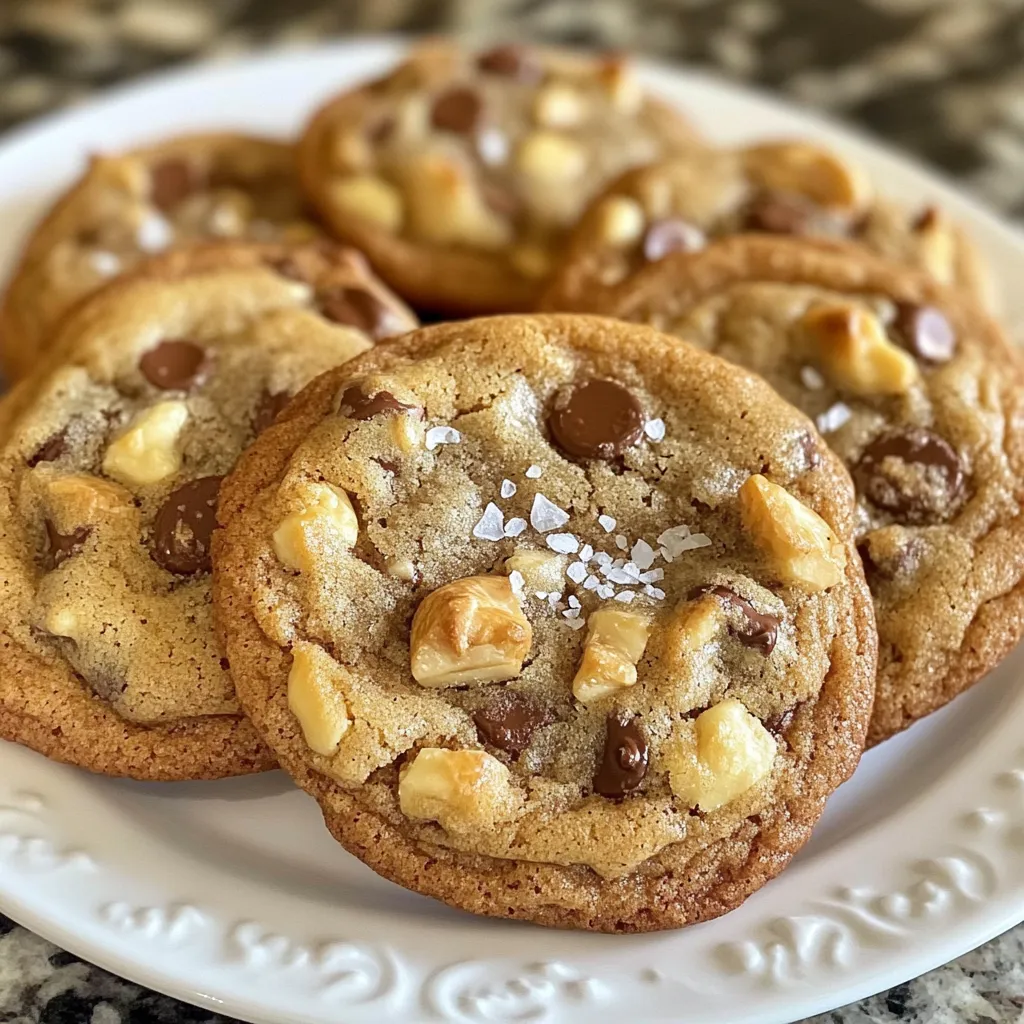
If you’re craving the perfect chocolate chip cookie, you’re in for a treat! These Thick Bakery Chocolate Chip Cookies are

If you’re craving a tasty meal that’s both simple and satisfying, look no further than Crockpot Chicken Tacos! In just
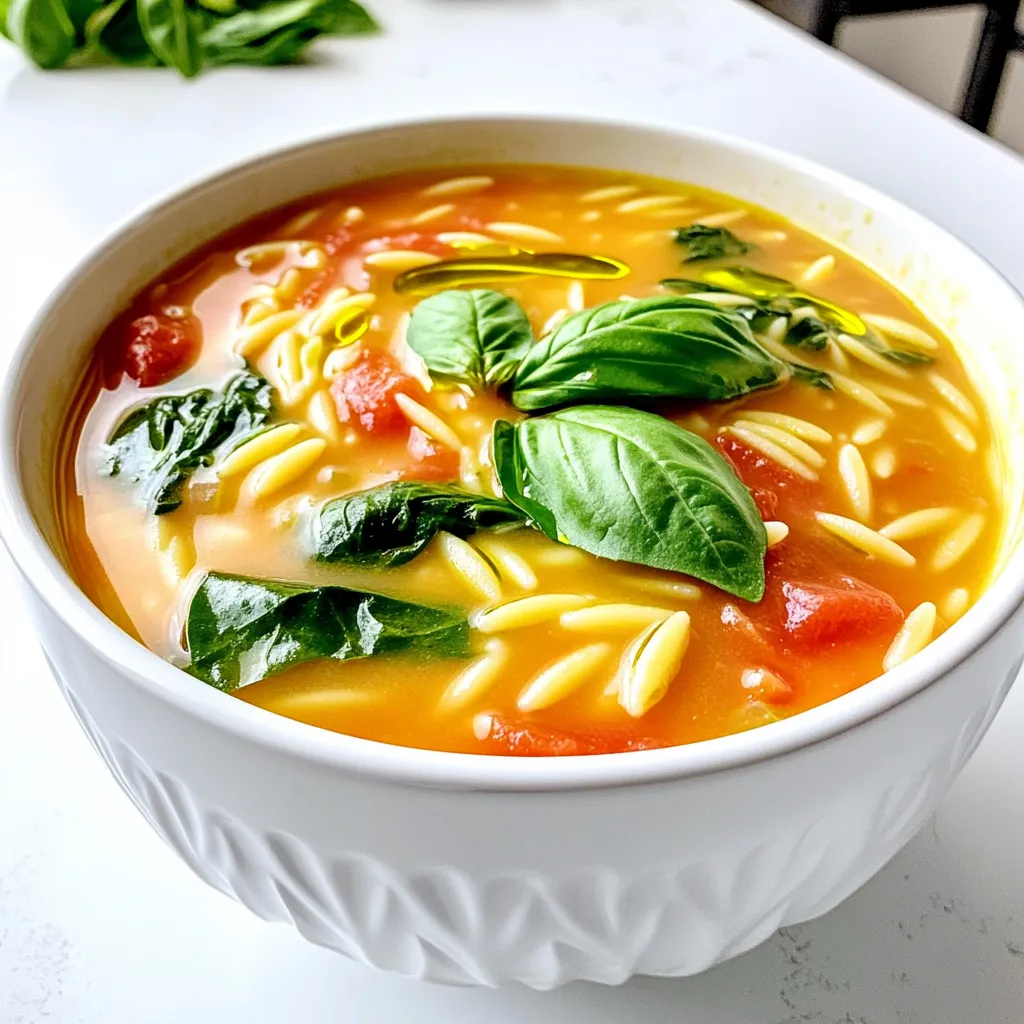
If you’re craving comfort food that’s both creamy and satisfying, I’m here to share my delicious Creamy Tomato Orzo Soup
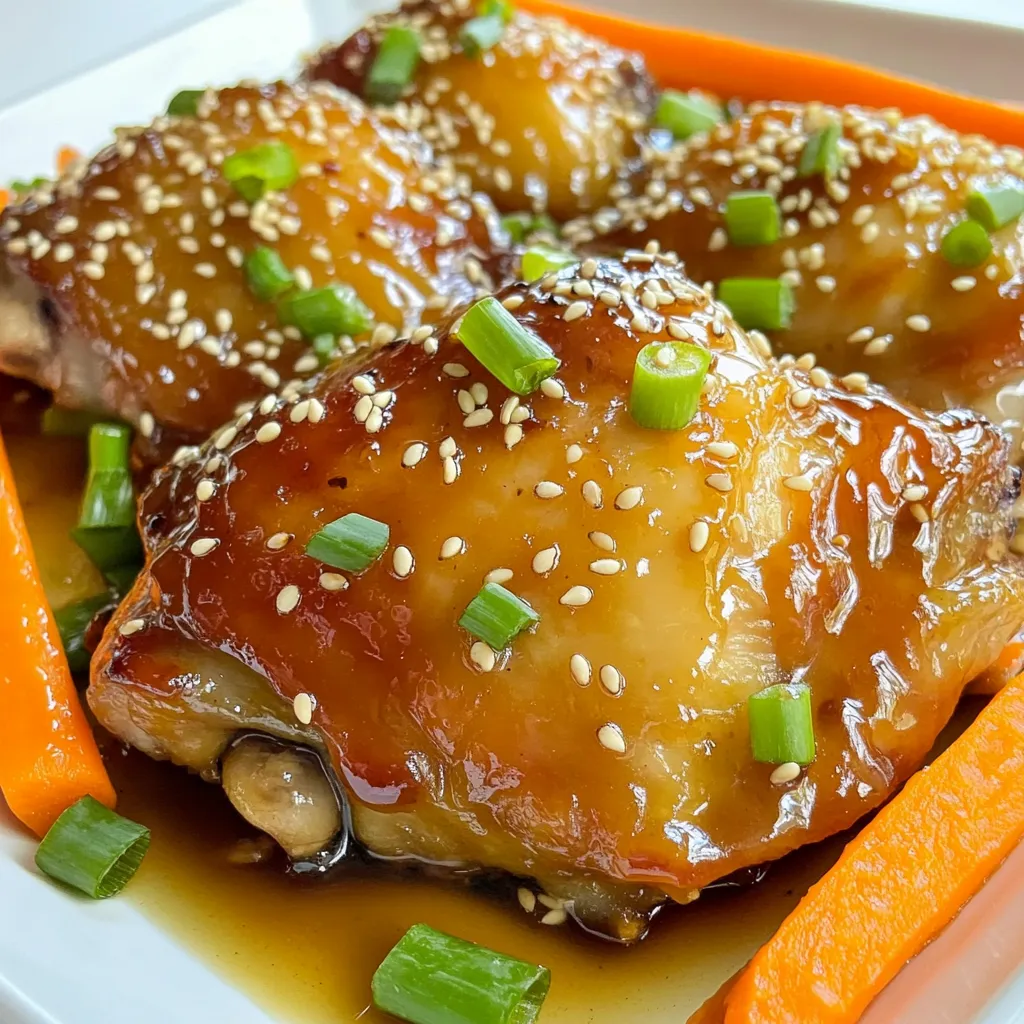
Looking for a simple yet mouth-watering dinner idea? Try this Honey Garlic Chicken and Carrots Sheet Pan Delight! This dish
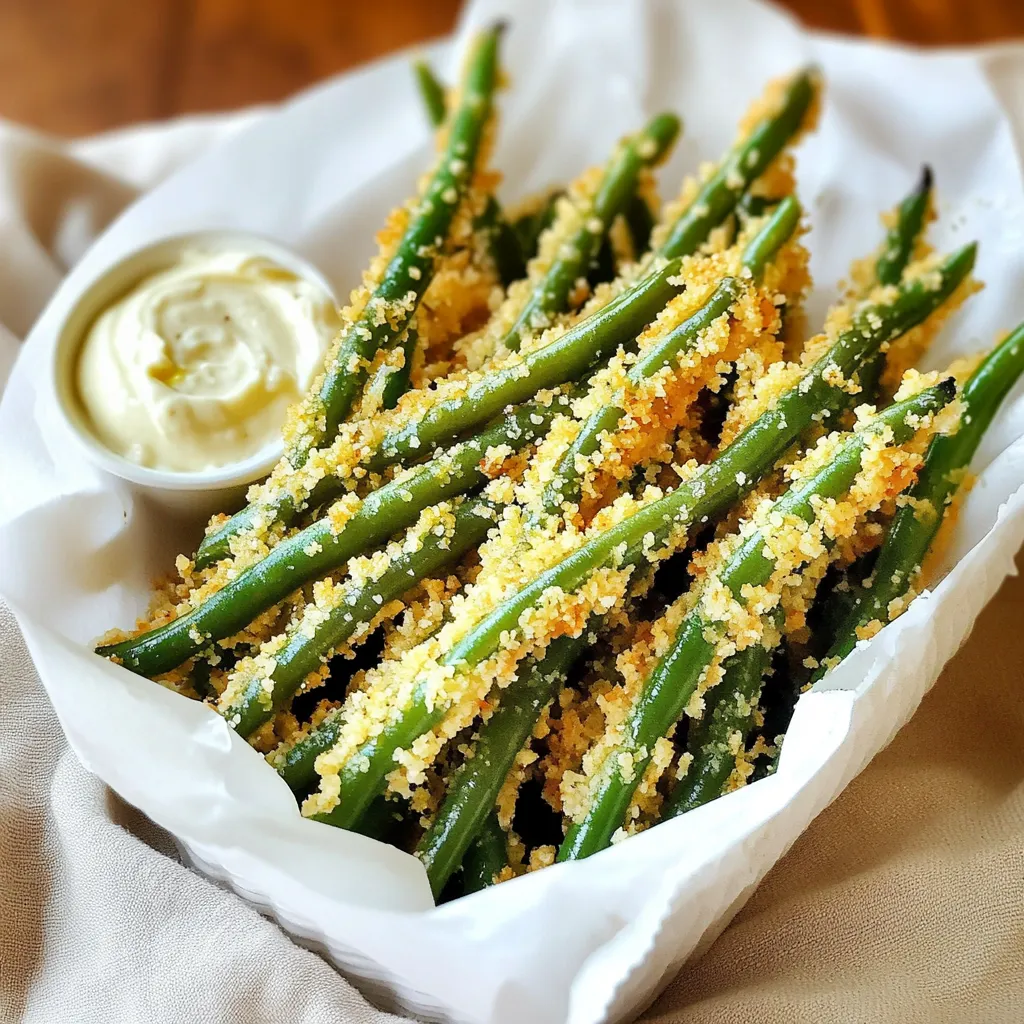
If you’re craving a snack that’s both crispy and tasty, look no further! Garlic Parmesan Green Bean Fries deliver that
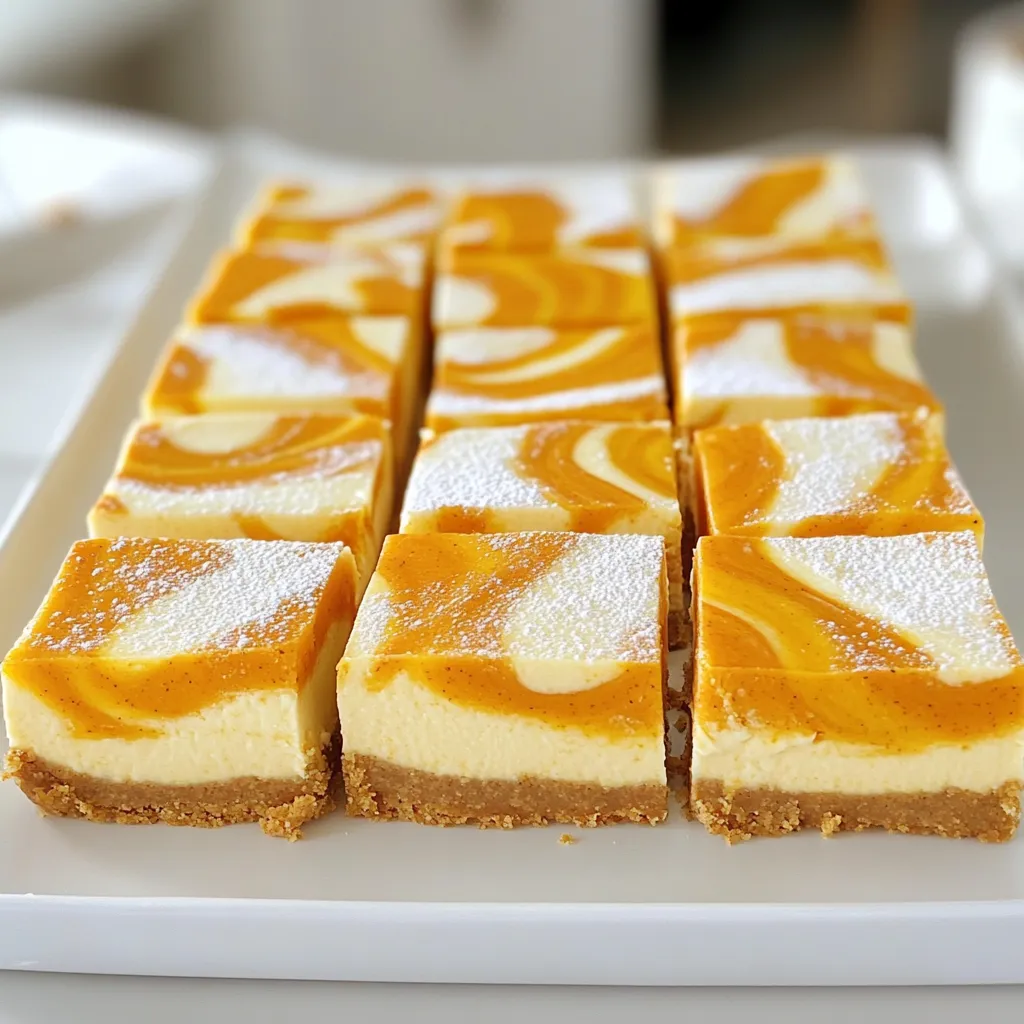
Fall is here, and it’s time to bring the flavor into your kitchen! If you love pumpkin, you’ll adore these
