Spicy Ranch Chex Mix Tasty and Easy Snack Recipe
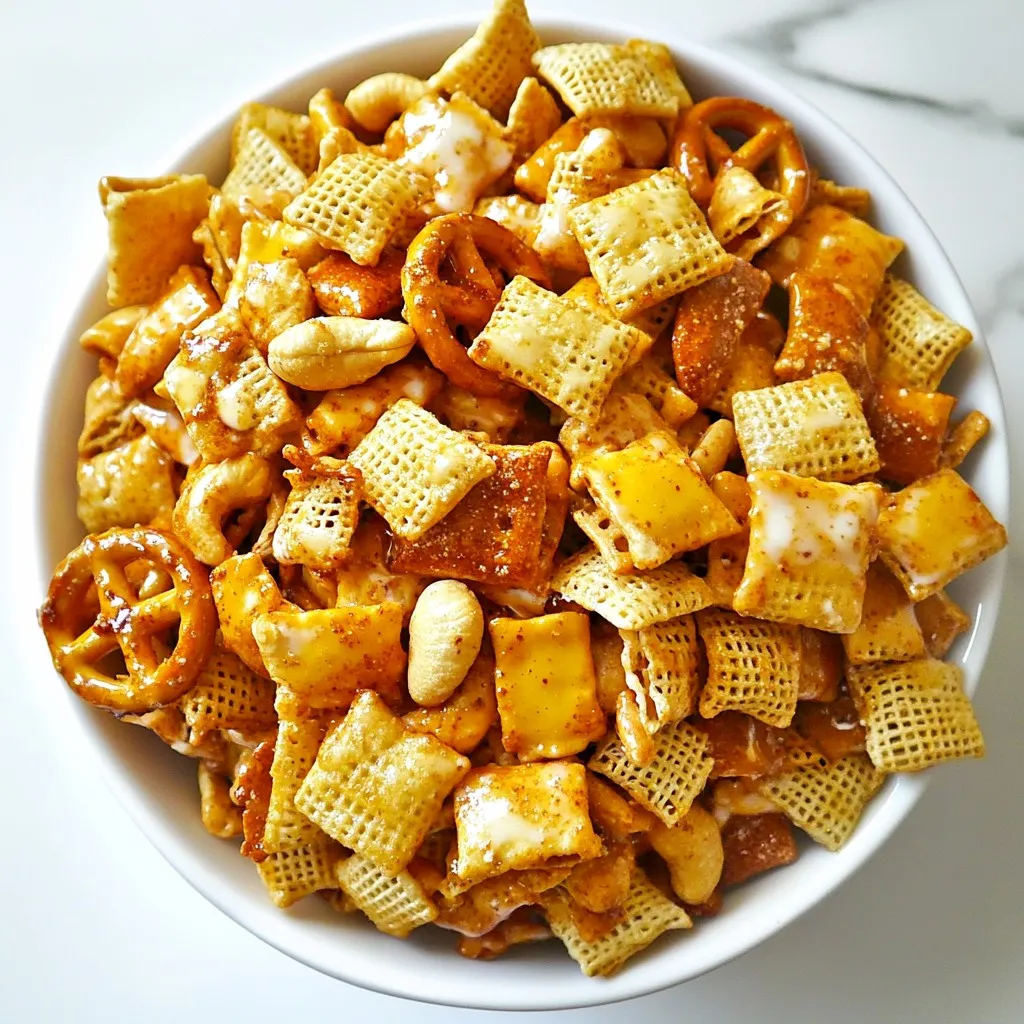
Craving a tasty snack that packs a punch? Look no further! My Spicy Ranch Chex Mix is the perfect combination

Craving a tasty snack that packs a punch? Look no further! My Spicy Ranch Chex Mix is the perfect combination

Craving a dessert that combines creamy pumpkin cheesecake with a sweet caramel drizzle? You’re in for a treat! In this
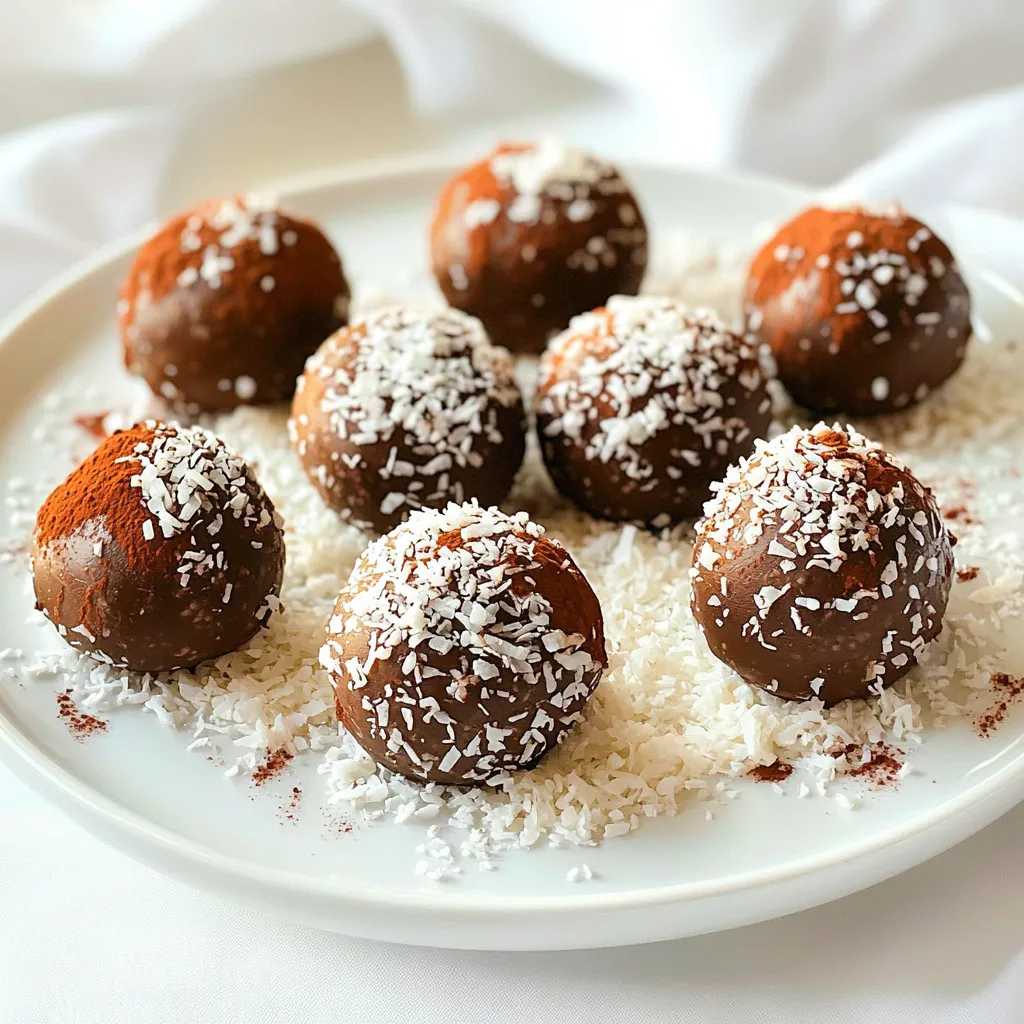
Craving a sweet treat that’s both simple and delicious? Look no further than these Chocolate Coconut Truffles! With just a
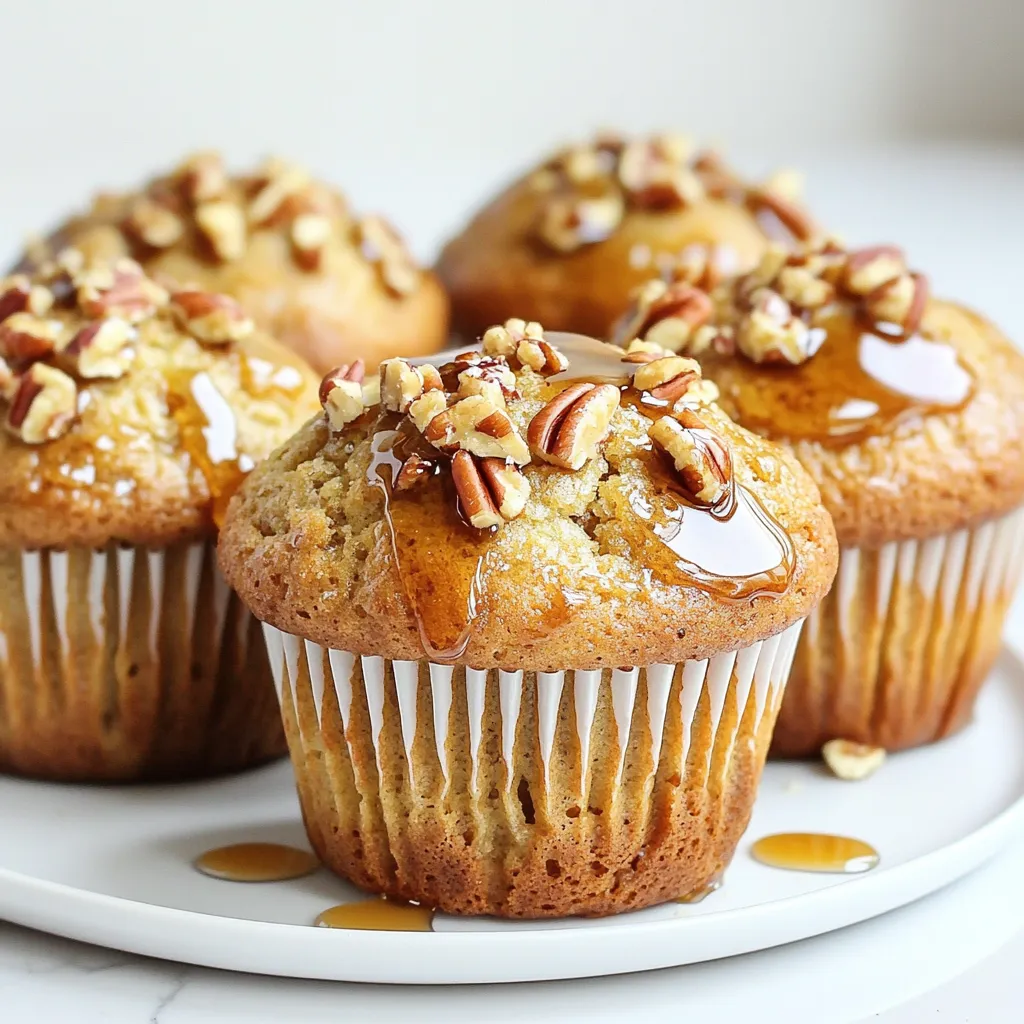
Welcome to your new favorite treat: Maple Pecan Muffins, bakery style! These muffins blend rich maple syrup and crunchy pecans
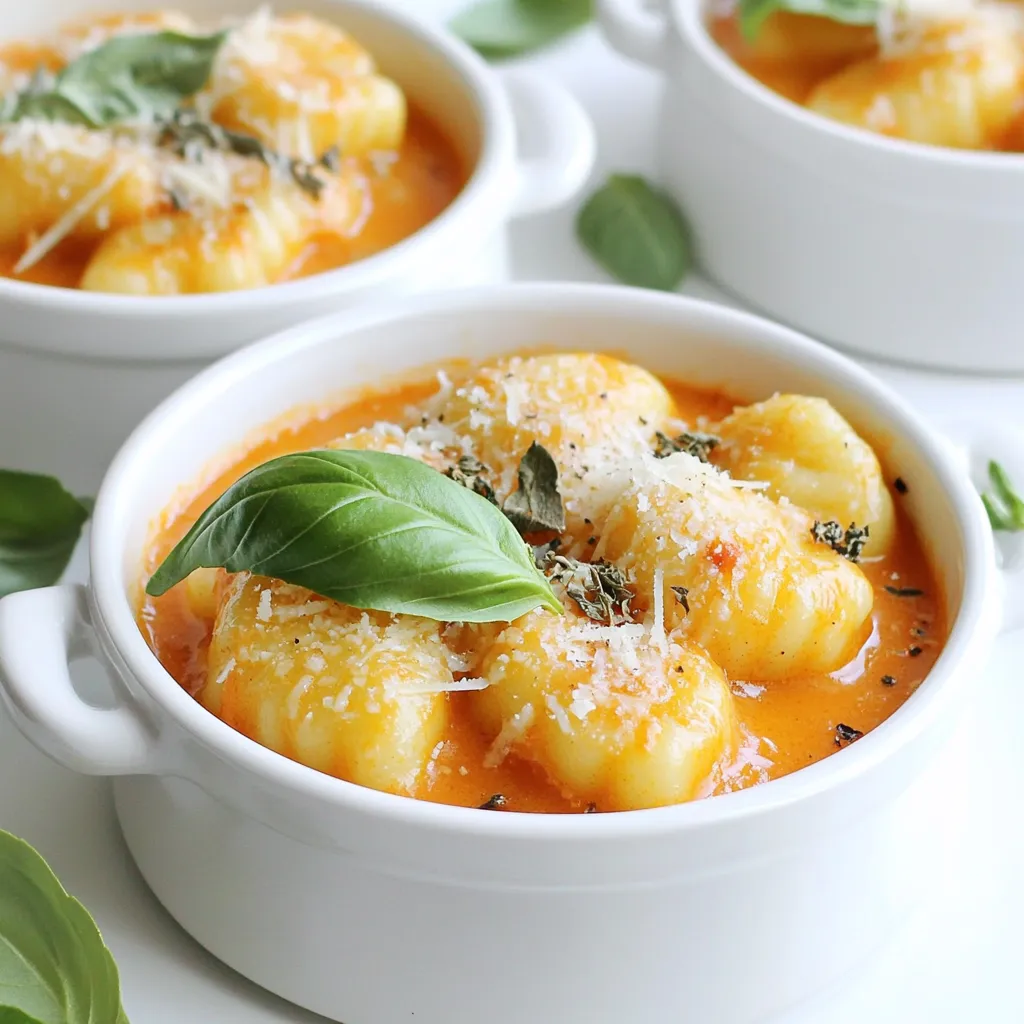
If you’re looking for a cozy, one-pot meal that warms the heart, you’ve found it! This Creamy Tomato Parmesan Gnocchi
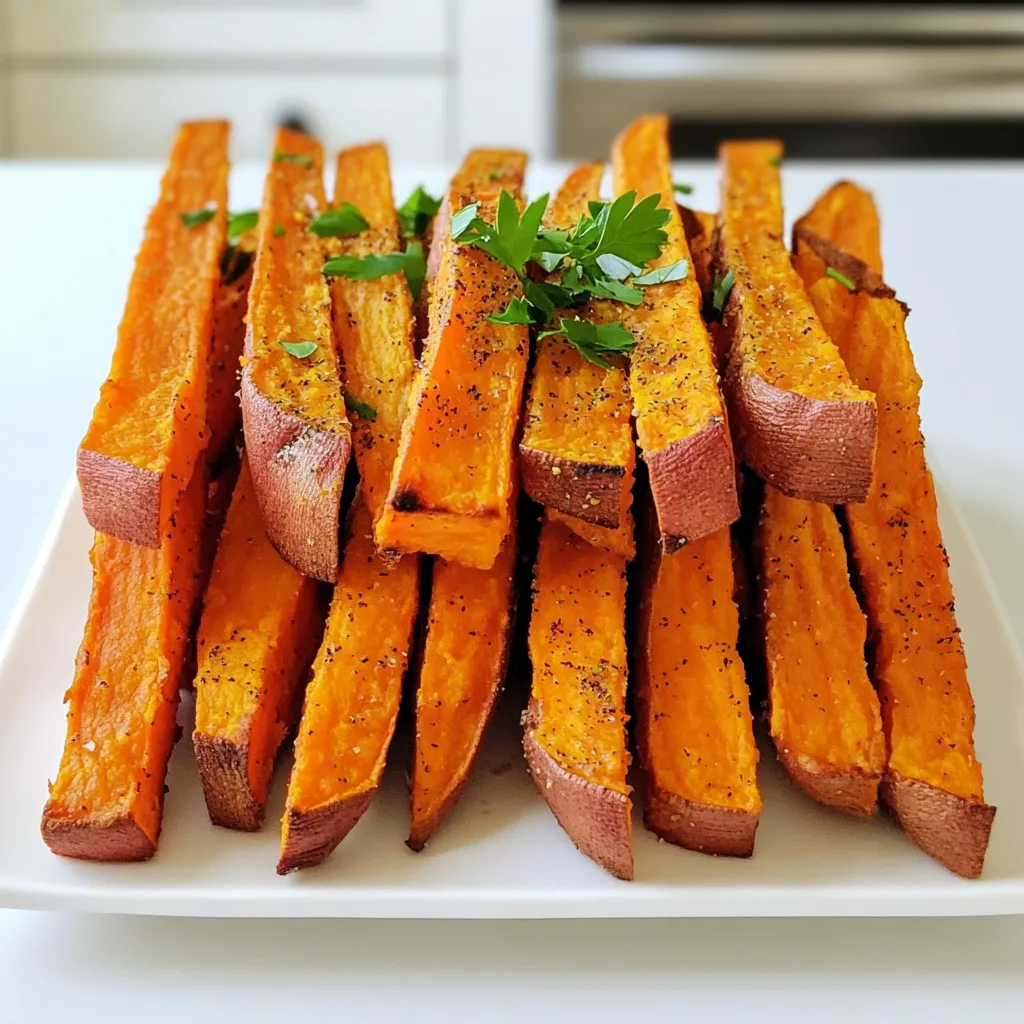
Do you crave crispy, tasty snacks that are also healthy? If yes, you need to try making air fryer sweet
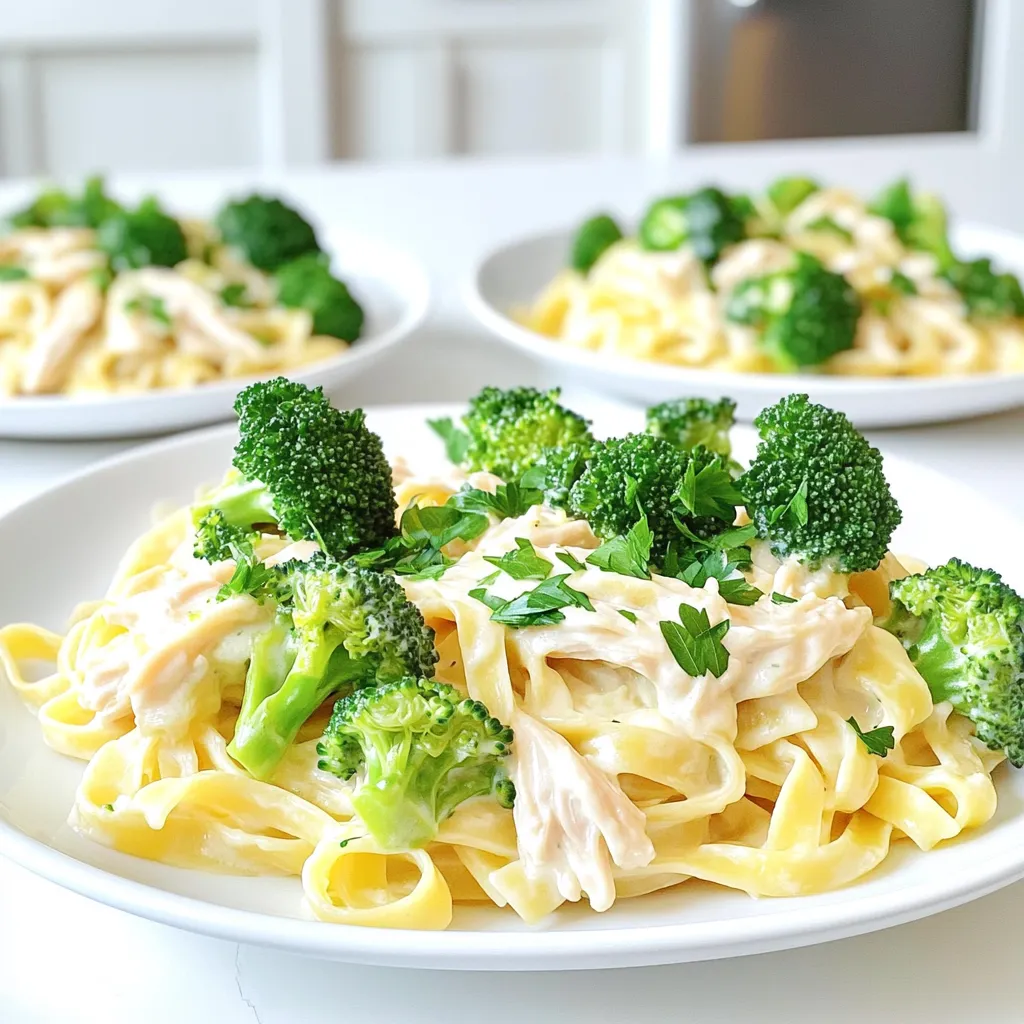
Looking for an easy, tasty meal that warms the heart? My Creamy Chicken Alfredo Slow Cooker Delight is perfect for
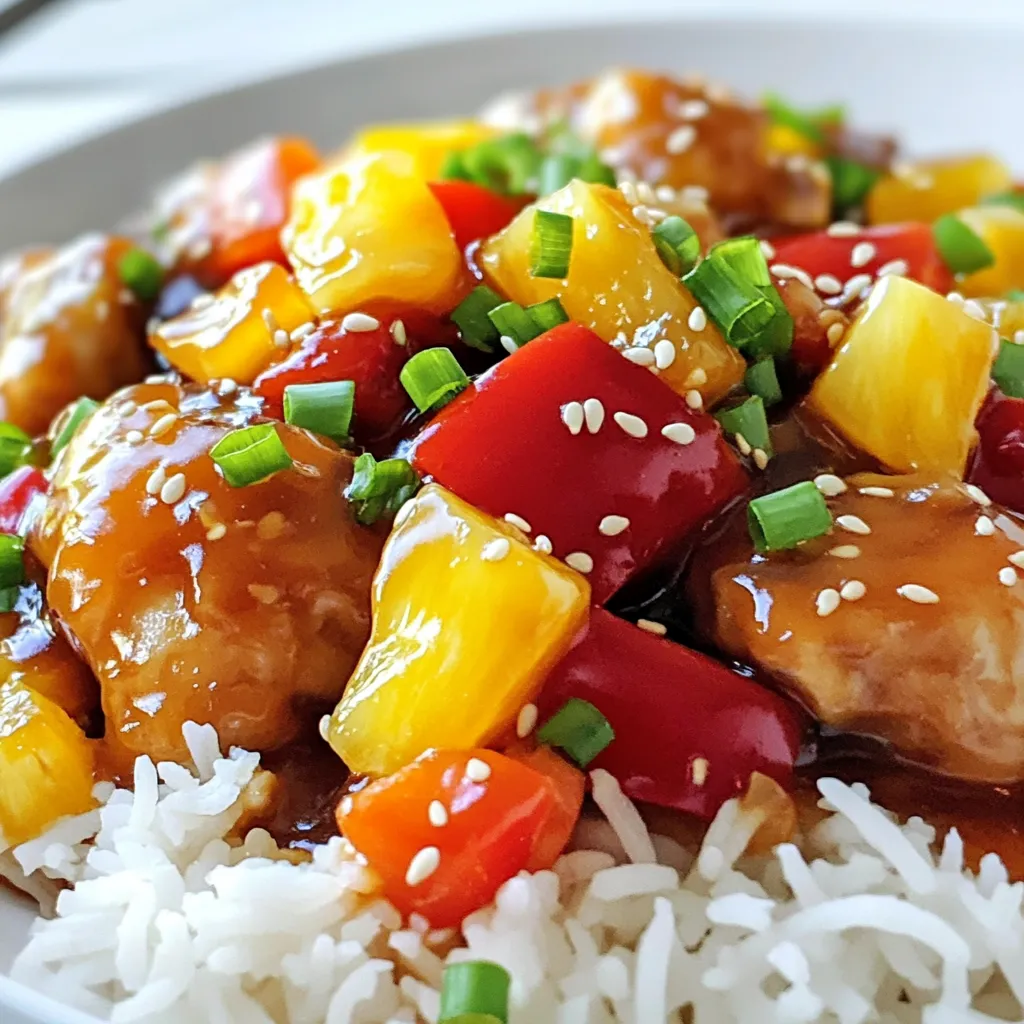
Craving takeout but want to save time and money? You’re in the right place! This easy Pineapple Chicken recipe will
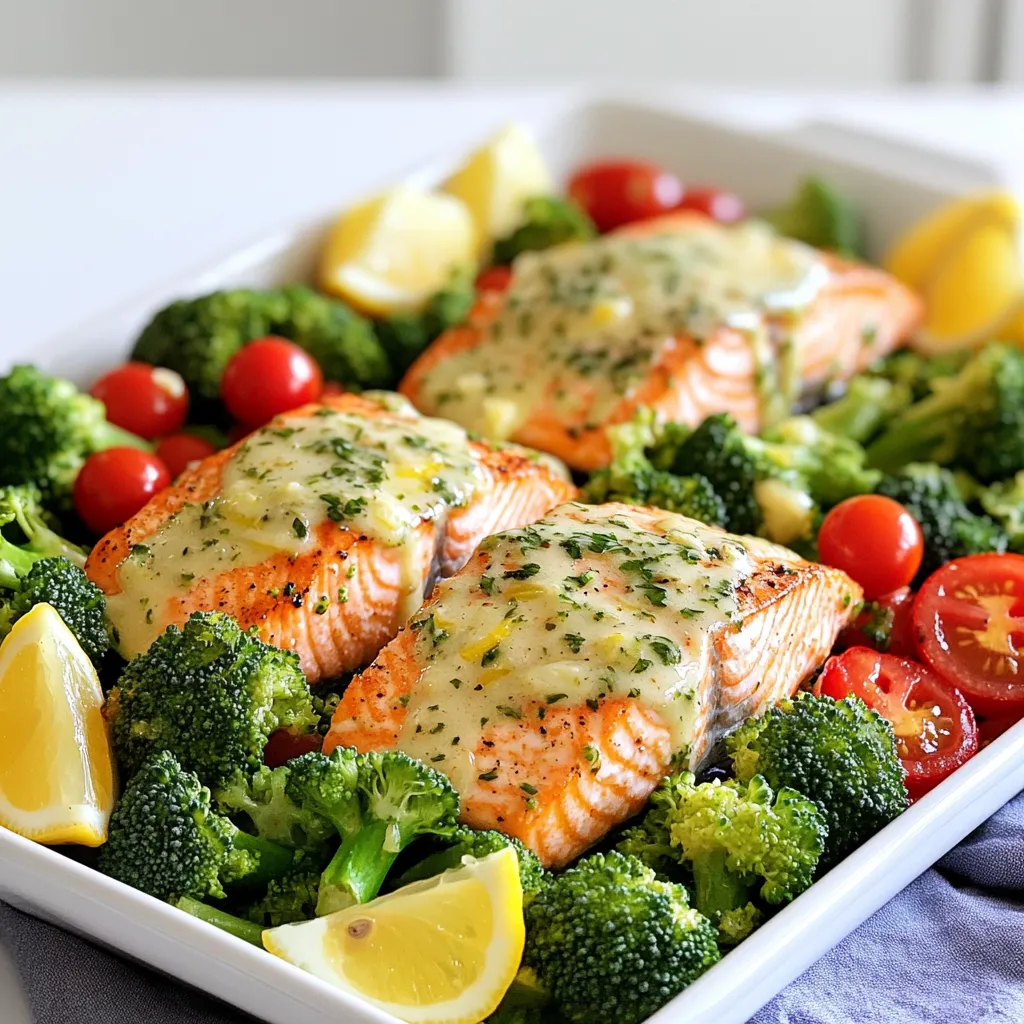
Looking for a delicious dinner that’s quick and easy? Try my Garlic Butter Salmon and Veggies Sheet Pan Delight! This

Fall is here, and so is the craving for pumpkin spice everything! If you love cozy flavors and warm drinks,
