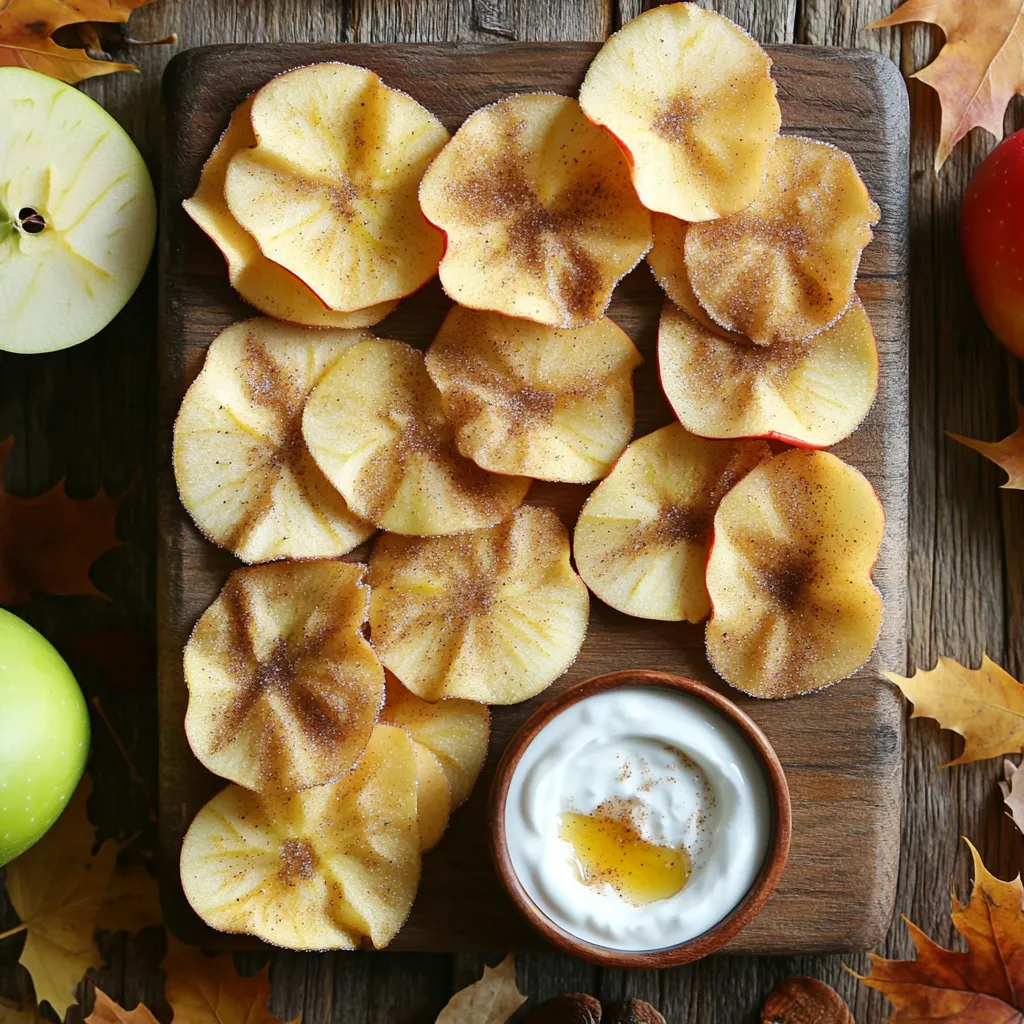
Cinnamon Sugar Apple Chips with Dip Delightful Snack
If you’re looking for a tasty and healthy snack, I have a treat for you! Cinnamon Sugar Apple Chips with

If you’re looking for a tasty and healthy snack, I have a treat for you! Cinnamon Sugar Apple Chips with
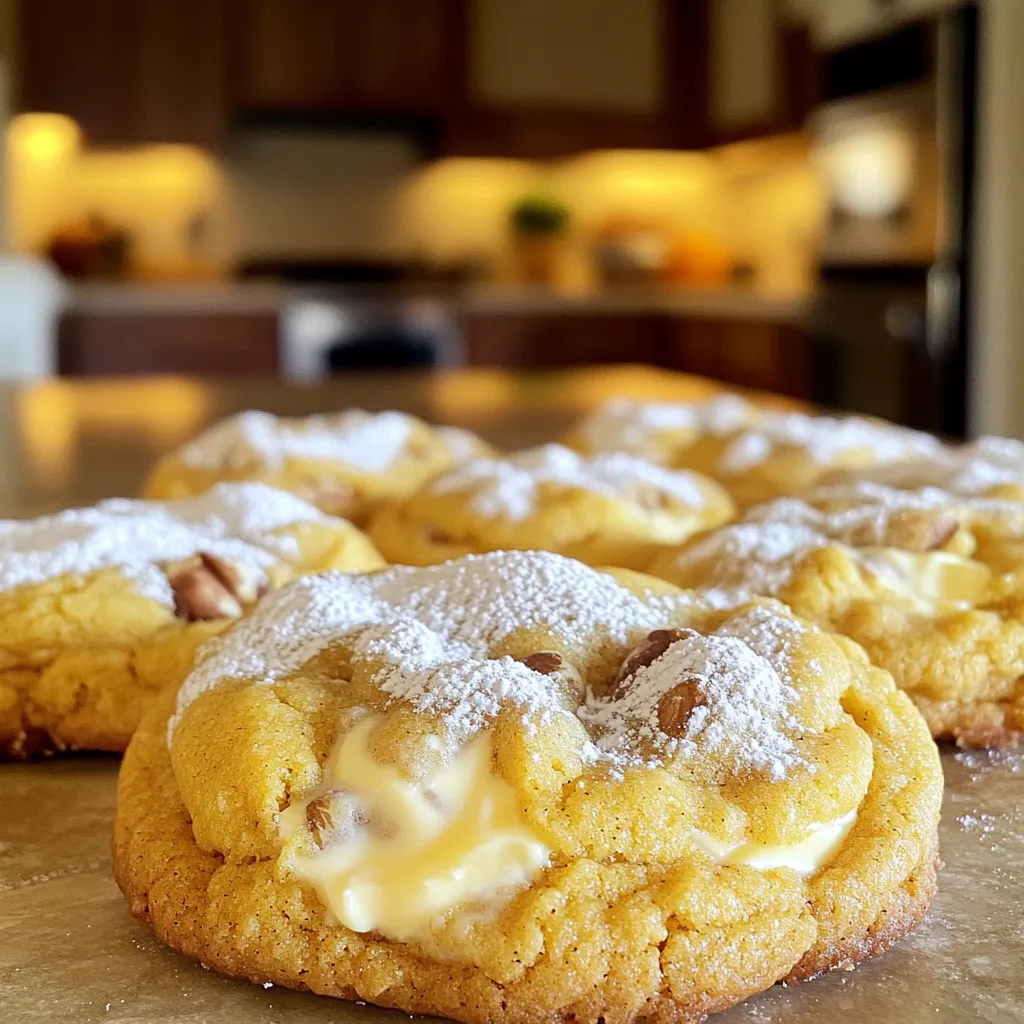
Fall is here, and that means it’s time for Pumpkin Spice Cheesecake Cookies! These treats blend creamy cheesecake and warm
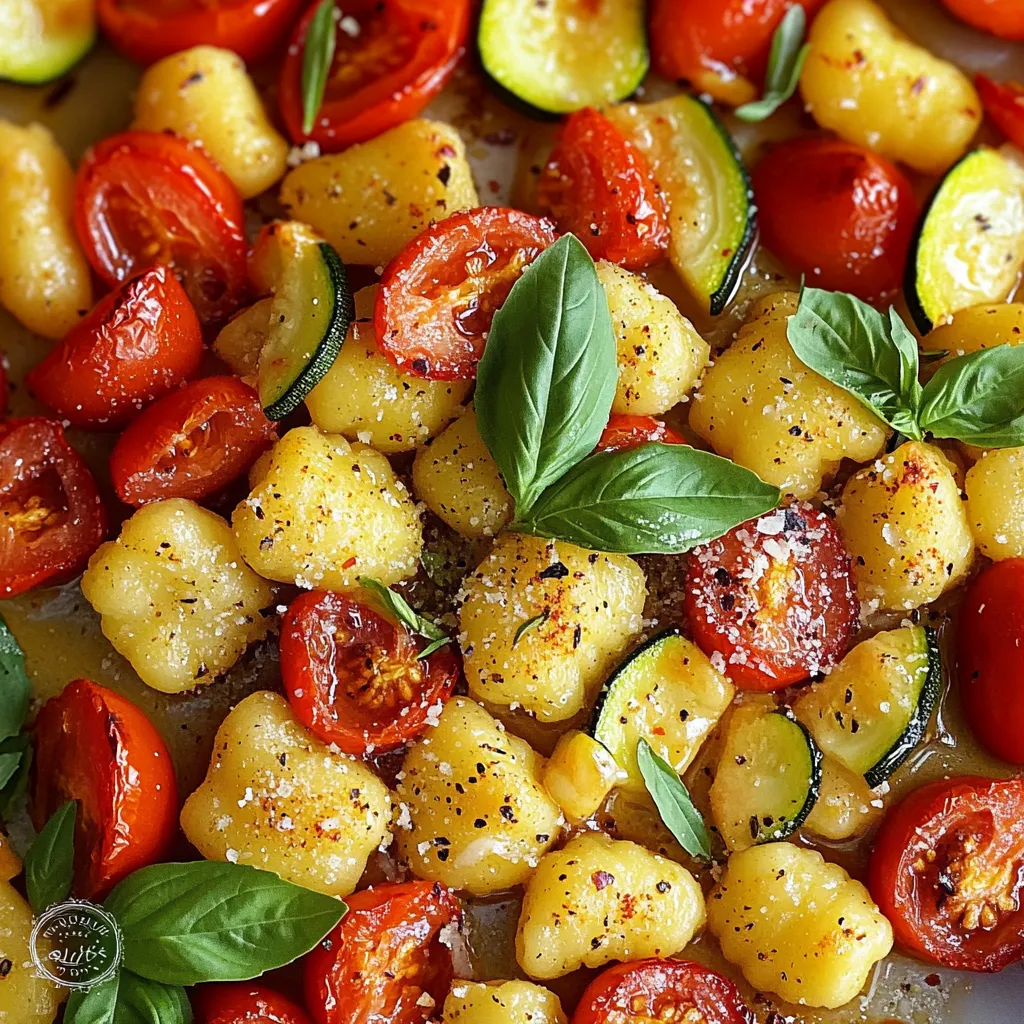
Get ready to elevate your dinner game with my Sheet-Pan Roasted Gnocchi with Garlic Butter Bliss! This easy recipe combines
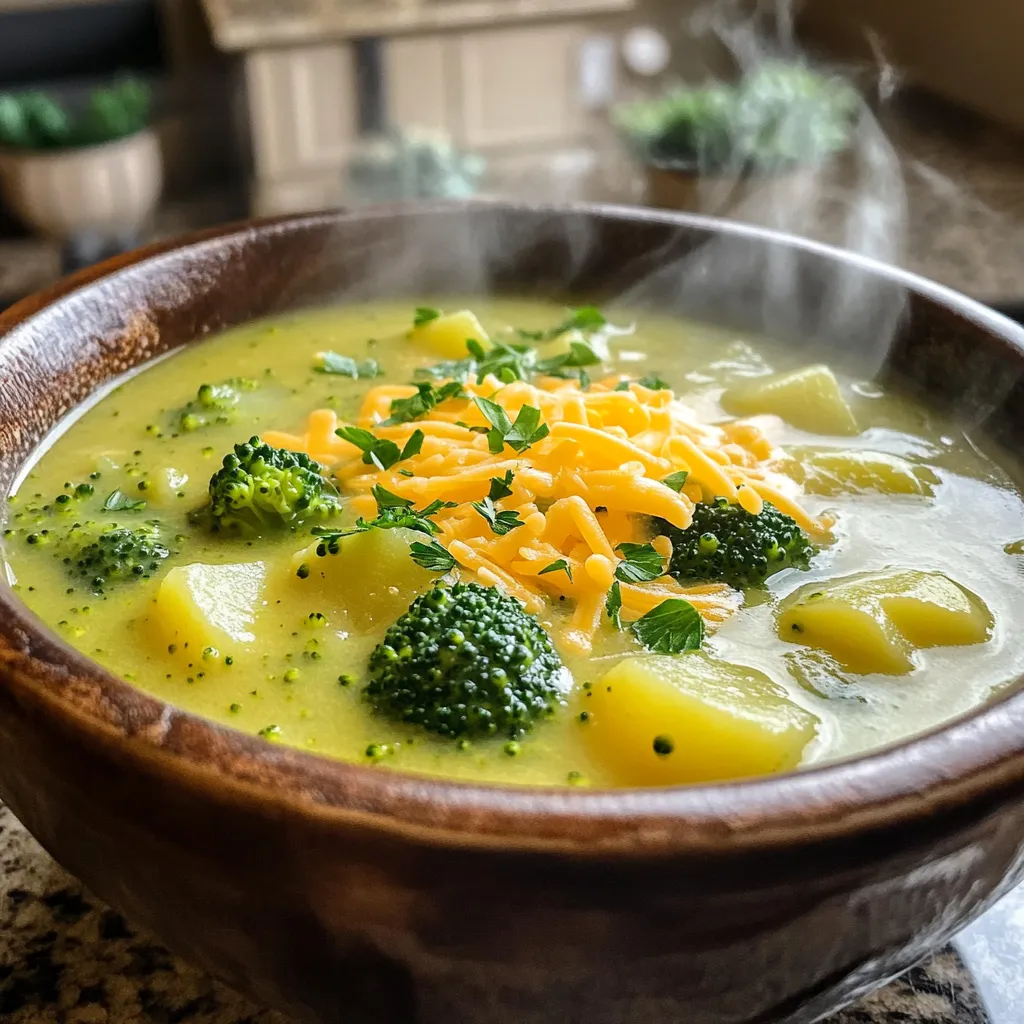
Are you ready to enjoy a warm, creamy bowl of comfort? My Slow Cooker Creamy Broccoli Potato Soup is both
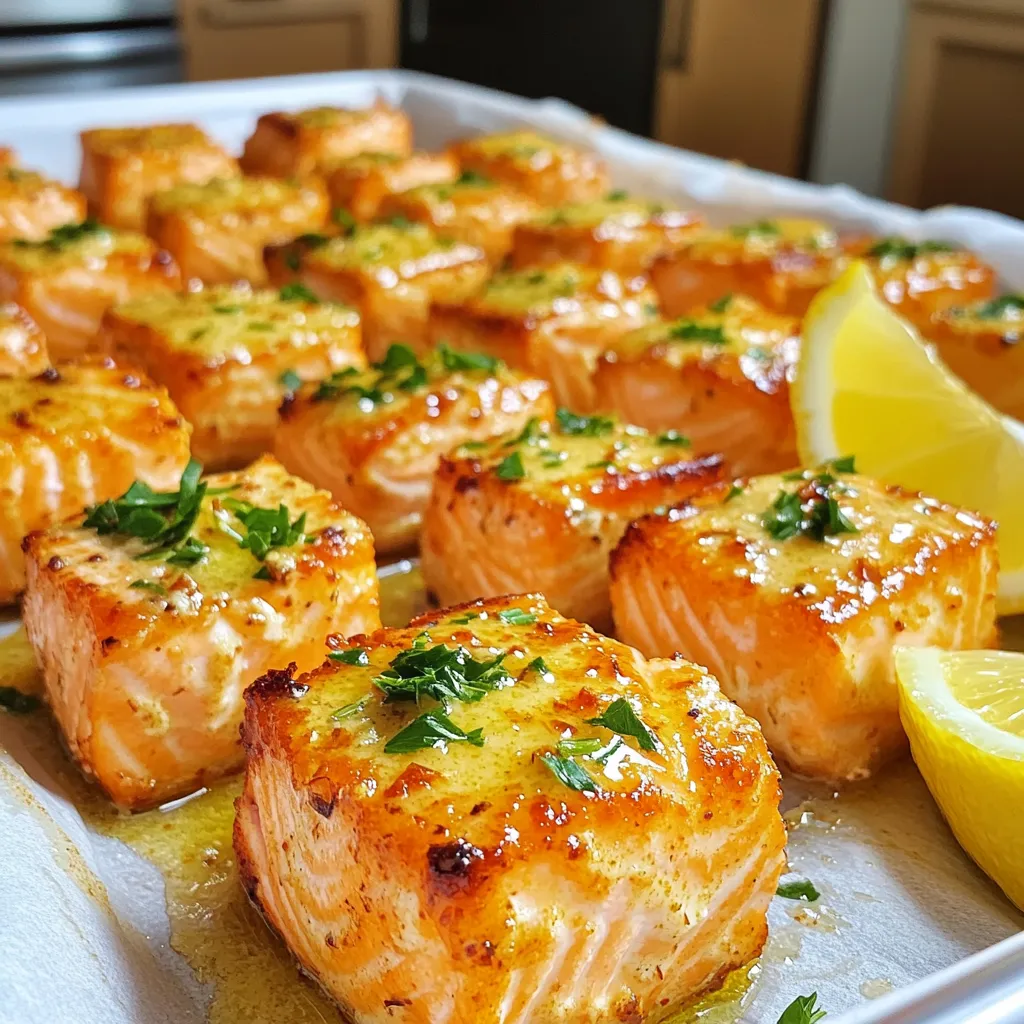
Get ready for a tasty treat with my Air Fryer Garlic Butter Salmon Bites! These quick bites are bursting with
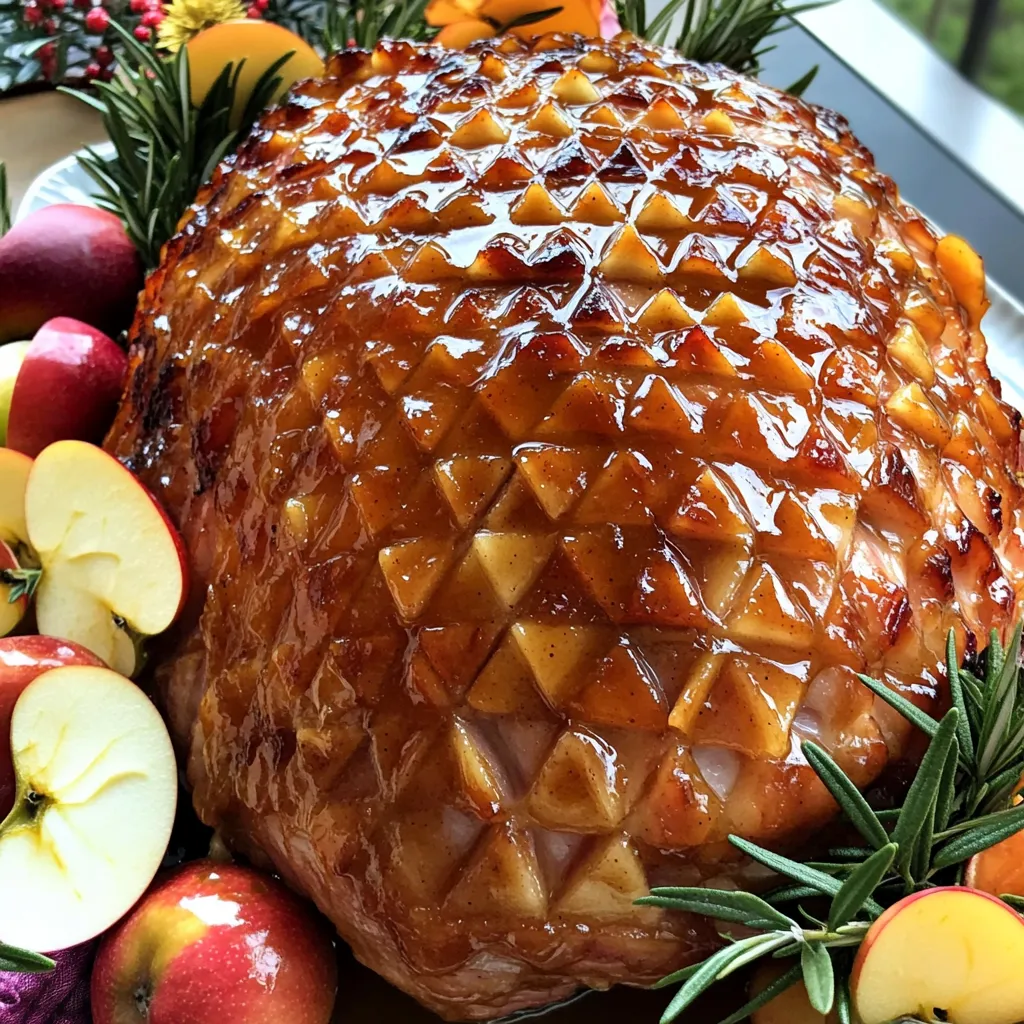
Looking for the perfect holiday meal that wows your guests? Try my Apple Cider Glazed Ham! This dish combines the
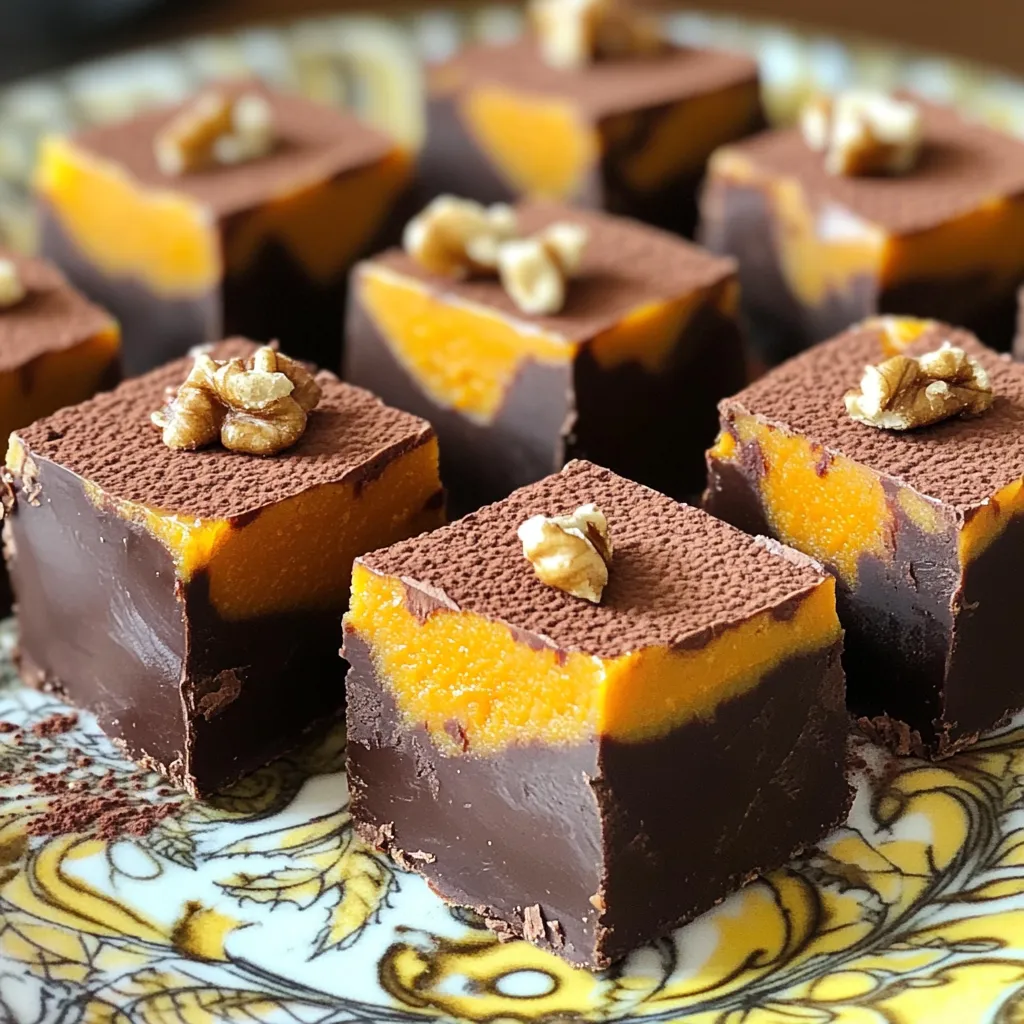
If you’re looking for a treat that combines rich chocolate with the cozy taste of pumpkin, you’re in for a
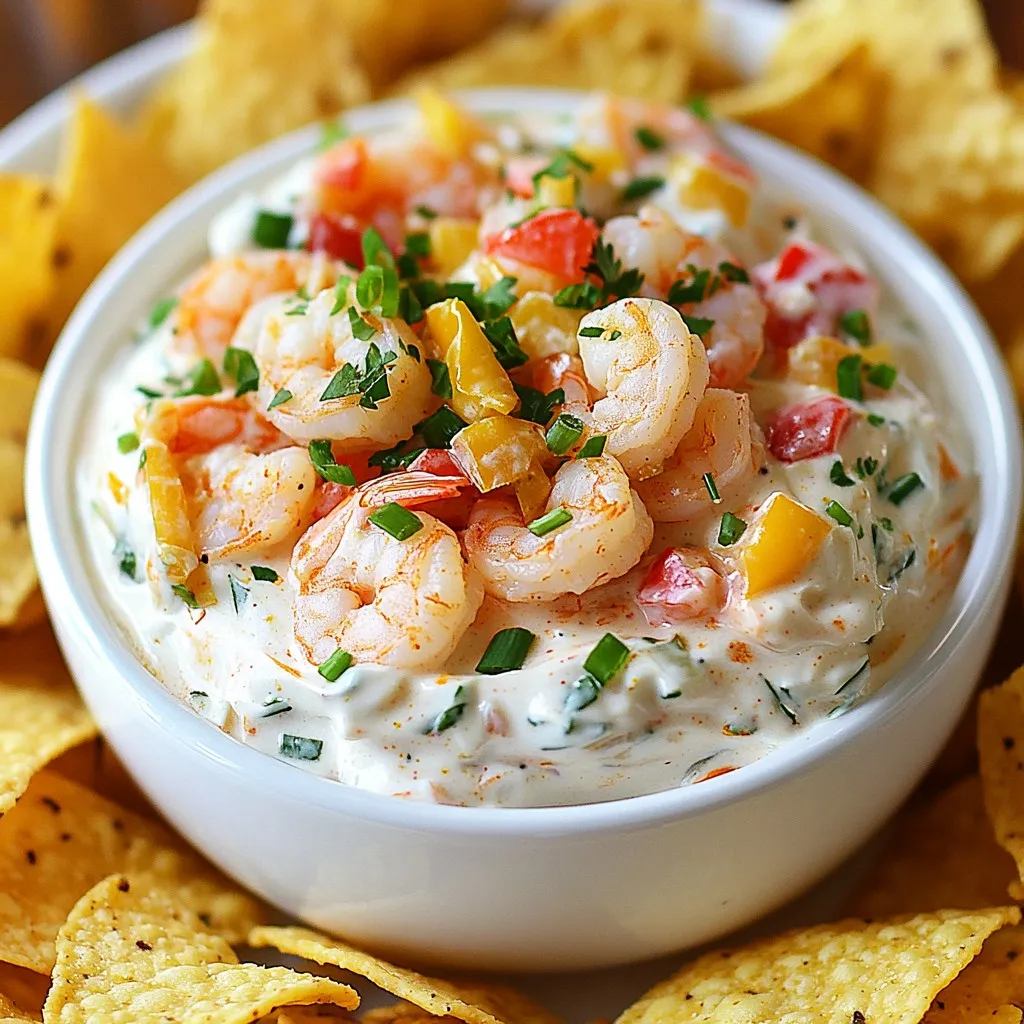
If you’re seeking a dip that bursts with flavor, look no further! My Creamy Cajun Shrimp Dip combines tender shrimp
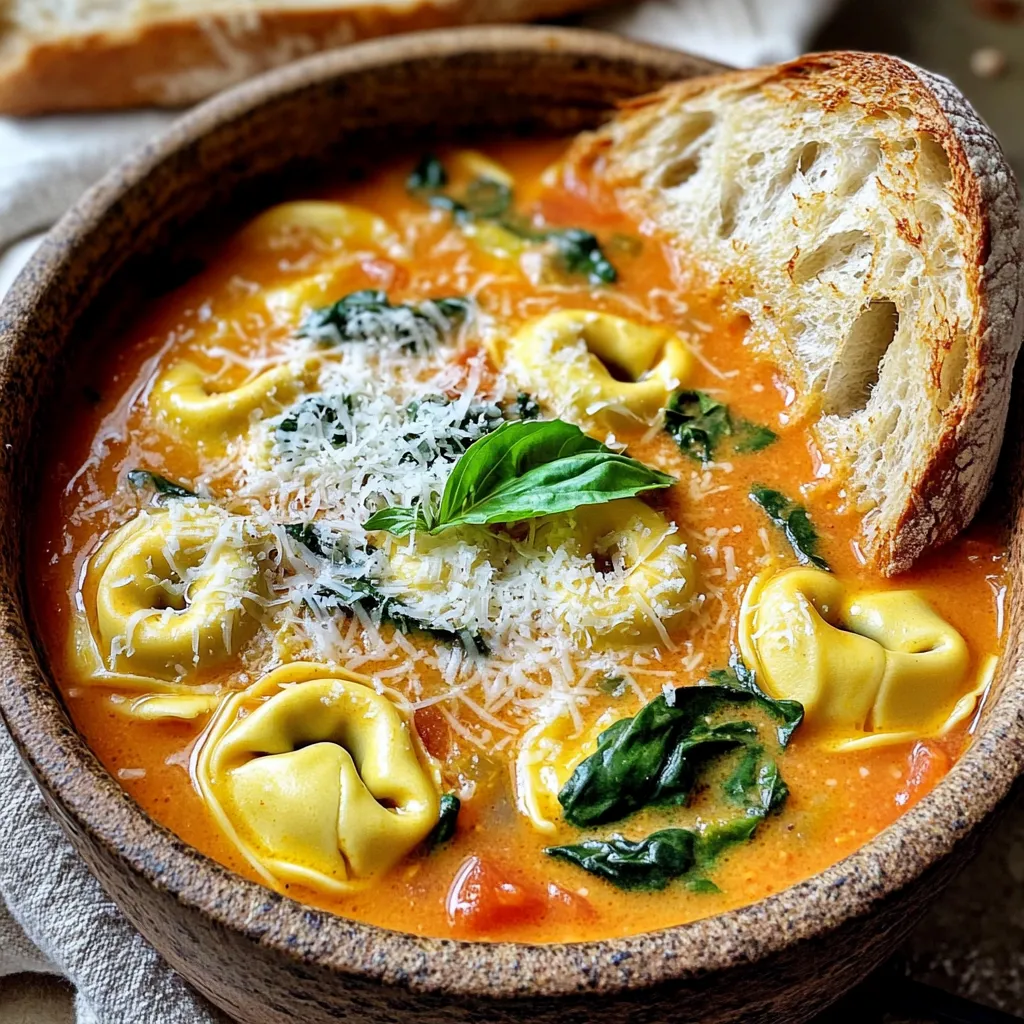
Get ready to warm your soul with my Savory Slow Cooker Creamy Tomato Tortellini Soup recipe! This dish is packed

Looking to create a meal that’s both healthy and delicious? You’re in the right place! These Sheet-Pan Roasted Veggie Buddha
