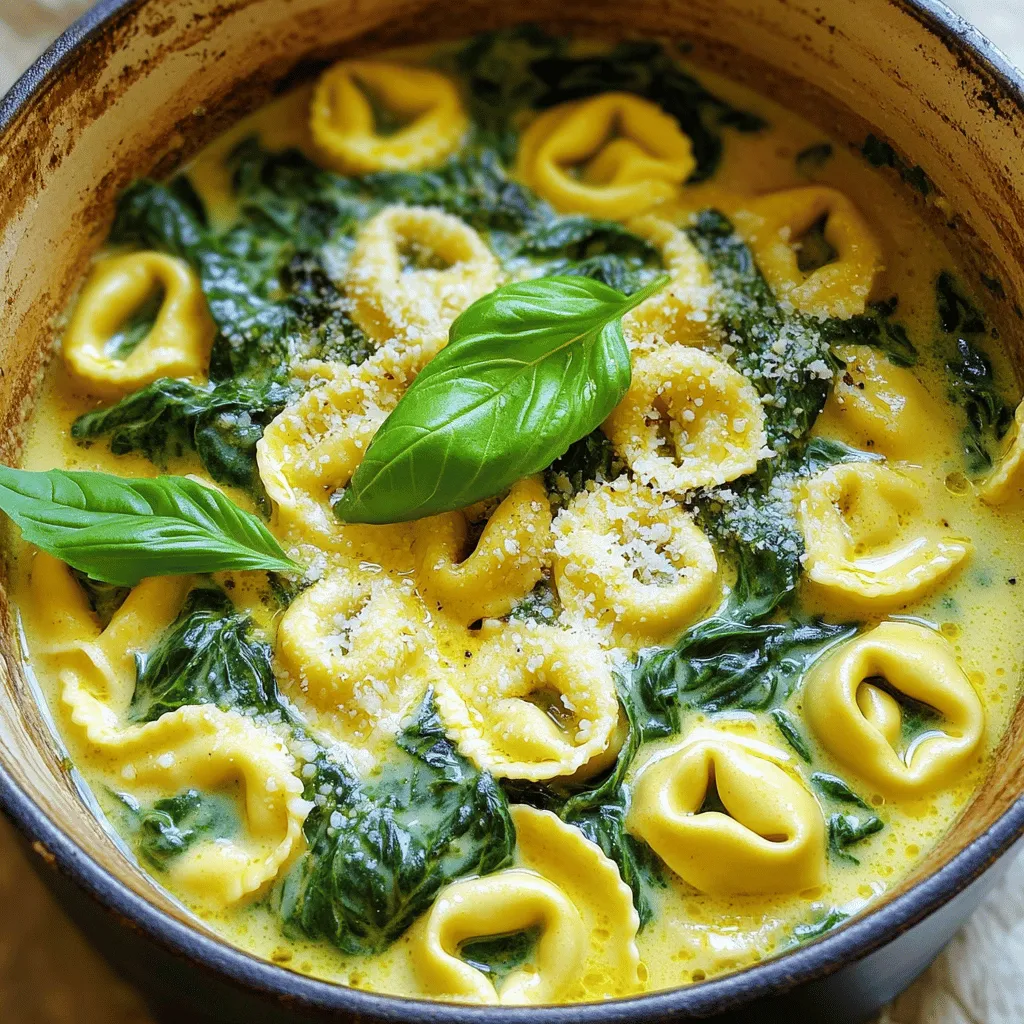
One Pot Creamy Spinach Tortellini Easy Dinner Meal
Are you ready for a dinner that’s simple and delicious? One Pot Creamy Spinach Tortellini is your go-to meal! This

Are you ready for a dinner that’s simple and delicious? One Pot Creamy Spinach Tortellini is your go-to meal! This
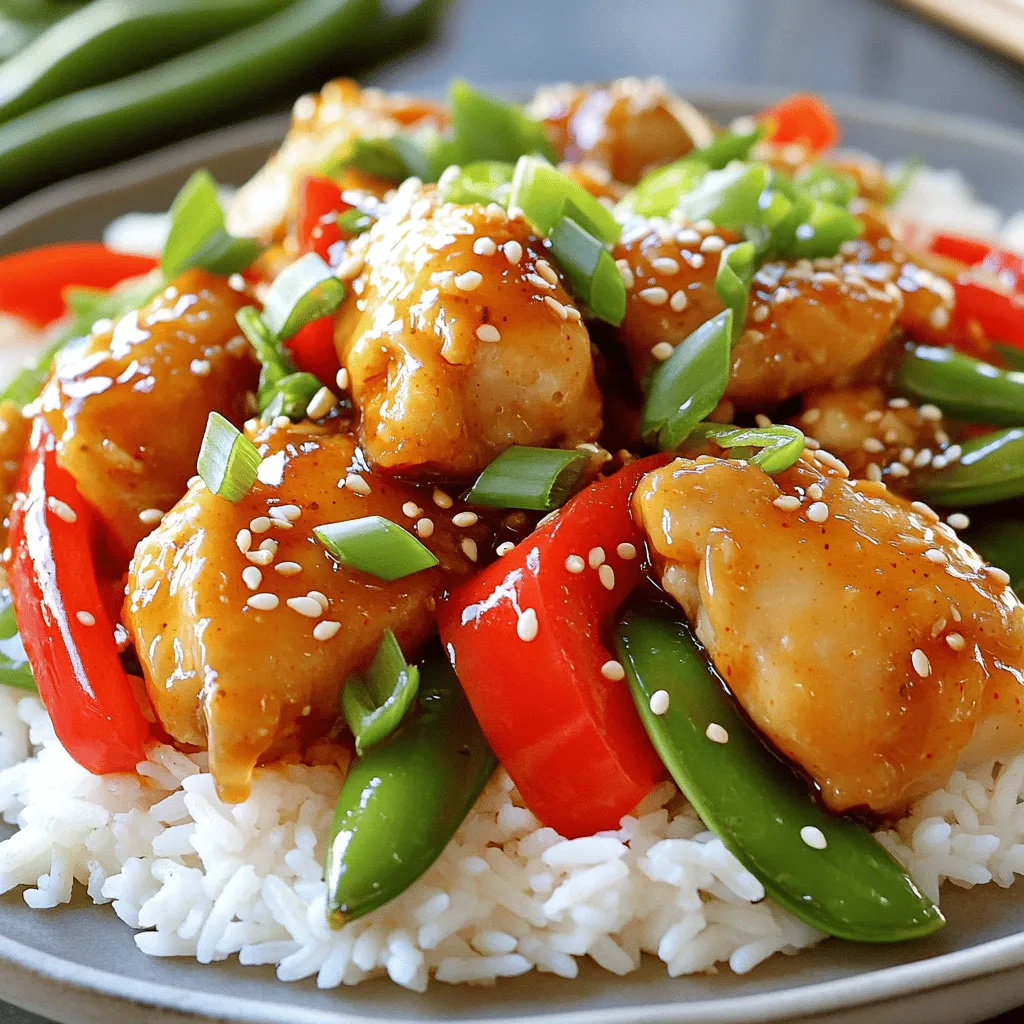
Are you ready to spice up your dinner routine? Sweet Chili Chicken offers mouth-watering flavors that excite every taste bud.
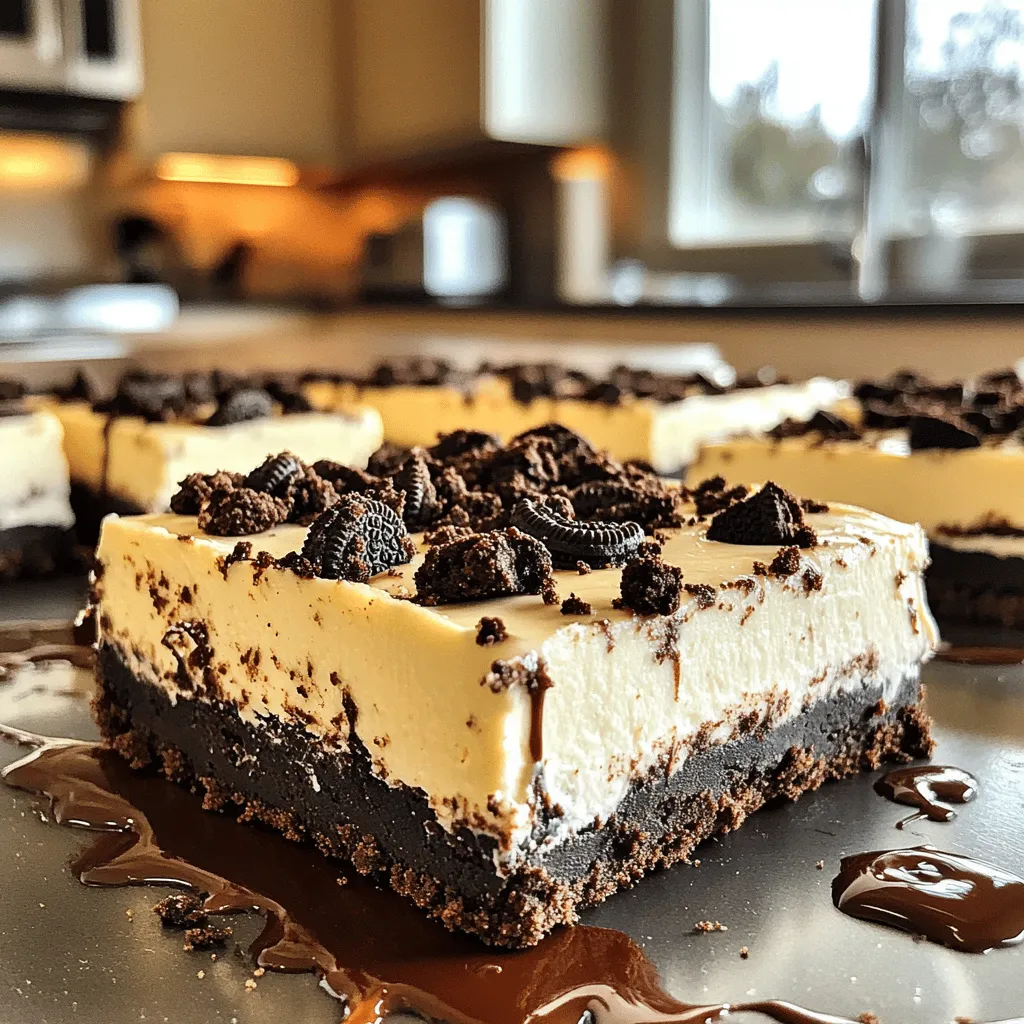
If you love cookies and cream, you’re in for a treat! These No Bake Cookies and Cream Cheesecake Bars are
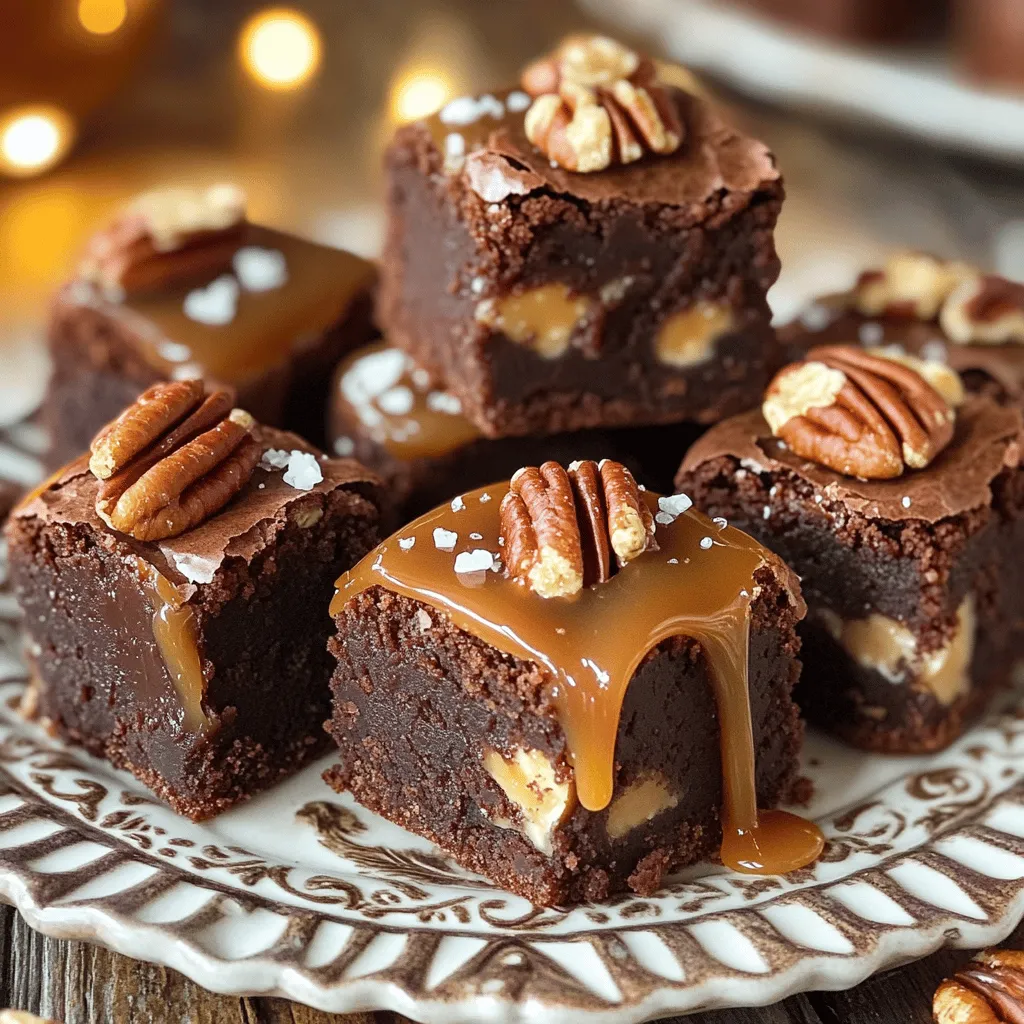
If you’re looking for a dessert that combines sweet, chewy, and crunchy in every bite, you’re in the right place!

If you love soft, moist muffins bursting with flavor, you need to try these Bakery Style Apple Cider Muffins. With
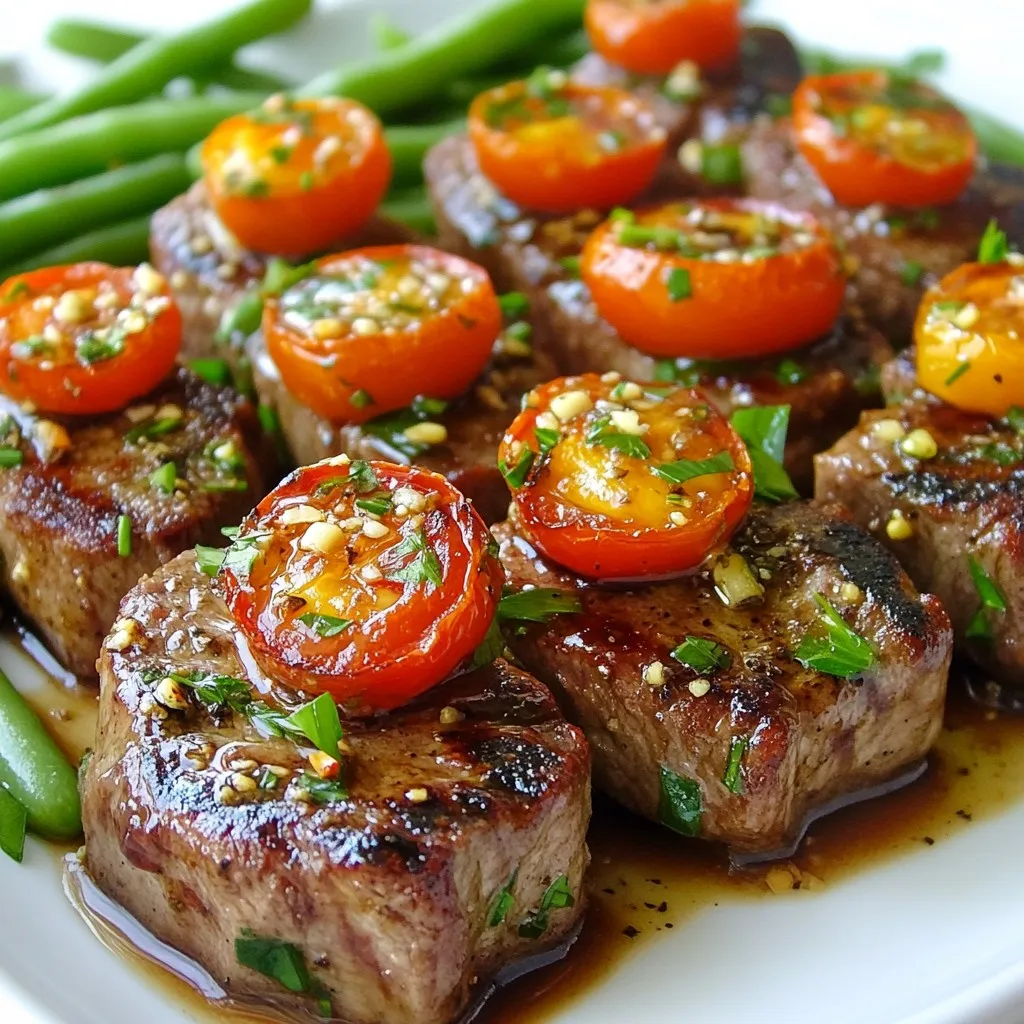
Looking for an easy dinner that packs a punch? You’ll love my Sheet Pan Garlic Butter Steak Bites! This tasty

If you’re craving a warm, hearty bowl of soup, look no further than my Instant Pot Creamy Chicken Noodle Soup
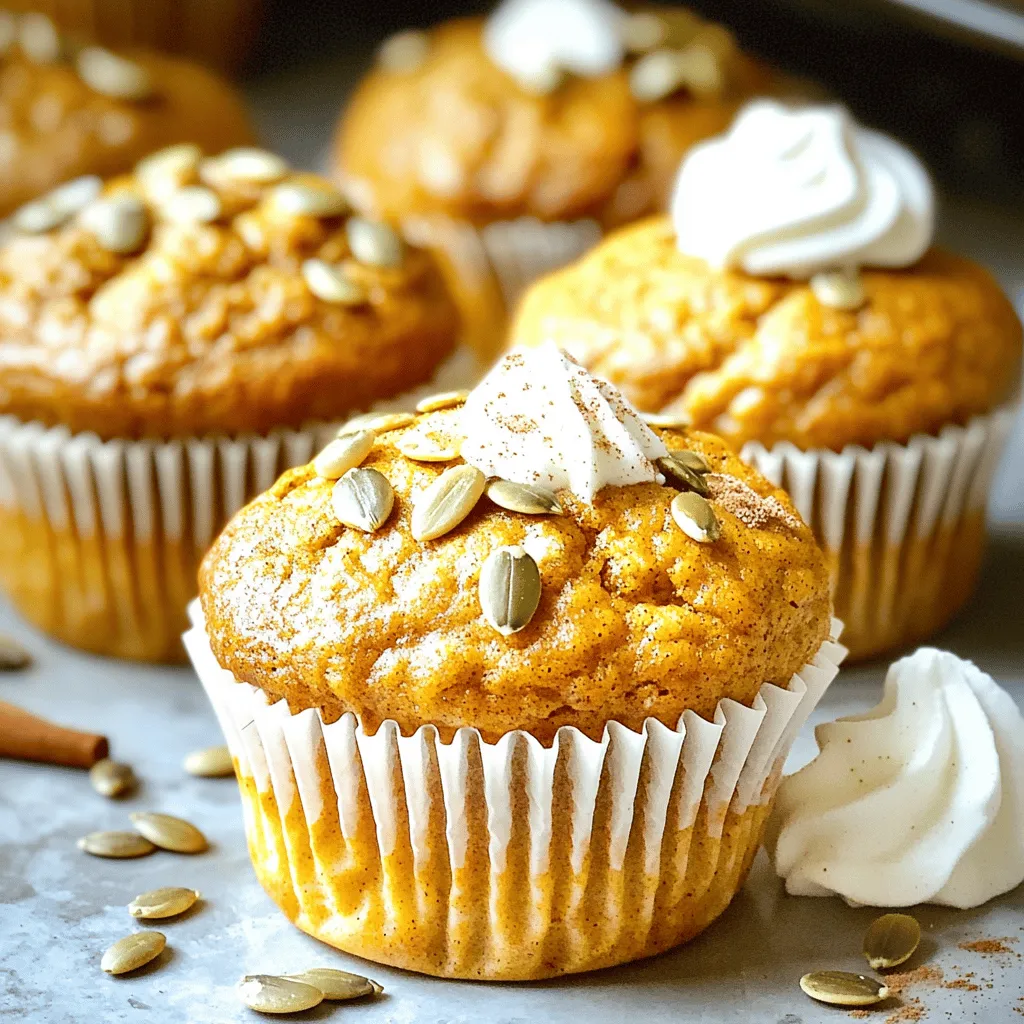
Are you ready to enjoy fall’s favorite flavor? These Pumpkin Spice Latte Muffins combine warm spices and rich pumpkin puree,
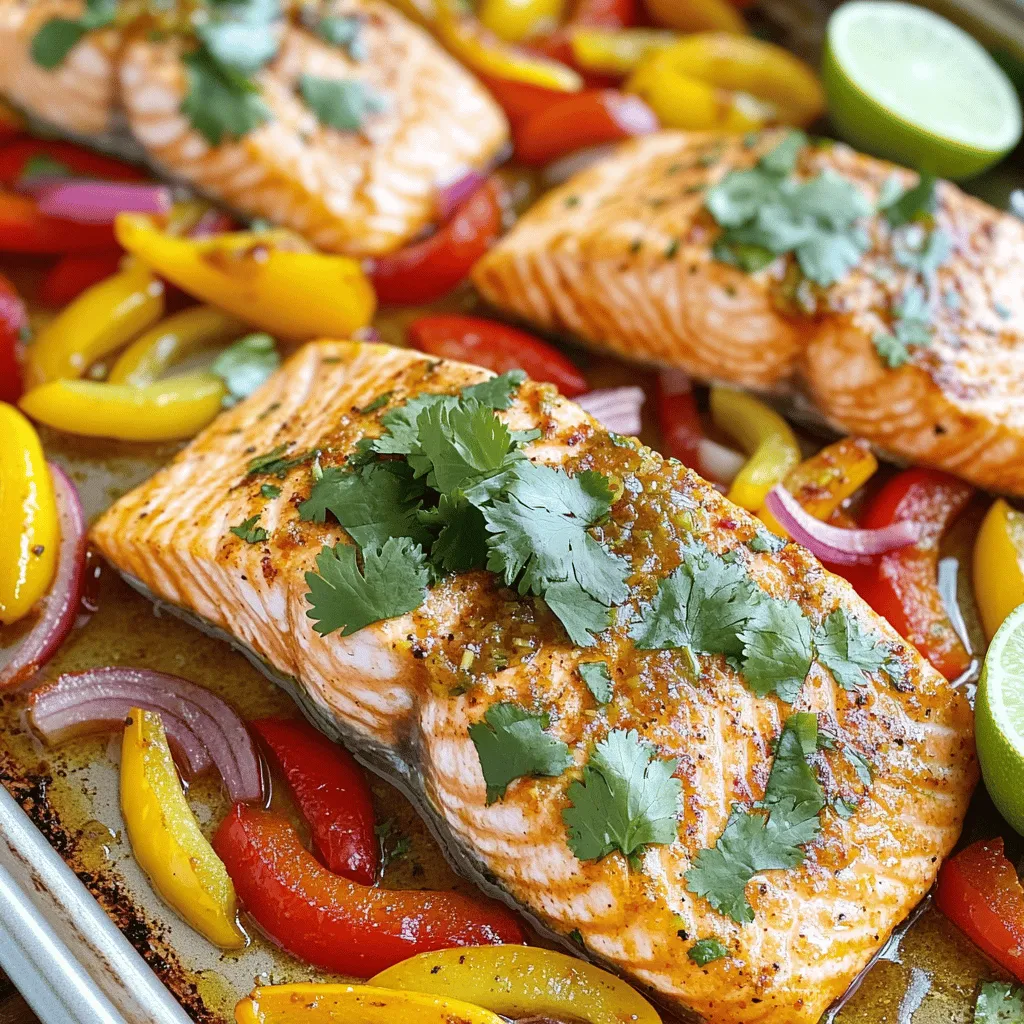
Ready for a quick, tasty dinner? My Sheet Pan Fajita Salmon is the perfect dish! It’s easy to make, packed

Craving a sweet and salty snack? You’ll love this easy recipe for Chocolate Covered Pretzel Bark! In just a few
