
Teriyaki Chicken Lettuce Wraps Tasty and Simple Meal
If you’re looking for a quick, tasty meal, try Teriyaki Chicken Lettuce Wraps! These wraps are simple to make and

If you’re looking for a quick, tasty meal, try Teriyaki Chicken Lettuce Wraps! These wraps are simple to make and
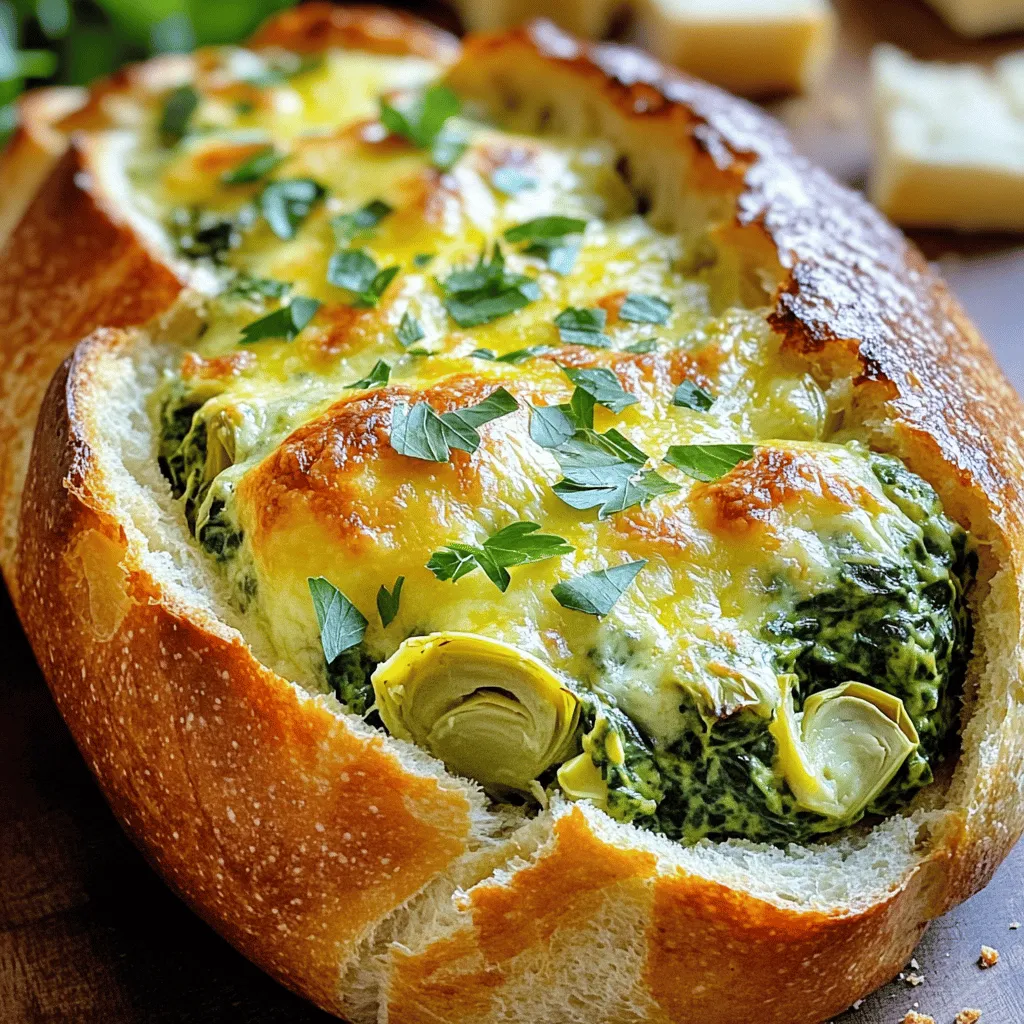
If you’re searching for a dish that wows, look no further! Spinach Artichoke Dip Stuffed Bread combines creamy, savory flavors

Looking for a quick, healthy treat? These Blueberry Protein Muffins are here for you! Packed with protein and bursting with

Welcome to the mouthwatering world of Herb Roasted Chicken and Potatoes! In this post, I’ll show you how to create
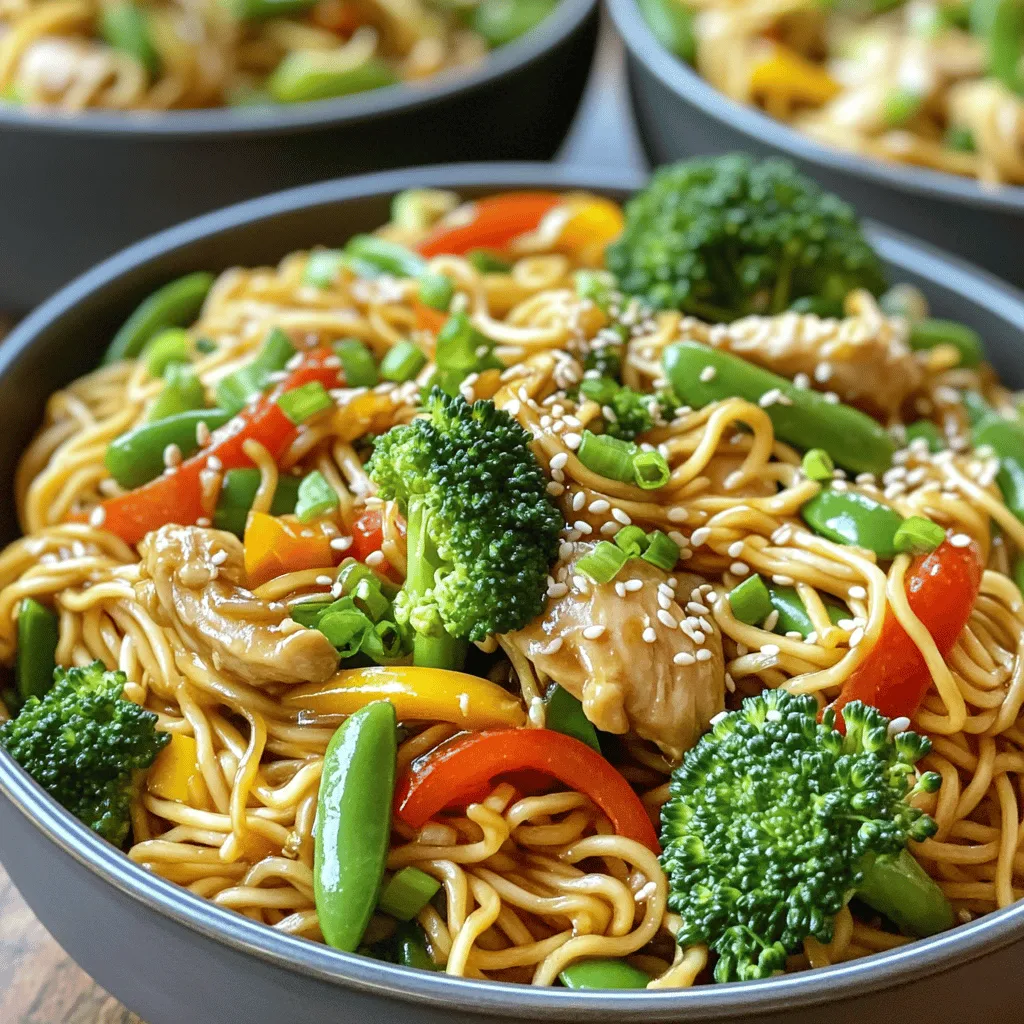
Looking for a quick and tasty dinner? Chicken Lo Mein is your answer! This easy weeknight meal packs flavor and

Looking for a quick, tasty meal? Let me introduce you to Garlic Butter Salmon Rice Bowls! This easy recipe packs

Are you ready to bring the cozy flavors of fall to your kitchen? These Pumpkin Spice Latte Cupcakes combine rich
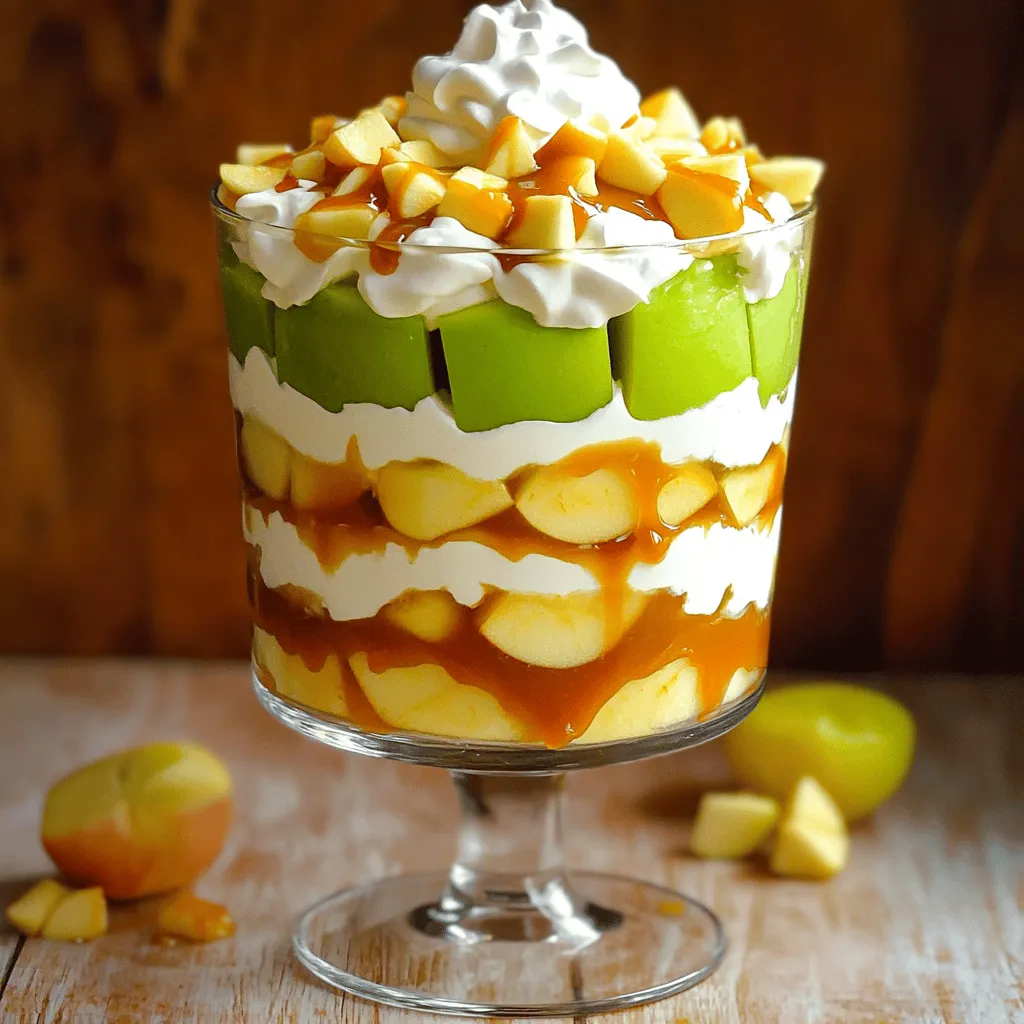
Indulging in a Caramel Apple Trifle is a sweet joy you must try! This dessert blends creamy layers of caramel,
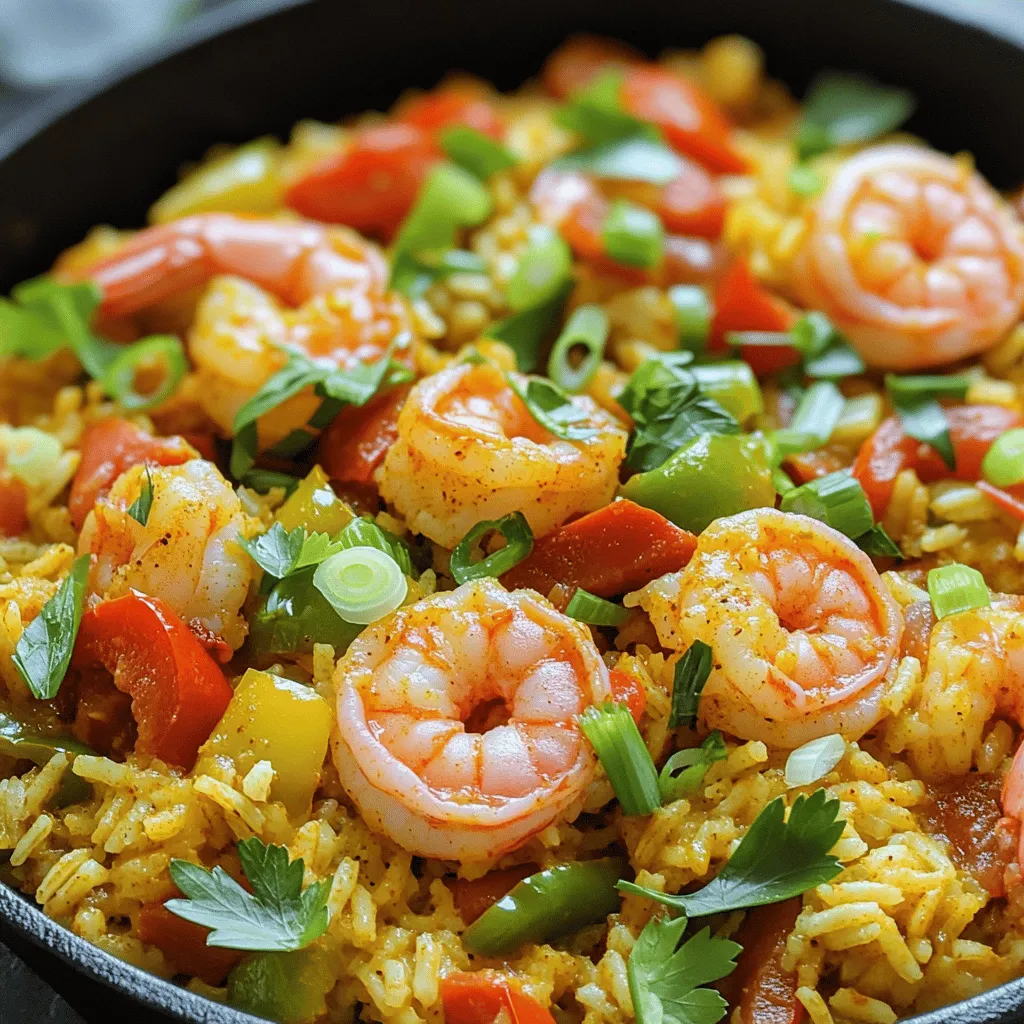
Are you ready to whip up a delicious dinner in no time? This Cajun Shrimp and Rice Skillet recipe is
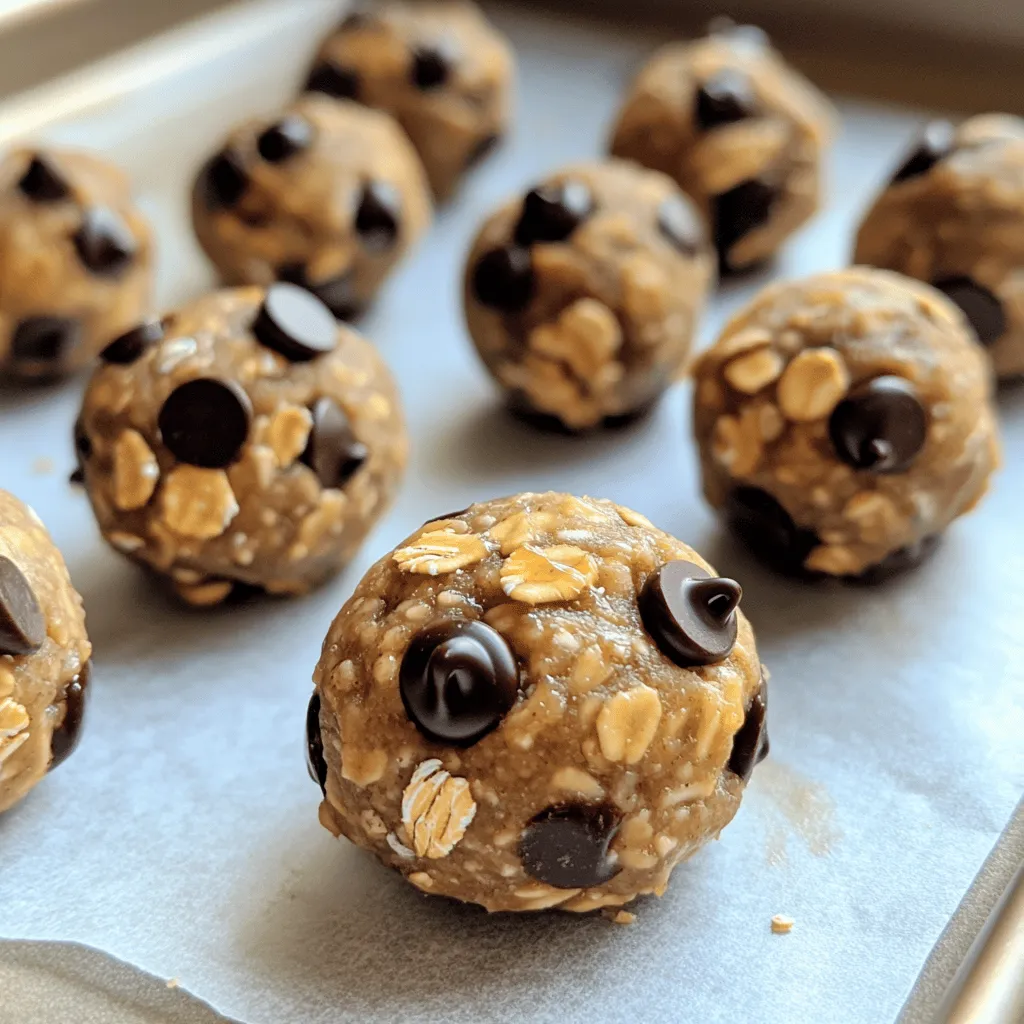
Are you craving a tasty snack that boosts your energy? Look no further than Peanut Butter Chocolate Chip Energy Bites!
