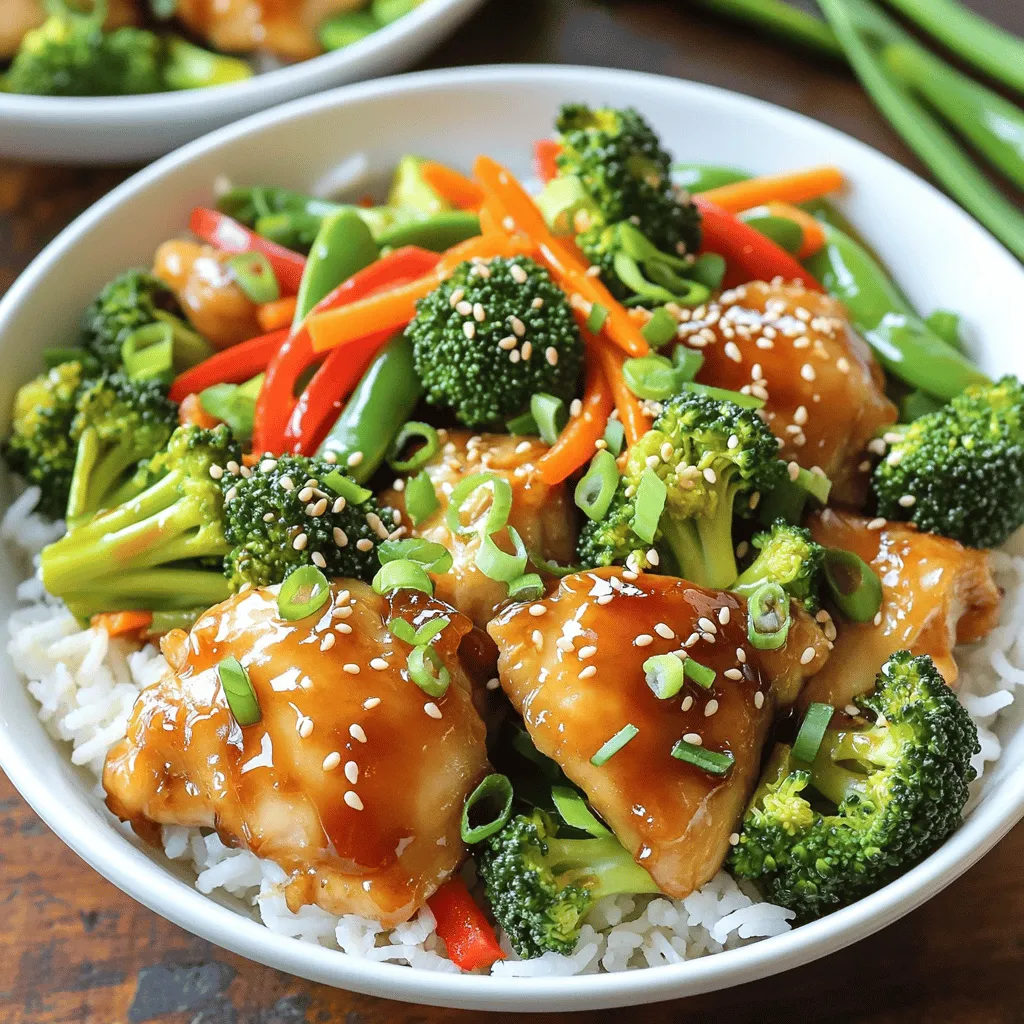
Better-Than-Takeout Sesame Chicken Bowls for Dinner
Craving takeout but want something better? I’ve got just the recipe for you! My Better-Than-Takeout Sesame Chicken Bowls are a

Craving takeout but want something better? I’ve got just the recipe for you! My Better-Than-Takeout Sesame Chicken Bowls are a
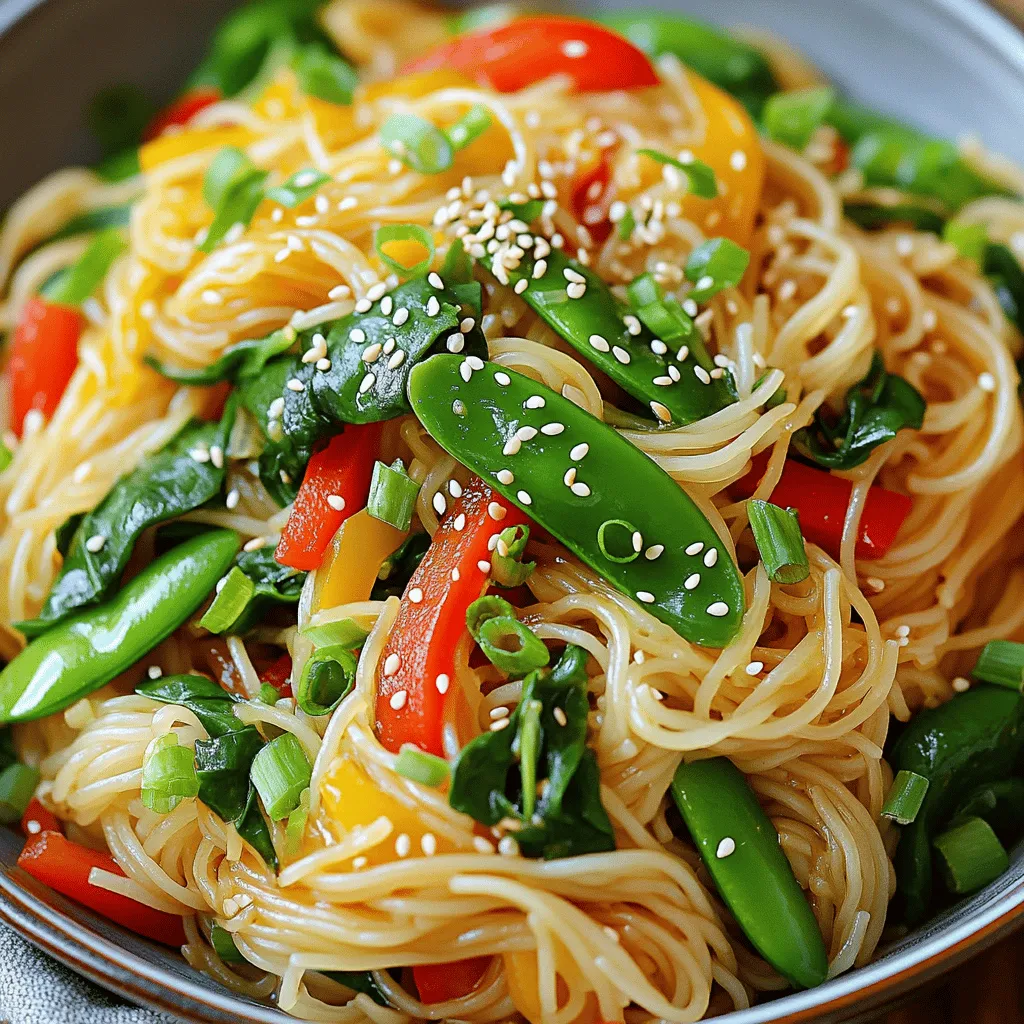
Craving a quick meal that bursts with flavor? Dive into my Minute Garlic Ginger Noodle Stir-Fry! This simple dish combines
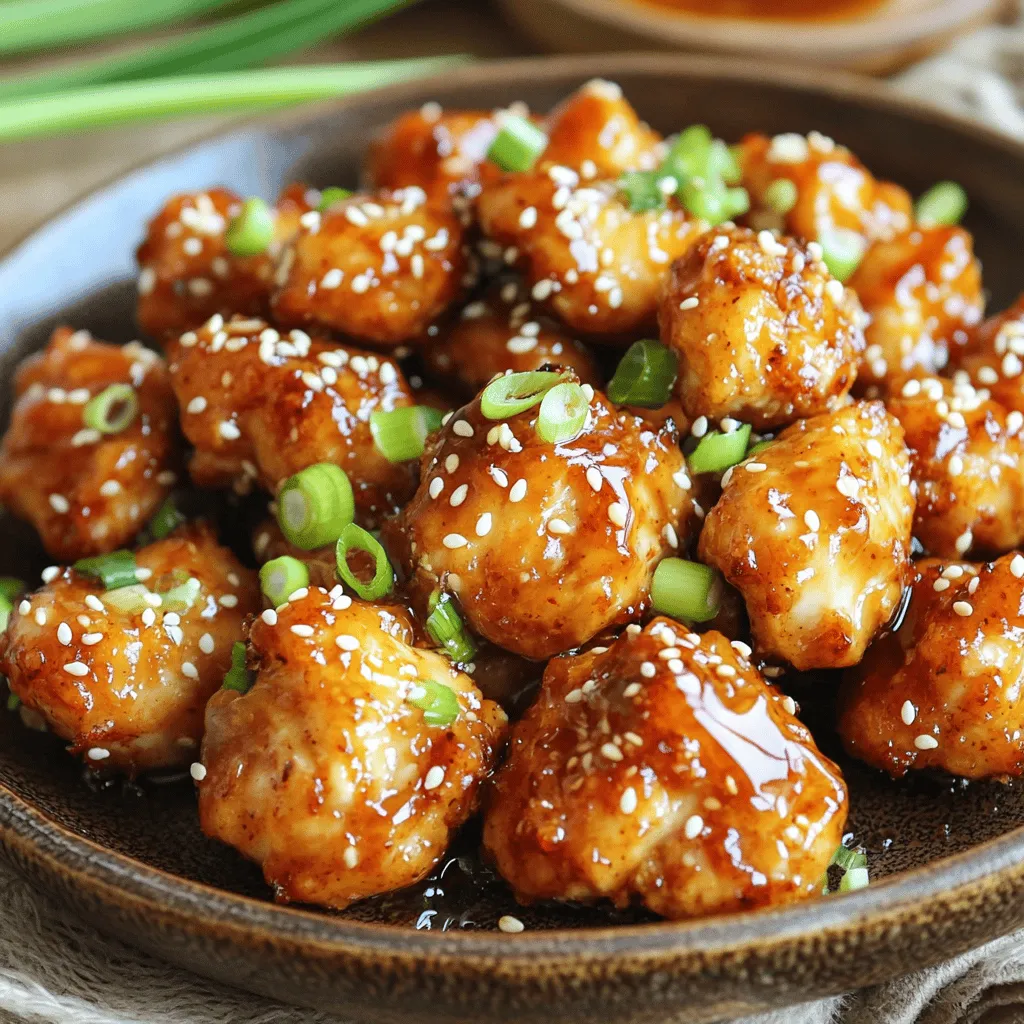
Get ready for a flavor explosion with Air Fryer Spicy Honey Garlic Chicken Bites! If you love sweet and spicy
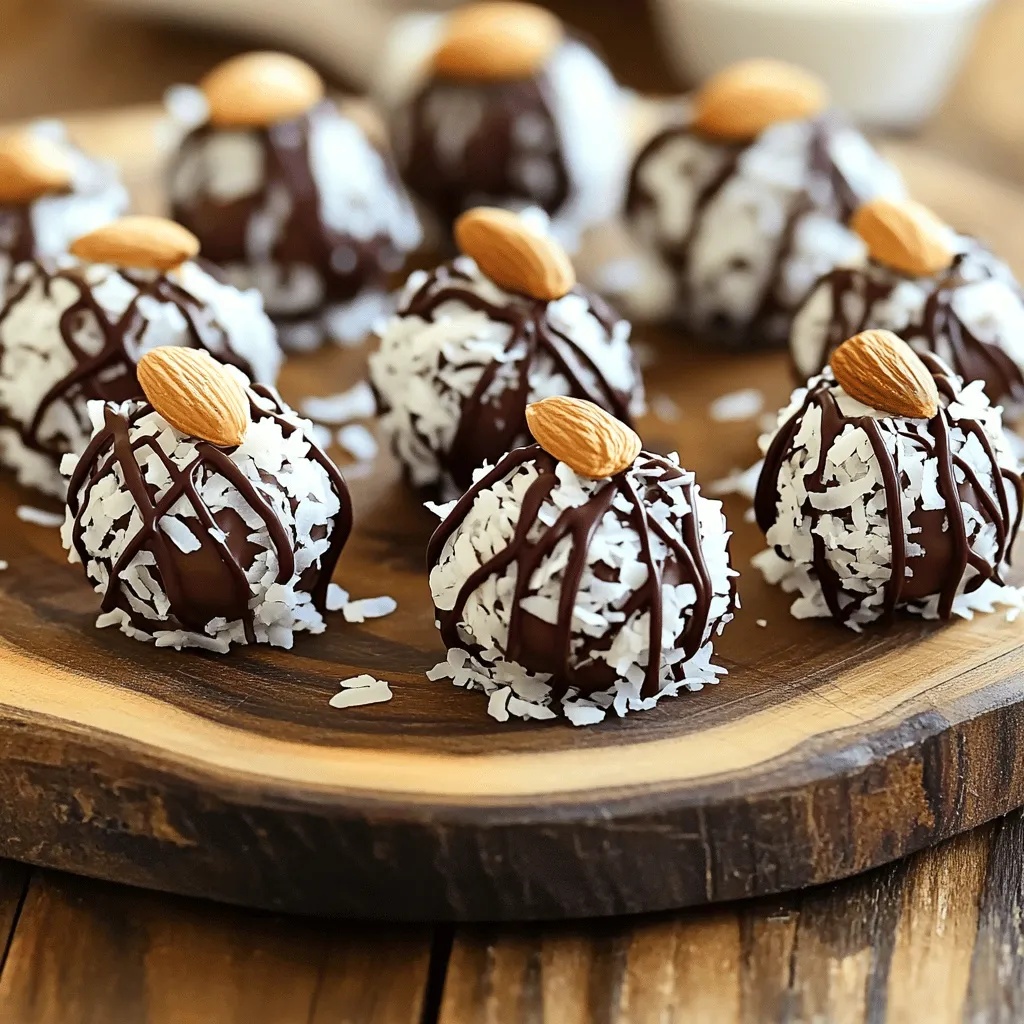
Craving a sweet snack that’s easy to make? Look no further! These No-Bake Chocolate Almond Joy Bites are not only
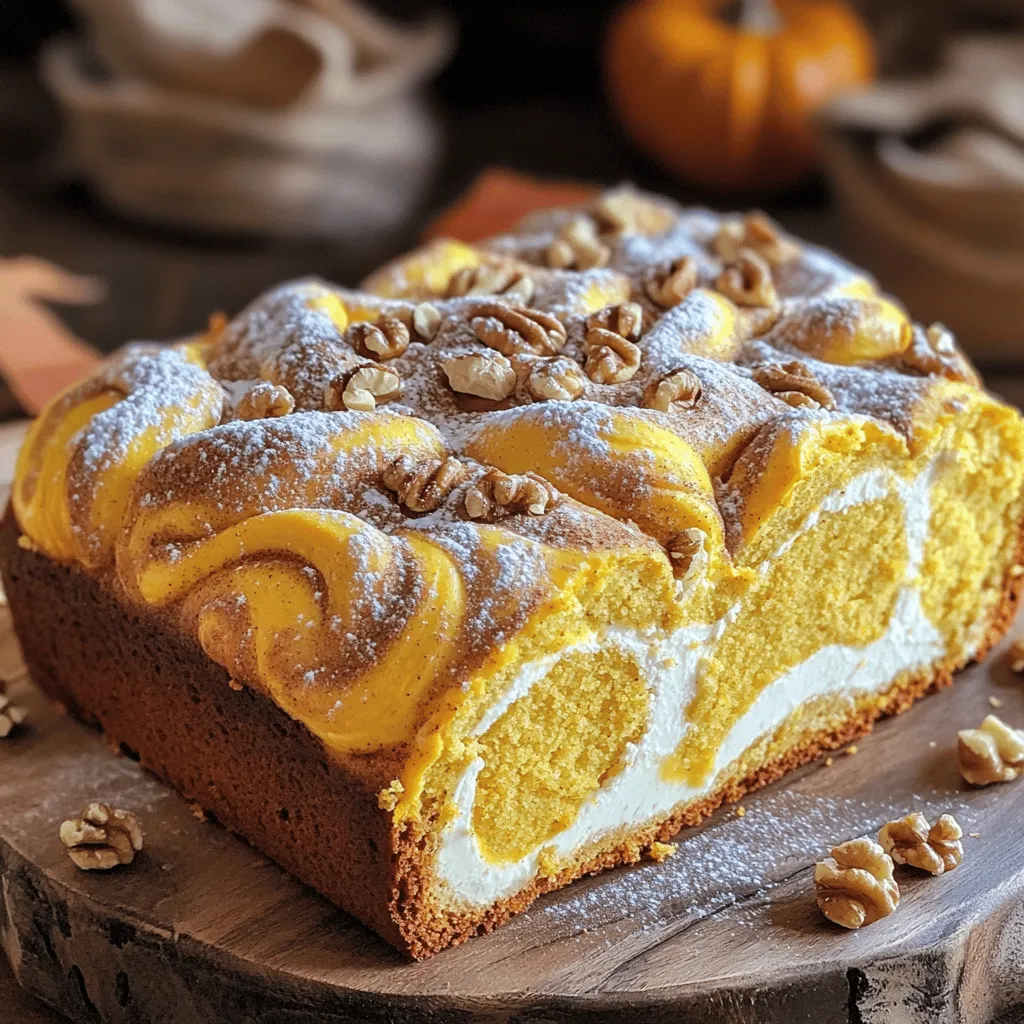
Pumpkin Cream Cheese Loaf is a delightful treat that’s easy to make. I’m excited to share my simple recipe, packed
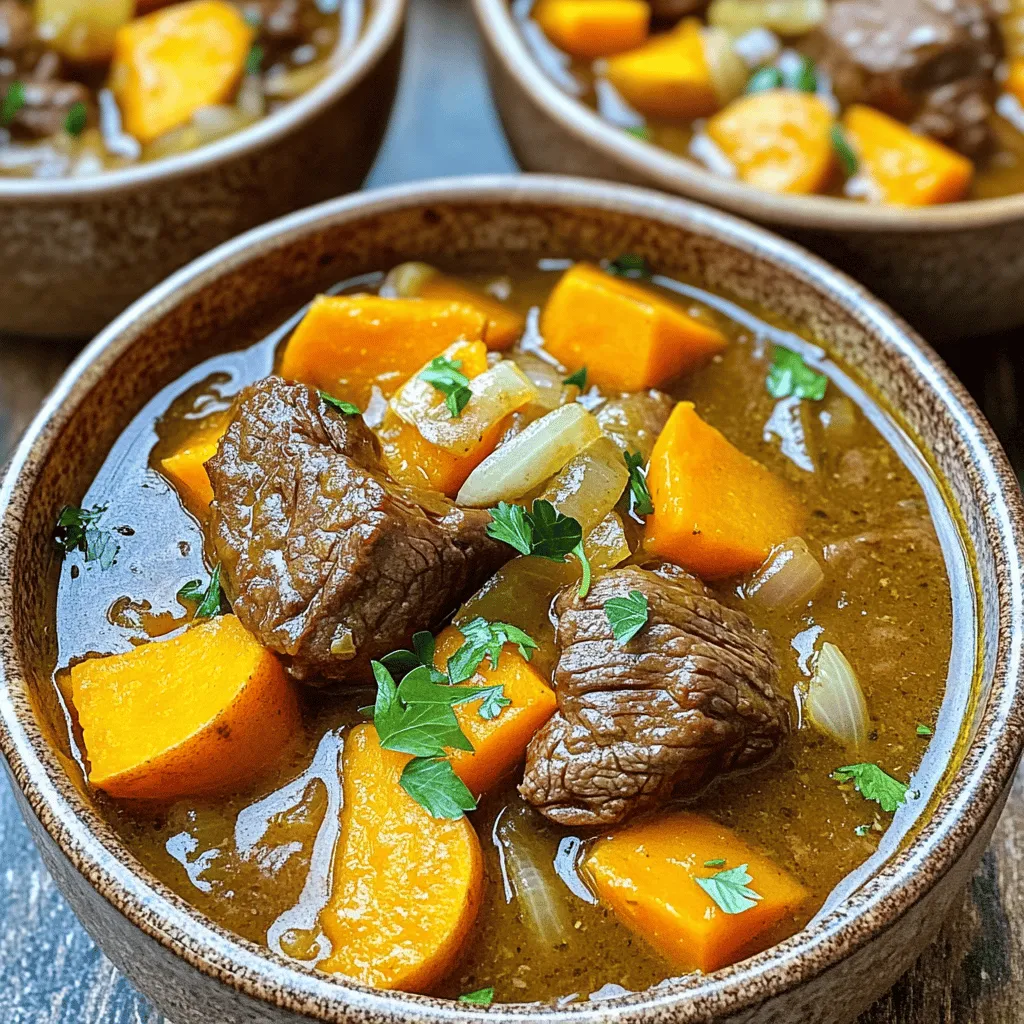
Looking for a cozy and hearty meal that warms both body and soul? My Slow Cooker Beef and Sweet Potato
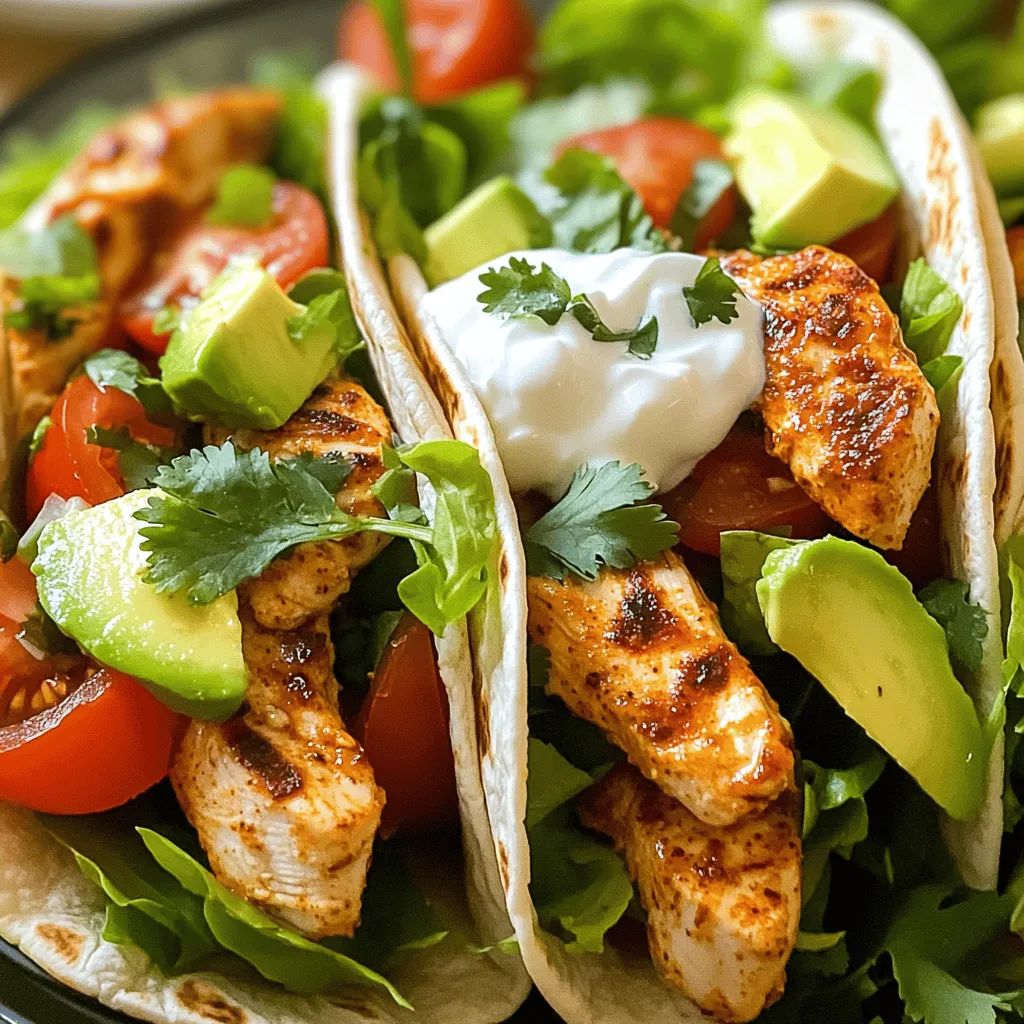
Are you craving a quick, delicious meal that packs a protein punch? If so, my Minute High-Protein Spicy Chicken Wraps

Looking for a quick, tasty dinner? Let me introduce you to my Sheet-Pan Garlic Butter Lemon Shrimp and Veggies dish!
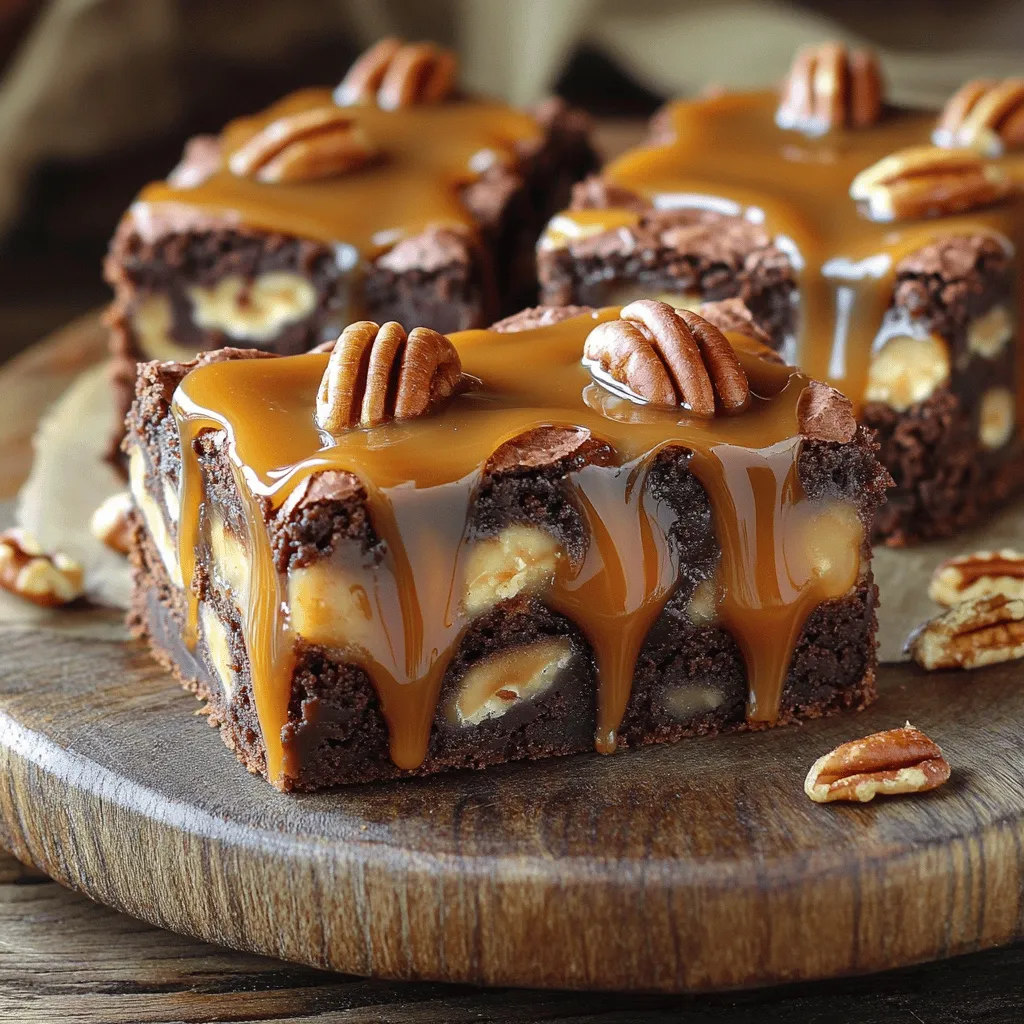
Indulging in a sweet treat has never been easier! My Caramel Pecan Turtle Brownie Bars combine rich chocolate, crunchy pecans,

If you love pancakes, you need to try my Caramelized Banana Pancake Skillet! This recipe brings together the sweet, rich
