
Chocolate Peanut Butter Mug Cake Quick and Easy Treat
Craving a sweet treat but short on time? You can whip up a Chocolate Peanut Butter Mug Cake in just

Craving a sweet treat but short on time? You can whip up a Chocolate Peanut Butter Mug Cake in just
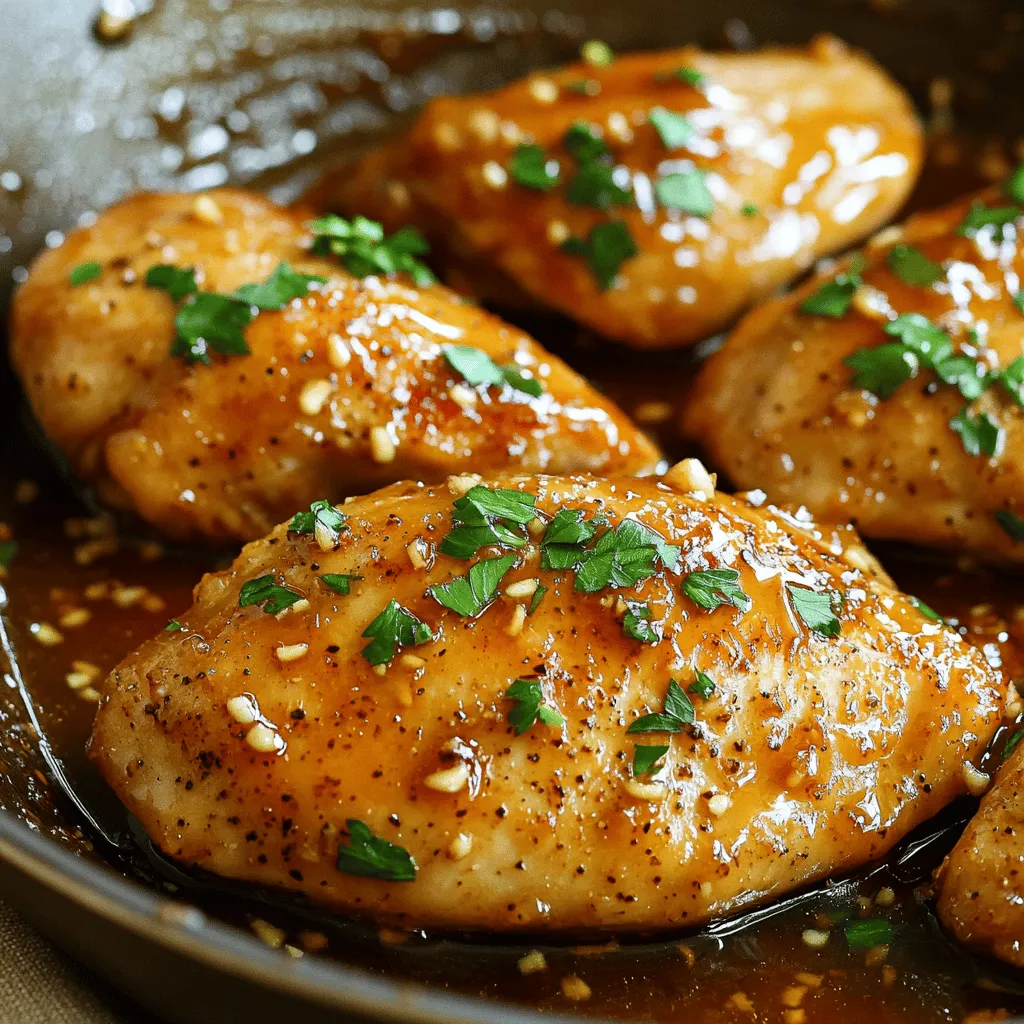
Looking for a quick and tasty meal? Let me introduce you to my One-Pan Honey Garlic Chicken Breasts! This dish
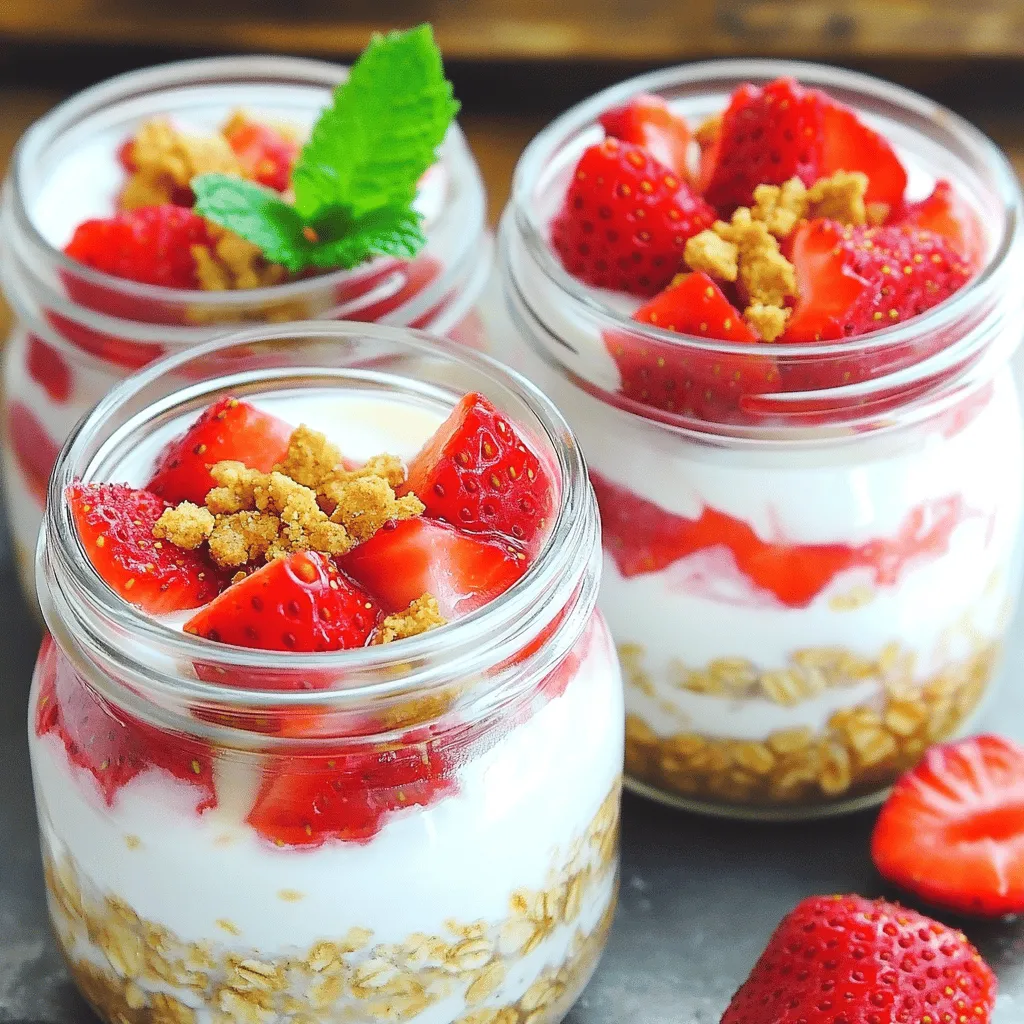
Are you ready to enjoy a delicious and easy breakfast? Strawberry Cheesecake Overnight Oats are the perfect treat to kick-start
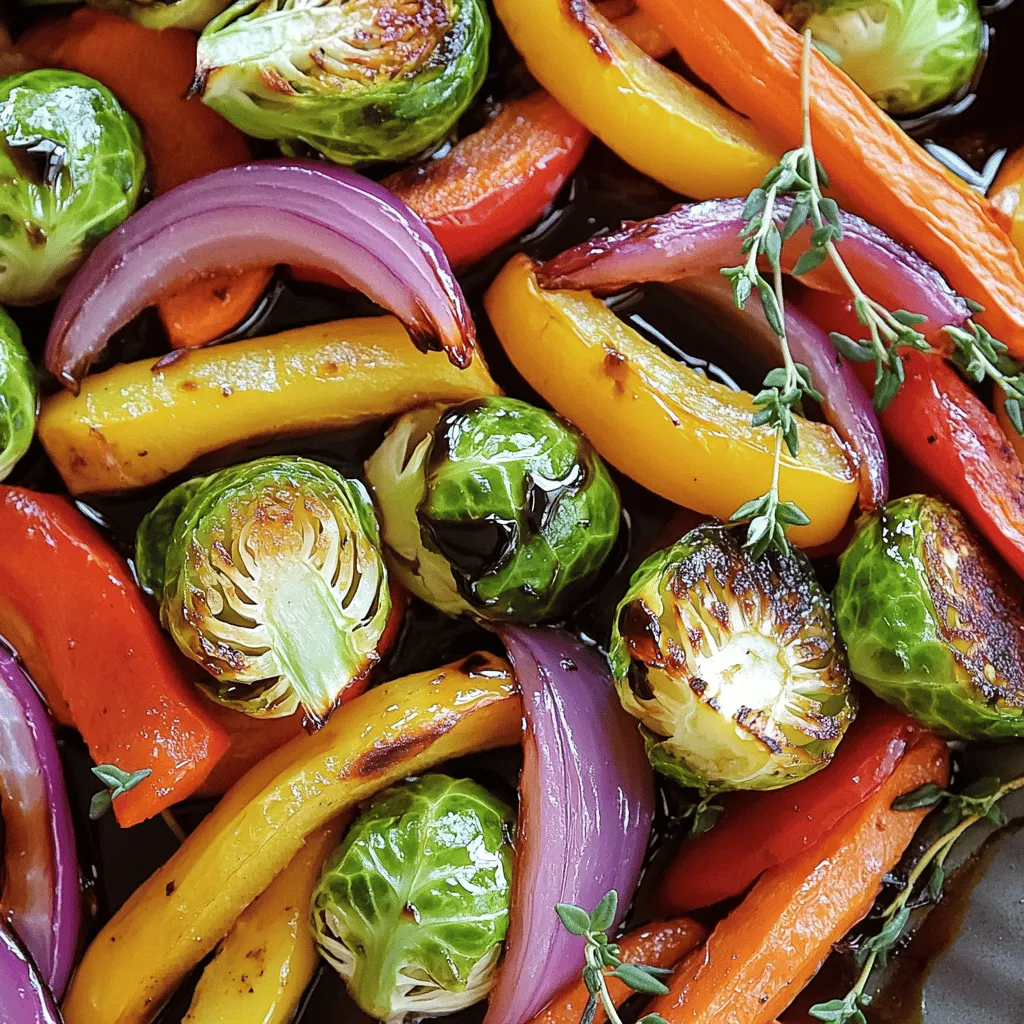
If you’re looking for a dish that bursts with flavor and is super easy to make, look no further! Balsamic
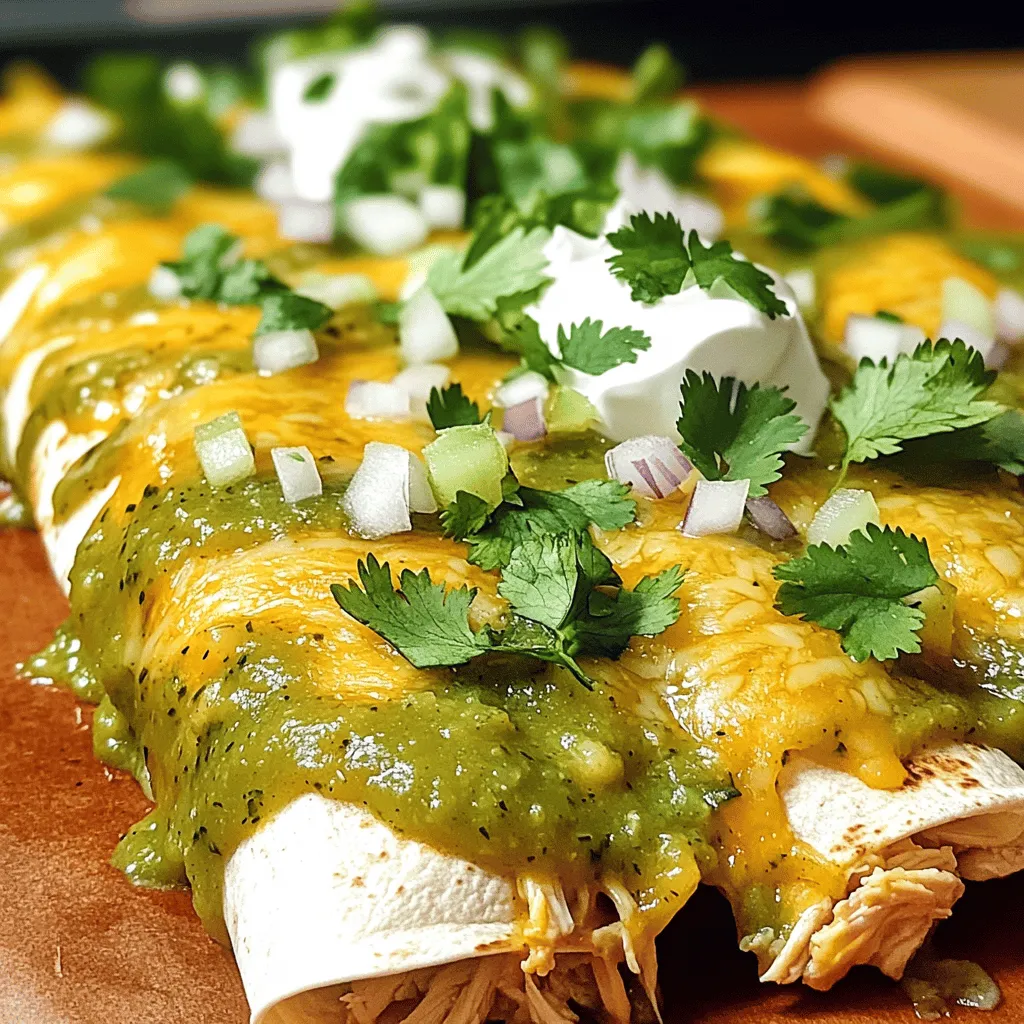
If you’re craving a simple yet delicious meal, look no further than Salsa Verde Chicken Enchiladas. In this post, I’ll
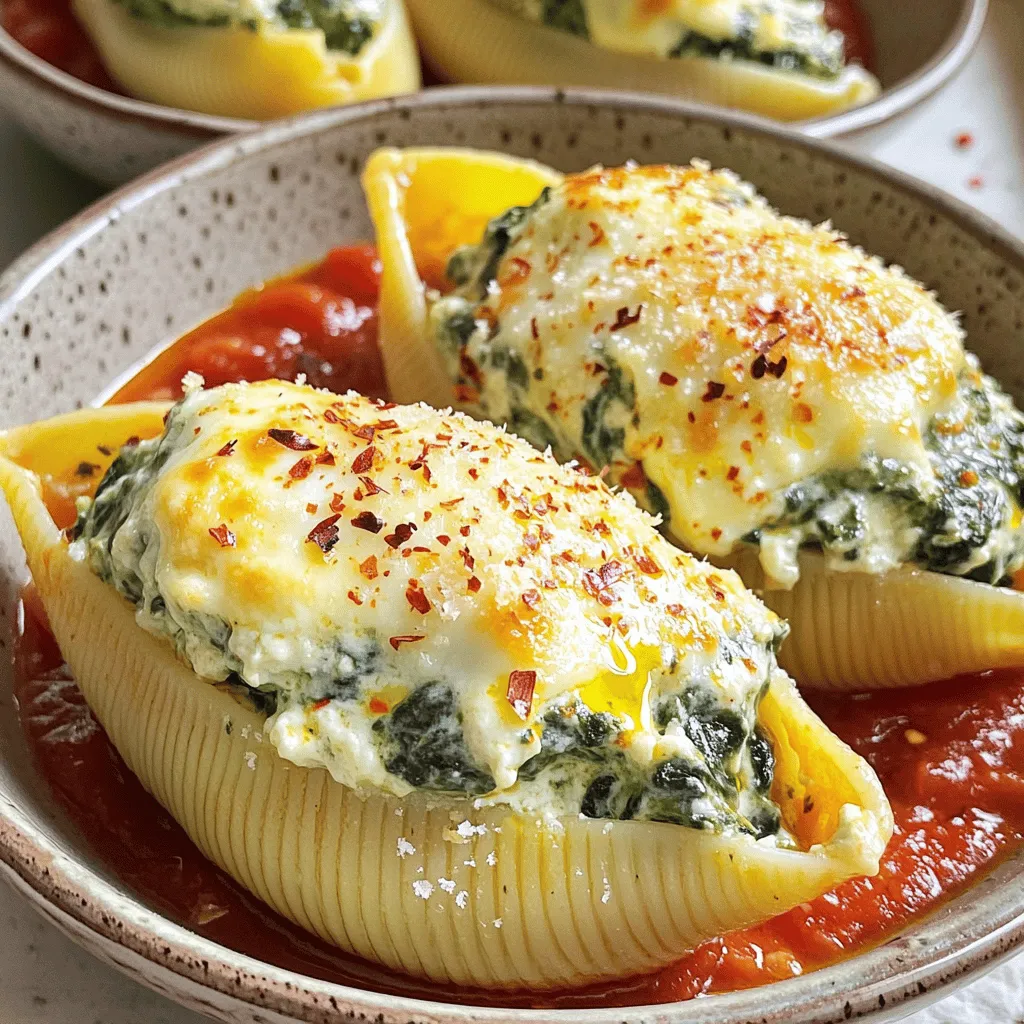
Are you ready to spice up your dinner table? Creamy Spinach Stuffed Shells are not only flavorful, but they are
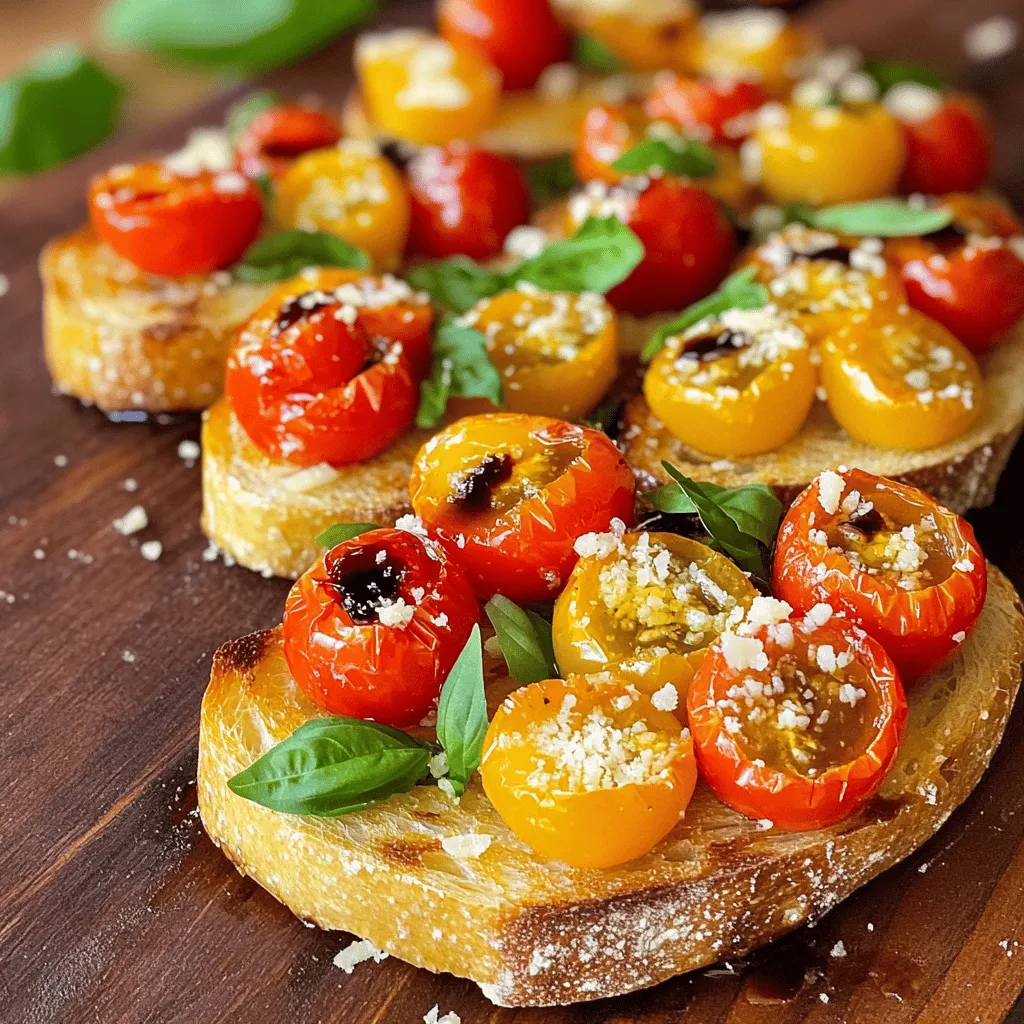
If you’re looking for a delicious appetizer that’s easy to make, you’ve found it! Roasted Garlic Tomato Bruschetta is a
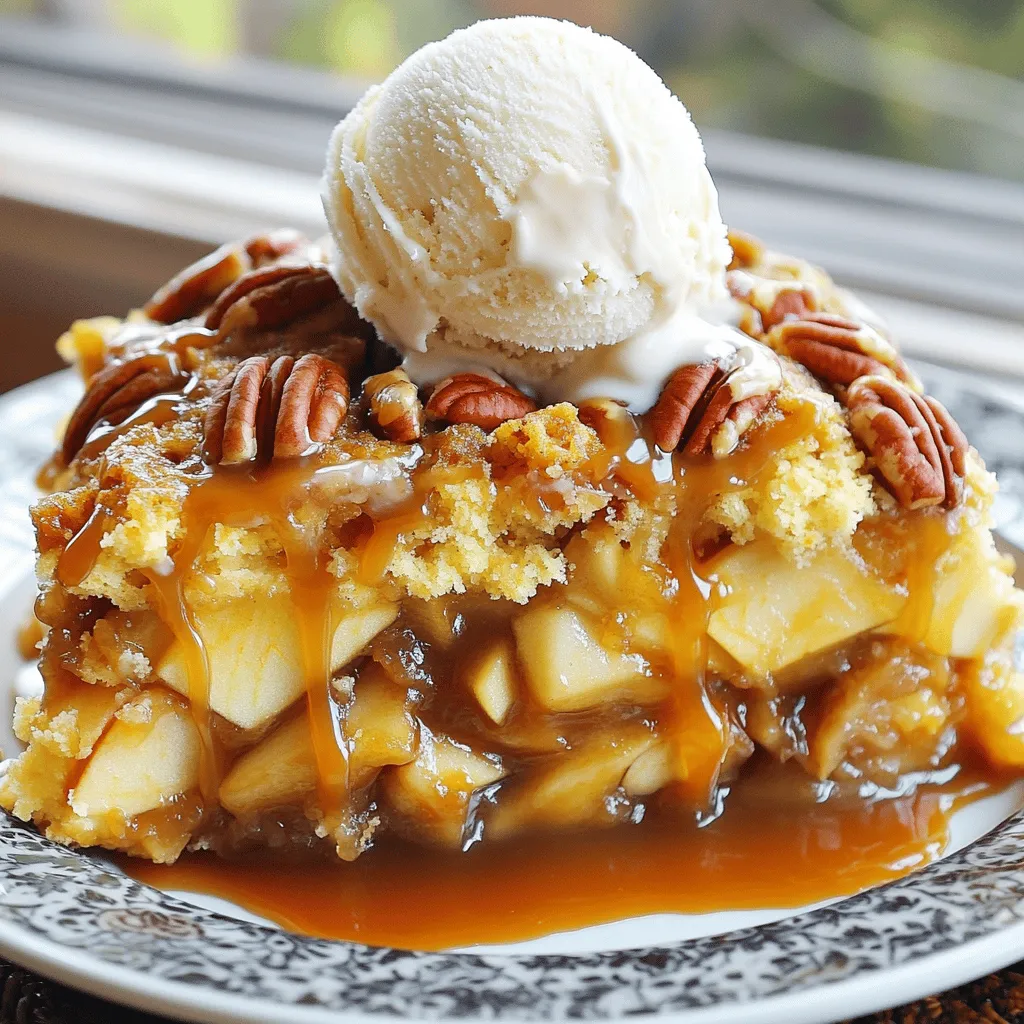
If you crave a simple yet delicious dessert, look no further! This Caramel Apple Dump Cake is your go-to fall
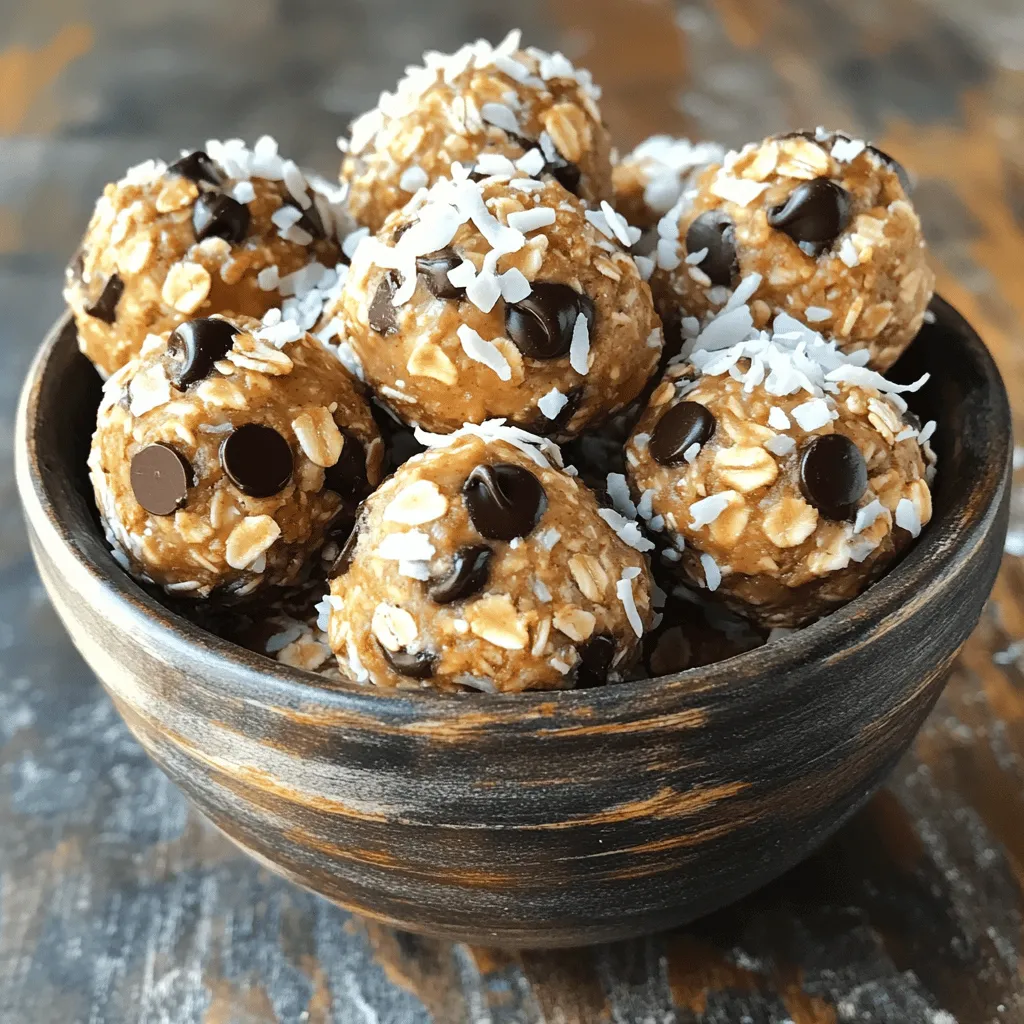
Looking for a quick, tasty snack that gives you energy? Try my Almond Joy Energy Bites! Packed with healthy oats,
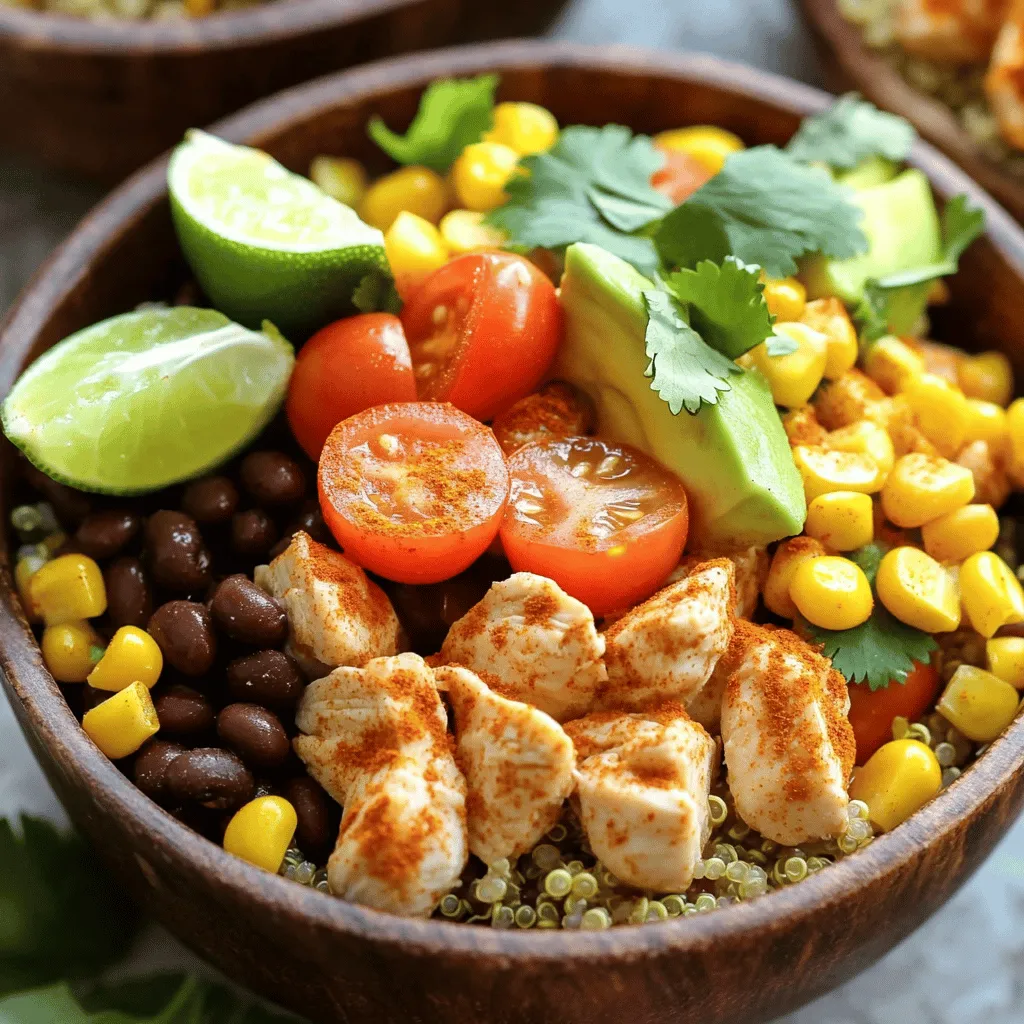
Are you ready to whip up a meal that’s both tasty and easy? My Savory Southwest Chicken Burrito Bowls are
