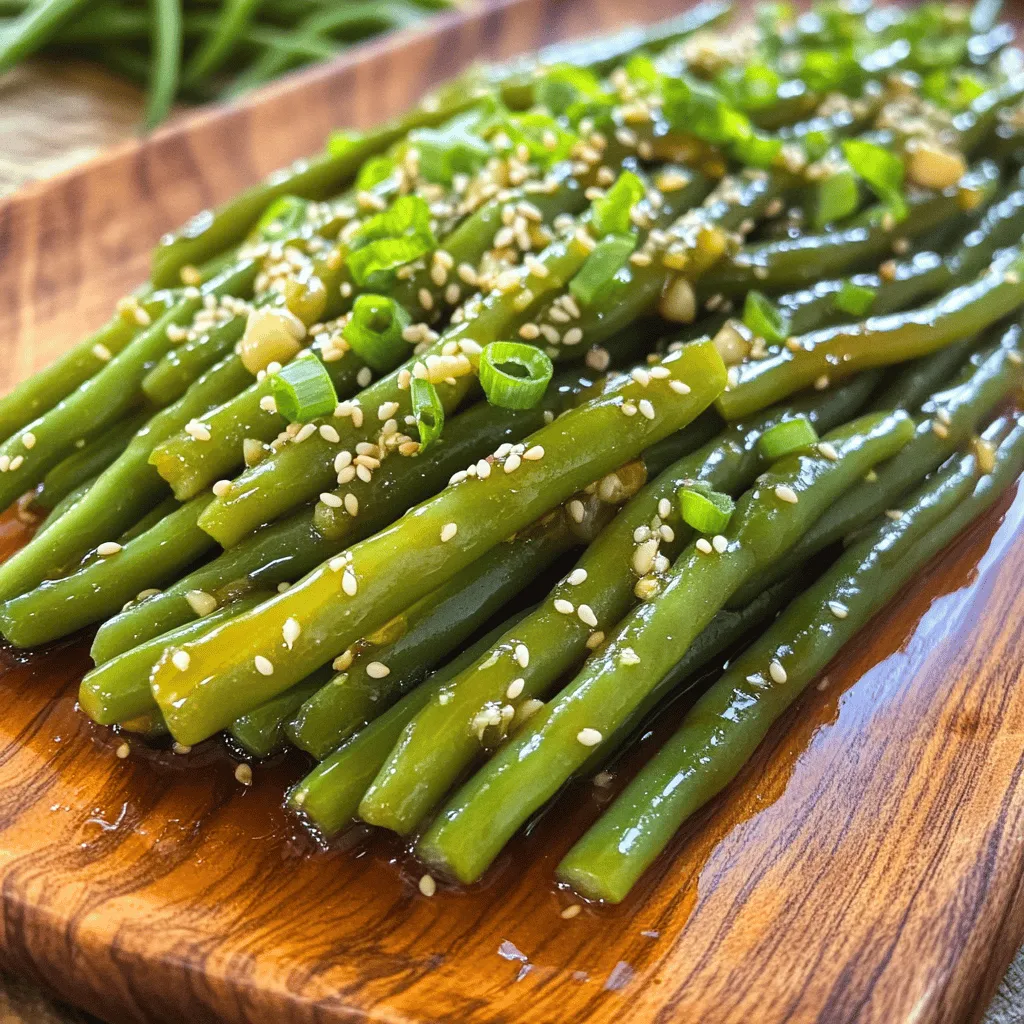
Savory Honey Garlic Green Beans Quick and Easy Dish
Looking for a simple side dish that packs a punch? Savory Honey Garlic Green Beans are quick to make and

Looking for a simple side dish that packs a punch? Savory Honey Garlic Green Beans are quick to make and
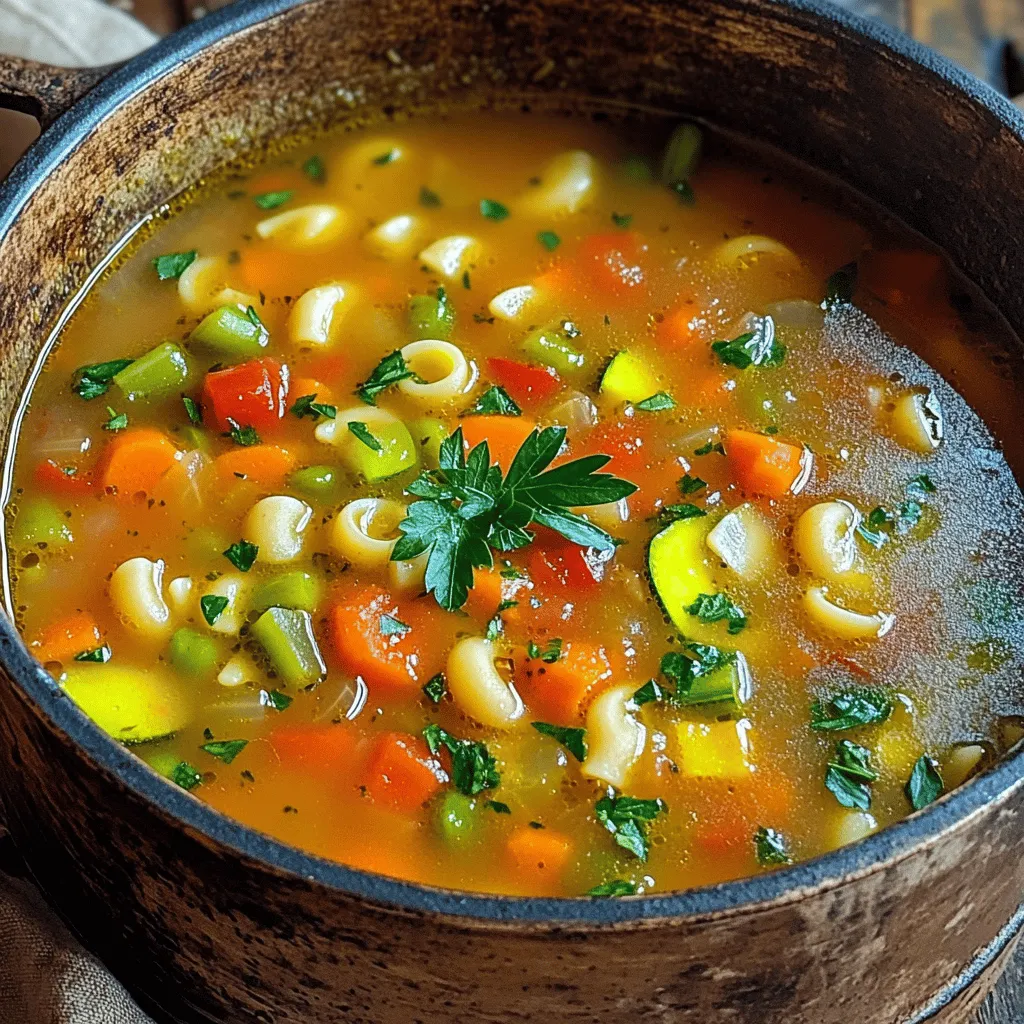
Looking for a warm, filling meal that’s also packed with nutrients? Say hello to my veggie-packed minestrone! This hearty dish
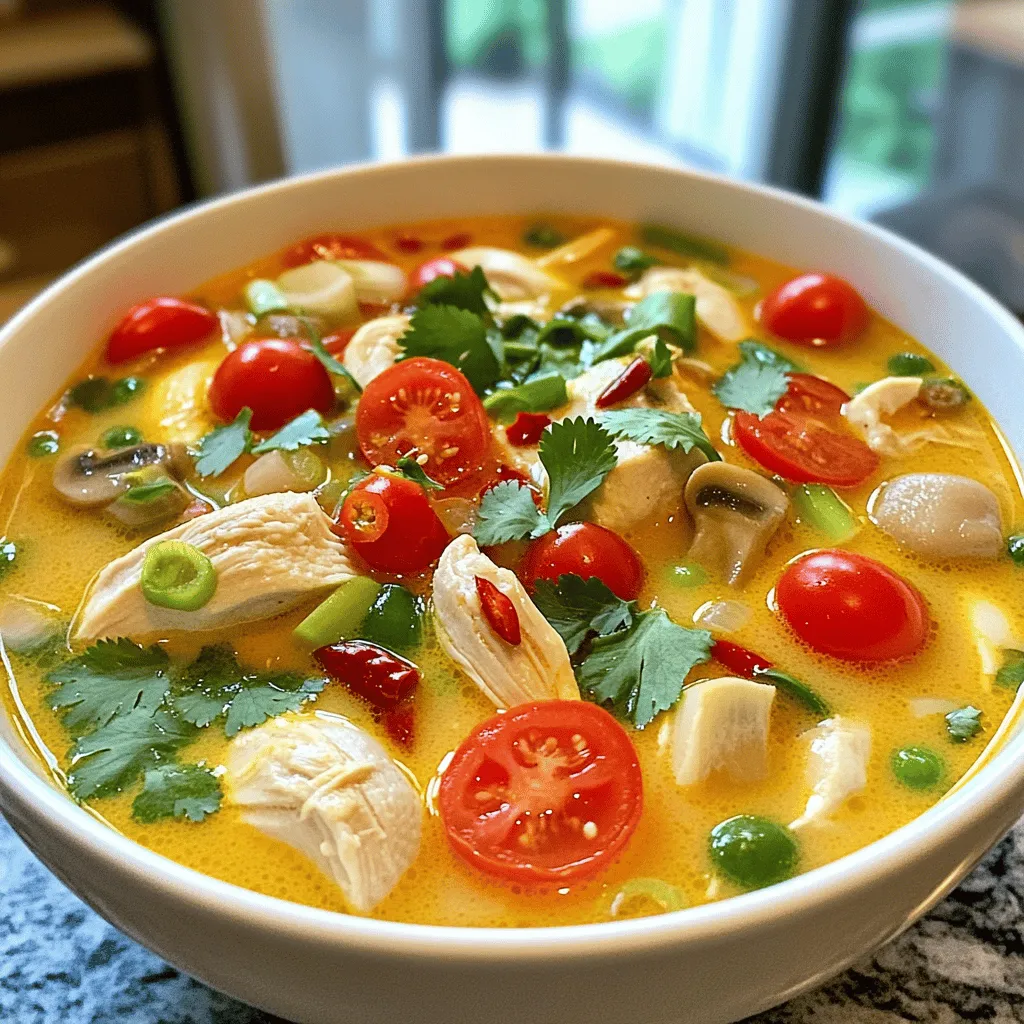
Get ready to dive into a bowl of Spicy Thai Chicken Soup, a hearty delight that will warm your soul!
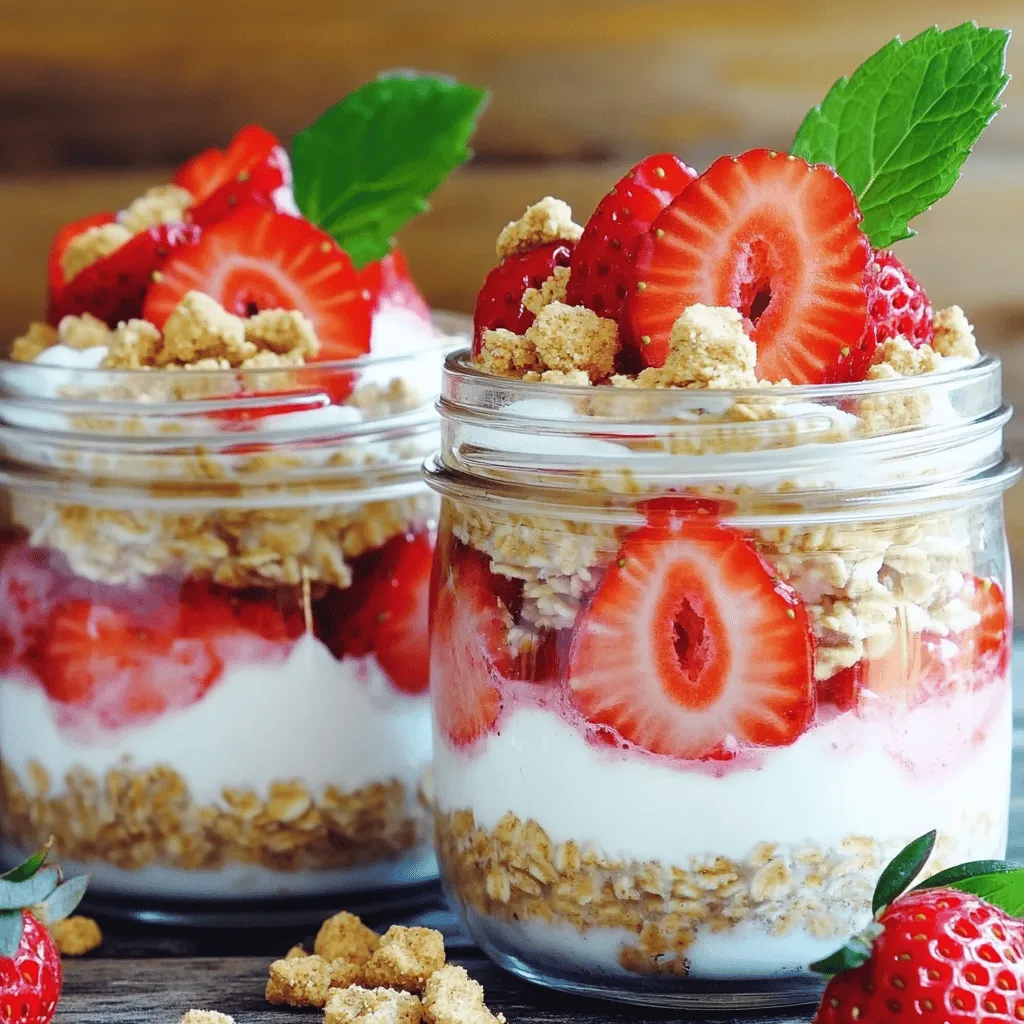
Want a yummy start to your day? Try my Strawberry Cheesecake Overnight Oats! They’re creamy, sweet, and super easy to

Are you ready to treat yourself to a delicious and healthy snack? This Blueberry Coconut Chia Pudding recipe is simple
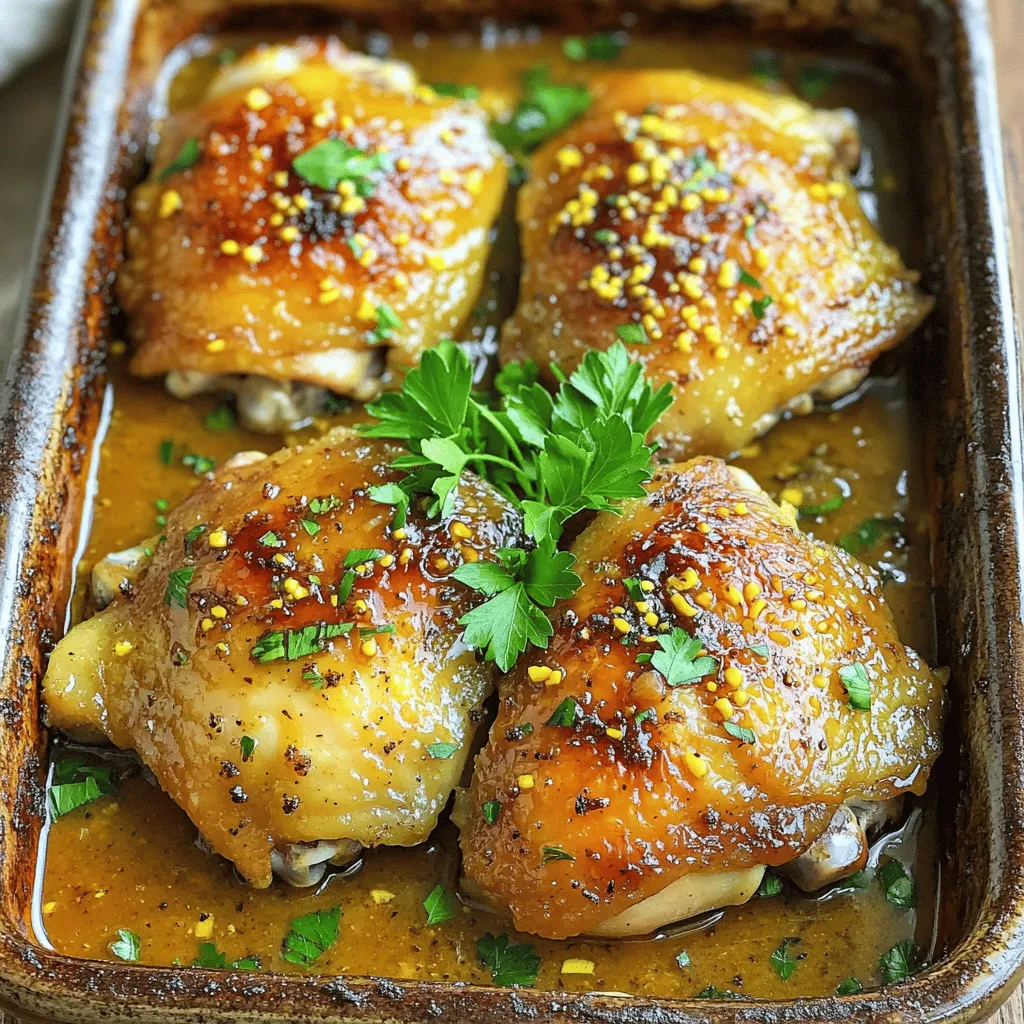
Looking for a dinner idea that’s both easy and packed with flavor? Baked Maple Dijon Chicken Thighs is the answer!
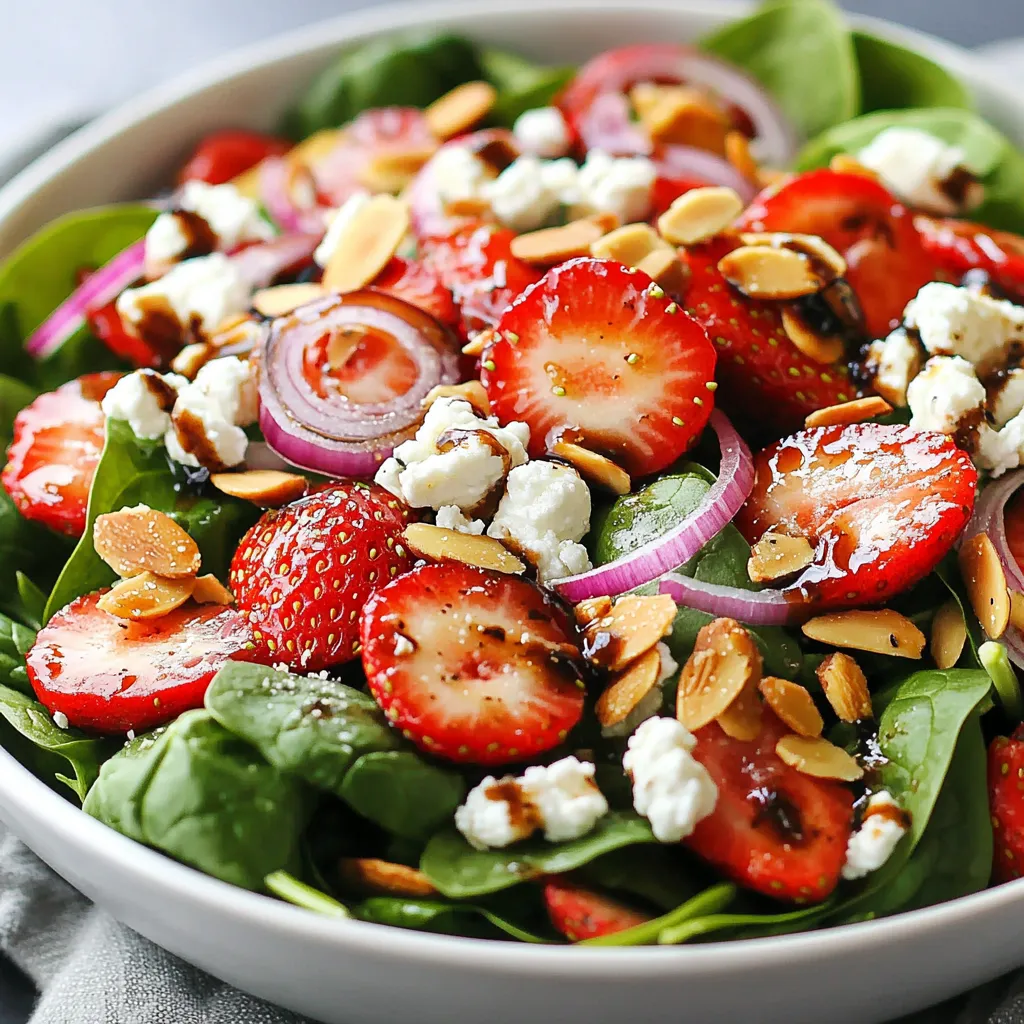
If you’re searching for a light and tasty salad, you’ve found it! The Strawberry Spinach Goat Cheese Salad is a
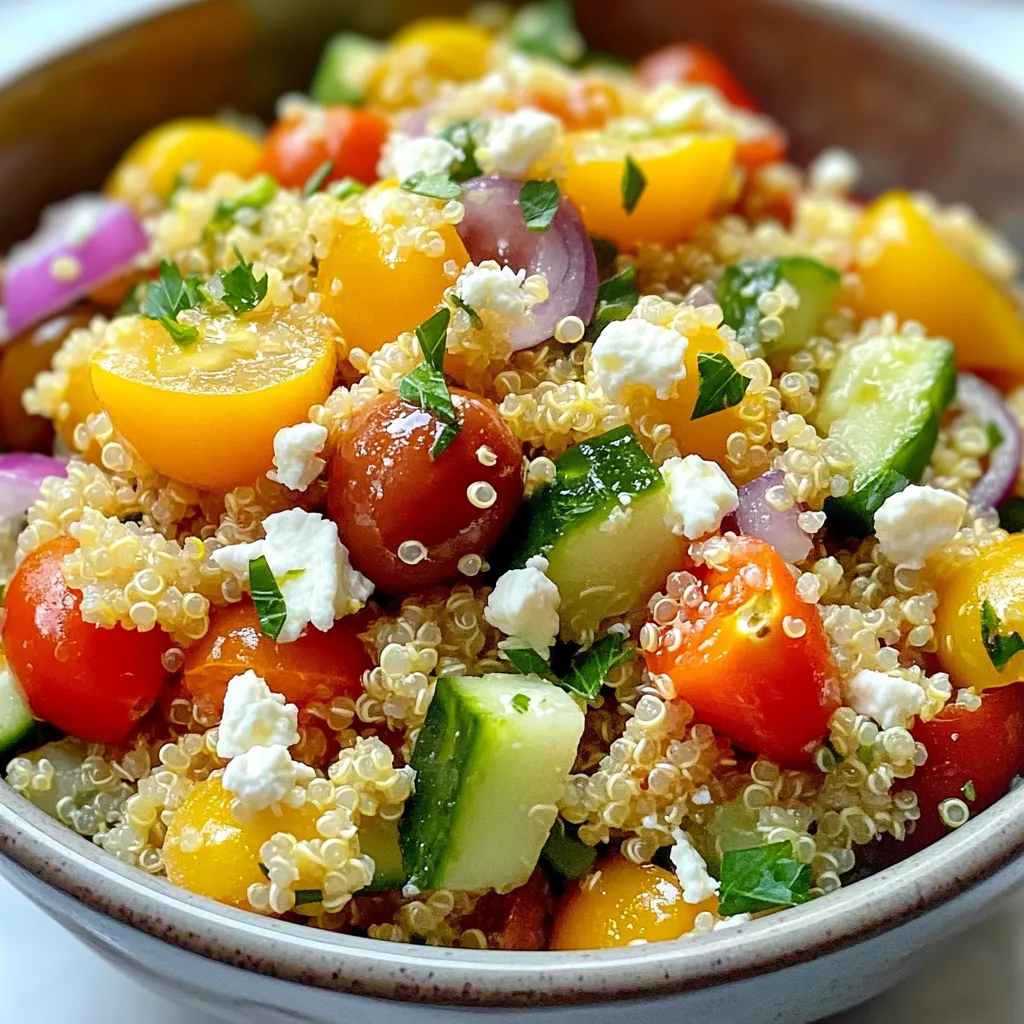
Looking to spice up your meals with a fresh, healthy option? Try my Mediterranean Quinoa Salad! This colorful dish bursts
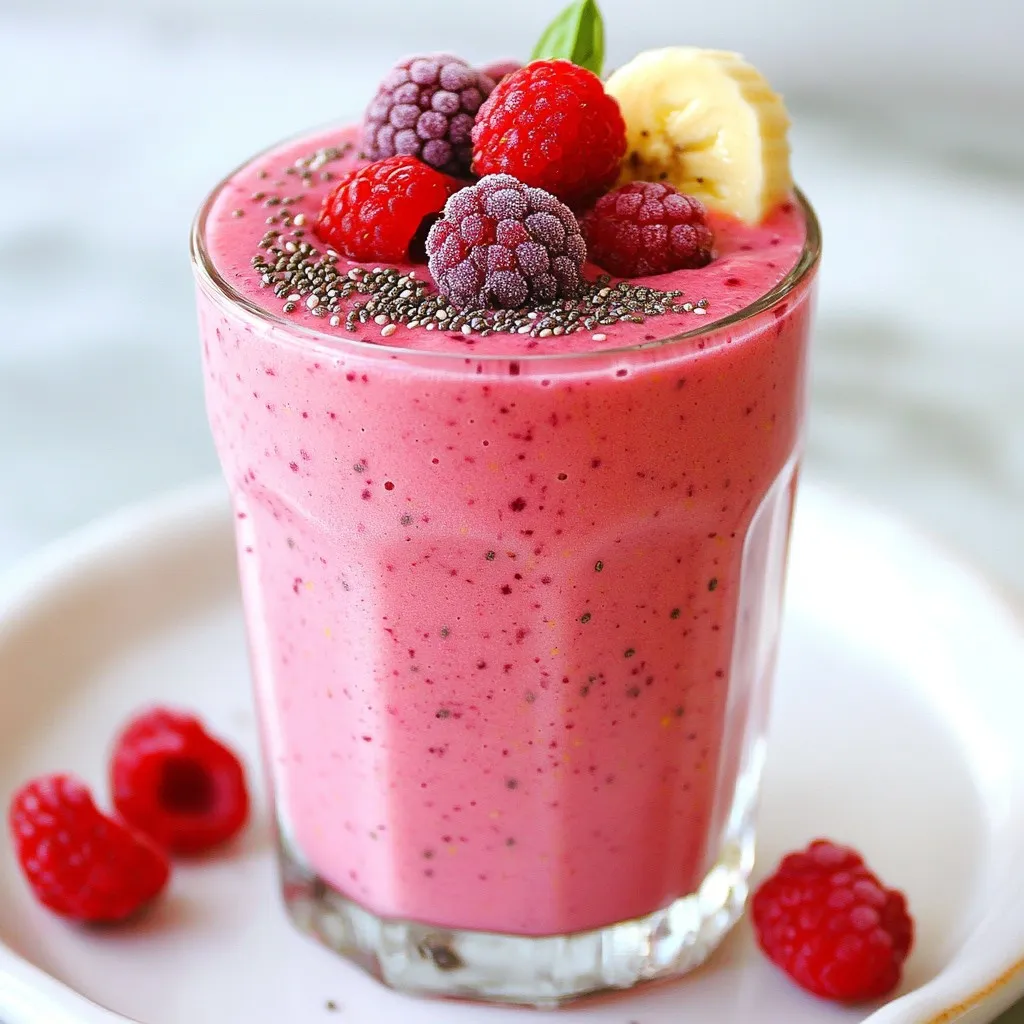
Sip into a world of flavors with my Berry Coconut Smoothie. This drink is not just refreshing; it’s also packed
Are you ready to dive into a bowl of warmth and comfort? In this guide, I’ll show you how to
