
Blueberry Cheesecake Overnight Oats Delightful Treat
Are you ready to transform your breakfast routine? Blueberry Cheesecake Overnight Oats are a game changer! These tasty oats blend

Are you ready to transform your breakfast routine? Blueberry Cheesecake Overnight Oats are a game changer! These tasty oats blend
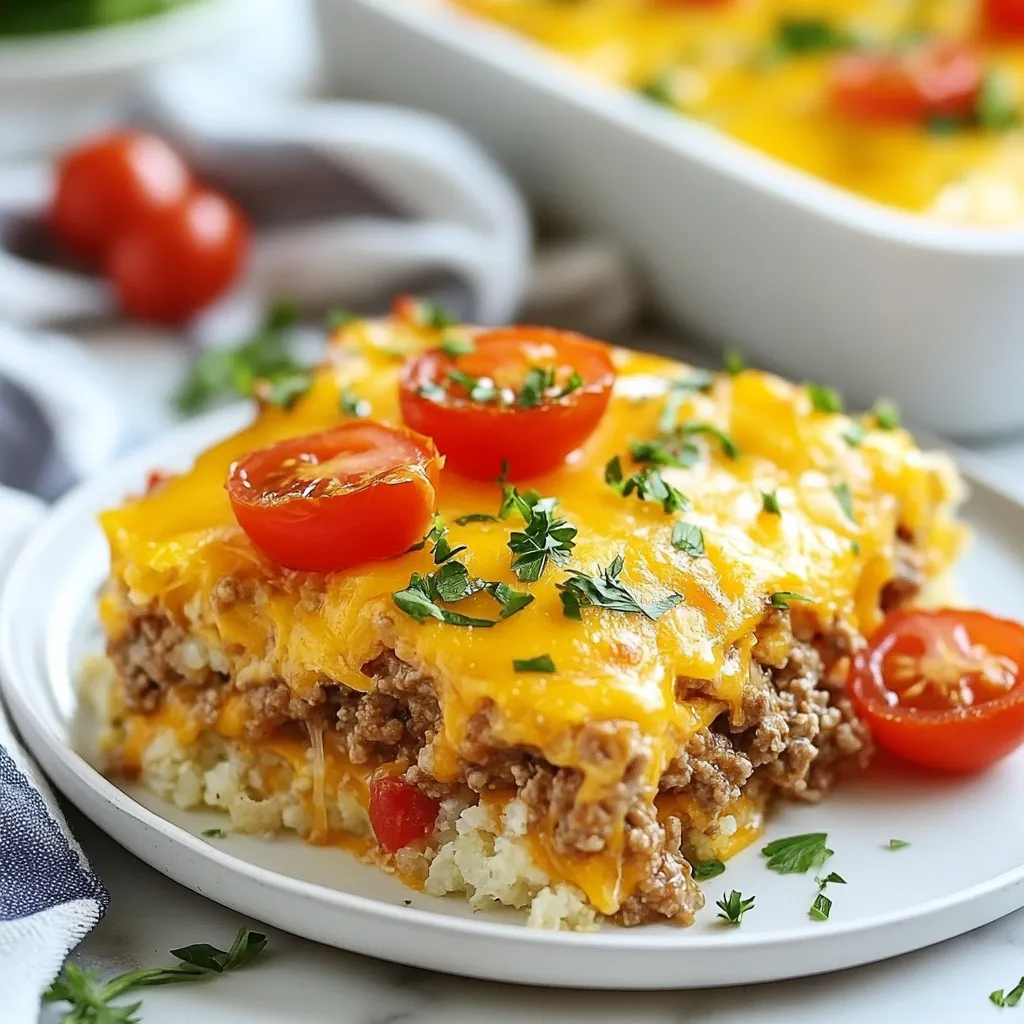
Looking for a delicious dish that fits your keto lifestyle? You’re in the right place! This Keto Cheeseburger Casserole is

Looking for a quick, tasty snack that fuels your body? These Peanut Butter Chocolate Protein Balls are the perfect choice!
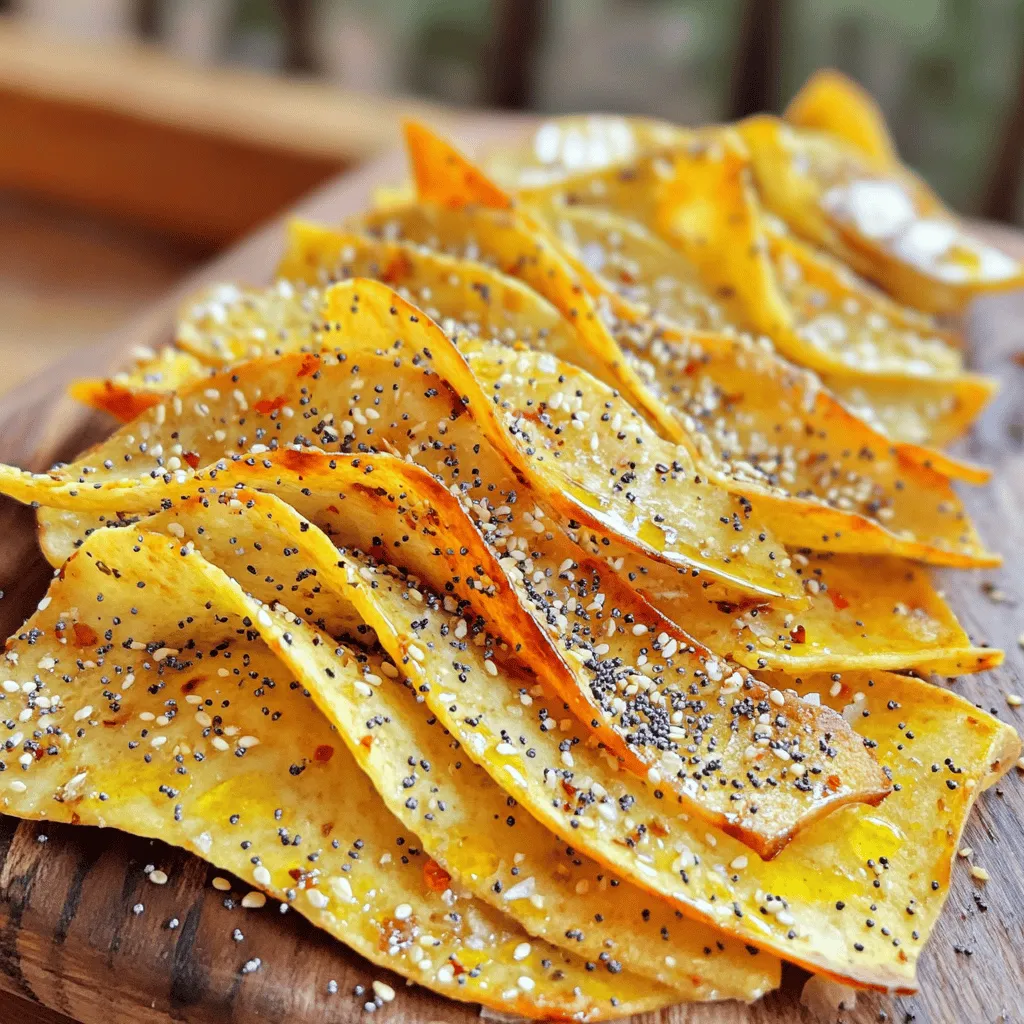
Craving a crunchy snack that’s packed with flavor? Let me introduce you to Air Fryer Everything Bagel Chips! These crispy
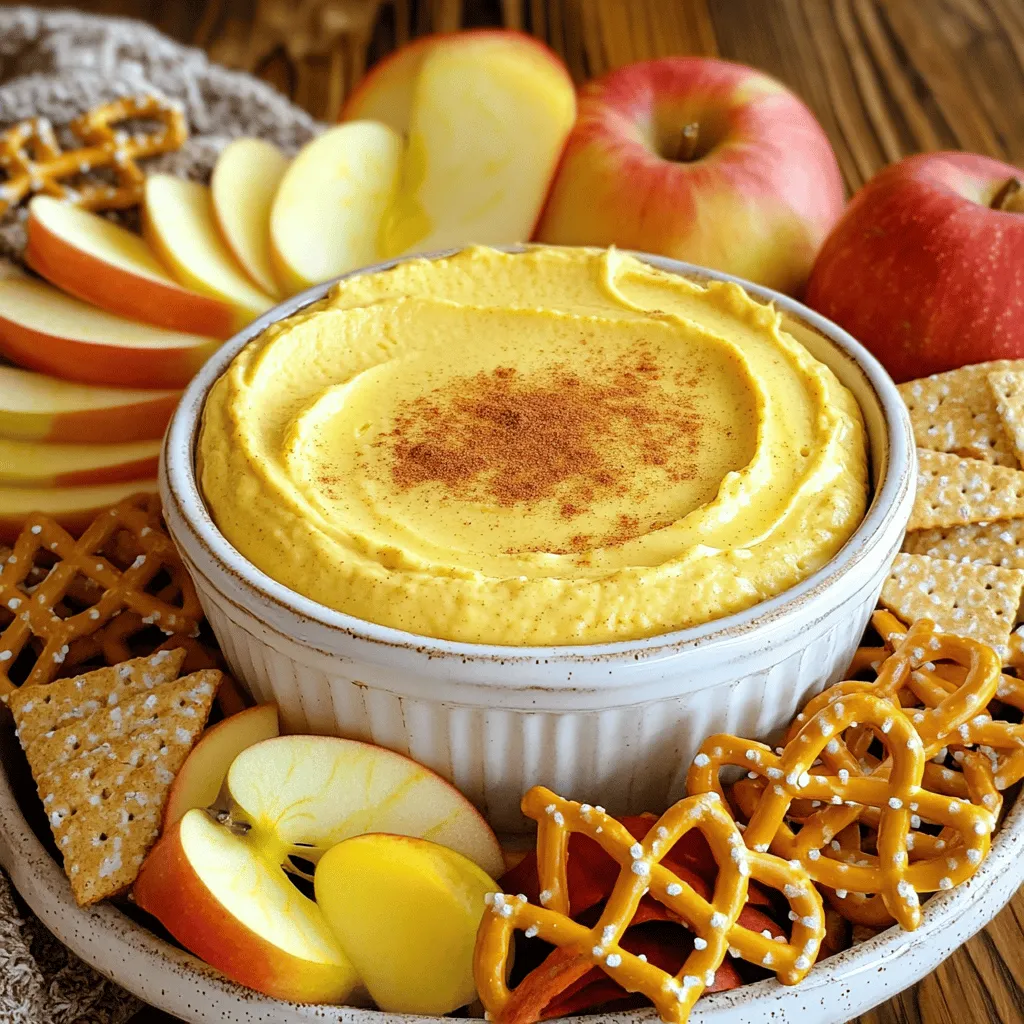
Fall is here, and that means it’s time for cozy treats! If you love pumpkin, you need to try my
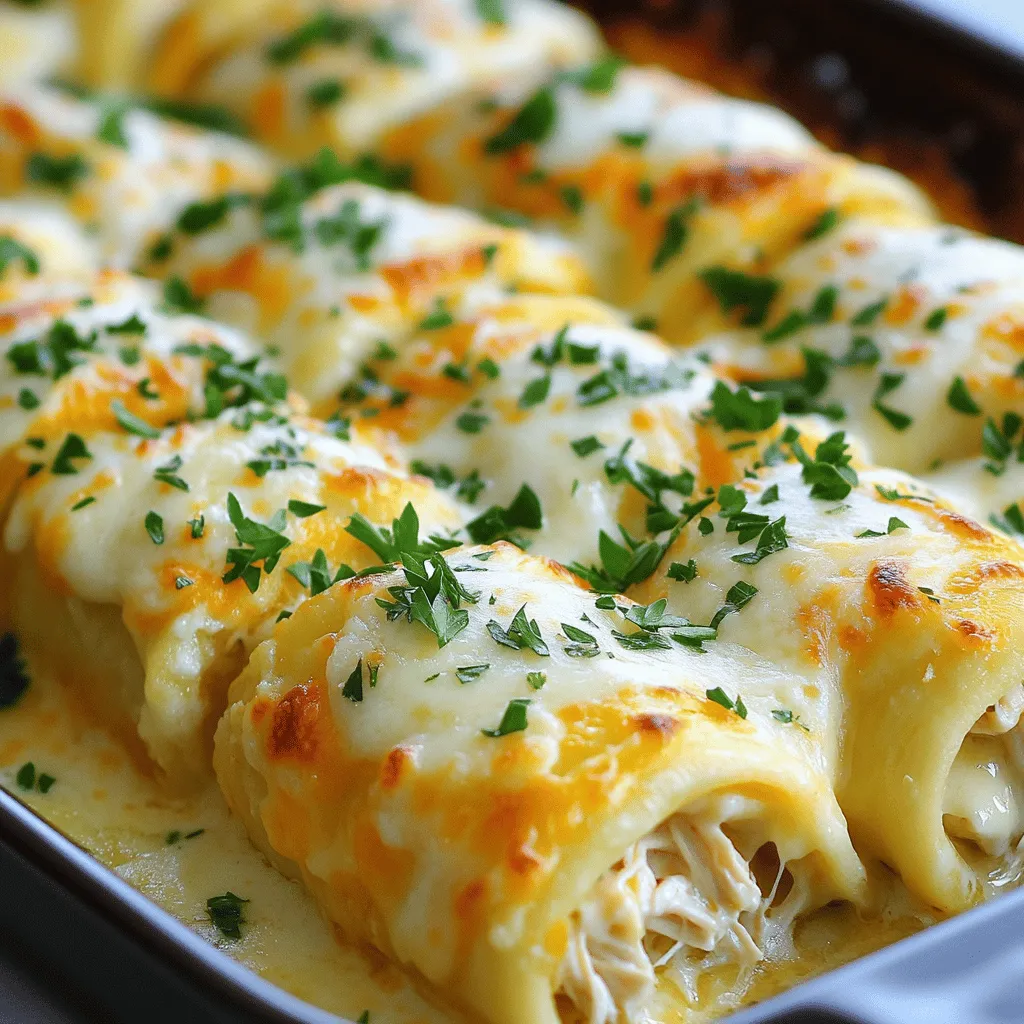
If you crave a dish that’s creamy, tasty, and oh-so-easy to make, Chicken Alfredo Roll Ups are your answer. Imagine
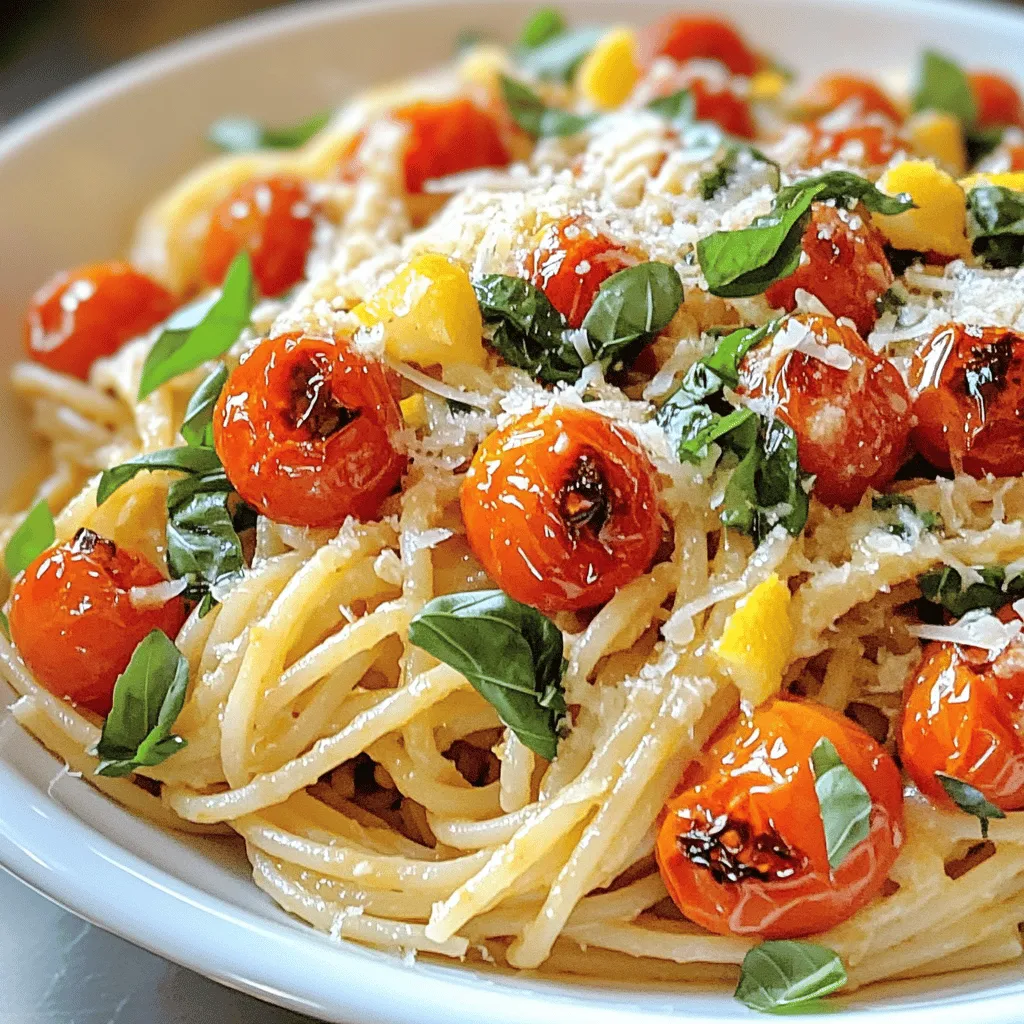
Welcome to a taste adventure with Roasted Garlic Tomato Basil Pasta! If you love simple yet rich flavors, this dish
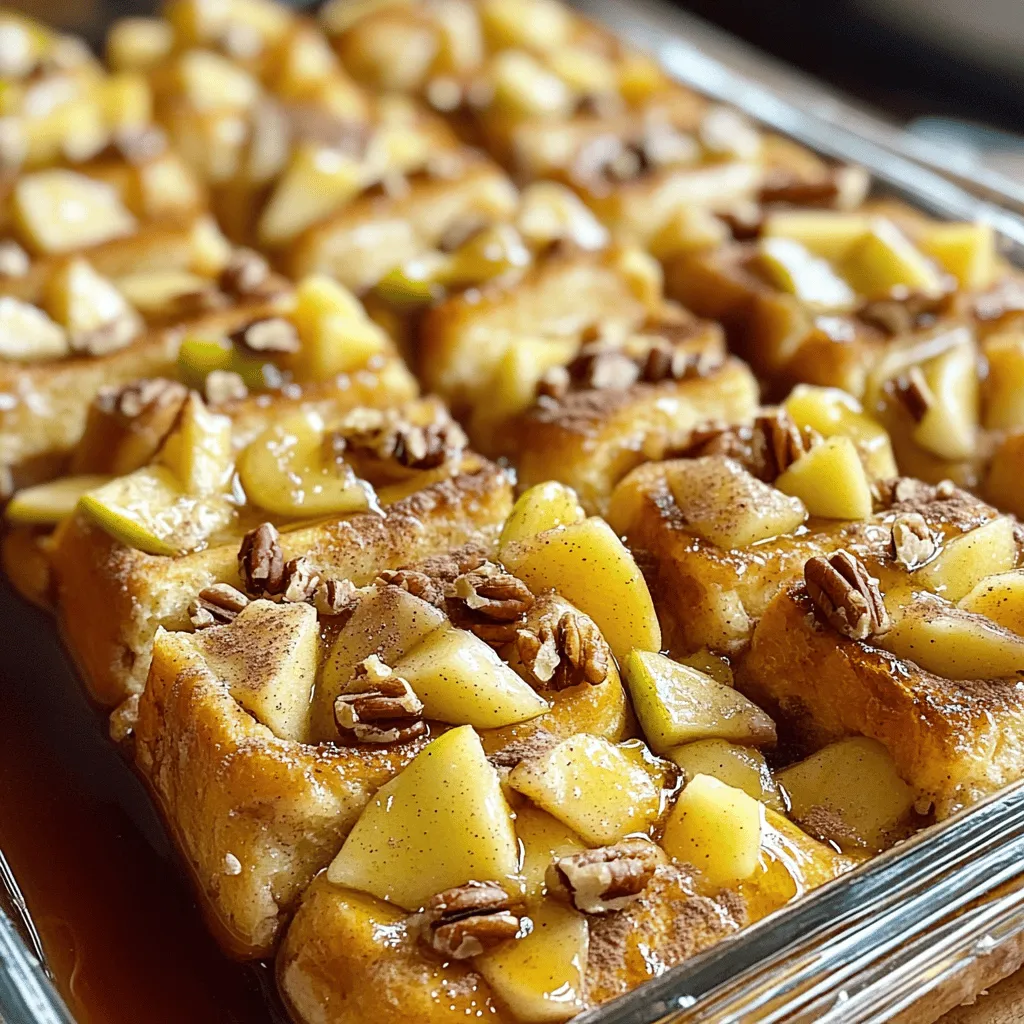
Are you ready to elevate your breakfast game? The Cinnamon Apple French Toast Bake is a tasty and easy dish
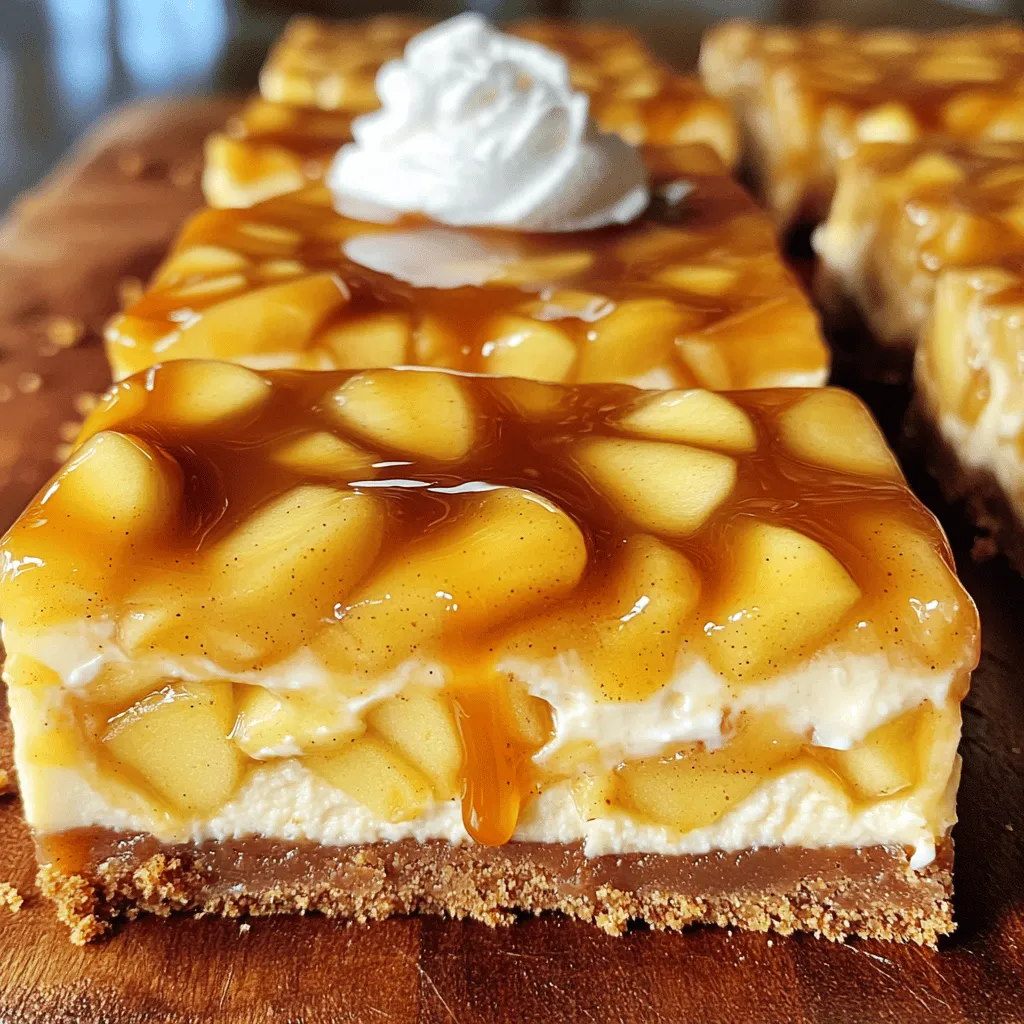
Are you ready to indulge in a sweet and creamy treat? Caramel Apple Cheesecake Bars combine fresh apples, rich cream
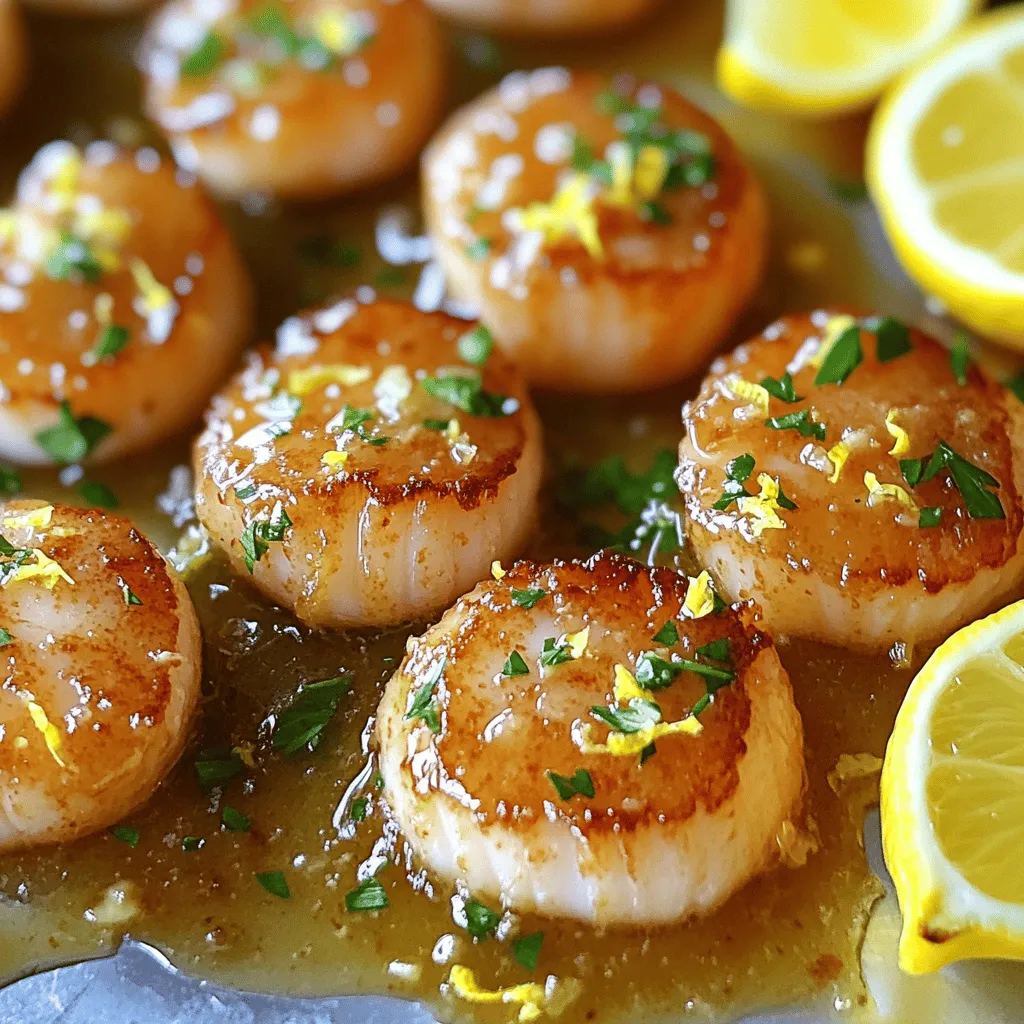
Are you ready to impress your family and friends with a rich and flavorful dish? Lemon Garlic Butter Scallops are
