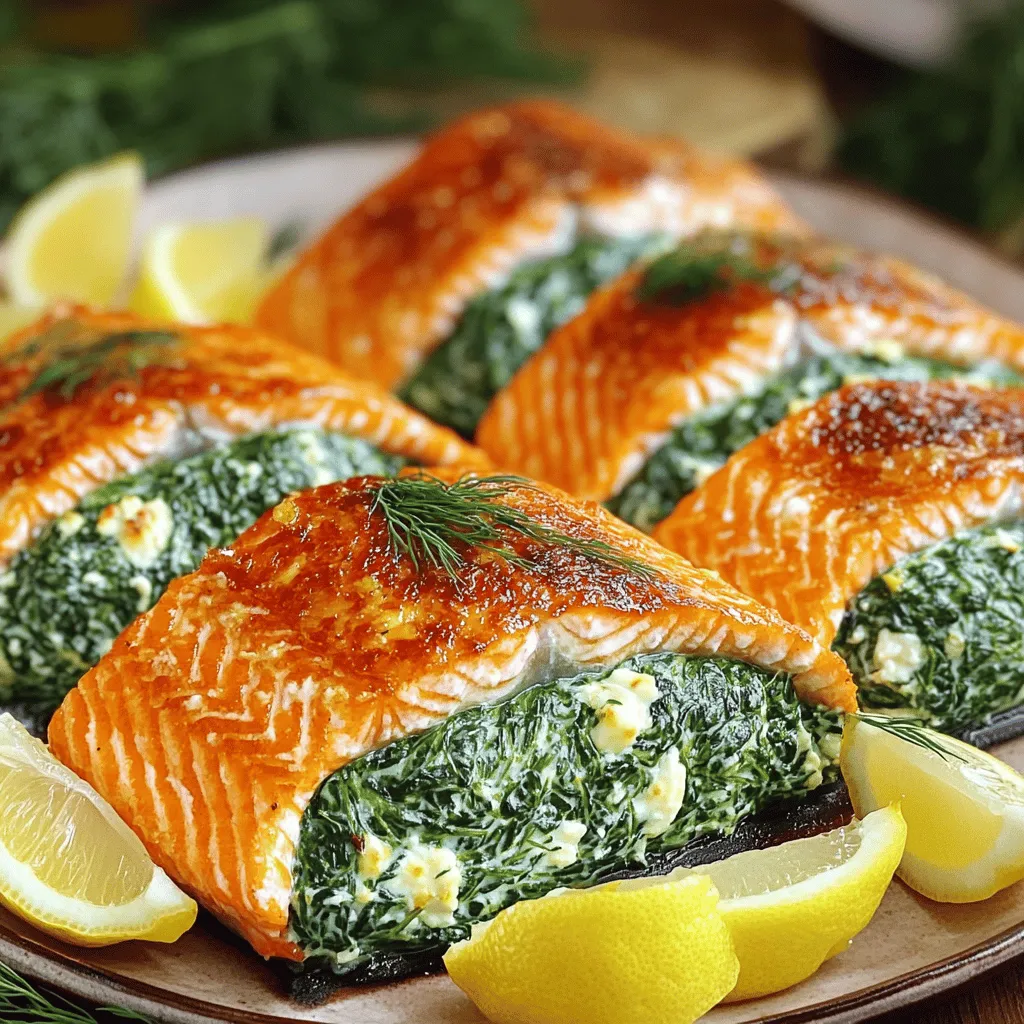
Spinach Feta Stuffed Salmon Flavorful and Simple Dish
Are you ready to impress your taste buds? This Spinach Feta Stuffed Salmon is rich in flavor and simple to

Are you ready to impress your taste buds? This Spinach Feta Stuffed Salmon is rich in flavor and simple to

Craving a quick and tasty meal? This Instant Pot Teriyaki Chicken recipe is your answer! With just a few simple

Get ready to dive into a sweet summer treat with my Strawberry Lemonade Cupcakes! These cupcakes burst with fresh flavors

Looking for a quick and tasty dinner? My Savory Sesame Ginger Beef Stir Fry is just what you need! With
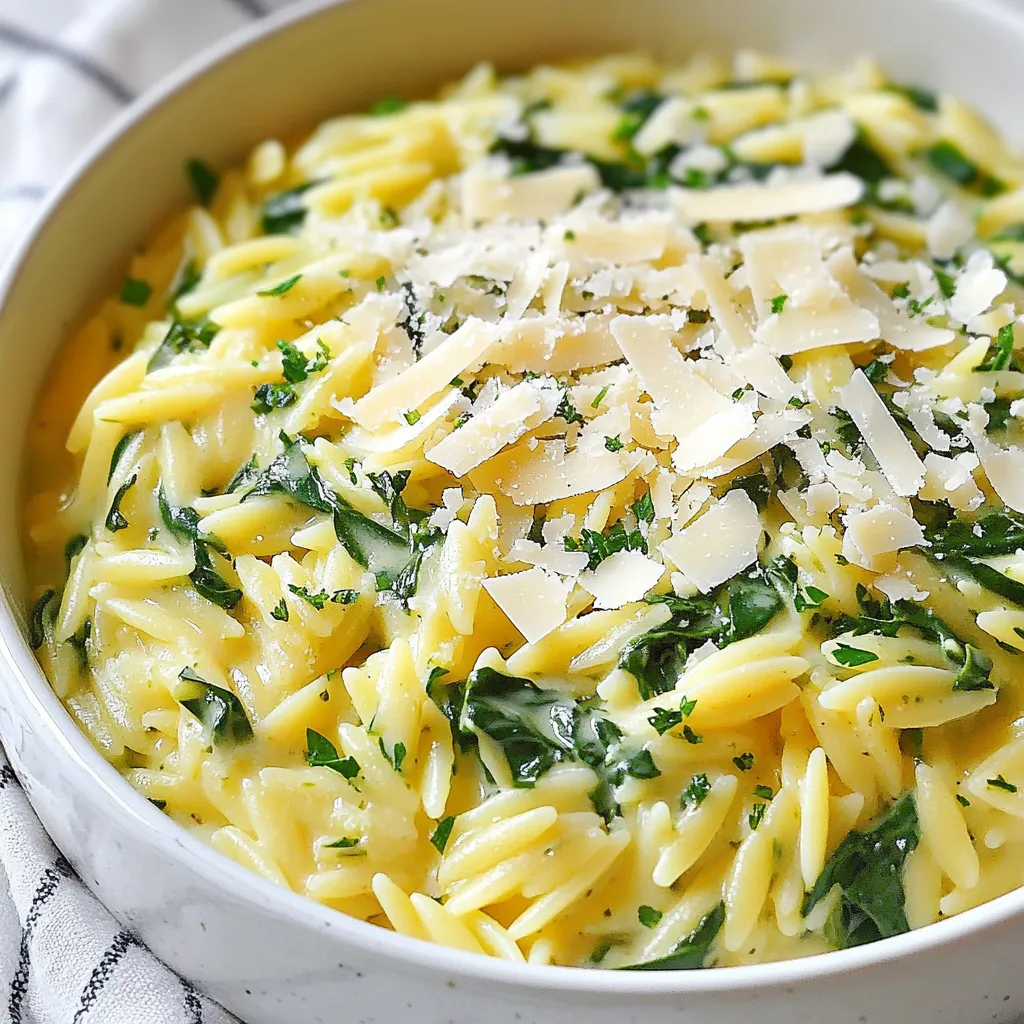
Looking for a quick and tasty meal? Creamy Parmesan Spinach Orzo is the perfect dish! It’s simple to make and
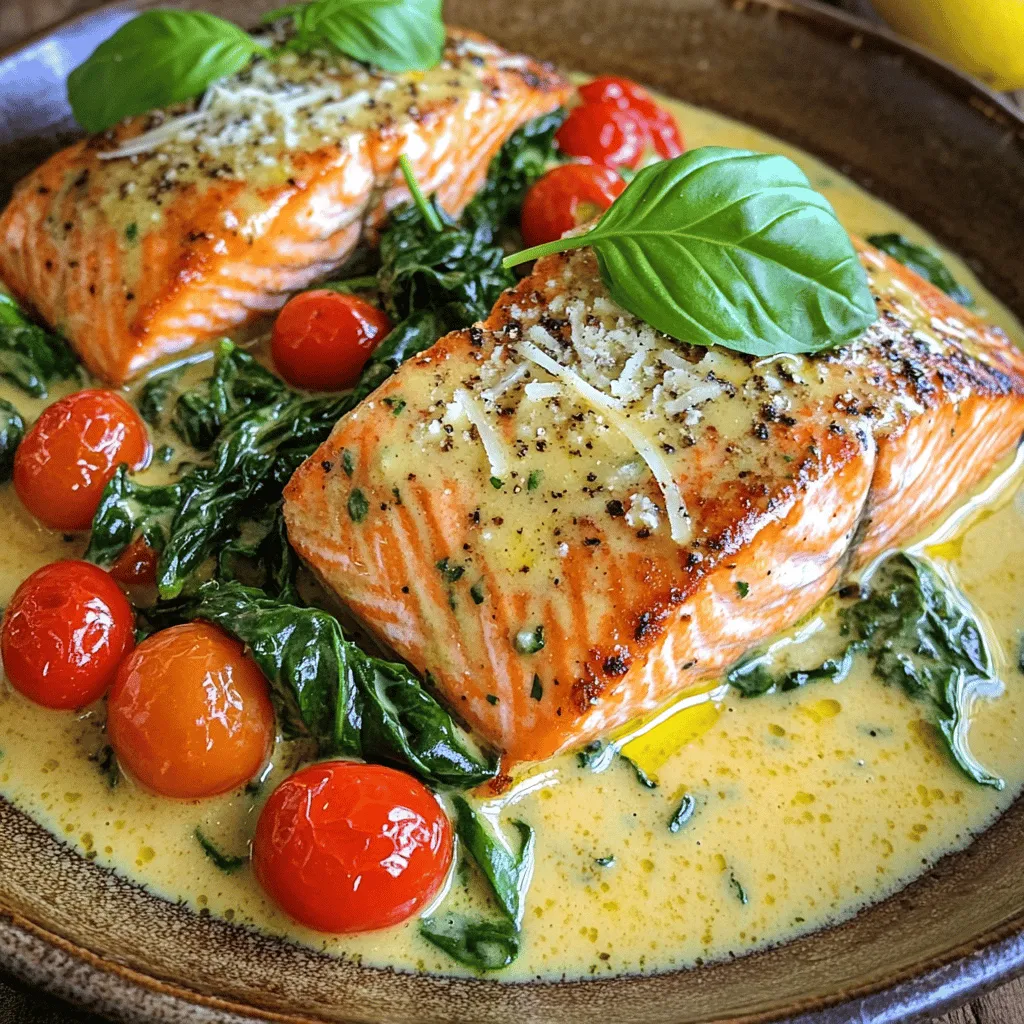
Looking for a dish that’s both delightful and simple to make? You’re in the right place! This Creamy Tuscan Salmon

If you’re searching for a delicious way to start your day, look no further! My Blueberry Oat Breakfast Cookies are
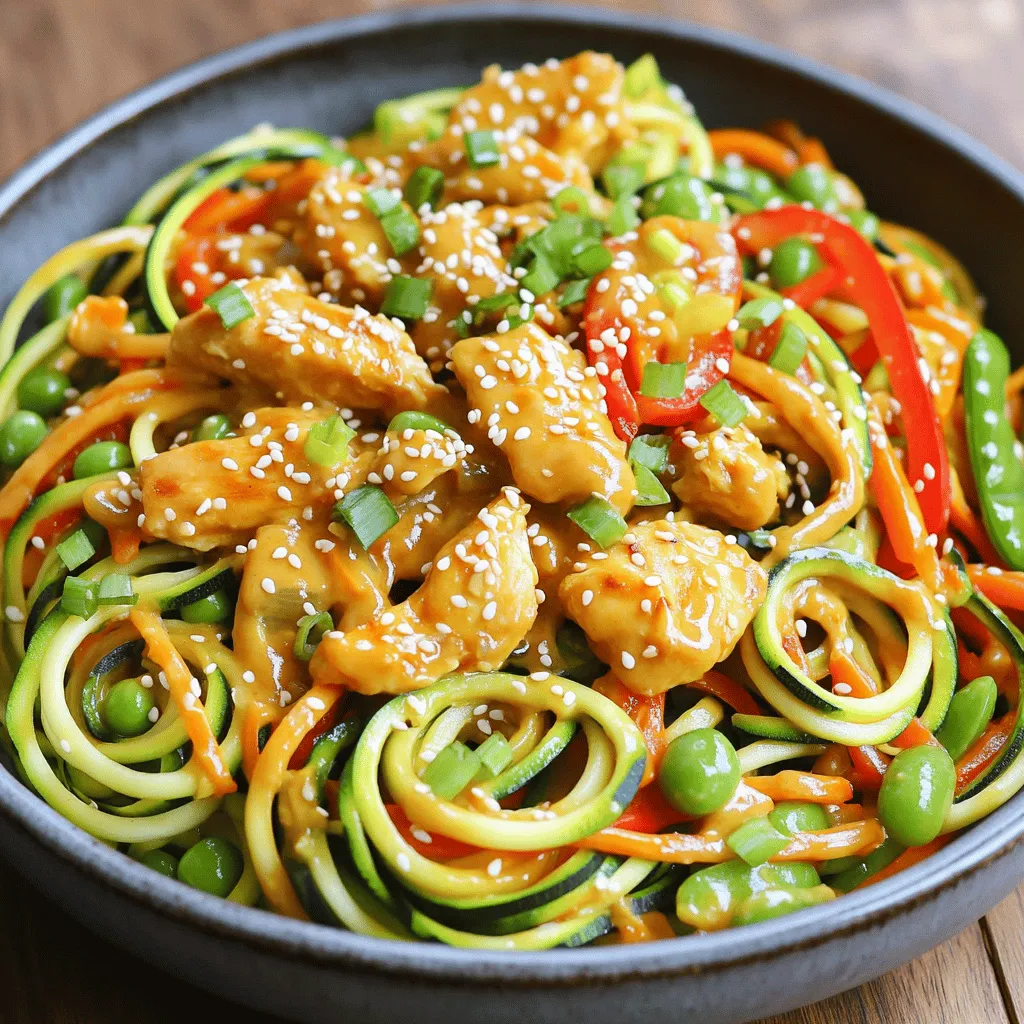
Looking for a quick and tasty meal? Try my Spicy Peanut Zoodle Stir Fry! This dish mixes fresh zoodles with

Are you ready to impress your friends and family with a delightful dessert? My Spiced Pear Galette is not only
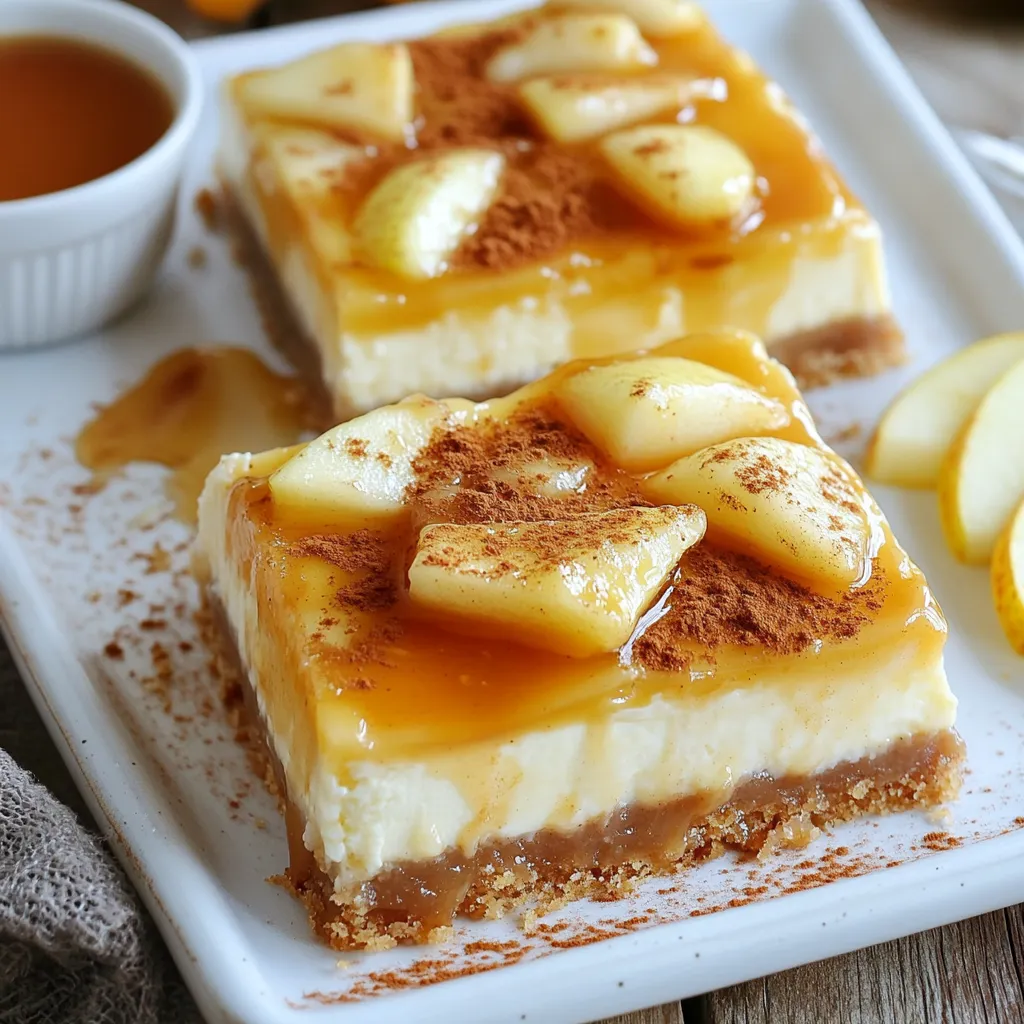
Get ready to wow your taste buds with my simple yet delightful Caramel Apple Cheesecake Bars! Perfect for gatherings or
