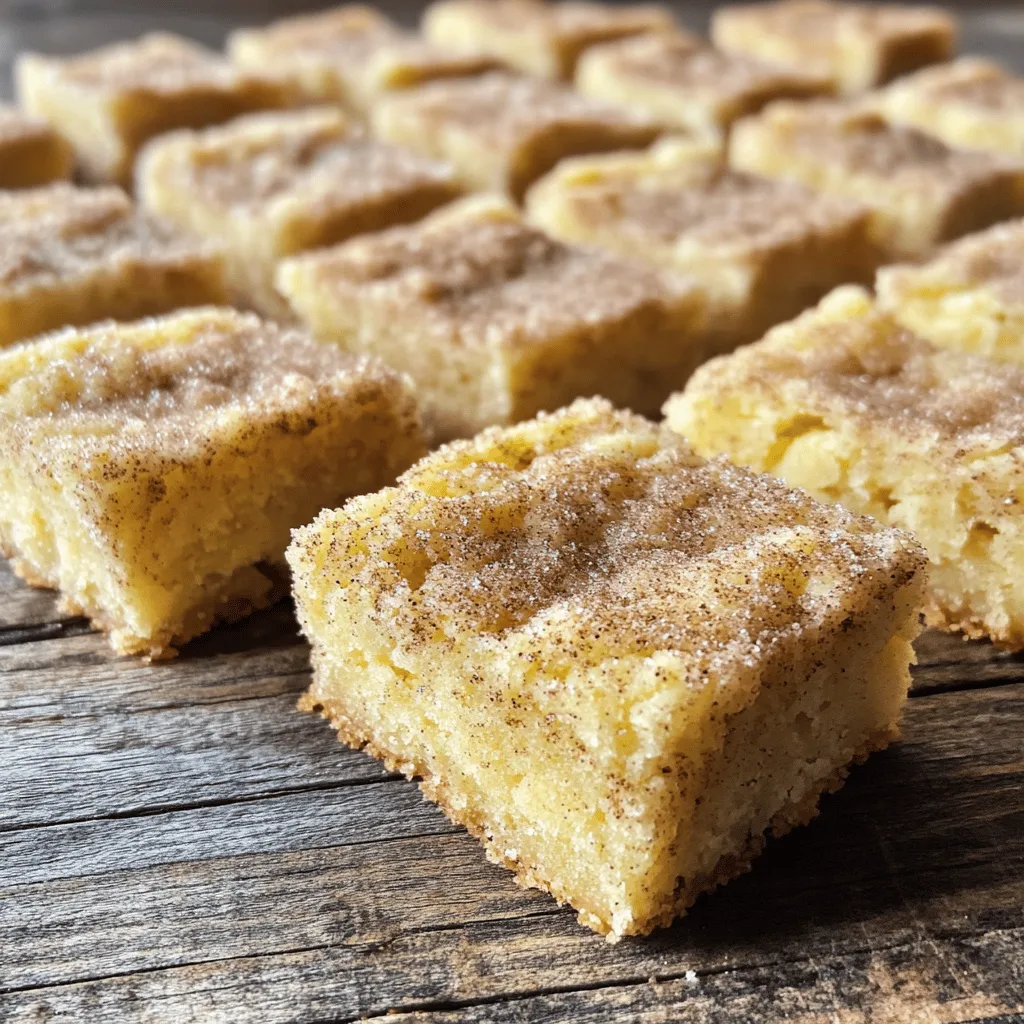
Chewy Snickerdoodle Cookie Bars Delightful Treat Recipe
Are you ready to bake something truly delicious? Chewy Snickerdoodle Cookie Bars are the sweet treat you need! These bars

Are you ready to bake something truly delicious? Chewy Snickerdoodle Cookie Bars are the sweet treat you need! These bars

Are you craving a cozy, flavorful meal? One-Pot Greek Orzo with Chicken is your answer! This dish combines tender chicken,
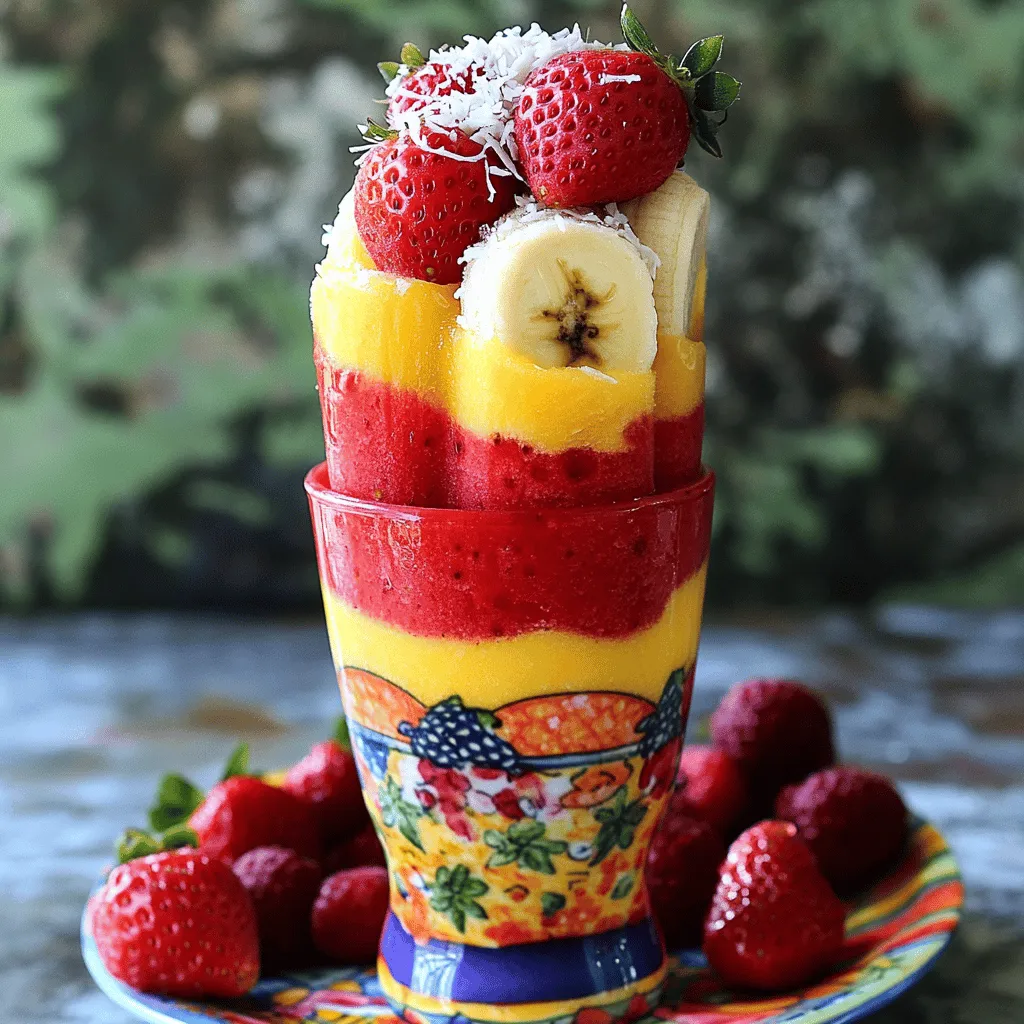
Looking for a tasty and healthy treat? Strawberry Banana Smoothie Pops are the perfect choice! Made with fresh strawberries, ripe
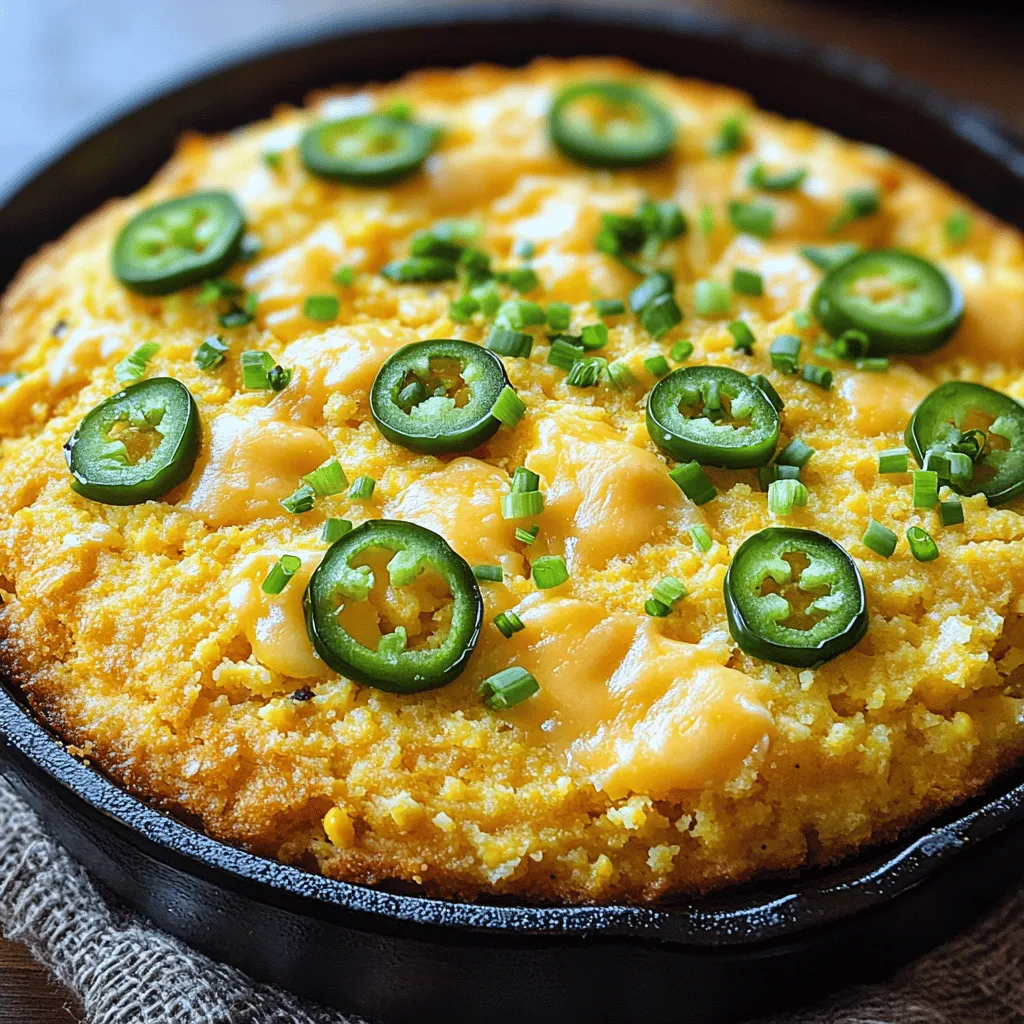
Get ready to spice up your meals with my easy Jalapeño Cheddar Cornbread! This cornbread combines the warmth of fresh
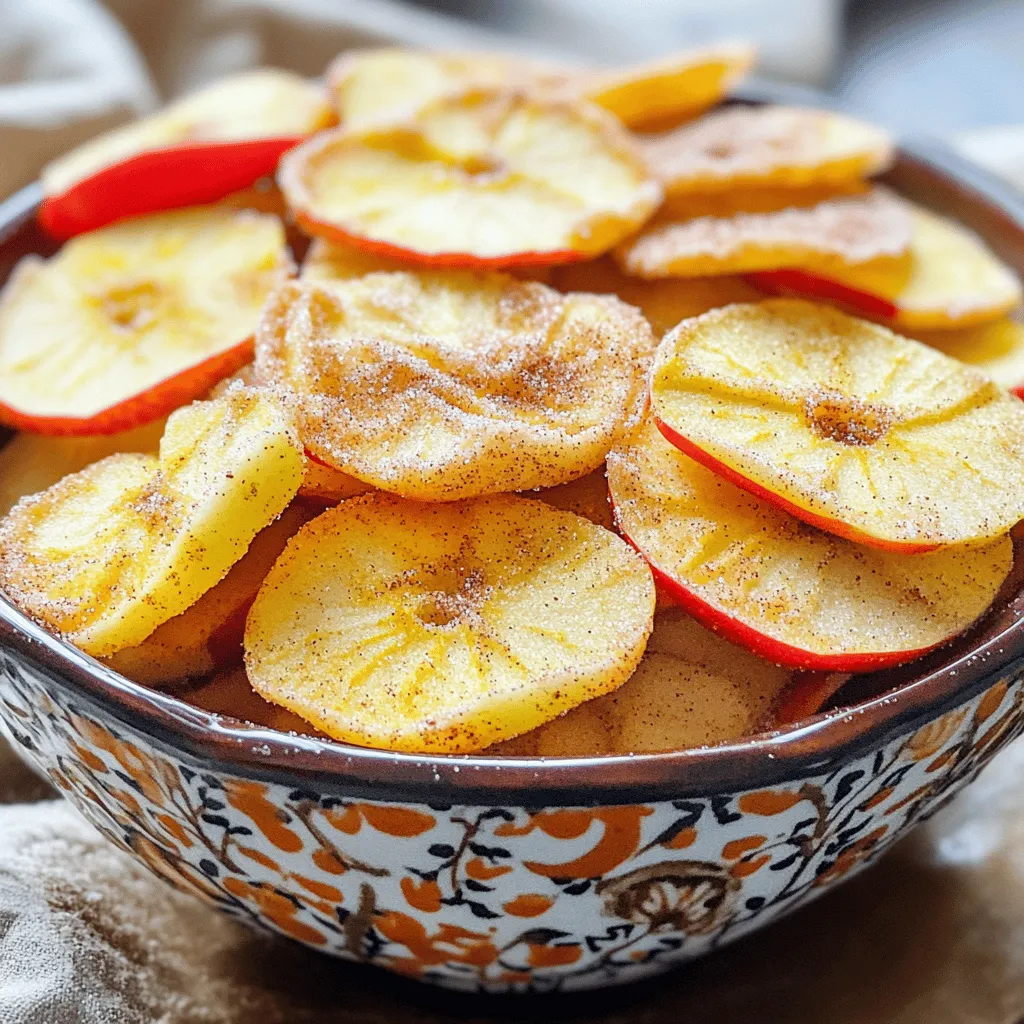
Looking for a tasty snack that’s easy to make? Cinnamon sugar apple chips are a crunchy delight that combines sweet

Looking for a tasty yet healthy meal? You’ve found it with Lemon Garlic Shrimp Zoodles! This quick recipe brings together

Are you ready to create something fresh and delightful? This Honey Lime Fruit Salad is the perfect dish for any

If you want a new favorite snack, try these Cheddar Jalapeño Cornbread Muffins! They are warm, savory, and packed with

Craving a quick, tasty dinner? Try these Savory Sesame Ginger Noodle Bowls! This dish is packed with fresh veggies and

Get ready to indulge in a sweet treat with a kick! Caramel Macchiato Cupcakes combine rich coffee flavors with velvety
