
Key Lime Pie Bars Simple and Refreshing Delight
If you’re craving a sweet, tangy treat, look no further than Key Lime Pie Bars. These bars pack all the

If you’re craving a sweet, tangy treat, look no further than Key Lime Pie Bars. These bars pack all the

Looking for a quick, healthy meal? Let’s dive into Veggie Fried Quinoa! This colorful dish bursts with flavor and is

Are you ready to bake something magical? My Apple Cinnamon Roll Bake is the perfect treat for cozy days. This

Looking for a delicious meal that’s super quick and easy? One-pot creamy kielbasa pasta is your answer! This dish combines
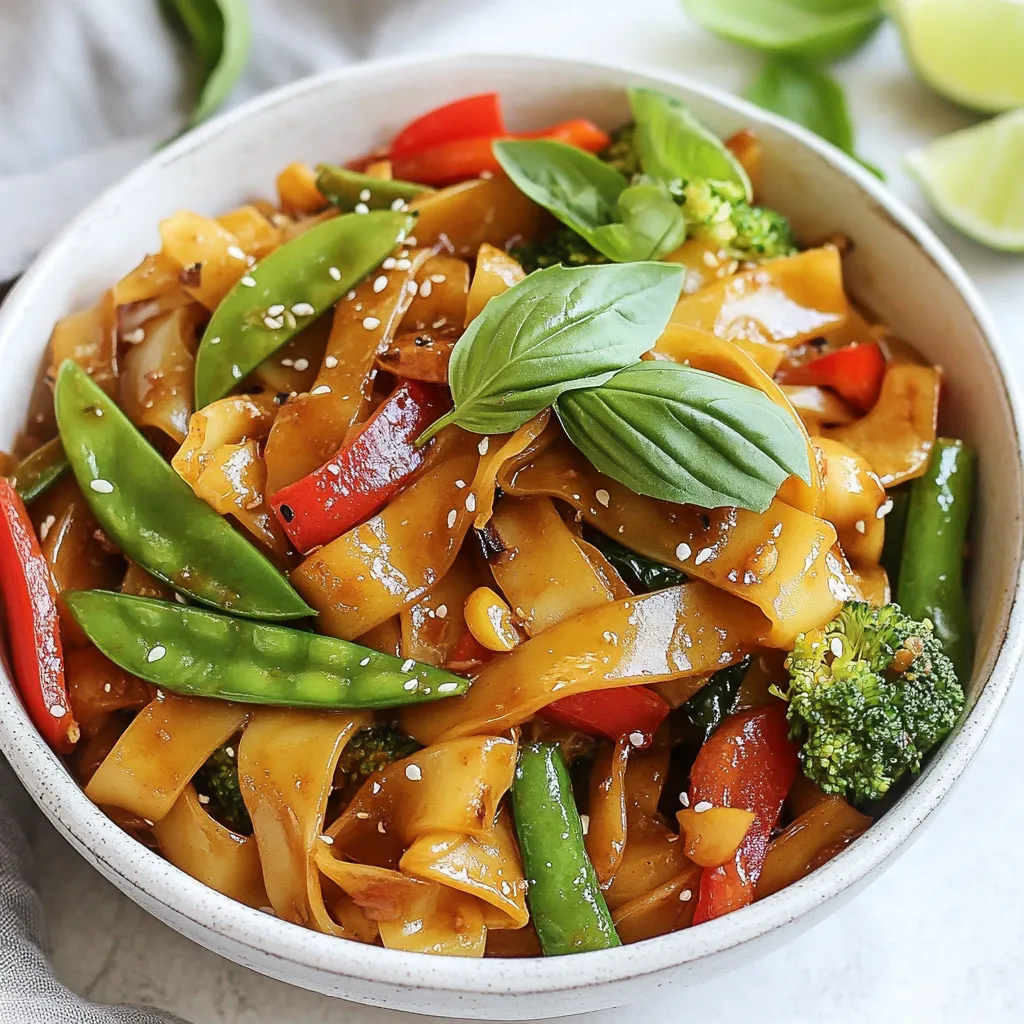
Welcome to my flavorful guide on Thai Drunken Noodles! If you’re craving a dish that’s easy to make and bursting
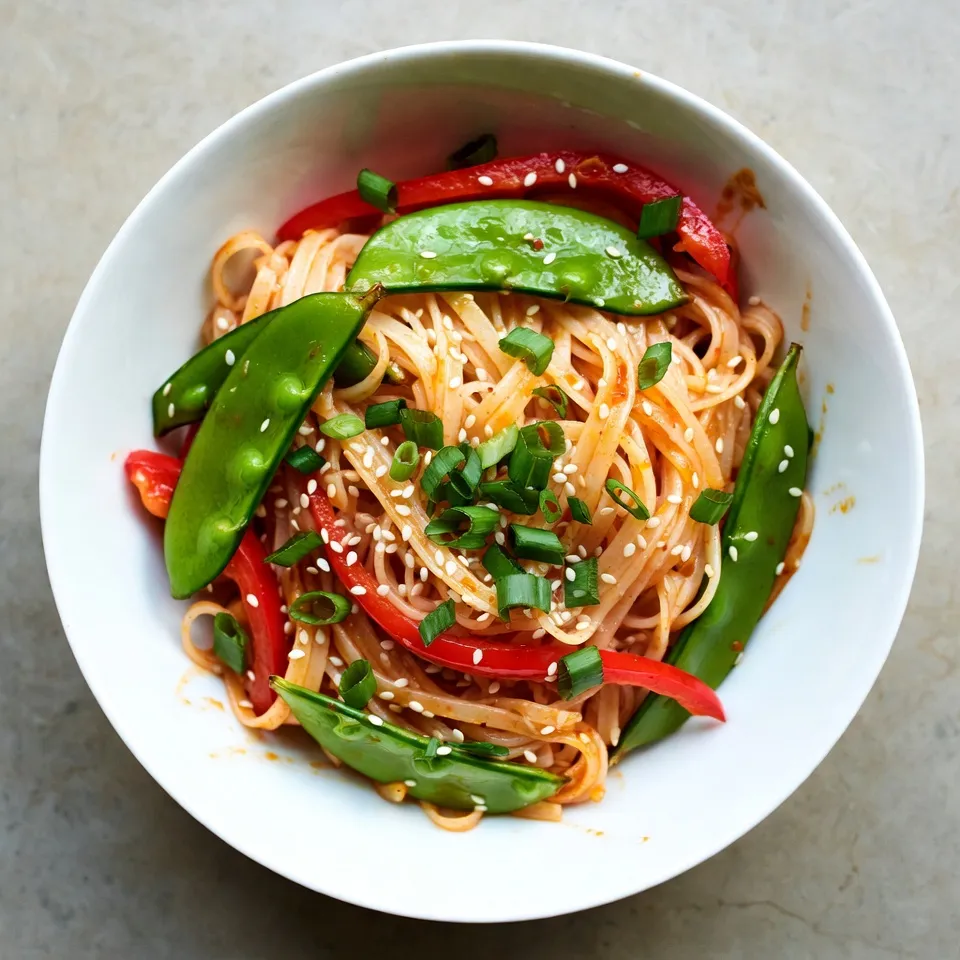
Are you ready to whip up a dish that’s both savory and sweet? Sweet Chili Garlic Noodles are simple to

Are you ready to enjoy a simple, tasty meal? Our Crockpot Ranch Chicken is easy to make and packed with

Craving a sweet treat that’s easy to make and oh-so-delicious? This No Bake Oreo Cheesecake is your answer! With a

Are you craving the warm, creamy goodness of Panera’s Broccoli Cheddar Soup? Look no further! In this simple recipe, I’ll

Looking for a flavorful snack that’s both crispy and delicious? You’ll love Crispy Korean Popcorn Chicken! This easy recipe combines
