
Maple Chai Overnight Oats Easy and Tasty Recipe
If you’re craving a breakfast that’s both easy and delicious, you’ve come to the right place! Maple Chai Overnight Oats

If you’re craving a breakfast that’s both easy and delicious, you’ve come to the right place! Maple Chai Overnight Oats

Looking for a holiday treat that’s both easy and delicious? You’re in the right place! These No Bake Pumpkin Pecan

Craving a fun snack? Try these Air Fryer Stuffed Pretzel Bites! They’re easy to make and perfect for sharing. With
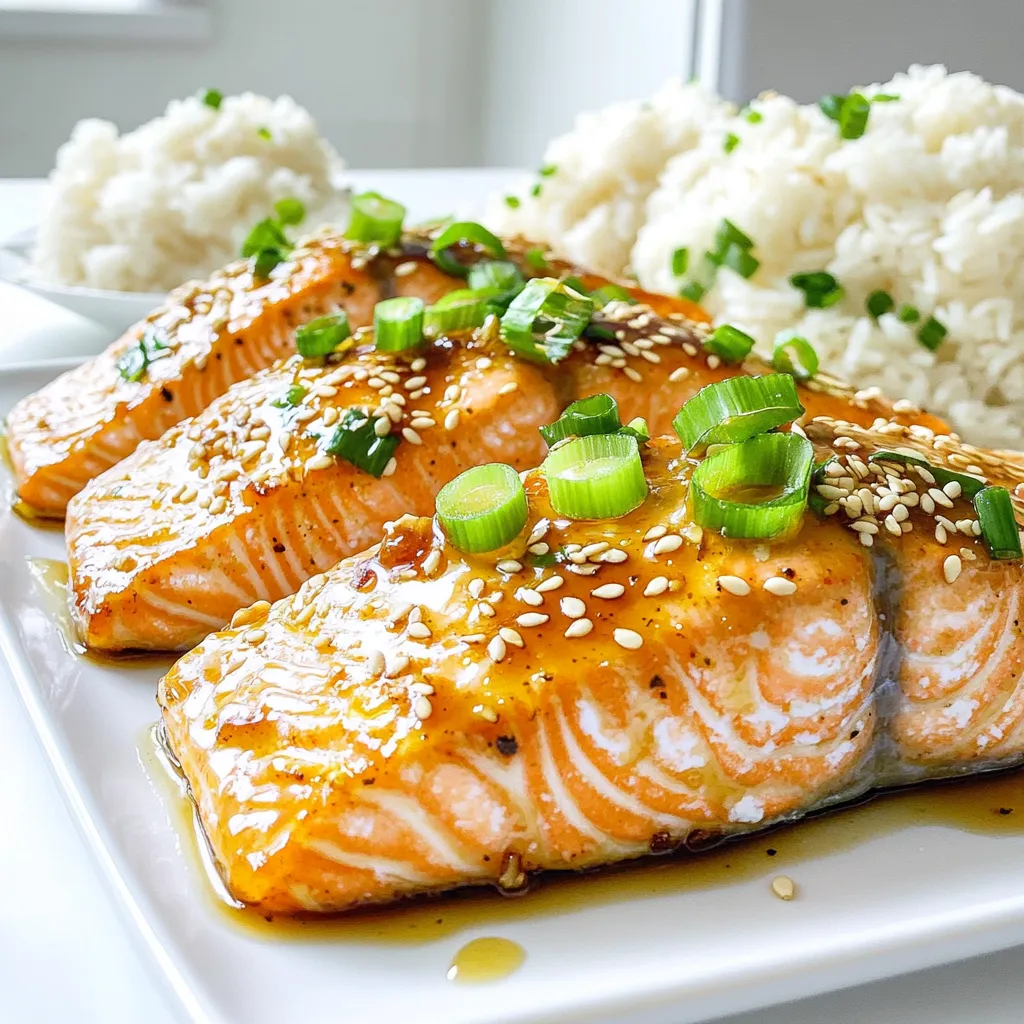
Looking for a quick and tasty dish? My Minute Honey Garlic Salmon is the answer! In just a few steps,
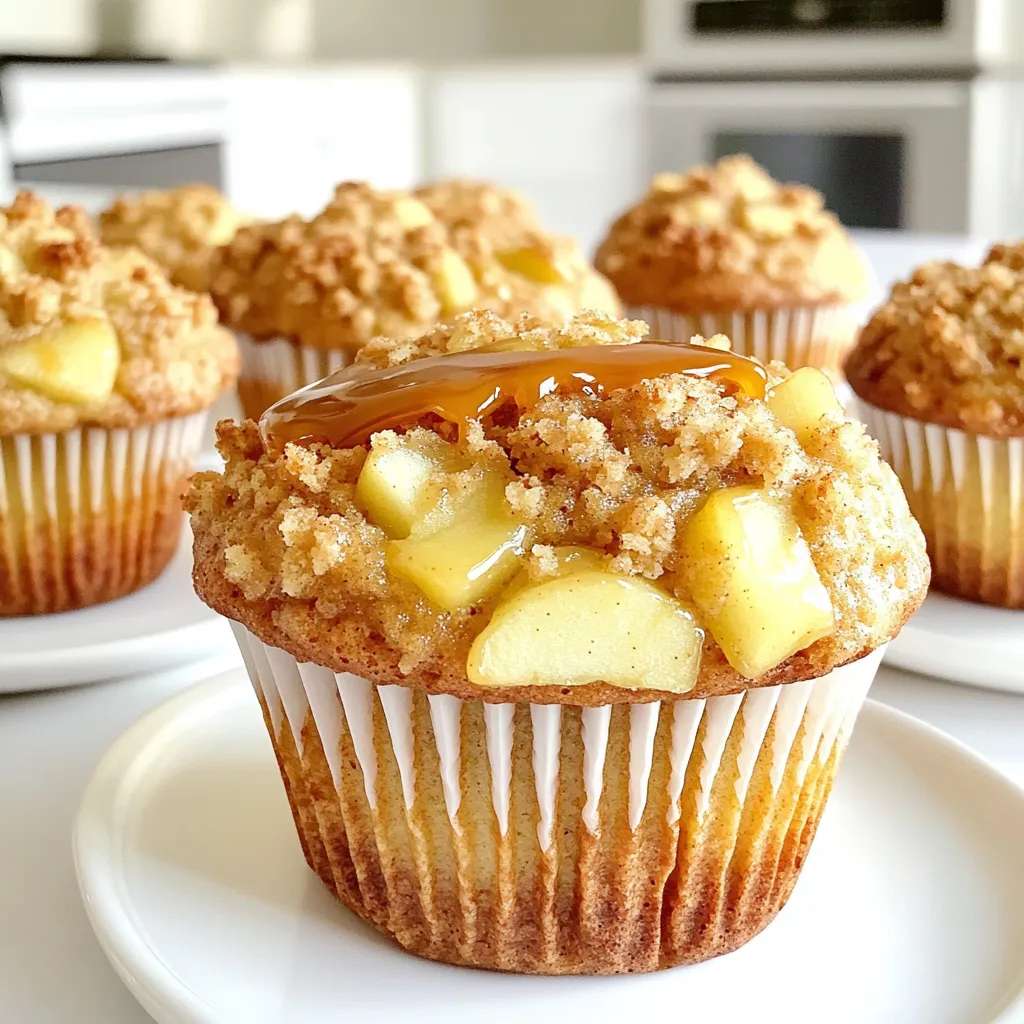
Do you love warm, delicious muffins filled with sweet apples and crunchy streusel? You’re in the right place! This recipe
Are you ready to impress your family with a creamy, tasty dish? In this post, I’ll share my easy Slow
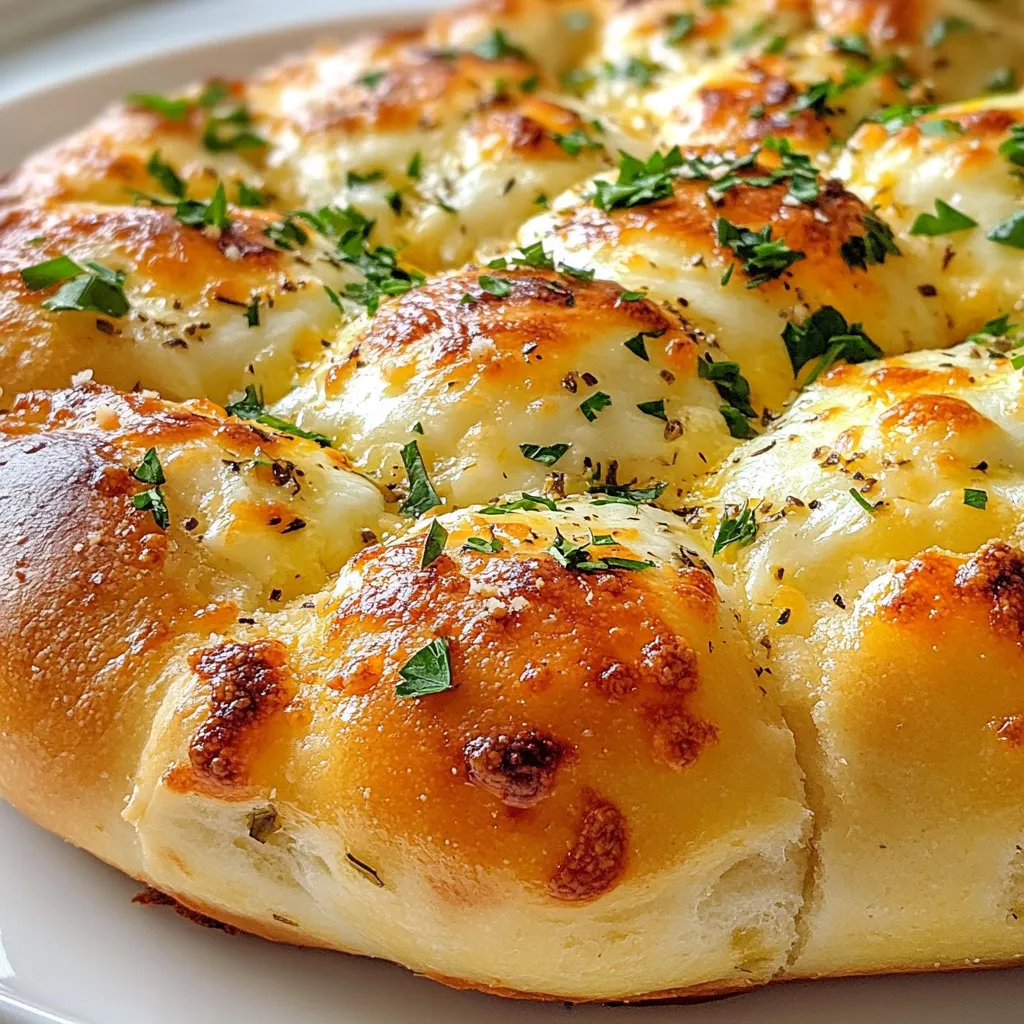
If you’re craving a warm, cheesy treat that fills your kitchen with mouth-watering aromas, this Italian Herb Cheese Bread recipe
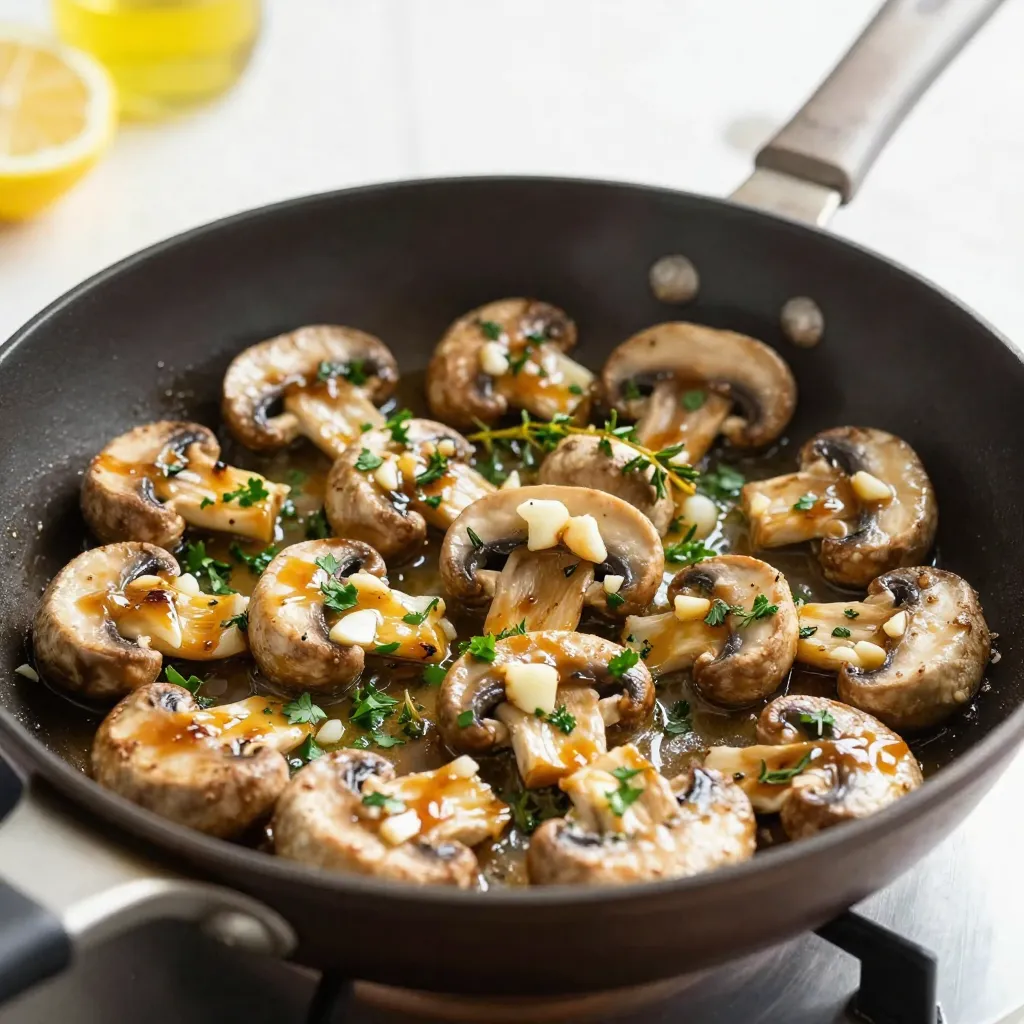
Looking for a side dish that packs a punch? You’ve found it! My Garlic Butter Mushroom Skillet is loaded with
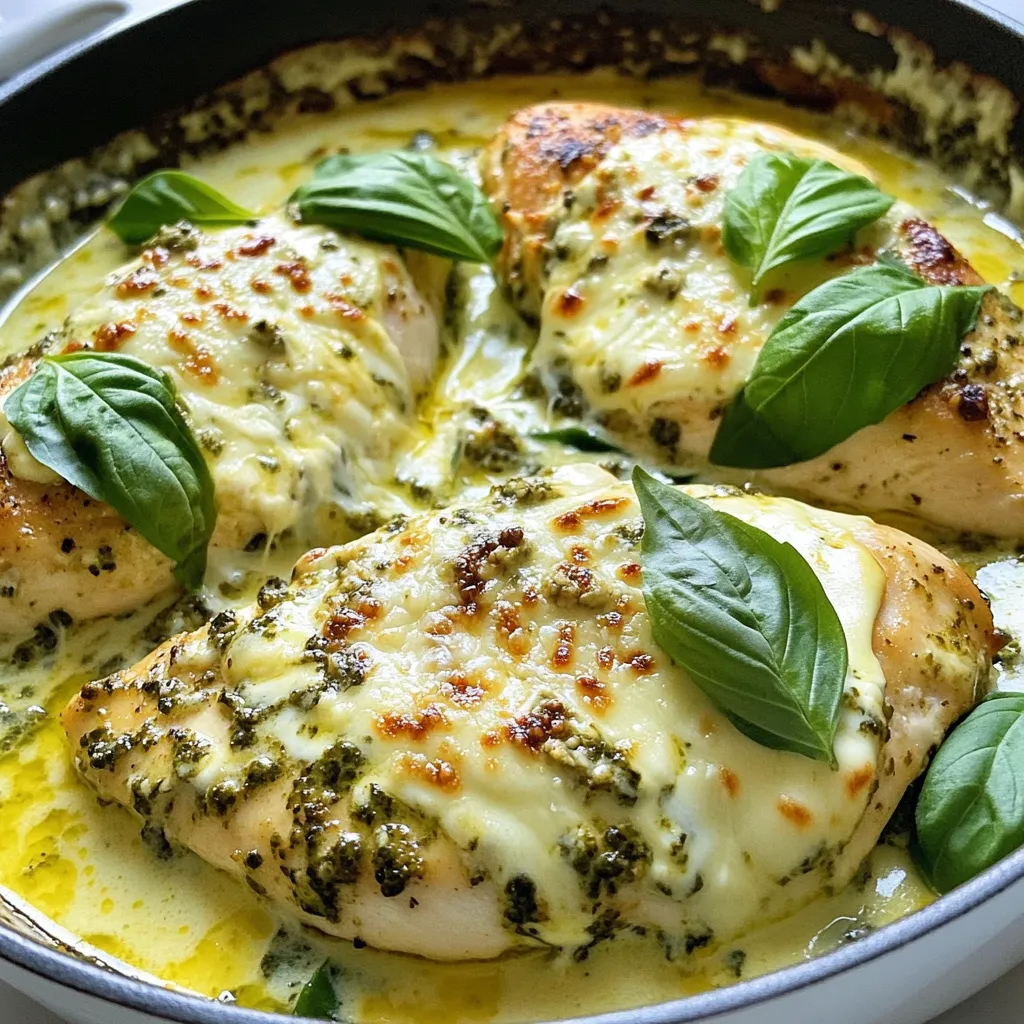
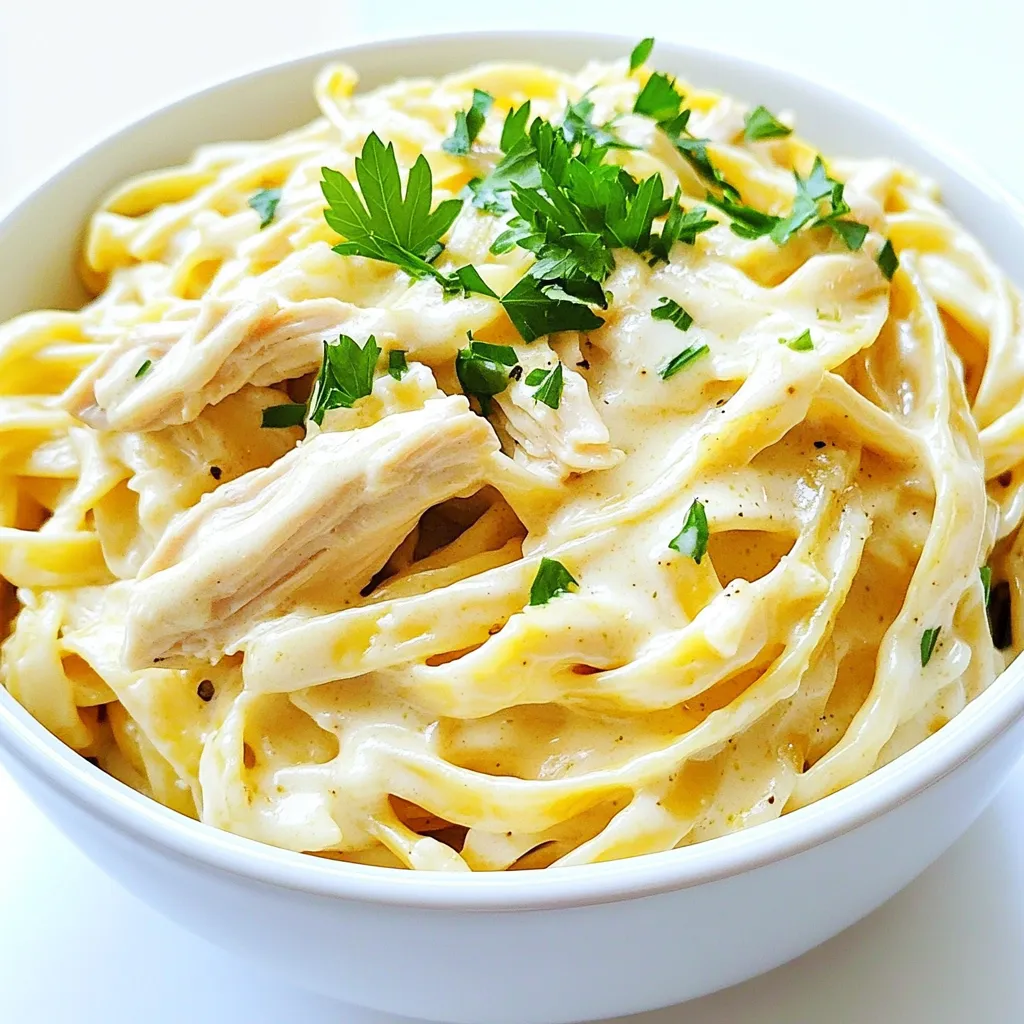
Do you crave a dish that’s both creamy and easy to make? Look no further than this Cream Cheese Chicken
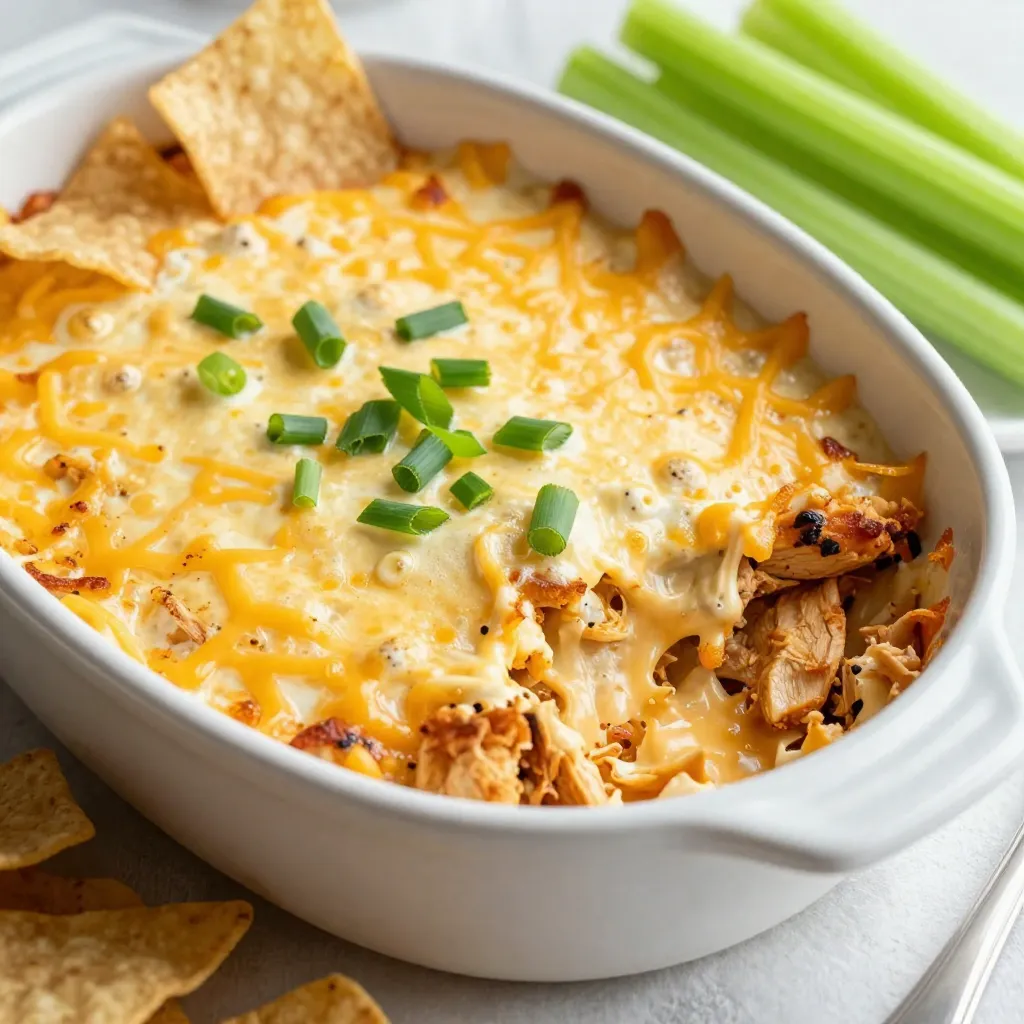
Are you ready to impress your friends with a delicious dip? Buffalo Ranch Chicken Dip is a flavorful crowd-pleaser that
